For many RVers, the always-too-soon arrival of late autumn means it’s time to wrap up another camping season. November is a good time to reflect on summer camping memories, but it’s also a great time to get your RV ready for winter weather. RV winterization means taking care of all the tasks that will make your RV ready to survive the winter. (So you can make more camping memories next year.) This seasonal process is essential for both occasional winter campers and RVs that will be stored over the winter. Sure, you could get on your RV dealer’s waiting list to have winterization done for you. But it’s not necessary. The reality is that the tasks involved are so simple and easy that anyone can do them. So, what does it involve?
Commonly, many articles focus primarily on winterizing RV water systems and making sure house batteries don’t freeze. And that stuff is all correct. But seasoned RVers also know that completing seasonal maintenance tasks are also a part of the job. Tasks like cleaning the RV, washing and waxing it, and making sure all the seals are in good shape are just as critical as other RV winterization tasks.
So, in this article, we’ll walk you through the all the steps that you can easily do yourself to get your RV ready for its seasonal hibernation.
Your RV Winterization Task Checklist
1. Clean the Inside of the RV
Giving the inside of your RV a thorough clean before the winter’s arrival not only ensures that it’s ready to go in spring — it also discourages mold, rodents, and other infestation. So, empty all cabinets and vacuum and wipe down all interior surfaces with your favorite cleaner. Be sure to empty, defrost, an clean the refrigerator too, leaving it slightly ajar to allow air circulation.
2. Clean, Lubricate and Retract All Awnings
Mold is gross. But it thrives in certain areas, and a rolled-up awning is one of its ideal environments to grow over winter. That’s because mold loves dark, damp places, and rolled-up awnings are exactly that. Since mold spores are often carried around on microscopic dust particles, you want to make sure that your RV awning is clean and dry before rolling it up. This will help to ensure you don’t find a big, nasty mess when you open it up next camping season.
Washing your RV awning is easy to do. You just need a soft, extendable wash brush, a bucket of warm soapy water, and a hose with a nozzle to rinse. (By the way, bleach and other harsh chemicals can shorten your awning’s life span, so they’re best avoided.) First, open up your RV awning. You may need to either go up on the roof of your RV or use a step ladder to reach the exterior side of the awning. (In either case, be safety conscious.)
Gently scrub the exterior surface of the awning from top to bottom with soapy water. Then use a spray nozzle on a hose to rinse. With the outside of the awning clean, it’s time to start cleaning the underside of the awning with the soft brush dipped in soapy water. Begin next to the RV and gradually clean to the outer edge. Now spray it with water until all the soap is rinsed away. Leave the awning extended until it’s perfectly dry.
After the awning is dry, lubricate all joints on the RV awning arms with a silicone lubricant. Then roll it up for the winter.
3. Inspect and Reseal Exterior Surfaces
The seals on your RV’s roof and sidewalls protect your RV all year round, but they tend to deteriorate over time. For that reason, you should inspect and reseal all your RV’s exterior seals twice a year — including as part of your RV winterization program. On the roof, you’ll want to look for holes or tears in the membrane as well as deterioration of sealant such as cracking or peeling. If the seals look dubious, or you see damage to the roof membrane, you’ll need to seal it up for the winter with the appropriate lap sealant.
4. Wash the Exterior of the RV
Use a bucket with your favorite RV wash solution and a telescoping soft wash brush to wash all exterior surfaces of your RV, beginning on the roof. Gently clean the roof from front to back in three-foot by three-foot sections, rinsing as you go to avoid a build up of slippery soap suds. (Be sure to watch for tripping hazards.) Once the roof is washed, rinse it thoroughly.
Back on the ground, and wash and dry all four sides of the RV with a fresh bucket of sudsy water and a soft brush. Use a microfiber mop or soft absorbent cloths to dry as you go.
5. Wax RV Exterior Sidewalls
Waxing your RV before winter will protect it from UV rays that can cause its exterior finish to go from glossy to chalky. RV spray wax sprays on, wipes off and buffs up beautifully, making it easy to keep your RV new looking.
6. Lubricate Locks and Hinges
Lubricating your locks and hinges now will ensure that they’re working when it’s time to go camping. Using graphite spray lubricant or a silicone spray lubricant makes it easy to keep these parts operating quietly.
7. Set Up Rodent Deterrents
Mice and rats view RVs as safe, cozy places to spend winter, and raise families. As you might image, they generally make a mess. There’s nothing like opening up your RV in spring, only to find that these miniature squatters have been making themselves at home all winter.
When it comes to rodents, it’s always best to prevent a problem than to deal with one. Rodents don’t like to take chances, so deterrents like peppermint oil, motion-detecting lights, and ultrasonic plug-ins are often enough to convince rodents to move along and seek accommodation elsewhere.
8. Winterize Your RV Plumbing
Water left in the tank or plumbing of your RV will freeze over the course of winter. To prevent damage to your plumbing system, you need to empty all the water out of your water lines and either replace it with air or RV specific antifreeze. Here’s what you’ll need to do.
- Disconnect from city water.
- Empty and flush black and gray RV holding tanks.
- Drain the freshwater tank using the freshwater drain located beneath your RV.
- Empty the freshwater pump and water lines by turning on the water pump and opening a faucet, using a bucket in the sink to catch water. Continue emptying until water stops coming out of the faucet. Turn the pump off.
- Locate your RV’s low point drains and open them to drain out any remaining water in the plumbing system.
- With the low point drain still open, drain the hot water tank by releasing pressure using the pressure relief valve and then unscrewing the plug or anode rod.
- Blow out the water lines using a blow out plug inserted in the city connection and a low pressure (20 psi) air compressor. Continue until no more water comes out of the RV low point drain.
- Move the blow out plug to the black tank flush valve. Use low pressure air (20 psi) to blow any remaining water in the black tank waterline into the black tank.
- Cap the city water and black tank flush inlets.
- Locate the hot water tank bypass valve, and close it to prevent antifreeze from getting into the water heater.
- Locate the water pump and replace the waterline with an RV antifreeze siphon line. Insert the end of the siphon hose into a jug of food safe RV antifreeze.
- Turn on the water pump and go outside and make sure antifreeze is coming out of the low point drains. Then close both low point drains.
- Inside the RV, turn on each faucet until pink antifreeze comes out. This includes the interior and exterior showers and the toilet too. Leave some antifreeze in the bottom of the toilet bowl.
- Remove the siphon hose from the RV antifreeze bottle and allow the pump to drain it completely. Remove the siphon line from the water pump and turn the pump off.
- Pour antifreeze down each drain to get antifreeze into each drain’s P-trap.
- Remove and store house batteries in a warm, dry location.
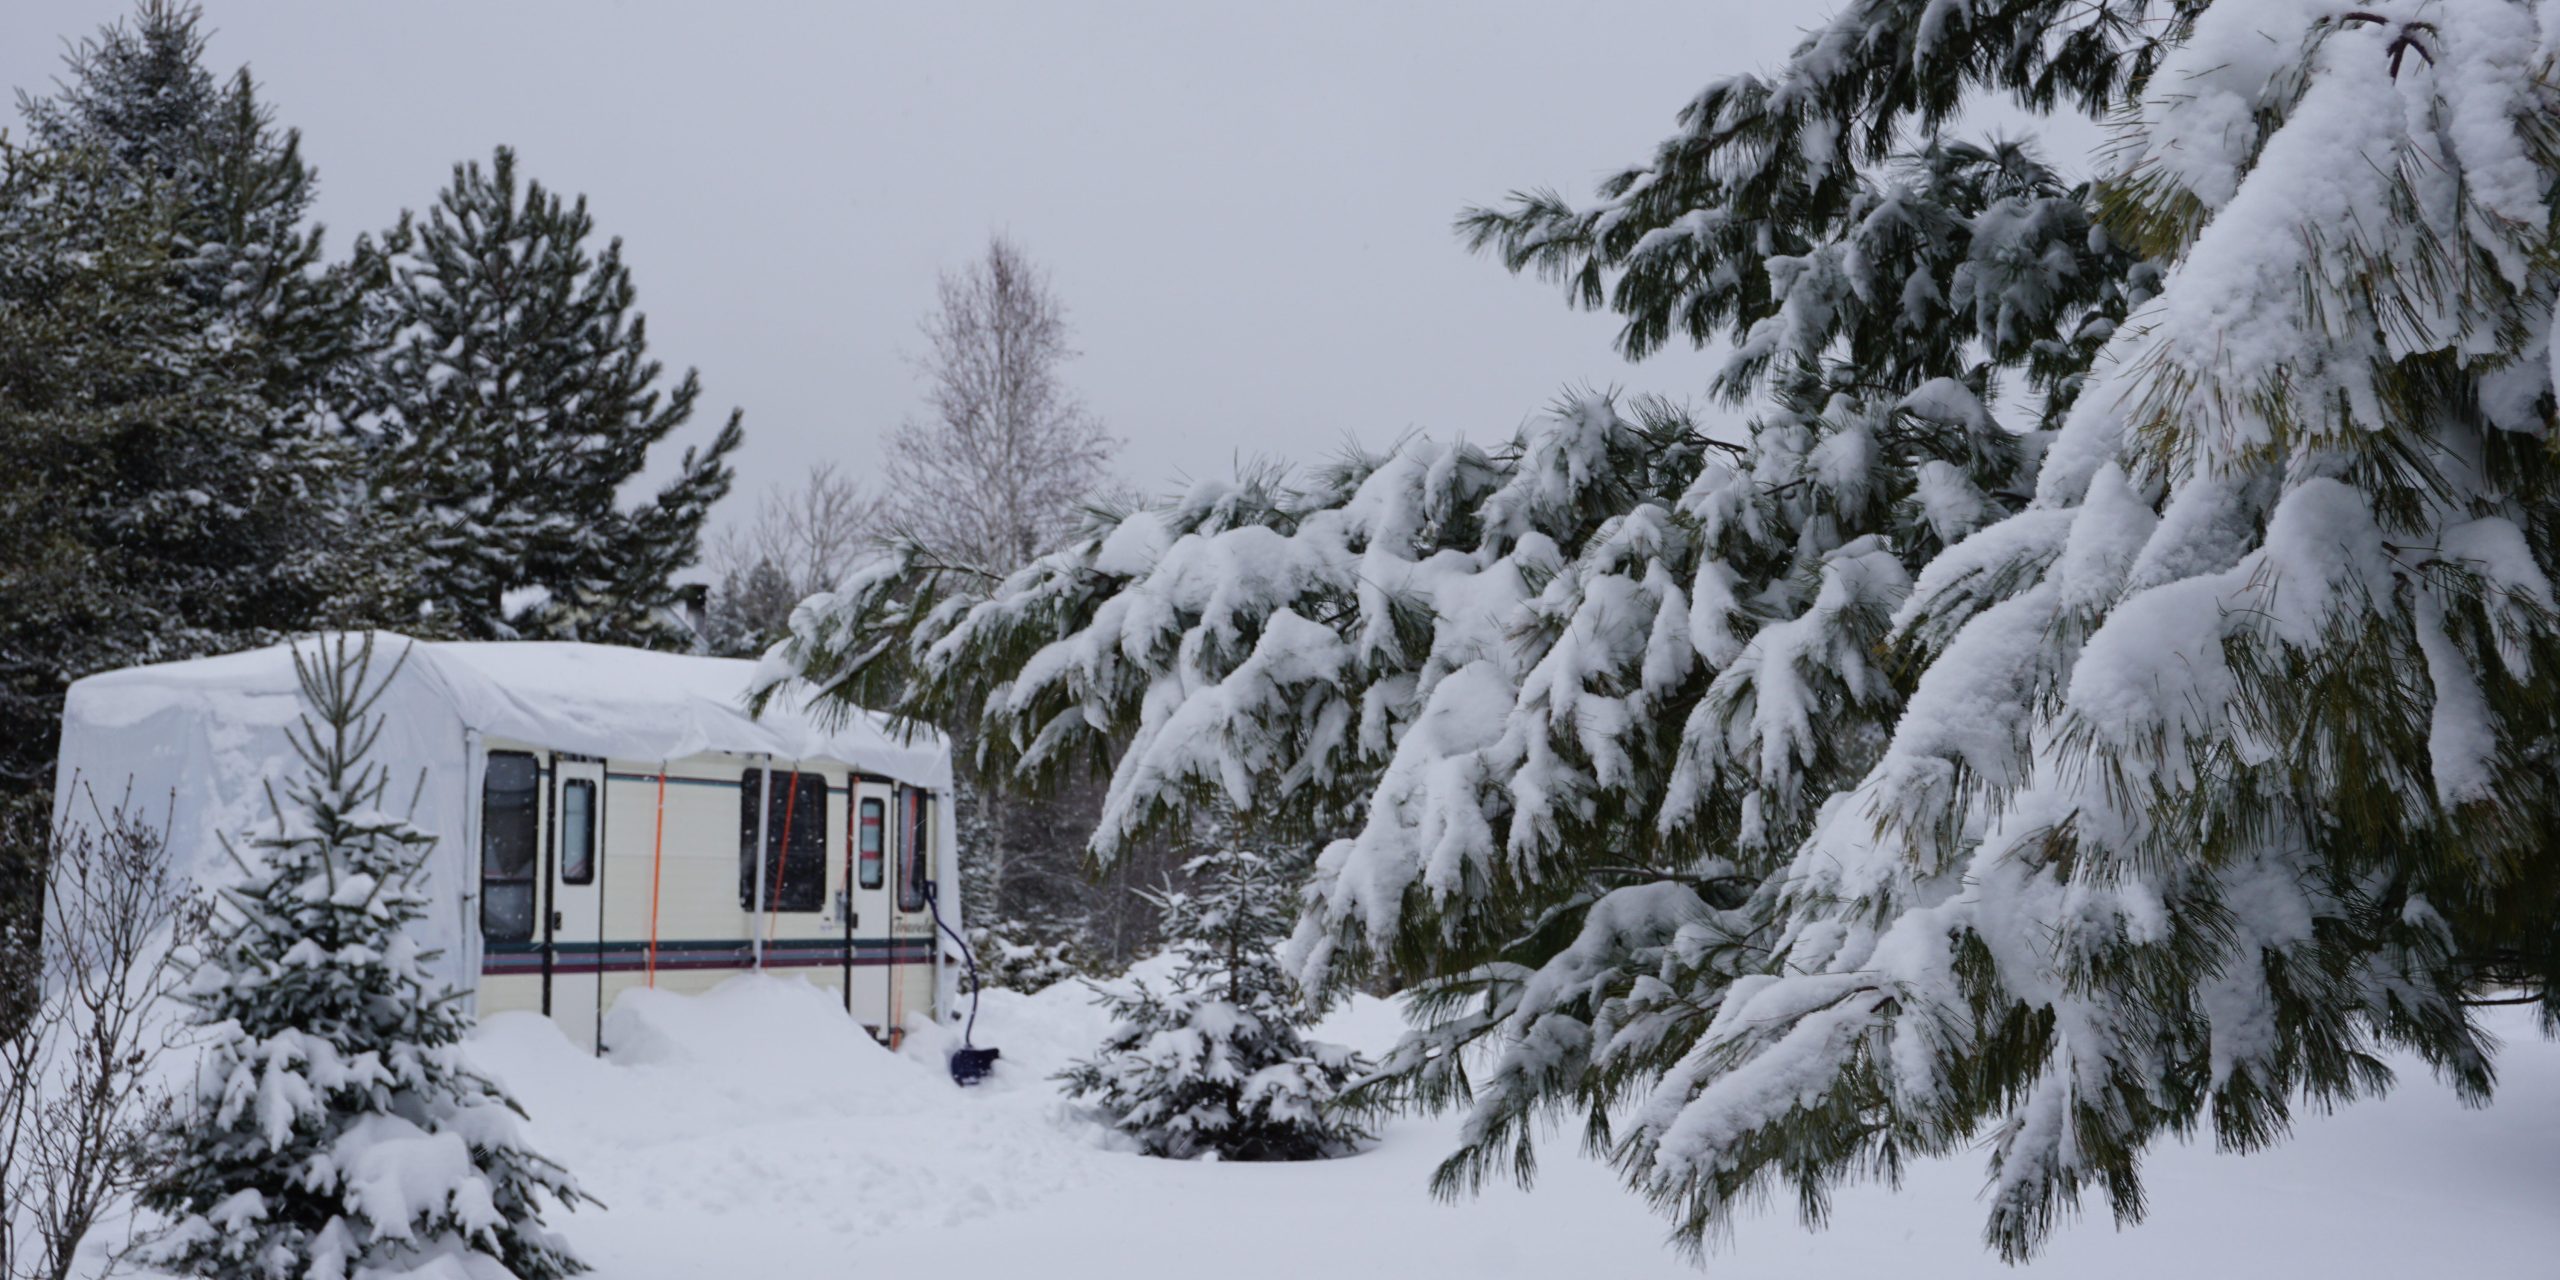
- Store your RV in an RV shelter or cover it with an RV cover to protect it from winter weather
RV Winterization Wrap-Up
RV winterization is really the final part of the camping season. While most RV dealers welcome the job of winterizing RVs, it’s an easy DIY for most people. Looking after the exterior and interior components of your RV will help to ensure that it’s ready for the next camping season and many more to come.
Leave a Reply