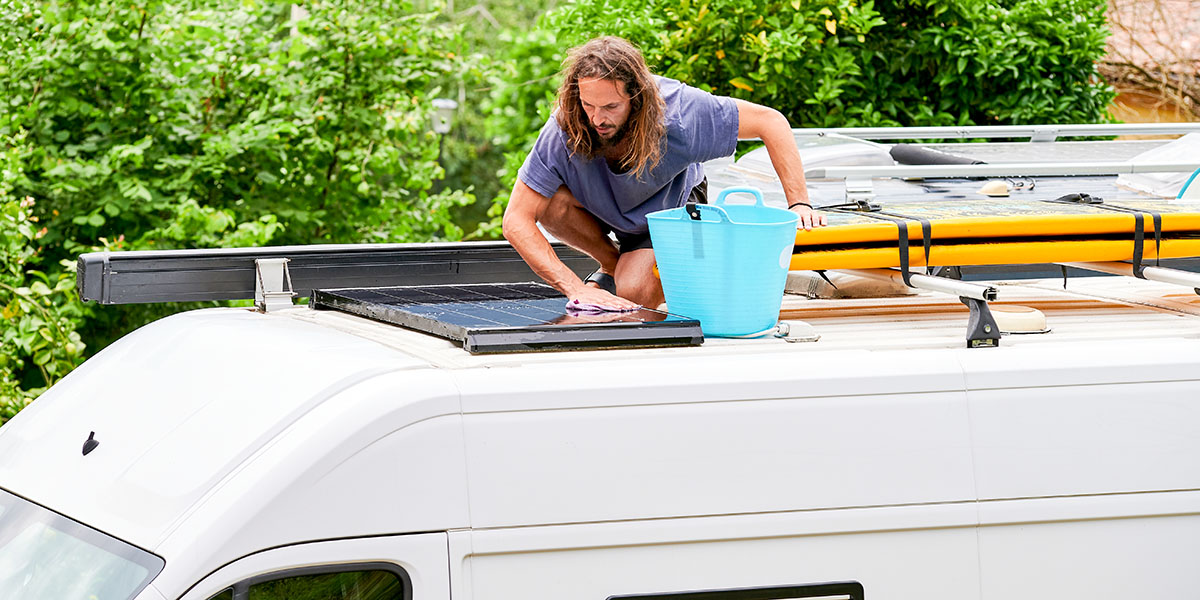
It’s that time of year. Many RVers are beginning to make their plans for the season. Of course, that starts with going outside and spring cleaning your RV — an unenviable yet necessary task. So, we thought we’d share some of our best tips for spring cleaning your RV. That way, you can get the dirty work done and let the fun begin as the weather warms up.
In spring cleaning your RV, though, you’ll also find that it gives you a great opportunity to reevaluate the things you’re bringing with you. (And, perhaps, replace some of the items that don’t make the cut. Or, even better, sometimes leave some things behind.)
So, let’s get started!
Start with a Clean Slate
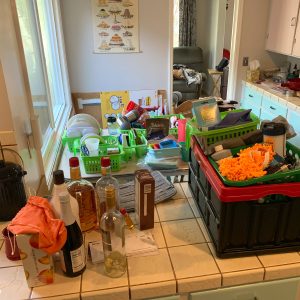
In personal practice, the first thing we do when spring cleaning the RV is to literally empty out the entire RV. Yes, all of it. (If you haven’t already done this in winterization, that is.) We pull everything off every shelf in our travel trailer. The we put those items in totes and boxes.
As we do this, the boxes get labels. And, to facilitate that, we get a roll of Post-It® Labeling and Cover-Up tape. Essentially, this is a Post-It® note on a roll much like other tape. And it’s really convenient for this task. Like a traditional Post-It note, this comes off without leaving a mess, and, being in a roll, you can use as much or as little as you need. This makes it easy to remember what’s what and what goes into which cabinet. In our case, we also label the cabinet doors with this stuff since it doesn’t leave any permanent reminder of your cleaning efforts. That way box A-1 matches cabinet A-1.
Naturally, as we empty the trailer, we realize that many of the items just hadn’t been touched in a while. (That’s a clue.) For example, at one point, we thought it would be funny to have pink flamingo wine glasses. But, quite honestly, they never got used. (Like not even once.)
Realizing that creates an opportunity for things like donations. I am always really surprised by just how much stuff manages to find its way into our donation box.
Clean Up and Wipe Down
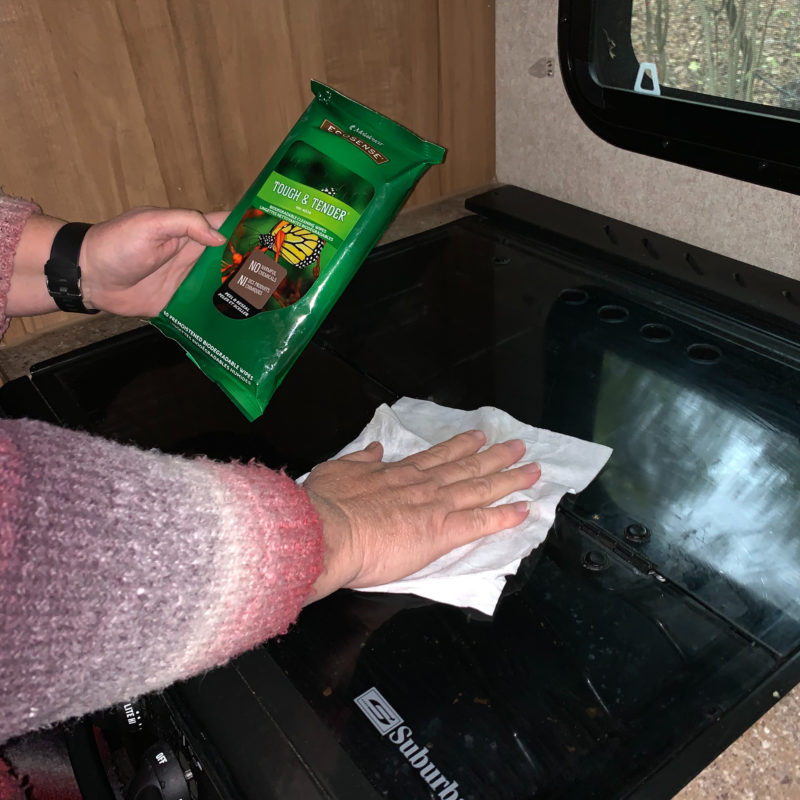
Once all the shelves and drawers are empty, we take our shop vac and clean out the entire trailer. It’s amazing how much dust and grime end-up inside the trailer. But, really it’s a good thing, because we also use our rig quite a bit. So, it makes sense that dirt is one of the souvenirs we collect on the road.
With the shelves and drawers empty, and after being vacuumed, this also gives us the opportunity to wipe down the whole interior as well. It’s wonderful how refreshing the RV seems after this exercise.
Do the Extra Checks
Faucet Filtration
While going through the shelves and drawers might be obvious, this is also a good time to take the aerators out of the faucets in your rig and give them a rinse. Many of the faucets and plumbing fixtures in your RV have tiny little screens to keep things flowing nicely. But little rocks and other debris can get caught in these over time reducing flow. On most faucets, for example, you can simply unscrew the tip and voila! There you’ll find the screen.
However, do pay very close attention to these as you disassemble them. (Because you have to put them back on.) Many of these have a certain way that they go together to optimize flow and performance. Putting them back together correctly is the key to optimal water flow. I just take them apart carefully (it’s really easy), rinse them out in the house, and put them back together the way they came apart.
There are likely screens in the places where hoses attach to the outside of your rig, too, that might need a little rinse.
Mattress Moisture
Another place many RVers don’t consider —surprisingly — is under the mattress. RVs can be sources of pretty significant moisture. In some cases, that moisture can collect under the mattress. I like to lift the mattress and just make sure it’s dry under there.
If your RV has an issue with condensation developing under the mattress (which isn’t unusual in smaller rigs), you might consider something like a Froli Sleep System. This is like a plastic sheet of little springs that raise the mattress off the platform. The interesting thing about these is that you can get various firmness levels to the springs. So, you can also adjust the comfort of the mattress when you install one of these. In addition, you could literally create firmer or softer parts of the bed. Many RVers have told me that they simply put one of these Froli systems under their stock RV mattress and that it makes things pretty comfortable.

Reorganize and Refresh
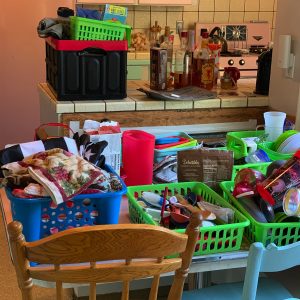
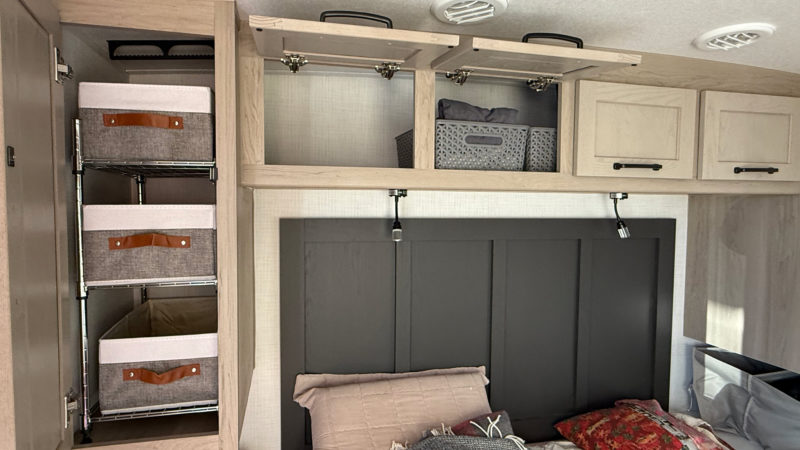
Once all those things have been taken out of the camper and it’s time to put them back, consider changing how they’re stored. My wife, who’s very good at storage hacks, measured out the various cabinets and storage closets. Doing so, she found clear plastic containers — such that everything that’s in there now is in one of those. This does a couple of things. First, it stores those items well. Second, it makes them easy to take out.
You can get that can of SPAM that’s at the back of a cabinet or just reach the bread more easily. Whatever suits you. But I like how nice everything looks too. And these individual clear plastic storage totes also just look good and keep things from shifting too much.
I also put together one of those shelving units that my wife found for each of the closets in our bedroom. Then we put soft totes in those closets. So, now they’re better organized. Further, we can take the totes in and out as we come home. That means we can load them in the house and just carry them to the RV.
There are also baskets in the overhead cabinets for the same reason.
Another benefit to bringing everything out when spring cleaning your RV is that you can run all the silverware and containers in the camper through a home dishwasher. For us, we do our best when we’re out on the road, but the dishwasher at home just does a great job. So, this is an excuse to run it all. Emptying things out when spring cleaning your RV also gives you the chance to wash the bedding and towels — all the soft things that normally live in the camper.
Repeat the Process Outside
After we empty all the inside and clean and put everything back in a better-organized form, we do the same for the storage bays outside the RV. It’s really shocking how disorganized those outside storage bays get. So, once everything is out, it also gets reevaluated.
So, nope: We don’t need three separate sets of wheel chocks. Nor do we need four water hoses. (Three will do.) And that kind of stuff on repeat.
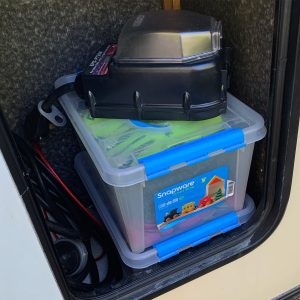
Taking all the items out of the storage bays on the outside of the rig allows you to do the same thing as the inside of the rig — improve your storage tote game. (Except the ones we place in the outside compartments are those black-and-yellow mini tubs.)
Being a nerd, I also put labels on all the totes that make the cut back inside the RV. So, there’s one tote with the air compressor. One with a power drill. Another with lanterns — that sort of thing. (It’s really easy to remember what’s in which tote when they have labels on them.)
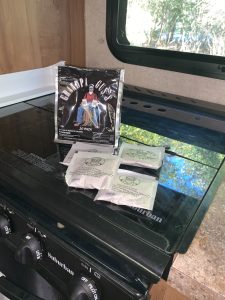
Another thing we do is replace the rodent repellant in the rig twice a year. We happen to like the Grandpa Gus rodent repellant. (It has served us very well for quite a few years.) When everything’s out of the RV, and the rig has been vacuumed, we then replace the pouches of rodent repellant, which make the rig smell good to us but, theoretically, not to the varmints.
Double-Check Seals and Stuff
Sealing the Deal
While we clean the rig, we also inspect all the seals and other breaches on the outside of the RV. You’re supposed to inspect all the seals on the RV every 90 days — and we do — but this is one of the seasonal reminders that it’s time to do this task.
I don’t know of any RV that doesn’t recommend inspecting all the seals on the exterior of the rig. While I’ve never had to mitigate a failing seal, it’s still best practice to know what condition they’re in and resolve any questionable seals. Think of anywhere there’s a hole in the sidewall or roof of the RV and know that there’s a flexible sealant there.
These are the things that need routine inspections.
You might also inspect any propane appliances to make sure that there aren’t nests or other blockages to safe operation. If they look clean in the business end of the appliance, they’re likely performing properly. But many spiders, for example, love the odorant that’s in propane and build webs which can actually cause the appliance to not operate properly — and potentially even become a safety hazard.
Inspecting Appliances
I also use the shop vac to clean out all these spaces so they look clean again. Propane appliances that are free of dust and webs operate more efficiently and more safely.
If your water heater has an anode rod, you likely removed that when you winterized your RV. If you notice that it’s deteriorating, that’s normal. But it’s also where those little rocks might come from in the faucet aerators.
Since it’s out and easy to look at, see if your anode rod is still usable, or if it’s time for a new one. If there is some wear on it, that’s just normal. It’s a sacrificial element to keep the water heater itself from rusting away. I have a picture of a new one and one that is, truly, completely used-up.

Bonus Tip: Maybe Freshen Your Spice Rack
I’ll leave you with this last tidbit. I love to cook. (You know, because cooking meanseating!) So, I have a set of spices just for the RV. Spring is when I go through those and freshen them up. Spices do age out and the temperature challenges that are the inside of an RV plus the vibration on the road can compact them.
If you have little bottles of compacted powder instead of spices, it might be worth replacing those with fresh spices.

Final Thoughts on Spring Cleaning Your RV
It’s really refreshing to have your RV well-organized, smelling great, and looking good too. (It makes you want to get out there!)Doing the dirty work prepares you for another season of adventures and doing your best to disorganize the rig, which means that it’ll also be so much easier next spring.
Leave a Reply