Everyone knows that we live in a fast-paced world. We’re always on the go, always moving forward. Working for the weekend we can’t wait to go on the next trip. And there’s absolutely nothing wrong with that. That is unless our go-go-go attitude neglects the necessity of the stop. With the weight of our RV behind us, taking good care our our RV braking system couldn’t be more important.
Even so, you might ask: Where do I start when checking the brake system on my RV? (Not a bad question at all.)
Everything starts with identifying the type of RV braking system you own. So, let’s start by discussing the different types of RV braking systems. Then we’ll dive into preventive maintenance, checks, and what you should relegate to your local RV dealer.
3 Types of RV Braking System
Basically, you can divide RV braking systems down into a three categories: hydraulic, electrical, or air-assist braking systems. Here’s what you should know about each.
Hydraulic Systems
Hydraulic RV braking systems are usually found on RVs and campers that are smaller in size and or weight. Still, it is possible to find a hydraulic system on a larger RV. These braking systems are the most common type of braking system on small RVs, campers, and some trailers. These systems use a master cylinder and hydraulic fluid to stop the vehicle or towed rig. When activated by the brake pedal, the fluid is slightly pressurized and then moves through the lines. This causes the brakes to apply pressure on the drum or brake rotor. Another type of hydraulic braking system is a surge break. A urge break is attached directly to the trailer hitch, but it operates independent of the tow vehicle.
Air-Assist Systems
Air-assist braking systems are mainly found on larger and or heavier RVs such as a Class A and Class C motorhomes. Simply put, air braking systems work in a similar way that a hydraulic braking system works. The big difference is that instead of hydraulic fluid being pushed through to activate the brakes, the air braking system pushes air through activating the brake pads on the RV through brake chambers.
Electrical Braking Systems
You will find electrical braking systems mainly on towables, like fifth wheels and travel trailers. This system can be activated by a brake controller located in the cab of the tow vehicle. Electrical braking systems also can be controlled or activated solely through the brake pedal of the tow vehicle. There, it send a signal through the seven-pin connector to the trailer when plugged in to the tow vehicle.
Auxiliary Systems
Also, as a sidenote on brakes, these three systems are only the main categories of RV braking systems. But there are auxiliary braking systems that augment the main braking systems of an RV. Among the auxiliary systems are things like antilock braking systems, transmission retarders, and exhaust brakes. However, in my opinion, checking these systems and diagnosing any type of issue during a preventive maintenance check should be left to the pros.
Maintenance on Your RV Braking System
Universal Checks
Now, let’s talk about maintenance on those brakes. If you haven’t figured it out yet, your RV is one of the largest vehicles on the road. So, it takes more time to stop — especially when you are also towing. To tackle maintenance of its vital braking system, start at the end of the system: the pads, discs, drums, and rotors. Starting here is best because regardless of the type of system you have, they are all basically the same systems at the tire. If you have disc brakes, you will have brake pads which will need to be checked on a regular basis especially before and after long trips. As a rule of thumb, I would recommend that you check them out at least every six to seven months.)
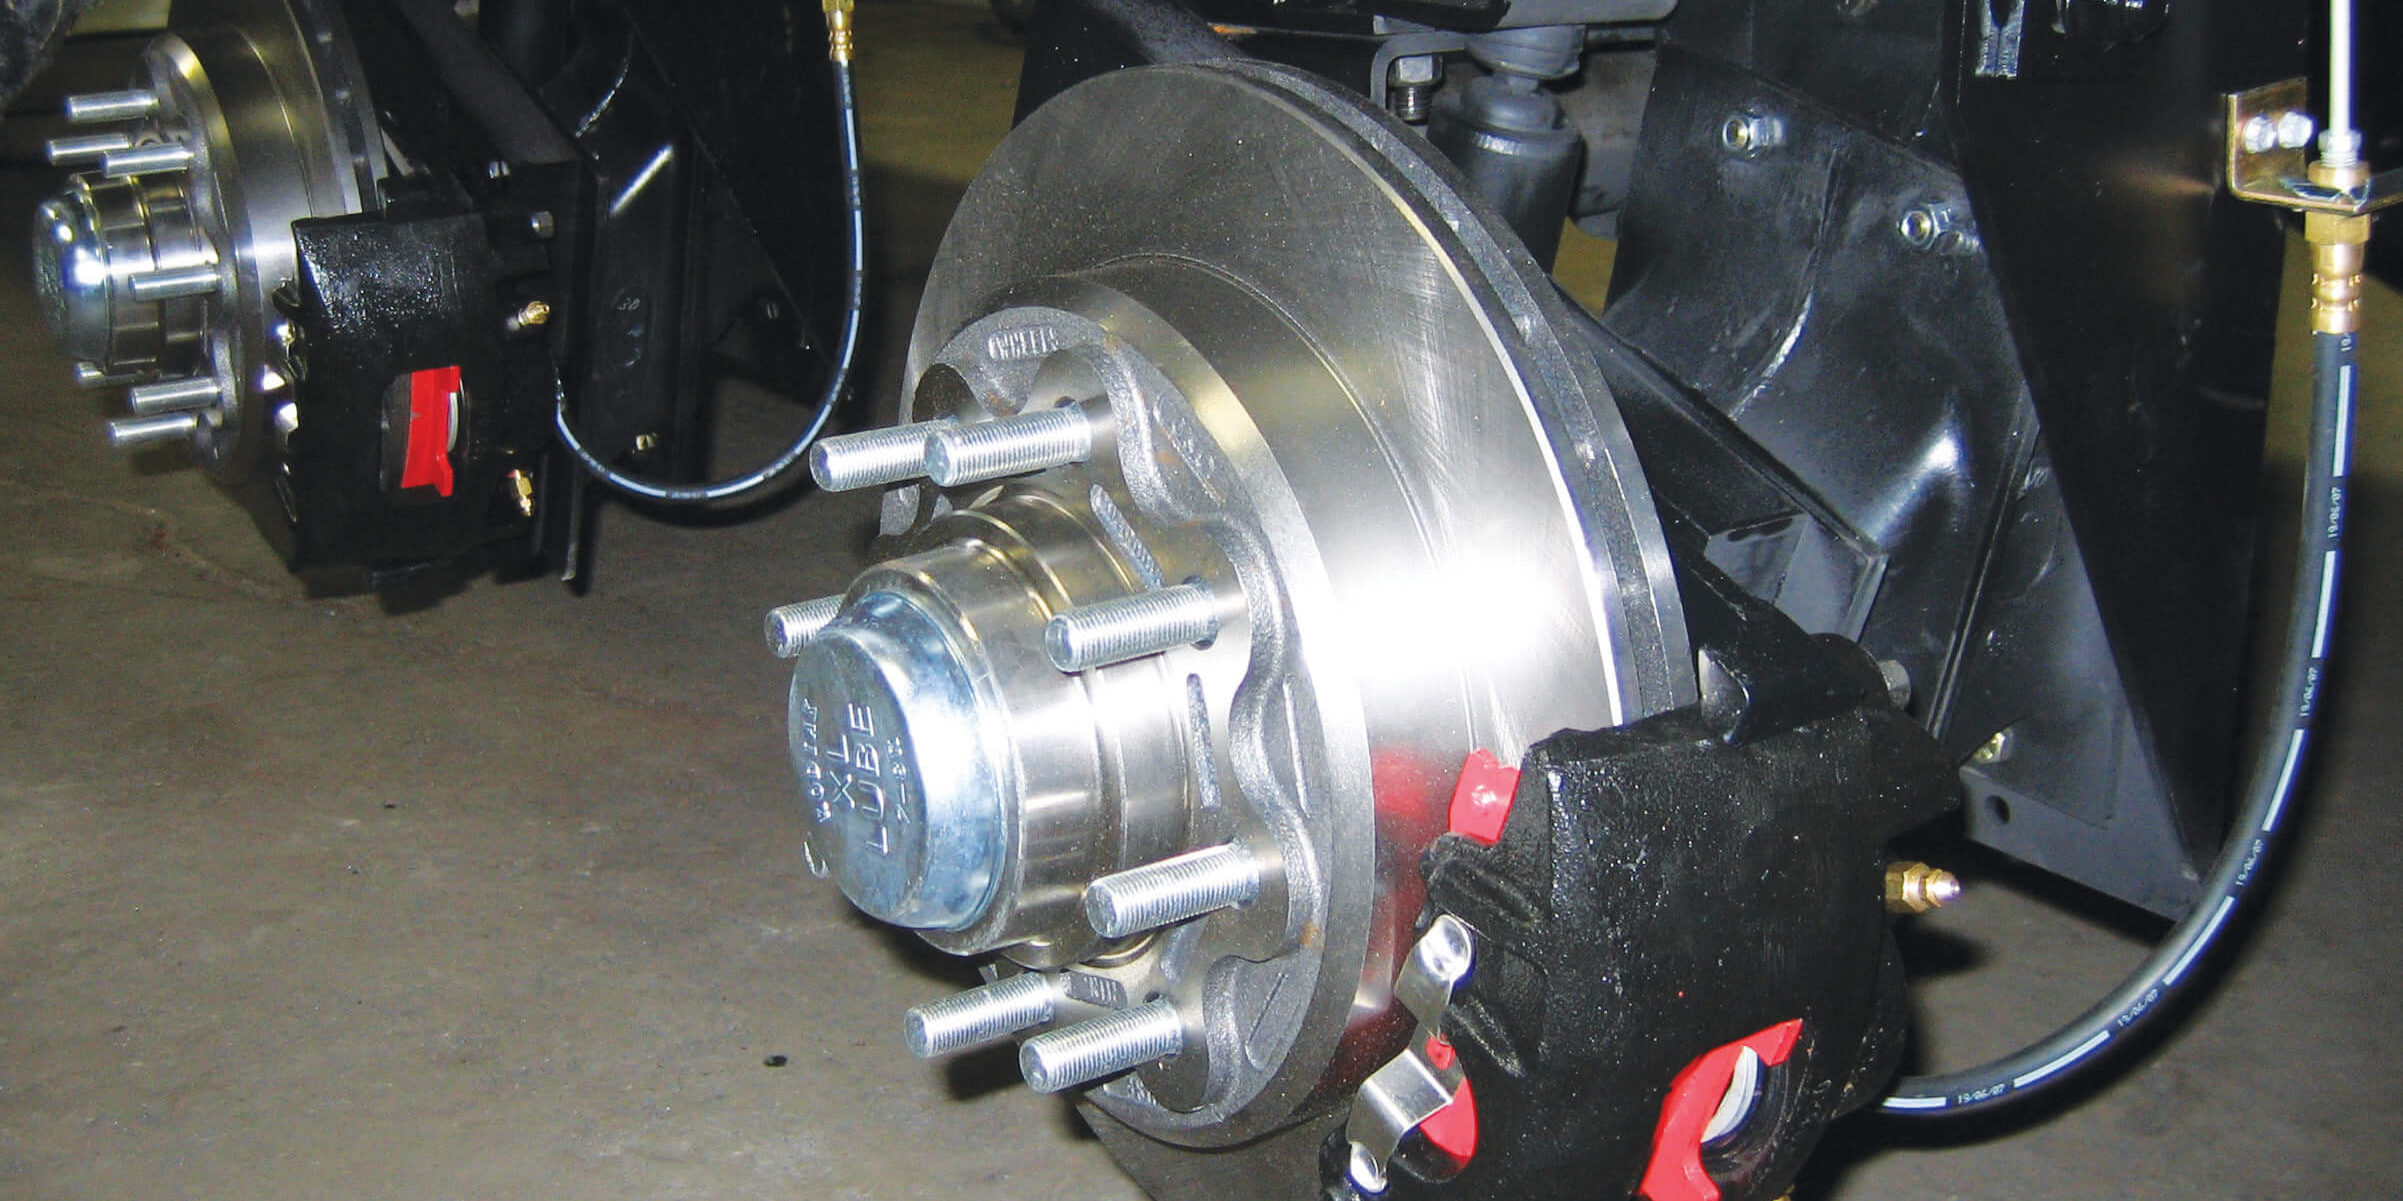
Discs, Pads, and Rotors
Many of you out there that are shade-tree mechanics. You’re pretty comfortable with the basics. If you fall into that category, you should be able to replace your own pads easily saving lots of time and money. While you’re at it, you should also rotate your rotors. In an RV, they do see a lot of wear and tear. So, it’s a good idea to rotate them at every other pad change.
Also, it is a good idea to take them periodically to your local brake shop to have them turned. While there, the pros can ensure that they are not warped or wearing non-uniformly. Your local brake shop should also be able to tell you when it’s time to replace your rotors. As a reminder, each time you turn them it takes a little bit more of the metal away from the rotor. Your local shop will be able to tell you at what point they are non-usable.
Drum Brakes
Along the same lines, if your RV has drum brakes, there are some standard checks that you will want to perform. These usually include checking the brake shoes on your drums for any deep grooves. It’s also important to check the remaining parts of the drum system — the self-adjusters, brake shoe spring holders, and cables and parts associated with the emergency brake.
Drum brake systems are usually associated with RVs of a vintage nature. Brake drums need to be turned just like brake rotors. Likewise, they have a certain number of times they can be turned before they need to be replaced. Shade-tree mechanics should be able to complete this type of maintenance as well since drum brake systems are less complex.
Hydraulic-Specific Checks
Regardless if you have drums or discs on your hydraulic or electric or air braking system, it’s good to remember that they can come under extreme pressure. At times, they can also see very high temperatures due to the amount of braking necessary. (Which, of course, may depend on the terrain or traffic conditions.) But this is especially true when talking about hydraulic braking systems. The fact of the matter is that the amount of heat and pressure does not typically affect hydraulic fluid, but. it does affect any condensation that gets absorbed overtime in the system. (A good symptom of this is when you have a soft or spongy brake pedal.)
Therefore, you should check your hydraulic brake fluid levels regularly. When you see condensation or water present (or every 10,000 miles or per your owner’s manual recommendations), completely change out your brake fluid in your entire system. Other items to inspect while you were already there are the wheel cylinders for any weeping of hydraulic fluid. Check the brake lines themselves for any kinks or leaks and any power brake booster items that depend on vacuum from the engine.
Air-Assist-Specific Checks
An air-assist RV braking system includes an air compressor, an air tank, and (in some systems) multiple air tanks or reservoirs. Added to this are brake chambers which convert the compressed air into mechanical force to operate the brake shoes or pad, a brake pedal with linkages, and brake drums, discs, shoes or pads. (There’s a lot going on here.) The compressor builds and maintains air pressure. The tanks store compressed air. And the chambers convert air pressure into mechanical force to apply the brakes. The brakes themselves will be either brake drums or disc brakes as we have discussed previously.
On a regular basis, you should drain your air reservoirs. The bad news about this system is that this reservoir that holds your compressed air also tends to collect water and oil. Ultimately, that will degrade air braking functions. (Also, it’s always a good idea good to check your owner’s manual for instructions that are specific for your rig.) Inside of this component, is also a filter which is there to collect the moisture and oil. It should be replaced about every two years. Or, if you drive more often and have further trips, it’s always good to be on the safe side of things and check your filter sooner than later.
Making RV Braking System Checks Regular
As with many other RV maintenance tasks, you as the RV owner have the capability of checking out your own braking system. It’s similar to the way you would check out your electrical system. Uses your owner’s manual to determine specifically the schedules you should follow.
However, we would be remiss to mention that many of the items in your braking systems should be checked by your local RV shop especially if you are unfamiliar with this type of inspection on your own. It’s always better to be safe than sorry, especially when you’re far from home trying to relax in the great outdoors of our beautiful country.
While both failing to brake and accelerating too quickly can contribute to accidents, failure to brake is more frequently cited as a contributing factor. Inadequate brakes can lead to rear-end collisions due to inability to stop in time. Conversely, while speeding and sudden acceleration can also cause accidents, studies have shown that faulty brakes are a more direct cause of accidents than speeding.
So, check those brakes and enjoy every stop — no matter where you roam!
Leave a Reply