Some things don’t take too long to figure out. And if you’re living in an RV, one thing you figure out pretty quick is that optimizing airflow is crucial to enhance comfort, efficiency, and overall performance. Proper RV airflow does lots of things — all which make life in your RV more enjoyable. It ensure that your rig is maintains comfortable temperatures you sert. It reduces humidity levels. And down the line, it improves the efficiency of your heating and cooling systems.
All that sounds great, right? But what’s the key to optimizing RV airflow? Buying a new A/C system? (We’ll talk about that in another article.) The truth is that while a new system can be a helpful addition, the most practical things you can do simply involve awareness and a little maintenance.
So, let’s talk through some key strategies to optimize airflow in your RV.
Step 1: Understand the basics of RV airflow.
Just to make sure everyone is on the same page here, airflow refers to the movement of air within your RV’s interior and systems. Good RV airflow helps in distributing conditioned air (either heated or cooled) evenly throughout the space. Therefore, it’s essential to understand how air moves in and out of your RV, the impact of temperature differences, and how various materials can affect RV airflow.
Step 2: Assess your current airflow situation.
Before making any changes, it’s essential to evaluate your RV’s existing airflow. Check for areas that may be obstructing airflow. Take a look at furniture placement, curtains, or other items. Also, identify hotspots or cold spots within your RV. These spots can indicate poor airflow in certain areas.
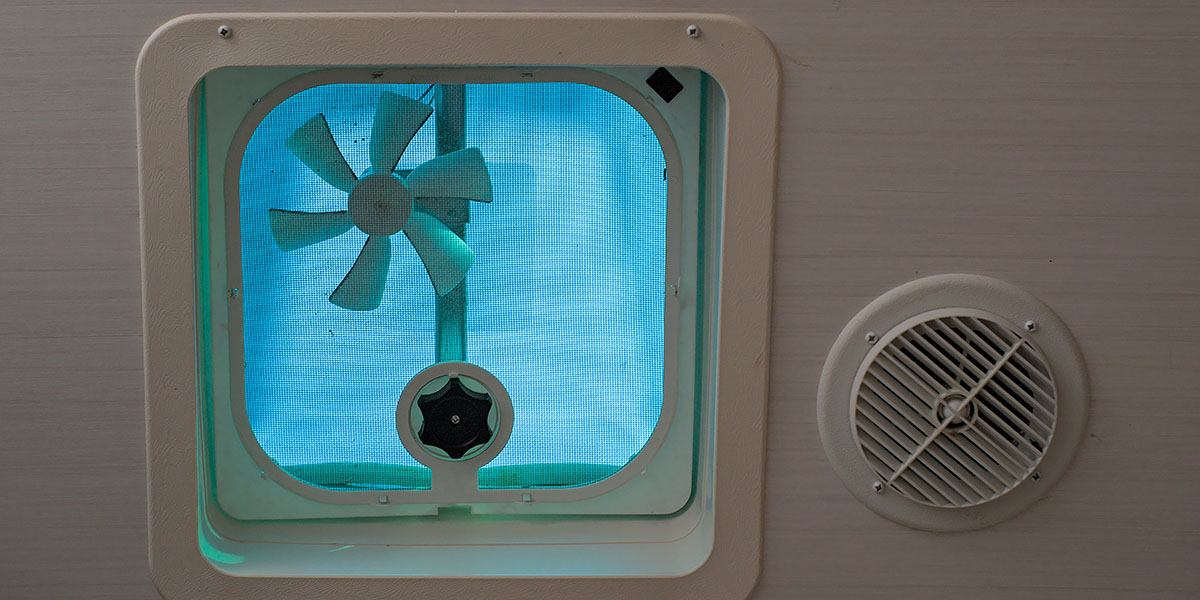
Step 3: Check your ventilation systems.
Most RVs are equipped with ventilation systems. These systems include roof vents, windows, and exhaust fans. Make sure the following systems are functioning correctly.
- Roof Vents. Install or maintain roof vents that can be opened to allow warm air to escape. This is particularly useful in warmer climates.
- Exhaust Fans. Use exhaust fans in the kitchen and bathroom to remove excess humidity and odors. These fans help in creating a negative pressure that allows fresh air to enter through other openings. Oftentimes, these fans are tiny and ineffective, and ready for replacement.
- Windows. Open windows strategically to create cross-ventilation. This allows cooler air to flow in while warm air exits.
Step 4: Evaluate your RV’s insulation.
Proper insulation is vital for maintaining a comfortable temperature and optimizing airflow. RV insulation helps to keep the conditioned air inside and reduces the need for heating or cooling. Consider these options:
- Reflective Insulation. Install reflective insulation materials on windows to minimize heat gain from sunlight.
- Insulated Window Covers. Use insulated curtains or thermal blinds to keep heat in during winter and out during summer.
- Underbelly Insulation. Ensure the underbelly of your RV is insulated to prevent heat loss and improve overall efficiency.
Step 5: Consider upgrading your HVAC system.
If your RV’s heating, ventilation, and air conditioning (HVAC) system is outdated or inefficient, consider upgrading to a more modern system. Newer units often come with better airflow designs, variable speed fans, and improved energy efficiency.
- Ductless Mini-Split Systems. These systems can provide efficient heating and cooling with better airflow control.
- High-Efficiency Air Conditioners. Look for units with a high SEER (Seasonal Energy Efficiency Ratio) rating for better airflow and efficiency.
Step 6: Optimize your air ducts.
If your RV has a ducted HVAC system, ensure the ducts are clean and unobstructed. Dust and debris can accumulate over time, affecting airflow. Consider the following.
- Duct Cleaning. Regularly clean the ducts to improve airflow and indoor air quality.
- Duct Insulation. Insulate your ducts to minimize heat loss or gain, especially if they run through unconditioned spaces.
- Duct Sealing. Check for leaks in the ductwork and seal them to prevent air from escaping.
Step 7: Place fans strategically.
Adding fans can enhance airflow and improve comfort levels within your RV. Consider these types of fans.
- Portable Fans. Use small fans to circulate air in specific areas, especially in hotter regions.
- Ceiling Fans. Install ceiling fans to help distribute air evenly throughout the living space.
- Exhaust Fans. In addition to kitchen and bathroom exhaust fans, consider adding a roof-mounted exhaust fan for additional ventilation.
Step 8: Maintain your RV’s exterior.
The exterior of your RV can significantly impact airflow. Regular maintenance can help ensure that air can move freely.
- Clear Obstructions. Remove any debris, branches, or dirt from vents, exhaust ports, and air intakes.
- Check Seals and Caulking. Inspect seals around windows, doors, and vents. Replace any worn or damaged seals to prevent air leaks.
- Aerodynamic Design. If possible, consider upgrades that improve the aerodynamics of your RV, such as streamlined hoods or fairings.
Step 9: Monitor humidity levels.
Excess humidity can lead to discomfort and mold growth within your RV. Optimize RV airflow to manage humidity levels effectively with the following.
- Dehumidifiers. Use portable dehumidifiers to reduce moisture levels in the air.
- Humidity Sensors. Invest in a humidity sensor to monitor levels and adjust ventilation as needed.
Step 10: Create a regular maintenance routine.
Establishing a routine for maintaining your RV’s airflow system is crucial for long-term performance. Regular checks and maintenance tasks include:
- Inspecting and Cleaning Filters. Replace or clean air filters in your HVAC system regularly.
- Checking for Leaks. Periodically inspect ducts and vents for leaks and seal them as necessary.
- Seasonal Maintenance. Before and after camping seasons, perform a comprehensive check of your RV’s ventilation and airflow systems.
Step 11: Optimize layout and design.
The layout of your RV can influence airflow significantly. Consider rearranging furniture or using space-saving designs to allow for better air circulation. For example, with furniture placement, avoid placing large pieces of furniture in front of vents or airflow pathways. Common sense stuff like that.
Step 12: Enjoy improved RV airflow.
Optimizing airflow in your RV is essential for comfort, energy efficiency, and maintaining a healthy living environment. By understanding the basics of airflow, utilizing ventilation systems, upgrading HVAC equipment, and maintaining your RV regularly, you can enhance the overall performance and enjoyment of your recreational vehicle. Whether you are a weekend camper or a full-time RVer, prioritizing airflow optimization will significantly improve your experience on the road.
Leave a Reply