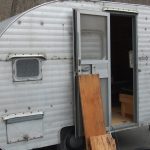
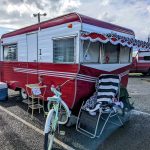
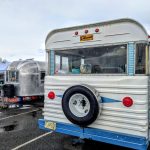
Vintage campers provide a journey back in time to the golden age of the American road trip. With sleek lines, mid-century stylings, shining exteriors, and warm wood interiors, these blasts from the past can offer enthusiasts a way to RV in style. Ranging from fully-restored treasures to models long forgotten in some farmer’s field, the price of a vintage camper can vary as widely as its condition. Very wisely, you may wonder: “Do I have the skills and interest find, purchase, and restore a vintage camper?”
Well, before you make your vintage dream purchase, let’s clarify a few things everyone who wants to restore a vintage camper should know — from technical terms to the tools and expertise required.
Renovating vs. Restoring a Vintage Camper
Renovation – Blending Vintage with Modern
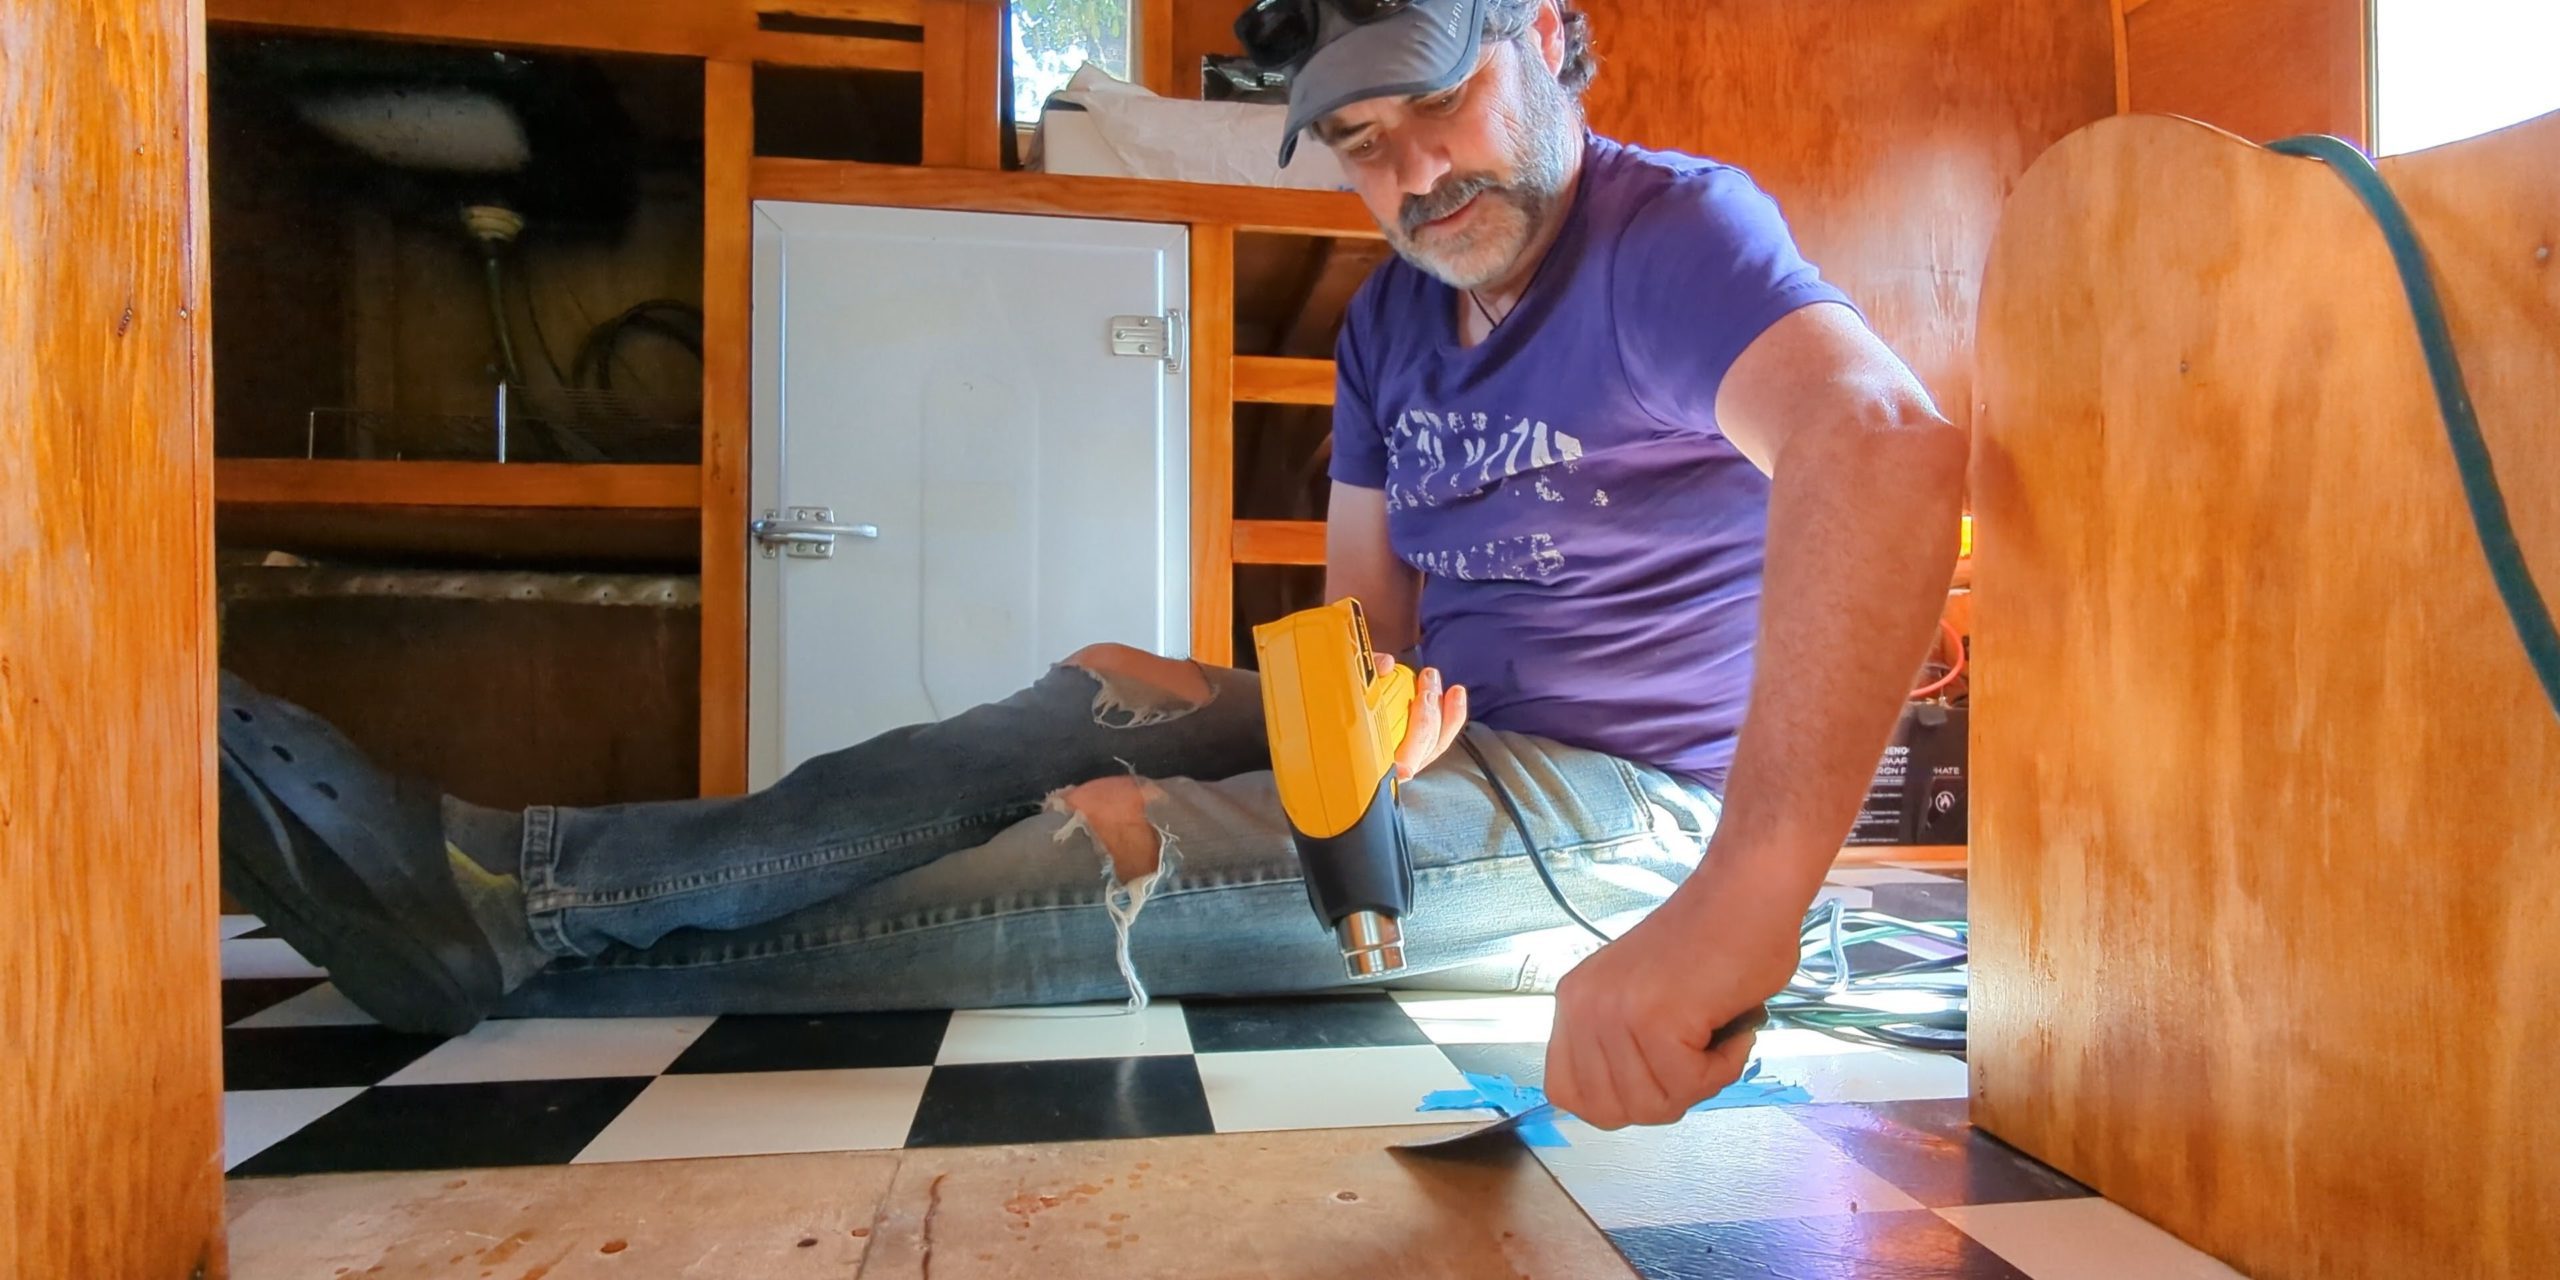
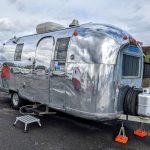
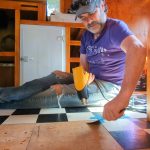
It’s important to start here, because there is a real difference between renovation and restoration. Renovation attempts to stay true to the vintage aesthetic while including some modern conveniences. With our remodel of our 1957 Sportcraft 15’ canned ham camper (aka Hamlet), we chose to renovate. That meant keeping the 1950’s era look. We went with bright interior colors, a black and white floor, original baby blue countertops, a wood interior, et cetera. But we also wanted our camper to be functional for everyday use. So, we updated some lighting, added a 12-volt fan/vent/ We also added some other modern technology, as well as introduced plenty of storage on the inside!


Restoration – Returning to the Original Condition
Alternatively, restoration attempts to bring a camper back to its original condition. Personally, following that approach would have had us scouring old magazines and online advertisements to make sure that we got the right style of gas lanterns for the inside. Or trying to source restored foldable horsehair bench seat cushions for the dinette. It is all possible, of course. You just need to decide how much time and energy you want to spend as you restore a vintage camper.
Consider your goals and how you intend to use the camper. Do you want to simply show it off at vintage camper rally weekends? Or do you want to travel extensively with it? Do you want to use it the same way you might a modern camper? Or are you dedicated to bringing an original piece of history back to life?

Understanding Throwback Terminology
Whether restoring or renovating, be prepared to get a lot of questions when you finally roll away from your driveway. Among one of our most frequent; “Hey! Is that camper old, or is it new made to look old?”
To be fair, some of the lingo we use for vintage campers sounds synonymous. (And all that is fine conversationally.) But as a buyer, you do want to have firm grasp on throwback terminology — and to verify if the term in a listing was intended that way. So, here’s some quick terminology to sort out some of the accepted definitions for older and older-looking RVs:
- Retro. New construction designed to look old (for our old friend with the question above)
- Classic. More than 20 years old
- Vintage. Made from 1946 to 1969 (the mid-century period before plastic laminate)
- Antique. 1945 or earlier (lots of different makes and models still kicking around out there … which is awesome)
Identifying the Tools — and Experience — Needed
Like anything in life, if you can dream it, you can do it! If you have done work on your house or car, you already have about 90 percent what it takes. You may need to hire out for some things, but you can probably DIY most of it.
However, realistically, if you haven’t done any construction work previously, your learning curve might be steep! So, you have a choice. Either forge ahead and learn. Or hire a restorer. (Or at the very least, make good friends with someone who has the skills that you lack. Remember, a six-pack of beer and pizza still goes a long way towards making friends.)
- Essential skills. Ingenuity, creativity, patience, and resourcefulness
- Basic hand tools. Pliers, wrenches, socket set, hammer, screwdrivers, 5-in-1 tool, cordless drill and charger, palm sander, car buffer/polisher, painting tools, caulk gun and scrapers
- Power tools. Table saw, skill saw, and chop saw
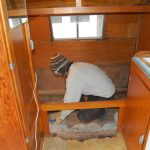
We did 95 percent of our renovation ourselves then hired out for a few things we didn’t have the time, skills, or tools to do. These included fabricating a new storage cabinet door, replacing the axle, and adding electric brakes.


Figuring Out Where to Begin
While much of this depends on the weather and the season, where to start depends on how much work needs to be done. If it’s a complete teardown, you may need to begin with the outside. But, if it just needs some updating, fixing, and polishing, you may want to start with the inside. (Because it was still winter when we started our renovation, we started on the inside first.)
Another major consideration is where you are going to do the work. We used our driveway, but wished we’d had a carport or covered area to work under as it would have made doing work in nasty weather a whole lot easier.
Finally, it’s important to do an honest assessment of the time you have available. Many newbies bite off a bit more than they can chew, leaving half finished projects sitting in their yard. It took us about six months of nights and weekends over about one and half years. Had we focused solely on the renovation project —and had not been working 60 hours per week and downsizing our home — we probably could have done it in six to eight weeks of very focused work.
Begin Again Is Your Anthem
No matter where you find your vintage camper or in what condition you find it, whether you’re going to bring it back to life, or add new modern features to an old relic, the best way to restore a vintage camper is to simply … begin. (And begin again!) Stay tuned for additional vintage camper resources and inspiration from us in the weeks to come!
Leave a Reply