Maxing out multiuse spaces is an essential part of the RV game. RVs have limited space, but in small RVs in particular, making the most of it is paramount. All of which is why RV models of all sizes frequently come equipped with Lagun tables. (Last year I saw several nicely placed in the Grech RV models I reviewed.) These tables can be mounted on any solid, vertical surface, instantly creating a dining or work area in the RV. But when you need the space for something else, a Lagun table quickly disassembles for storage. Quick and easy. Well, that is unless you have never installed, assembled, or dissembled a Lagun table before. In that case, it may be a riddle wrapped in a mystery inside an enigma. So, if you’re new to this multiuse solution, you may find yourself wondering how to install a Lagun table.
If that’s you, don’t worry. Those of use who have mastered how to install a Lagun table remember being in your shoes. (Only too well.) So, let’s dive in and get you spun up with everything you need to know about this great — if initially mercurial — product.
The Lagun Table: A Short Introduction
As mentioned, one of the virtues of a Lagun tabletop is that it can seamlessly swivel and adjust to meet whatever need you happen to have. This lets you easily move it out of the way when you need space, but you’re not ready to disassemble it yet. However, when you want a stable work surface or you’re ready to travel, the tabletop can be easily locked in place with a handle.
Lagun tables afford you the ability to create a dining area or an adjustable work surface that can be raised or lowered as needed. Upgrading your RV with a Lagun table to your RV (if it doesn’t come with one) lets you have a space that normally serves as a sleeping or lounge area become a comfortable dining table or functional work surface.
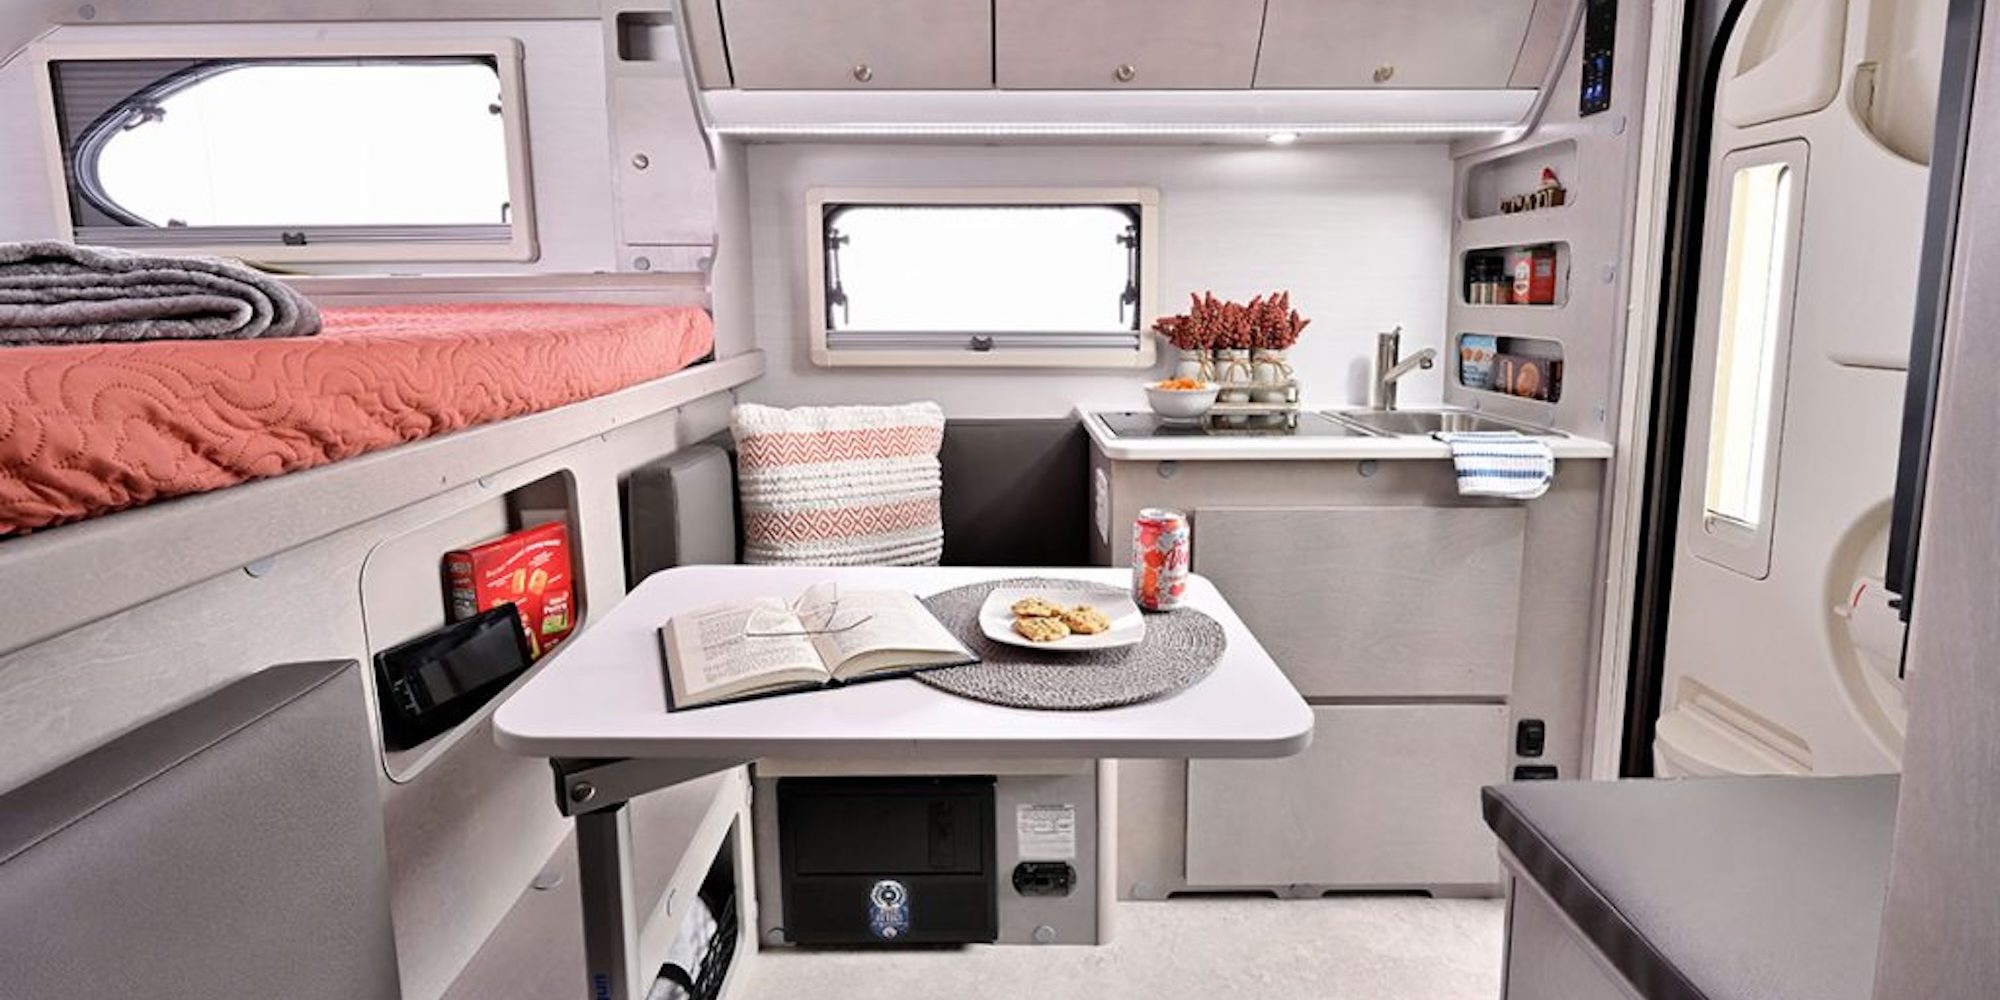
Another big advantage of this style of table is that with no pedestal, there’s more leg room under the table. In addition, when it’s time to hit the road, you have the options of locking it in place, or quickly dismantling and storing it for travel.
Versatility of Function, Improvement of Ergonomics
While this table could easily be considered a must-have for van conversions or small trailers, its versatile design allows it to be used with the existing tabletop in any RV. This makes it easier to get into or out of the dinette seating area. If you’re one of the many campers who use your RV dinette as a work surface, you’ll know that working at a computer on a RV dining table can cause neck and/or shoulder pain. That’s because most RV dinettes are designed low. One of the best features of a Lagun table is that it’s so versatile. Its vertical height is adjustable to whatever height feels best for you. This in itself can help reduce ergonomics related pain.
Where to Buy a Lagun Table
If all this has piqued your interest but you don’t yet have a Lagun table, here are a few places to purchase one: Lagun USA, Vanlife Outfitters, Expedition Upfitter Canada, and RecPro RV Parts.
How to Install a Lagun Table
Lagun table installation requires minimal skills, a measuring tape, a carpenter’s level and a cordless drill. The mounting bracket can be installed on any solid vertical surface that’s five/eighths of an inch or thicker to support the weight of the leg assembly, table, plus anything you put on the table. The Lagun leg assembly comes in several lengths. It’s important to decide which leg length will work best for your intended use before you order your Lagun kit. The mounting bracket is 7 inches high. You must have at least one inch of the leg tightened onto the bracket to ensure stability.
Lagun doesn’t include a table top with the table leg kit. However, you can use any lightweight but sturdy table top up to 30 inches by 40inches on the standard table leg kit — or up to 24 inches by 36 inches if you choose the folding leg kit. This leaves a lot of options. If you have woodworking tools, skills, and patience, it’s easy to make your own custom tabletop. That being said, a cutting board or prefabricated table top offers a simple solution for anyone who doesn’t want to make their own table top. Many RVers have found that a large wood cutting board work.
While the kit comes with detailed instructions, these are the steps for wall-mounted bracket installation.
Step-by-Step Installation
- Choose a solid vertical surface to install the bracket. Be sure there is enough clearance to allow for vertical adjustment of the leg. You may need to use a spacer to allow for clearance of dinette cushions, et cetera. (Note: The bracket is seven inches high. You must have at least one inch of the slotted leg groove tightened onto the bracket for a stable system.)
- Hold the mounting bracket in place on the vertical mounting surface, using a level to ensure it’s perfectly vertical (90 degrees) to the floor. Mark your drilling points.
- Drill four holes for included 5/16-inch bolts into surface
- Holding the mounting bracket securely in place, install the bolts.
- Install the table top on the table mounting plate.
How to Set Up the Lagun Table
Setting up a Lagun table for the first time ever can be tricky. Always loosen the handles before connecting, disassembling, swiveling or adjusting the table.
Step-by-Step Setup
- Install the table top on the horizontal arm and tighten the handle clockwise.
- Now slide the table leg into the mounting bracket and adjust the height to where you want it.
- Place the horizontal arm with the table top on it onto the pivot on top of the leg and adjust it to where it will work for you. If you’re not traveling anywhere, you might want to leave the handle in the loosened position to allow the table to swivel. The handle that allows the table to swivel should always be tightened for travel to avoid damage.
It’s important not to over-tighten the plastic handles or they can break or seize. You want the handles to be snug, but not tight.
How to Disassemble a Lagun Table
All handles on the Lagun table turn counter-clockwise to loosen. Disassembly is a simple matter of reversing the steps above.
Step-by-Step Disassembly
- Loosen the table top handle by turning it counterclockwise to release it from the horizontal arm. Remove the table top and place it in a safe place.
- Loosen the handle that connects the horizontal arm to its pivot point at the top of the leg assembly.
- Turn the handle at the bottom of table leg counter-clockwise to remove the leg assembly from the mounting bracket.
- The Lagun table is now ready to be stored in a cabinet, on a bed, or wherever works best for your space.
Conclusion
Adding a Lagun table is an easy way to create a multifunctional living space in your RV. It’s also easy to use the table in different areas of the RV, by installing a mounting bracket wherever you want to use it. This is a practical upgrade you’ll be glad you added.
Leave a Reply