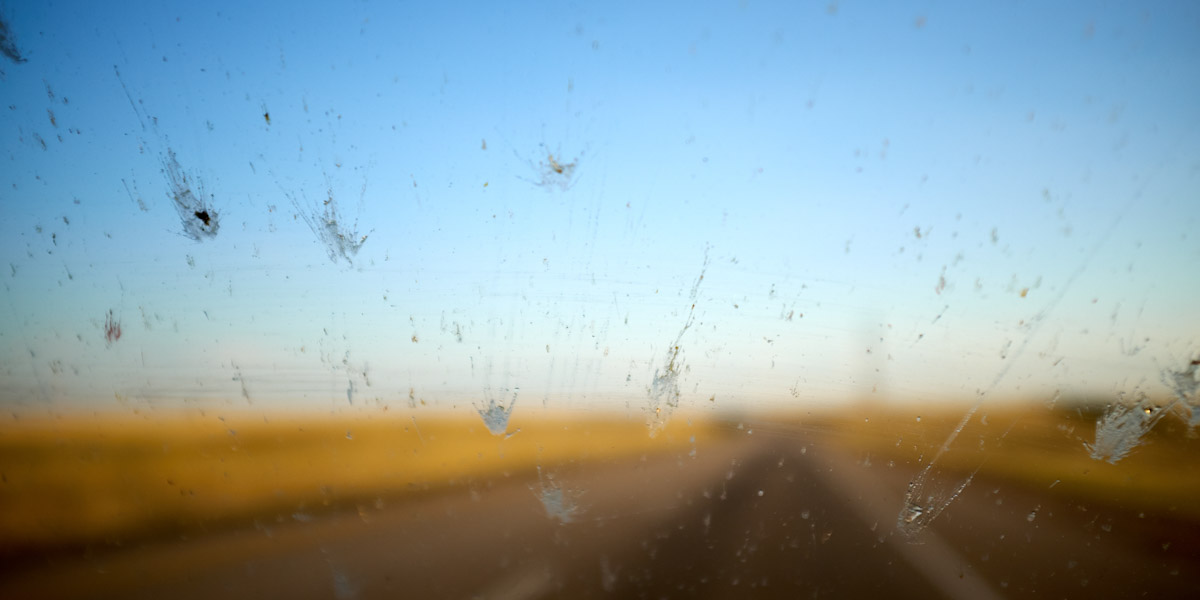
If you’ve driven more than ten minutes in your RV — especially in the warmer months — you’ve probably been gifted with a splattered windshield and bug-caked front cap. It’s one of those unavoidable realities of life on the road. (And at least for us, if feels like it is inevitable the moment you leave a truck/RV wash.) More times than we can count, we’ve pulled into campgrounds plastered with bug splatter so thick on the front of our rig, it looked like a horror movie scene.
But while bug splatter might be inevitable, leaving it there isn’t. Nor is it advisable, even for the laziest RVer. Those juicy little missiles can actually damage your RV’s finish, paint, and even headlights if ignored.
So, let’s walk through what bug guts do to your rig, how to get them off safely, and how to prevent buildup in the first place.
Why Bug Splatter Is More Than Just Gross
It’s not just about looks. Bug splatter contains enzymes and acids that start breaking down surfaces quickly — especially in the sun. Letting it sit too long can cause:
- Etched paint and decals,
- Pitted or stained fiberglass,
- Cloudy headlights, and
- Reduced visibility through windshields.
Some bugs are especially acidic (looking at you, lovebugs). And the longer they bake onto your RV’s front end, the more damage they can do.
Step-by-Step: How to Clean Off Bug Splatter
Like a new stain on a favorite shirt, time really is of the essence here. Letting bug splatter sit for days or weeks makes it much harder to remove. Here’s how to tackle it effectively.
1. Soak the area.
Start by soaking the front cap or affected surfaces with water to loosen things up. A hose with a spray nozzle or a foam cannon works well. If you’ve been driving all day, let the rig cool down before applying water to avoid streaking.
2. Use a bug-specific cleaner.
There are tons of RV-safe bug removers on the market. Look for one that’s safe for gel coat, fiberglass, paint, and decals. Apply it generously and let it sit for the recommended time — usually a minute or two.
Some RVers swear by DIY options like diluted vinegar or dryer sheets, but we recommend using products designed for the job to protect your finish.
3. Gently scrub.
Use a microfiber cloth, soft sponge, or bug sponge (not steel wool or harsh pads) to gently wipe away the splatter. Avoid circular motions that could grind grit into your paint.
4. Rinse thoroughly.
Rinse the area well to remove residue from the cleaner and loosened splatter. If needed, repeat the process for stubborn spots.
5. Wash the RV.
Once the bug splatter is off, wash your entire rig as usual. This helps remove any leftover cleaner and keeps the finish protected.
What Not to Do
- Don’t use abrasive scrubbers. These can scratch your finish.
- Don’t use high-pressure washers. Using one too close to seals, decals, or paint can cause unexpected damage.
- Don’t wait too long. The sooner you clean, the easier it is and the less damage bugs can do.
A Few Products For The Job
A quick search online shows some of the following as good options for this fun job:
- McKee’s 37 Road Kill Bug Remover – RV-safe and powerful
- Thetford Premium RV Bug Bust – Safe for fiberglass and paint
- Bug sponge with mesh wrap – Gentle on surfaces but effective
- Foam cannon (if you have access to one) – Speeds up soaking large areas
Pro Tip: Keep a basic cleaning kit in your RV’s exterior storage so you can tackle splatter at your next stop instead of waiting until you’re home.
Prevention Tips: Keep Bugs from Sticking
While you can’t avoid bugs entirely, a few strategies can make them easier to clean off:
- Apply a protective wax or sealant. The prime real estate here is your RV’s front cap and windshield. This creates a slick surface that makes bugs less likely to bond.
- Install a bug screen or bra. This is specially helpful on Class A or Class C motorhomes with large front ends.
- Use Rain-X or similar treatments. Using this on windshields to help dead bugs wash off more easily during rain or a rinse.
- Park strategically. When stopped, park with your bug-covered side away from direct sun to reduce baked-on splatter.
- Hit up truck/RV drive-through washes. These stops are your friend. We love passing through a Blue Beacon or similar truck wash made for semis, because they are usually fairly priced, do a decent job of cleaning your rig, and they apply several of the items on this list.
Pro Tip: Always ask and know what chemicals they are applying, if they are RV safe, and explain what you want and don’t want them to do. Sometimes you have sensitive electronics like a generator that you don’t want to get soaked if they do an undercarriage wash. ALWAYS KNOW YOUR RIG!!!
Buggin-Out on Bug Splatter
Bug splatter is an unavoidable part of RV life — but it doesn’t have to become a permanent part of your paint job. With the right tools and a little regular maintenance, you can keep your rig looking fresh, protect your investment, and avoid the pain of repainting or restoring damaged fiberglass.
Whether you’re prepping for your next road trip or cleaning up from your last one, a few extra minutes spent removing those buggy reminders will keep your RV in tip-top shape for years to come.
Leave a Reply