We’ve all been there: staring into the basement storage of an RV full of the wrong kind of wonder. Dumbfounded, we’re wondering how on earth we’re supposed to fit all our gear, hoses, tools, and adventure essentials into that oddly shaped, underbelly compartment. (All, of course, without turning it into a black hole of clutter.) Staring into that abyss, it helps to have some pretty solid RV basement storage ideas. You know, the kind that have been paid for with experience.
After seven years on the road, my wife and have seen and personally experienced it all — from fifth wheels (with cavernous passthrough storage that feels like a secret garage) to smaller rigs (where you have to play Tetris just to store a sewer hose). Whether you’re brand new to RVing or knee-deep in your third full-time rig, organizing and maximizing RV basement storage space can make or break your road trip experience. Because let’s face it: Needing something and not having it when your on the road is the worst.
So, let’s dig into some surefire ways to evaluate your RV basement storage — and some ideas to make the most of it.
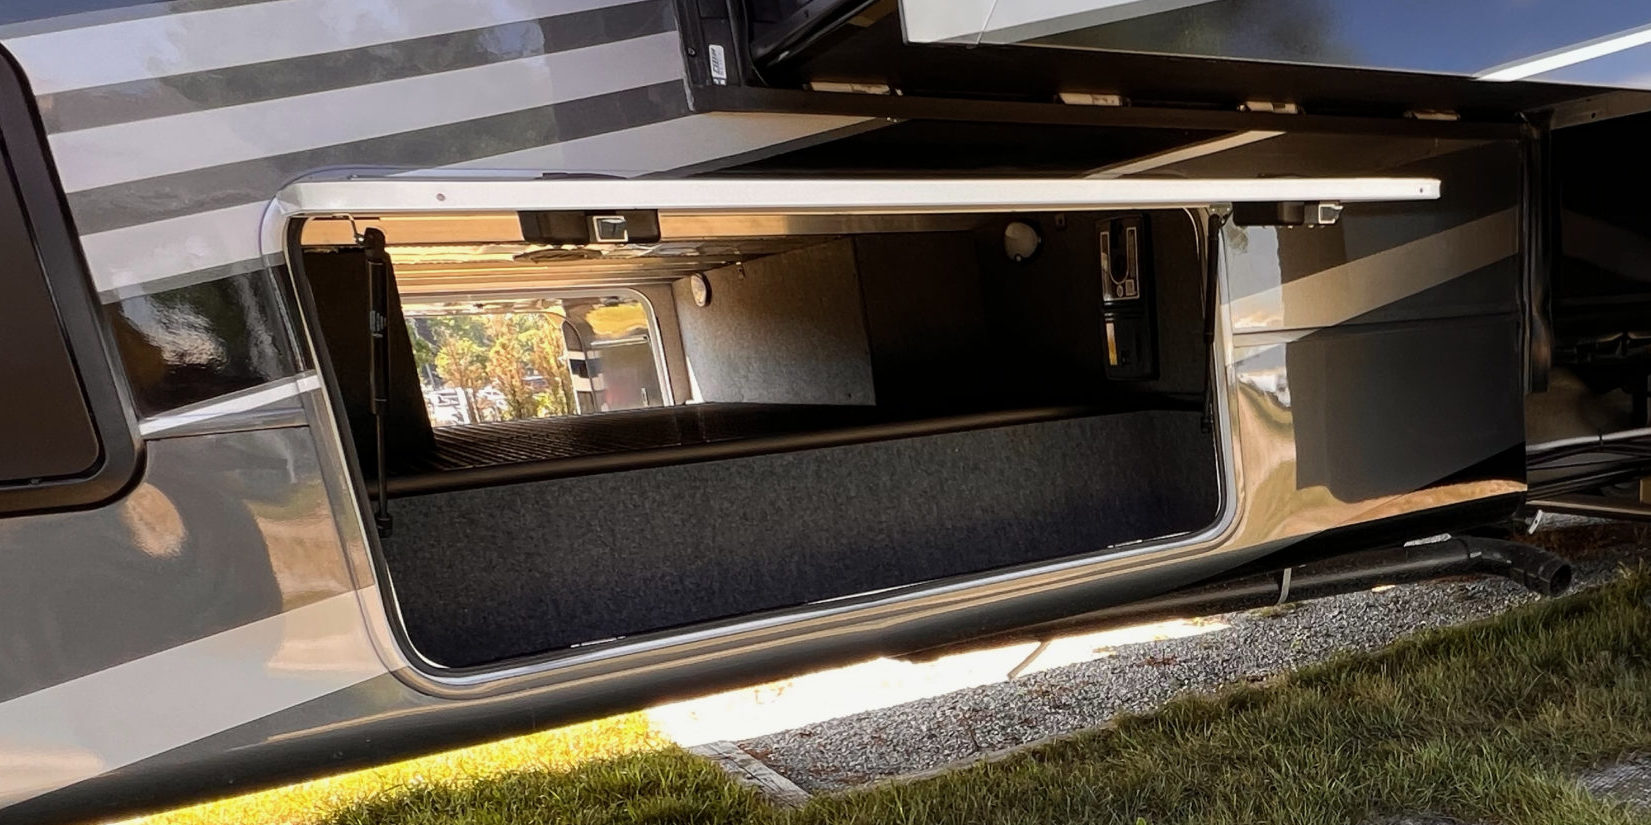
1. Understand what you’re working with.
Every RV’s basement storage is different. Class A motorhomes tend to have massive passthrough compartments, sometimes with slide-out trays or built-in lighting. Fifth wheels often have tall storage spaces up front and smaller compartments scattered along the side. Class C motorhomes and travel trailers? Usually more compact — requiring to show a bit more creativity with your RV basement storage ideas.
But no matter which RV you own, you can start by taking inventory of your actual storage size and layout.
- Is your storage passthrough or divided?
- Do the doors lift or swing open?
- Is there room to add bins, trays, or hooks?
- Are any compartments heated or insulated (ideal for sensitive gear)?
Pro Tip: Measure each compartment’s depth, height, and width — and jot those numbers down. You’ll want them handy when you’re shopping for bins, crates, or drawer systems that actually fit. We’ve definitely tried to wing it and pass by the store to eyeball a purchase and had it backfire because we were lazy and didn’t really measure. So, remember to measure twice and purchase once.
2. Sort and prioritize what lives below.
Not everything belongs in your basement compartments. So, before you toss in that folding kayak or bundle of tangled extension cords, ask yourself a few questions:
- Do I need quick access to this item while traveling?
- Can this safely ride in the tow vehicle instead?
- Does it need to stay dry, cool, or protected from dust?
We break our storage down into categories:
- Travel day gear: Hoses, leveling blocks, wheel chocks, gloves
- Camp setup/teardown supplies: Outdoor rug, camp chairs, grill
- Emergency items: Tool kit, spare fuses, jumper cables, first-aid
- Outdoor fun: Paddleboards, hammocks, hiking gear
- Seasonal storage: Extra blankets, off-season clothing, holiday lights
Pro Tip: If it hasn’t been used in three trips, it probably doesn’t need to ride along.
3. Use bins — and label everything.
We’re not exaggerating when we say plastic bins changed our storage life. Not only do they keep everything tidy, but they also make it easier to unload and reload without digging through a pile of chaos. Choose stackable bins with secure lids and handles — ideally clear, so you can see what’s inside.
Label each bin clearly, and group them by frequency of use:
- “Daily Use” bins go in front and are easiest to reach.
- “Occasional Use” bins can live in the back or bottom.
- “Emergency” gear stays accessible at all times.
Pro Tip: If you don’t want to label and you have a decent memory, color-coding your bins can help with organization. Personally, we try to separate specific and similar items in different storage locations and keep them in those clear bins. It makes grabbing what we need when we need it that much quicker.
4. Maximize vertical and wall space.
You’d be surprised how much space you’re not using in your basement — especially on the walls and ceiling of the compartment.
A few smart upgrades:
- Command hooks or bungee cords for hanging hoses, folding tables, or lightweight tools
- Magnetic strips for metal tools or objects that can bang around if they happen to move or fall of while traveling a crazy off-road adventure.
- Overhead cargo nets or fabric shoe organizers to hold smaller items
- Sliding trays or roll-out platforms (if your RV didn’t come with them)
These can turn even the tightest space into a functional mini-garage.
Pro Tip: If your storage compartments aren’t lit, consider battery-powered puck lights or LED strips so you’re not fumbling in the dark or using your phone light.
5. Watch the weight distribution.
It’s easy to get excited about how much gear you can fit, but don’t forget to keep an eye on your RV’s weight limits — and how that weight is distributed. Too much in one area can throw off your balance and handling, especially if you’re towing.
Use a simple bathroom scale to weigh bins before loading, and spread the heavier items across multiple compartments. Keep especially heavy stuff low and centered to maintain your rig’s balance.
Pro Tip: Keep your RV’s GVWR and axle ratings on hand, and use a CAT scale or similar weigh station to check your setup if you’re unsure.
6. Keep dirty and clean items separate.
This may seem obvious, but it’s a mistake most RVers make at least once: Storing your sewer hose with your leveling blocks or outdoor rug … that’s not great.
Designate one bin (or more) for “dirty gear,” and keep it separate from anything you want to stay clean. We use a dedicated clear and black bin for sewer and dump-related items so they don’t contaminate anything else.
Pro Tip: Use sealable containers with latching lids for anything that might leak, smell, or drip. Thank us later.
7. Don’t overthink it — but do reevaluate often.
RV life changes with the seasons, and so does your storage. You might need snow chains and flannel sheets in December, but come July, those can get swapped for sandals and beach umbrellas.
Set a reminder to clean out and re-organize your basement every couple of months — or before each major trip. We’ve done the mid-trip storage purge more than once, and it’s way better to do it when you’re not hot, tired, and surrounded by mystery extension cords.
Your Basement, Your Rules
Maximizing RV basement storage isn’t just about organization or ideas — it’s about convenience, safety, and peace of mind on the road. The right system can mean the difference between a relaxing travel day and digging through three bins of mismatched gear just to find a wrench.
At the end of the day, your basement setup should serve your travel style. For us, boondocking most of the time means we keep essentials like our water gear, extra power cables, and backup leveling supplies ready to go — but when we do hit a campground for a reset, we’re glad to have an outdoor rug and folding chairs tucked away, too.
So, whether your storage space is a cavern or a closet, make it work for you. And if you ever find yourself asking, “Do I really need to bring this?”— you probably don’t.
But don’t worry, the fifth bungee cord always sneaks its way back in anyway. And oh is it satisfying when you use it.
Leave a Reply