Let’s face it: Lighting doesn’t always get the attention it deserves when it comes to RV improvements. An upgrade in RV lighting is not as flashy as a new solar setup. And it’s not as exciting as a remodeled kitchen. But good lighting quietly affects nearly everything you do on the road — from cooking and cleaning to working, reading, or just relaxing after a long day.
If your current lighting setup feels a little dim, disorganized, or outdated, it might be time for a refresh. The right upgrades can help your RV feel more like home — and in many cases, they’re much easier (and more affordable) than you’d think.
Here are five practical and worthwhile ways to upgrade your RV lighting, both inside and out.
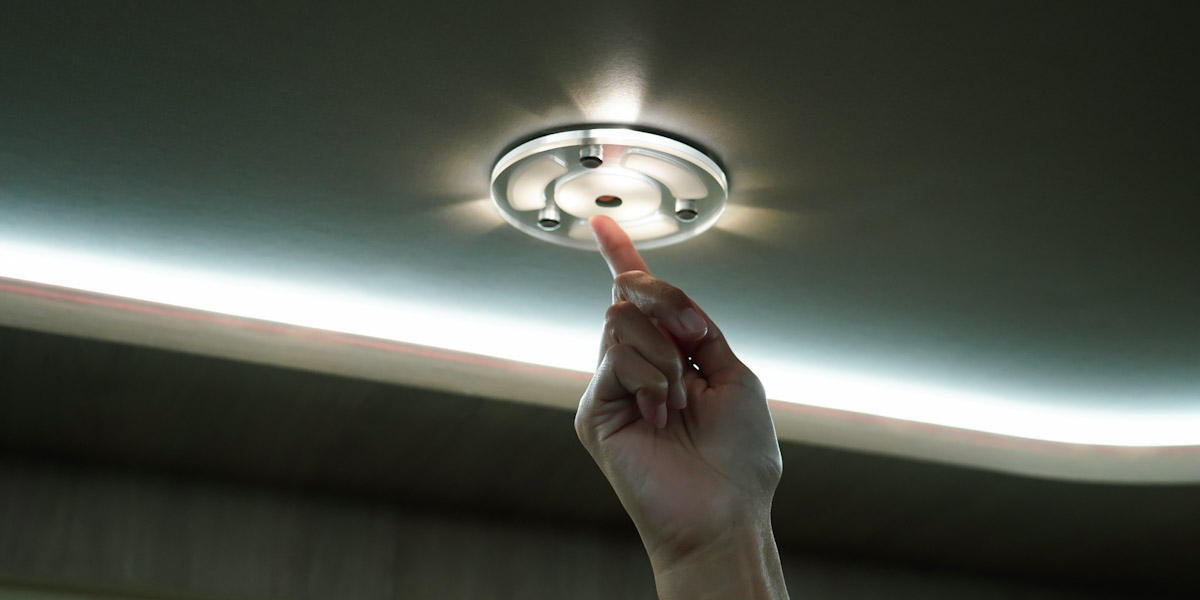
Tip No. 1: Make the switch to LED (if you haven’t already).
Let’s start with the obvious upgrade: LED bulbs. If your RV still has incandescent or halogen lights, switching to LEDs is one of the simplest ways to reduce power consumption, cut down on heat, and brighten your space.
What makes LEDs so ideal for RV life?
- They use less energy, which helps extend battery life while boondocking.
- They stay cool, which matters in small, enclosed spaces.
- They last a long time, meaning fewer bulb changes (especially in hard-to-reach places).
- You can choose from a range of color temperatures—from soft and cozy to crisp and bright.
Most standard RV light fixtures can be retrofitted with compatible LED bulbs in minutes. Some RVers even replace entire fixtures with upgraded LED versions for a cleaner, more modern look.
Pro Tip: Look for 12-volt-compatible LEDs designed for RV or marine use. They’re made to handle the slight voltage fluctuations that can happen in mobile setups.
Tip No. 2: Add focused lighting where it matters most.
A single overhead light in the center of a room might be fine for general use, but it often leaves key areas in the dark. Adding task lighting in places where you need it most can make a big difference in comfort and usability.
Good candidates for added task lights include:
- Kitchen prep areas. Under-cabinet puck lights or strip LEDs can illuminate countertops and help avoid cutting in the shadows.
- Dining or workspaces. A small desk lamp or focused overhead light makes meals, writing, or laptop time a lot easier on the eyes.
- Bedside areas. Wall-mounted reading lights or directional fixtures let one person read without lighting up the whole room.
- Bathroom mirrors. A soft, diffused light around the mirror is a big help during the morning routine.
These lights don’t have to be hardwired or permanent. There are plenty of battery-operated, stick-on, or USB-powered options that work well for RV use.
Pro Tip: If you’re short on outlets or want to avoid cords, look for rechargeable or motion-activated lights. They’re great for closets, drawers, and other areas that don’t see constant use.
Tip No. 3: Upgrade exterior lighting for safety and style.
Whether you’re setting up camp after dark, taking a quick walk around the rig, or just enjoying time outside, good exterior lighting makes a difference in both function and safety.
Here are a few exterior upgrades worth considering:
- Awning lights. LED strip lights mounted beneath the awning provide a pleasant glow for outdoor evenings without attracting too many bugs.
- Motion-sensor lights. A great choice for the entry door or rear bumper area — especially handy when arriving late or stepping outside at night.
- Underbody lighting or step lights. These not only add visual appeal but also help prevent missteps after dark.
- Storage compartment lights. Installing LED strips or battery-operated push lights in your exterior bays makes it easier to find gear without a flashlight.
When adding exterior lighting, be sure to choose weatherproof products rated for outdoor use. If you’re drilling new fixtures into the RV body, use proper sealants to protect against water intrusion.
Tip No. 4: Organize lighting zones and add dimmers.
Ever flip a switch expecting one light to turn on, only to be surprised by another? Disorganized switch layouts and harsh lighting levels are common frustrations in RVs — especially older models. Creating clear lighting zones and adding dimmers gives you more control and flexibility.
Here’s how to improve your lighting flow:
- Group switches by area (kitchen, bedroom, bathroom) and label them clearly if needed.
- Install dimmer switches in key areas like the living room or bedroom to adjust brightness as needed.
- Use remote controls or smart lighting hubs for convenience, especially for hard-to-reach lights.
- Replace clunky multi-switch panels with modern versions that are more intuitive and space-efficient.
If you’re planning a larger interior update, reorganizing your lighting zones is well worth doing while everything is accessible. But even simple changes — like installing a plug-in dimmer for a desk lamp — can immediately improve how your space feels.
Tip No. 5: Light up forgotten spaces.
Some of the most useful lighting upgrades aren’t flashy — they’re practical. Think about all the spots in your RV that are hard to see into, especially at night or in low light. A small light in the right spot can turn a hassle into a functional space.
Examples:
- Pantries and closets. Stick-on LEDs or motion-sensor lights make it easy to see what’s buried in the back.
- Under the bed. If you use this area for storage, adding a light here saves a lot of time and frustration.
- Stairs or entry steps. Prevent nighttime stumbles with a small strip light or low-glow step light.
- Utility bays or passthrough storage. These are often used during setup or teardown — adding lighting saves you from holding a flashlight in your mouth while you work.
An upgrade in RV lighting here doesn’t require a full electrical overhaul. Most can be installed in a matter of minutes with adhesive tape or magnetic mounts.
Pro Tip: Keep a few battery-powered lights or USB-rechargeable fixtures on hand. They’re great backups for boondocking or in case of a blown fuse.
Also! Consider light color … it matters more than you think.
Lighting isn’t just about brightness — it’s also about ambiance. The color temperature of your lights can affect how your RV feels, especially after sunset when your rig becomes your entire world.
Color temperatures are measured in Kelvins (K):
- 2,700K–3,000K. Warm white is cozy and inviting, great for bedrooms and lounges.
- 3,500K–4,100K. Neutral white is clean and functional, ideal for kitchens and bathrooms.
- 5,000K and up. Daylight white is bright and energizing, good for task areas.
Using consistent color temperature throughout your RV creates a unified look, while mixing different temperatures intentionally (warm in the bedroom, neutral in the kitchen) helps define each zone’s purpose.
Flipping the Switch for an Upgrade in RV lighting
You don’t have to live with dim or outdated lighting in your RV. Whether you’re full-timing, weekend camping, or prepping for a big trip, small lighting upgrades can have a big impact on your comfort, safety, and overall experience.
With the wide range of affordable, low-power LED solutions available today, most of these changes are DIY-friendly and budget-conscious. Even better? They help your RV feel brighter, more modern, and easier to live in day to day.
So go ahead: flip the switch on better lighting. Your eyes (and your mood) will thank you.
Leave a Reply