So, you want to go camping year-round! That’s awesome, and it’s quite an adventure. Four-season camping opens all new possibilities for RV travel, but be advised: It requires thorough preparation to ensure comfort and prevent potential damage to your RV in varying weather conditions. To be clear, we’re talking about winter. If you want to take on all-weather camping, you need to prepare your RV for winter living.
As you might have guessed, “prepare” is the key word here. Most of things we’ll mention here are best done in the fall (at the latest). So, here’s a breakdown of the key areas to address as you prepare your RV for winter living and get ready to take on year-round adventures.
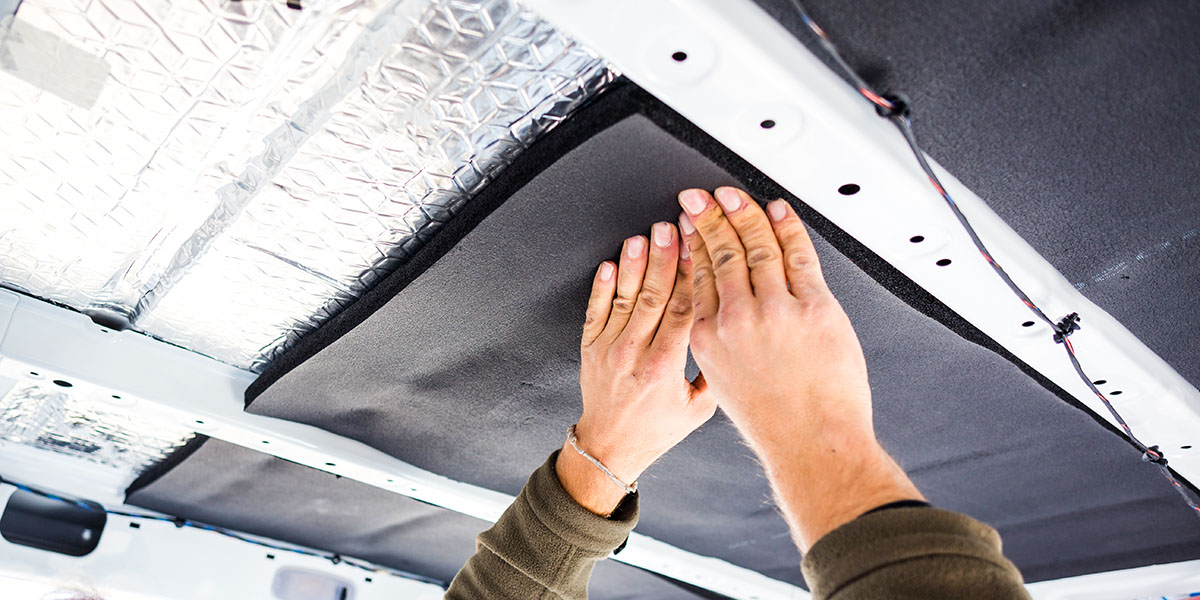
1. Double check insulation and drafts.
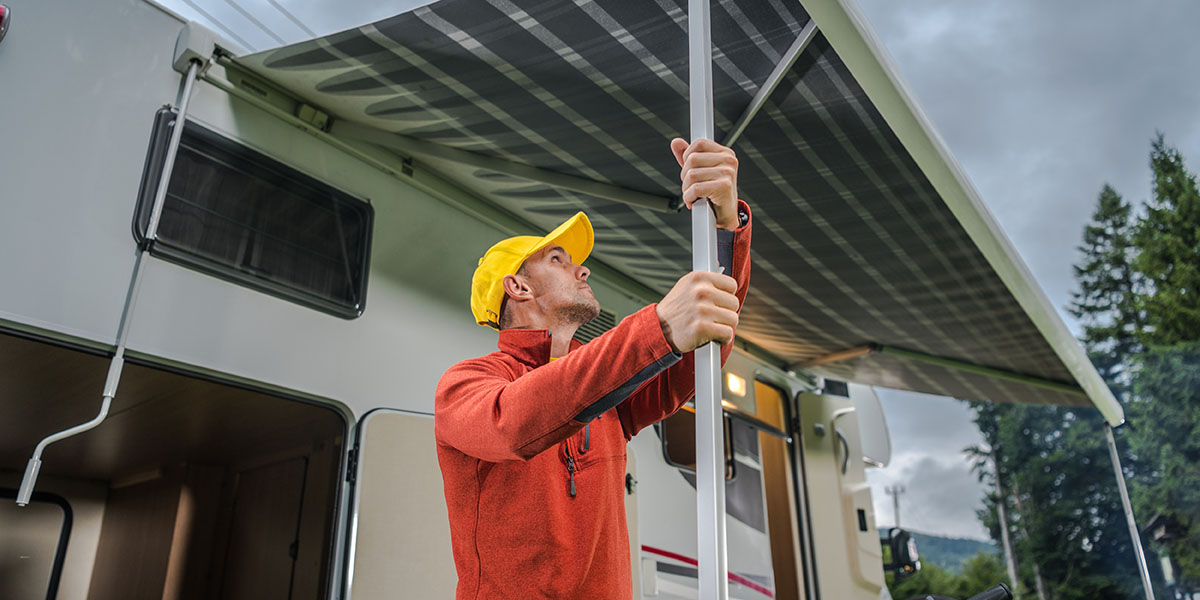
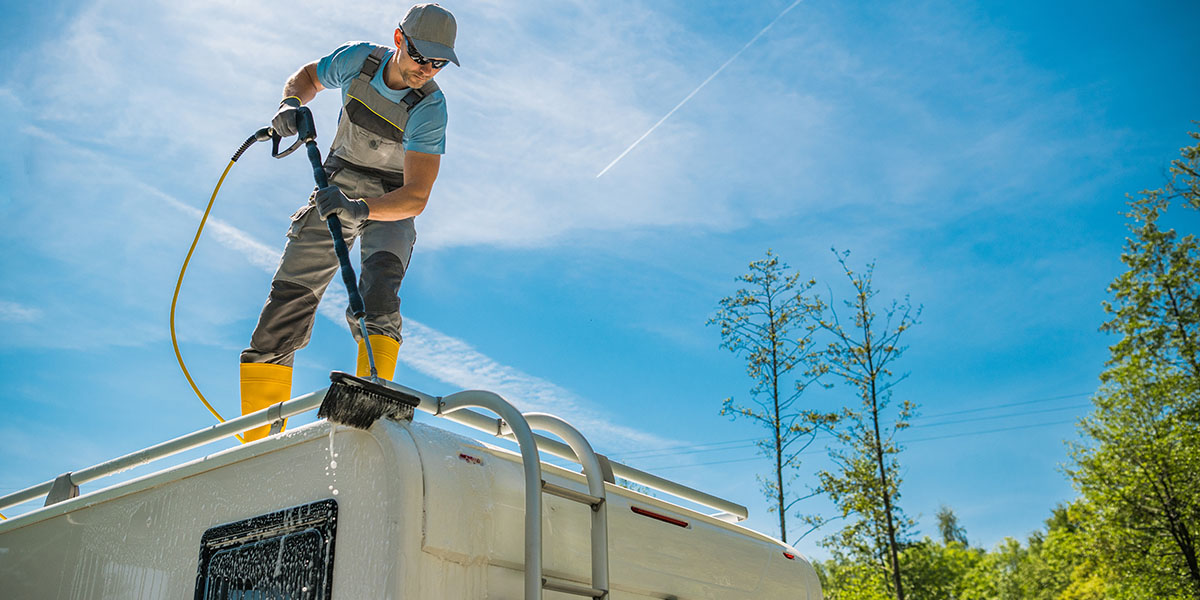
- Exterior inspection and sealing. Carefully examine the RV’s exterior for cracks or gaps, especially around the roof and seams, and seal them with appropriate sealant to prevent cold air and leaks.
- Window and door seals. Ensure that windows and doors close tightly and apply weatherstripping to block drafts and improve insulation. Consider using bubble insulation or other reflective foil to further insulate windows and skylights, particularly in cold weather.
- Window coverings. Use heavy drapes or insulated curtains to block cold drafts from windows.
- Floor insulation. Insulate the RV floor with foam board or thick rugs/carpets to prevent cold air from entering from below.
- RV skirting. Installing an RV skirt around the base can effectively block cold winds and help keep the interior warmer, protecting components and potentially reducing propane consumption.
- Slide-out insulation. Place foam board insulation beneath slide-outs to minimize drafts, remembering to remove it before retracting them.
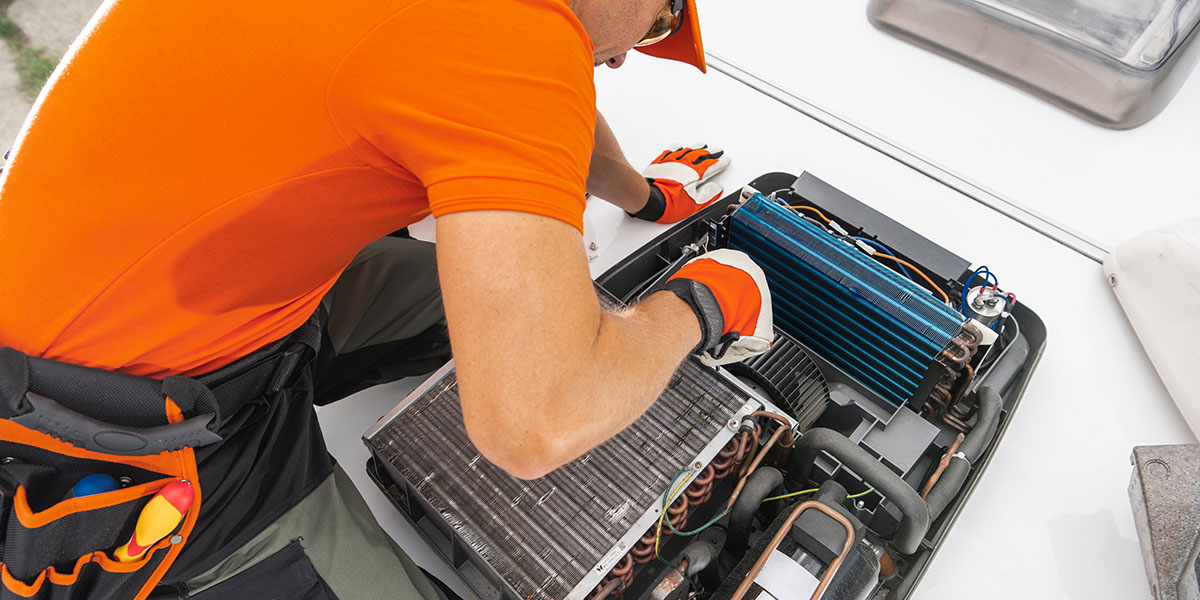
2. Get detailed with heating and ventilation.
- Heating system check. Ensure your RV’s built-in furnace is clean and functioning properly.
- Supplementary heating. Consider using a portable electric heater when hooked up to electricity to conserve propane. For boondocking, a small propane heater can be more efficient than the onboard furnace.
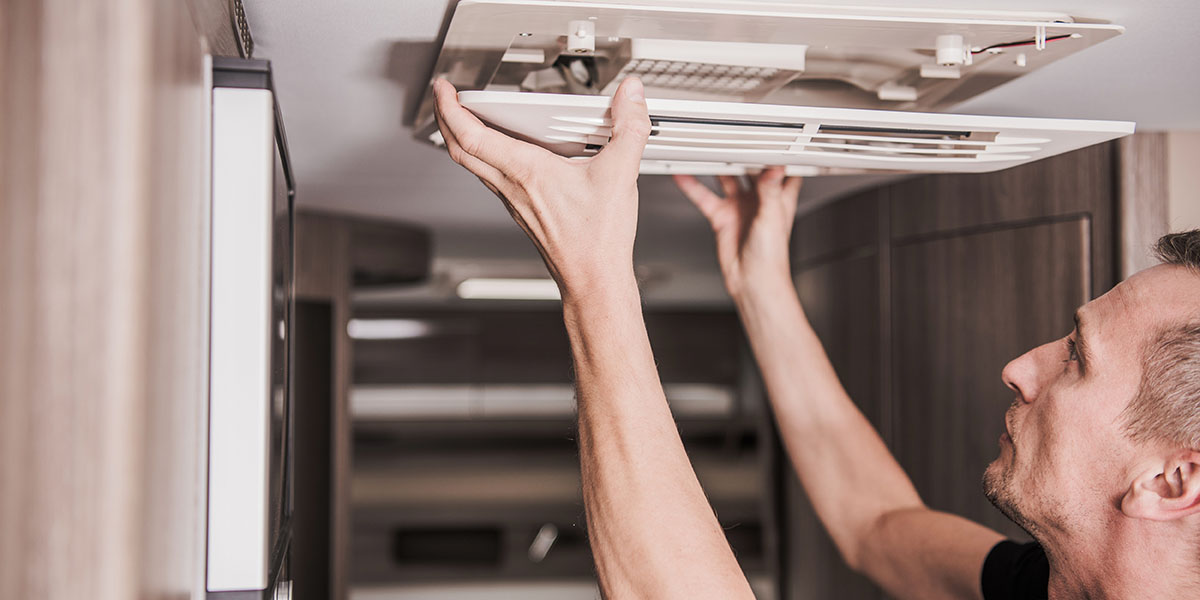
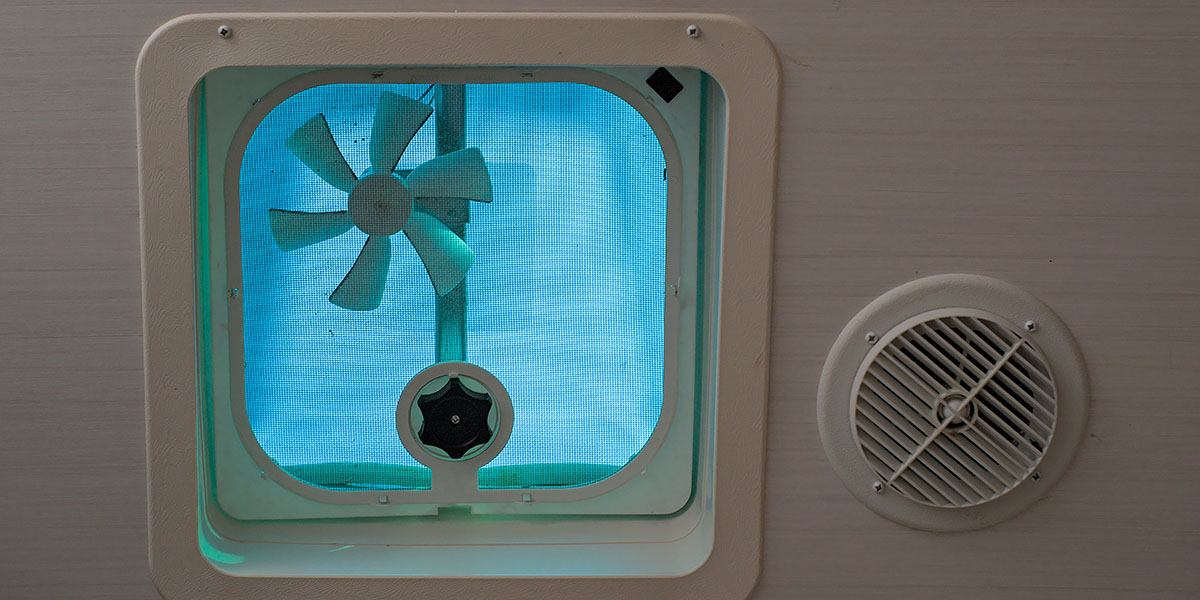
- Vent covers. Install vent covers to allow for ventilation while preventing drafts and reducing condensation.
- Condensation control. Use a dehumidifier to control moisture buildup, especially when using heaters, to prevent damage and mold growth. Opening vents can also help.
- Air circulation. Consider using small battery-powered fans for air circulation, particularly in warmer months or when not hooked up to power.
3. Make sure your plumbing system is protected.
- Leak detection. Inspect all plumbing connections and hoses for leaks before hitting the road, as cold can worsen existing issues.
- Winterizing. If temperatures will drop below freezing, drain the freshwater tank, water lines, and water heater, then add RV antifreeze to the plumbing system to prevent freezing and bursting pipes.
- Heating pipes and hoses. Use heat tape or strips on freshwater and sewer hoses, as well as exposed valves and connections, to prevent them from freezing.
- Internal plumbing. Open cabinet doors in the bathroom and kitchen to allow the RV’s heat to reach the interior plumbing. Allowing faucets to drip slightly in freezing temperatures can also help keep water moving and prevent freezing.
- Water tanks. Place a small heater near water tanks in the underbelly or disconnect external water sources and rely on the internal freshwater tank.
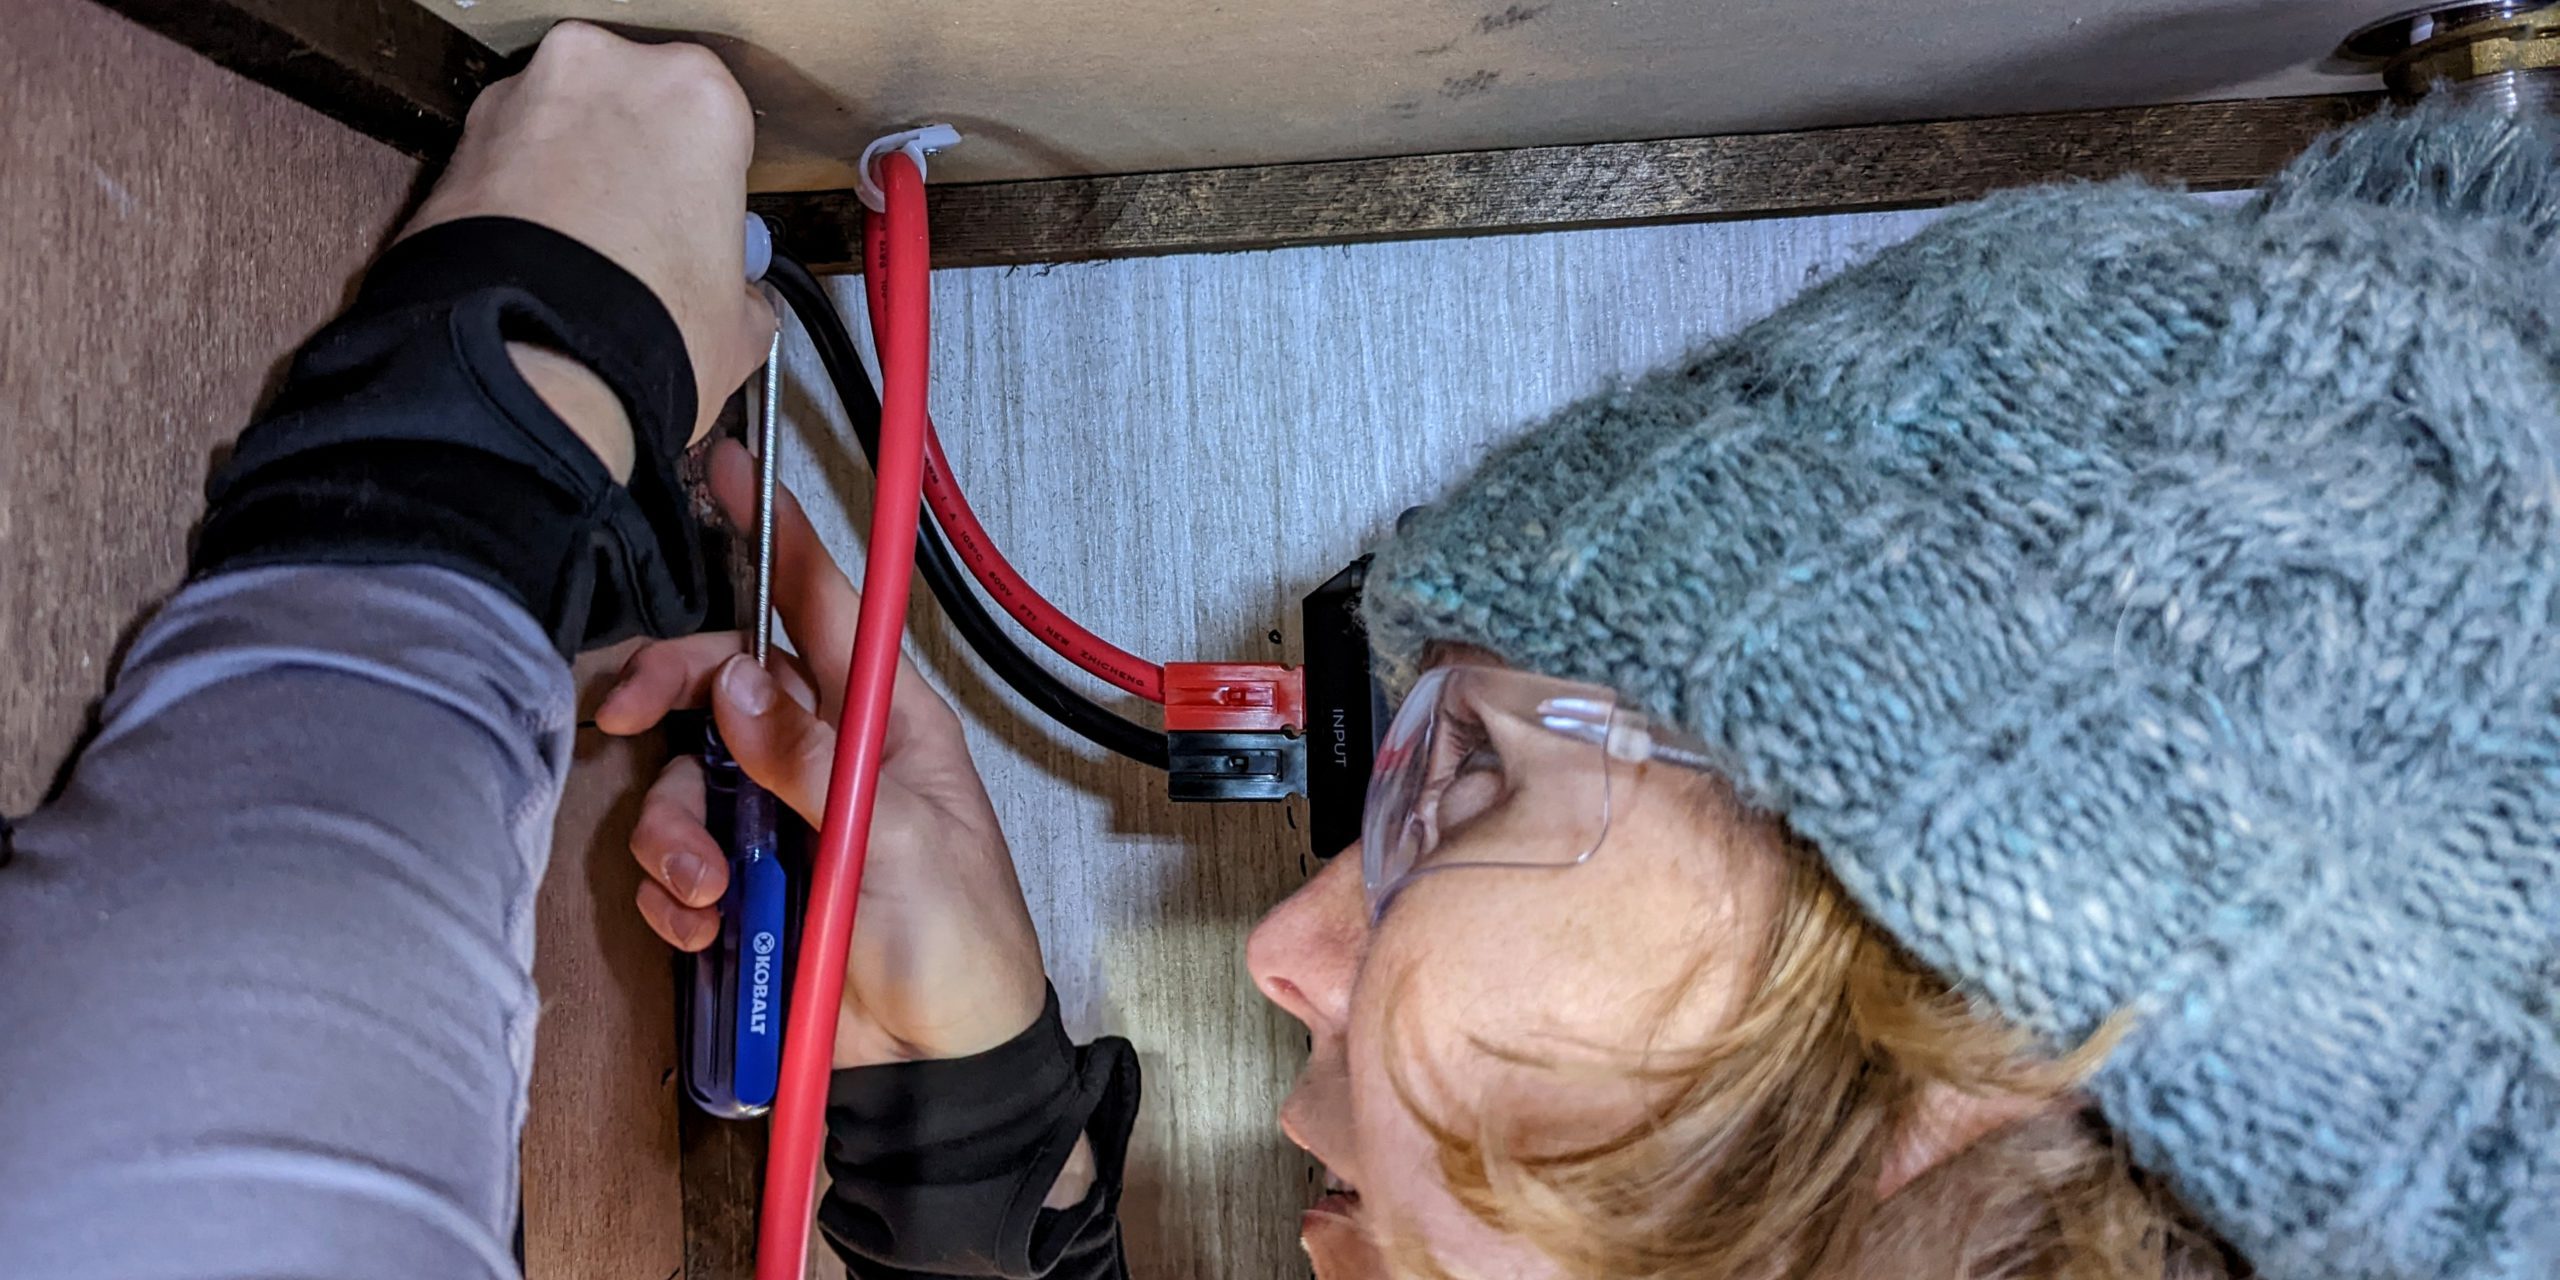
4. Don’t forget battery care.
- Battery inspection. Before each trip, inspect batteries for corrosion or damage, ensuring they are fully charged and securely connected.
- Regular charging. Charge batteries frequently and disconnect them if storing for extended periods.
- Optimal charging temperature. Store batteries indoors in a warm location, ideally above 50 or 60 degrees Fahrenheit, as concrete can draw heat away. Use a battery warmer or tender if storing in colder conditions.
- Battery maintainer/float charger. Use a battery maintainer or float charger to keep batteries fully charged during storage.
- Proper storage. If you’re storing the RV for the winter after a few all-weather adventures, remove the batteries and store them indoors in a warm, well-ventilated area.
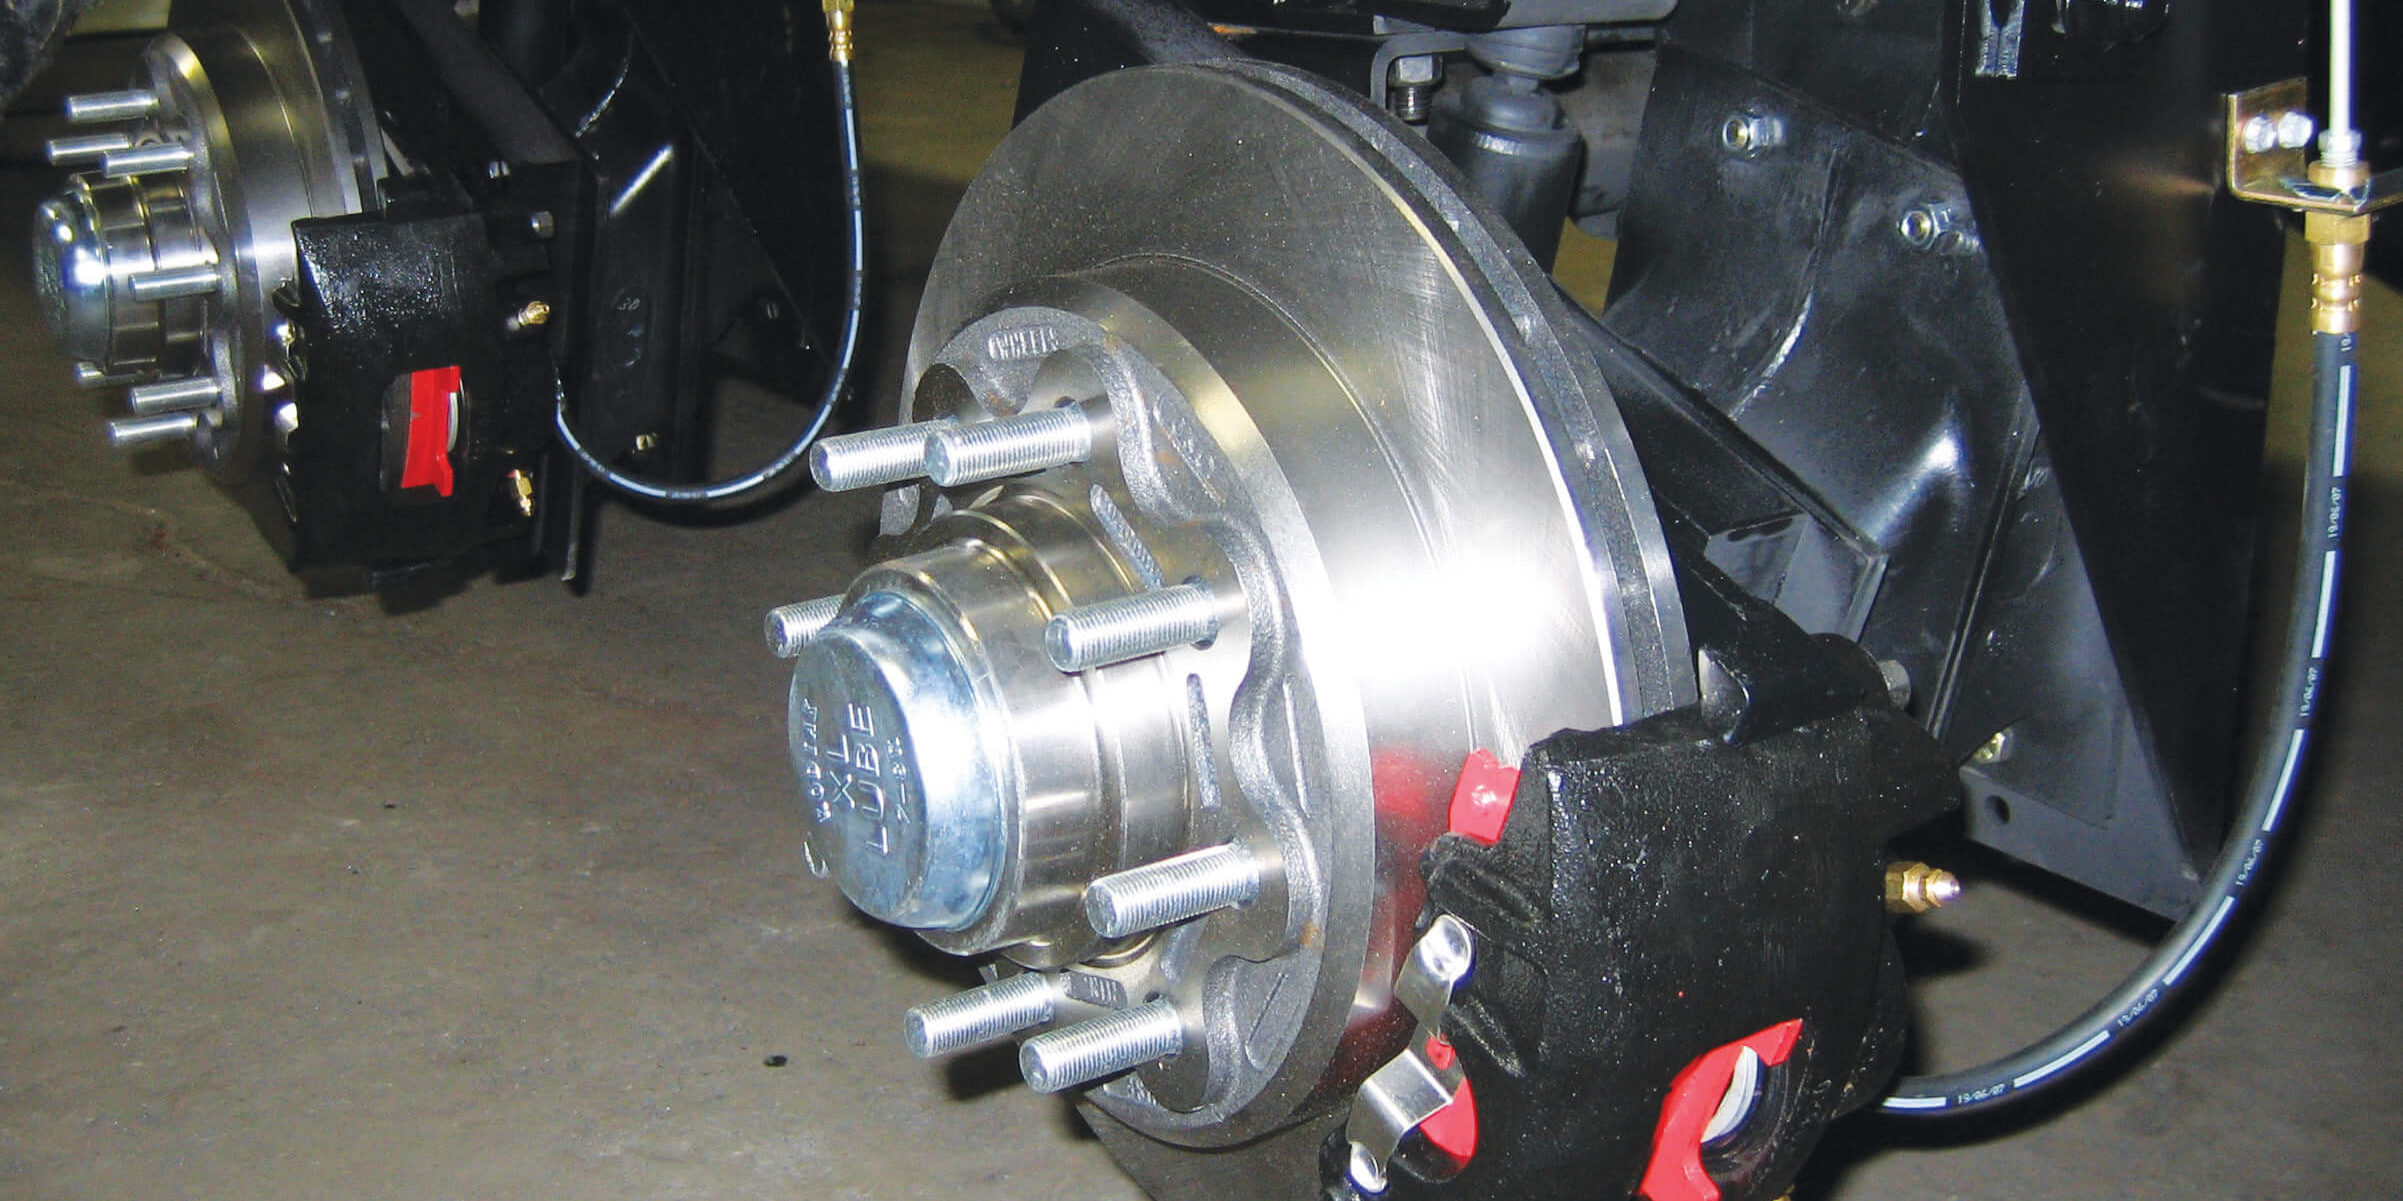
5. Practice meticulous tire maintenance.
- Tire pressure monitoring. Monitor tire pressure religiously, as temperature can cause pressure changes. Adjust to the manufacturer’s recommended PSI and consider a tire pressure monitoring system (TPMS).
- Tire inspection. Before driving, inspect tires for cracks, bulges, and tread depth. The penny test or a tire tread depth gauge can help assess tread depth.
- Valve stems. Examine valve stems for cracks or leaks.
- Tire chains. If anticipating snowy or icy conditions, have a set of tire chains readily available. Be sure to check RV rental agreements for any restrictions on chain use.
- Driving habits. Reduce speed and avoid sudden movements when driving on icy or wet roads. Be extra cautious with braking, as RVs often have rear-wheel drive. Also be aware of the dangers involved in driving through areas that have high winds as they will have their own set of challenges and could push you right off of the road.
- Emergency kit. Carry a portable air compressor, a tire repair kit, and heavy-duty tire chains.
6. Pack some extra all-weather essentials.
- Clothing. Pack clothing suitable for varying weather conditions, including base layers, insulating layers, waterproof outerwear, and appropriate seasonal clothes. Don’t forget you only have so much room for storage so choose accordingly.
- Bedding. Bring extra blankets, warm bedding electric blankets for chilly nights as well as bedding for those warmer nights depending on your season and your location.
- Safety devices. Ensure carbon monoxide detectors and fire alarms are functional and have fresh batteries.
- Emergency supplies. Always carry a well-stocked first aid kit, flashlight with spare batteries, and extra food and water.
- Navigation tools. Have a reliable GPS system, offline maps, and a paper map or road atlas.
- Entertainment. Pack books, board games, or other forms of entertainment for inclement weather days.
- Outdoor gear. Include camping chairs, an outdoor mat, and potentially a screen room or shade tent for outdoor relaxation.
- RV-specific supplies. Remember essentials like leveling blocks, hoses, power adapters, surge protector, wheel chocks, and an RV-safe toilet paper and septic tank treatment.
After You Prepare Your RV for Winter Living
Ember RV has a pretty unique and awesome sticker that they put on all their RVs. It says, “USE COMMON SENSE.” That definitely applies not only as you prepare your RV for winter living, but also as you take on all-weather travel.
No matter where you’re going, which season it is, or during the trip itself, you should always consult your RV’s manual for specific instructions on preparing for different temperatures and conditions. Always research the weather and road conditions of your destination before embarking on a trip and consider the potential challenges of driving an RV while in or under multiple different types of weather.
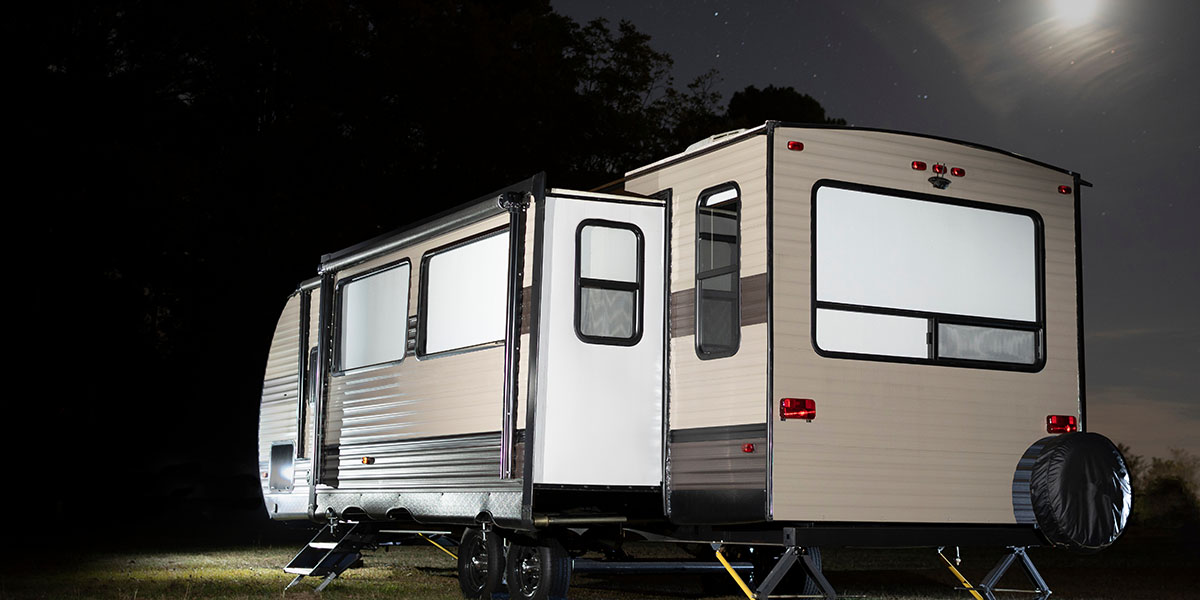
All-weather camping can be incredible, and in winter, it can lead to some incomparable views. Just, you know, use common sense.