Author: Arielle Patterson

  • 7 RV Park and Campground Etiquette Tips

    7 RV Park and Campground Etiquette Tips

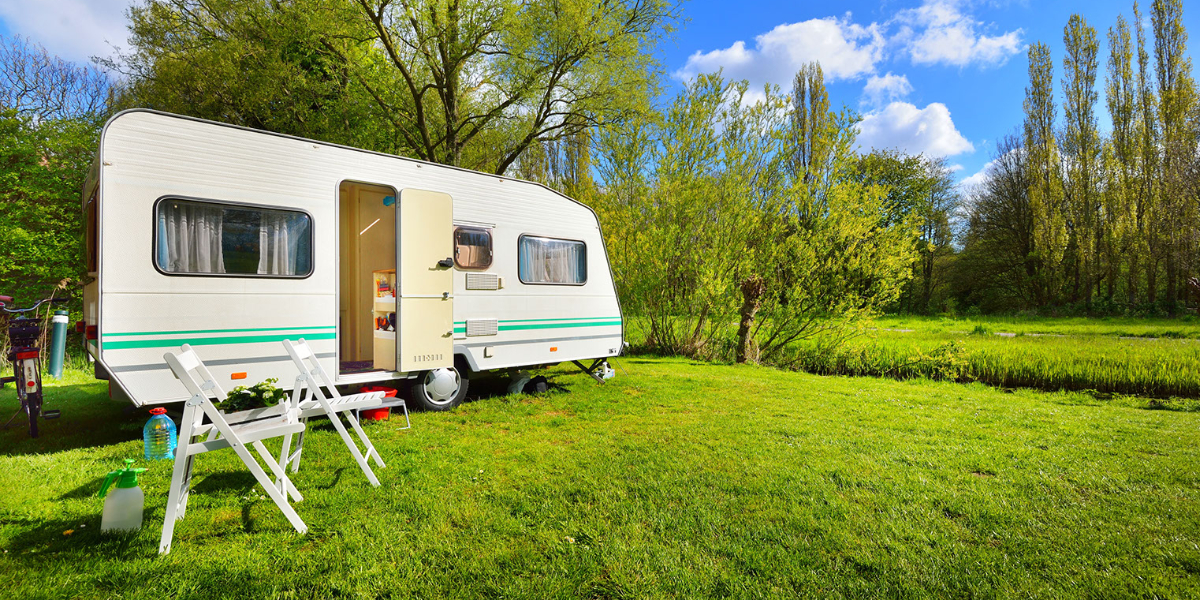
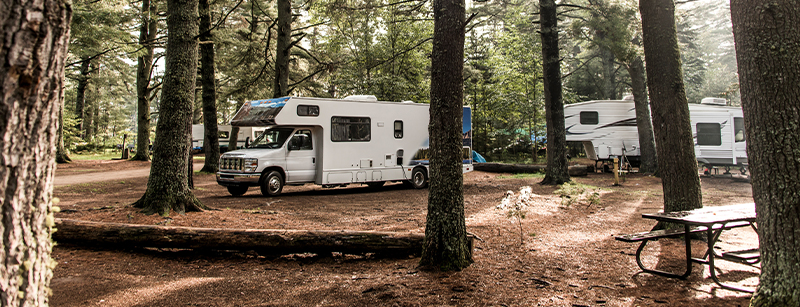
    You’re off on an adventure, ready to explore the country in your RV. When it comes time to settle in, you can either stay at a designated RV park and campsite, or boondock your camper. If you’re new to camping in an RV, be sure you learn the written and unwritten rules. RV Trader has seven tips for RV park and campground etiquette that you should know.

    1. Follow Posted Campground Rules

    Before you head out to the RV park or campground, visit their website or call to find out what the official rules and guidelines are. These rules apply not just to RVs but to all visitors, to ensure a safe and enjoyable camping experience. Campground guidelines include everything from where to park and quiet hours to rules for utility hookups, pets, campfires, and more. Following these regulations is the easiest way to be a good neighbor to your fellow campers.

    2. Be Aware of Your Space

    Once you park and set up your campsite, you may be tempted to sprawl out and unload all of your toys and supplies, including sports equipment, outdoor games, and grills, onto the lawn. Be considerate of your RV neighbors and try not to encroach on someone else’s campsite. Campers should respect the shared spaces and not clutter the area with personal items. Make sure you aren’t blocking any walkways or roads with your personal items or camper. If your RV has slide-outs, make sure you’re aware of how far they extend.

    3. Respect Other Campers’ Spaces

    While camping does encourage a sense of community, be considerate of other travelers’ privacy. While it might be tempting to take a shortcut through someone else’s campsite, stick to the main roads and public paths. It’s always best to respect others’ campsites as if it was their private property.

    4. Be Responsible for Your Pets

    One of the benefits of RVing is being able to travel with your pet. While staying on a campsite, be sure to keep track of your furry friends. Unless they’re in a designated area, dogs should remain on a leash and should not be roaming around the RV park or campground unsupervised. Avoid leaving your pet alone in the RV if they get noisy when unattended. It’s understandable when a dog barks, but no one wants to hear it constantly, especially at night. And, just as you’d take your dog for a walk around your neighborhood, remember to clean up after your pet and dispose of their waste properly.

    5. Keep the Noise Down After Hours

    As we mentioned above, most campgrounds will have posted quiet hours, often from 10 p.m. to 7 a.m. These hours don’t mean you have to be as quiet as a mouse, but you should be respectful of your neighboring campers. Avoid running generators, blasting music, or having excessively loud conversations. Camping offers a chance to listen to the best soundtrack—the unpolluted sounds of nature.

    6. Remember to Turn Your Lights Off

    Similar to noise, the lights outside your RV can be distracting to other campers at night who are trying to sleep or stargaze. Turning off your camper’s exterior lights when you go in for the evening is common courtesy. If you would like some light for safety, consider packing a low-wattage or amber-colored lamp that is less disruptive.

    7. Maintain a Clean Campsite

    Both during your stay and as you prepare to leave, be vigilant of any trash or mess you make. Just as you wouldn’t leave trash in your yard at home, keep your campsite clean and free of litter. A neat site is not just important for you and your fellow campers but also the land you’re occupying. When you leave a campsite, there should be no trace that you were ever there.

    If you stay at a full-hookup campsite, make sure your sewer and water hoses are in good working condition and connected properly. Dispose of gray or black water at a dump station only. The last thing anyone wants is an unsanitary and unpleasant-smelling campsite.


    RV camping is a great way to spend time with family and friends outdoors. However, you surely won’t be the only people staying on the campgrounds. Keep these RV camping etiquette tips handy next time you hit the road, so that you’re sure to be a courteous neighbor. If you’re seeking more freedom from standard campgrounds, consider boondocking. We’ve previously covered boondocking etiquette to help you out.

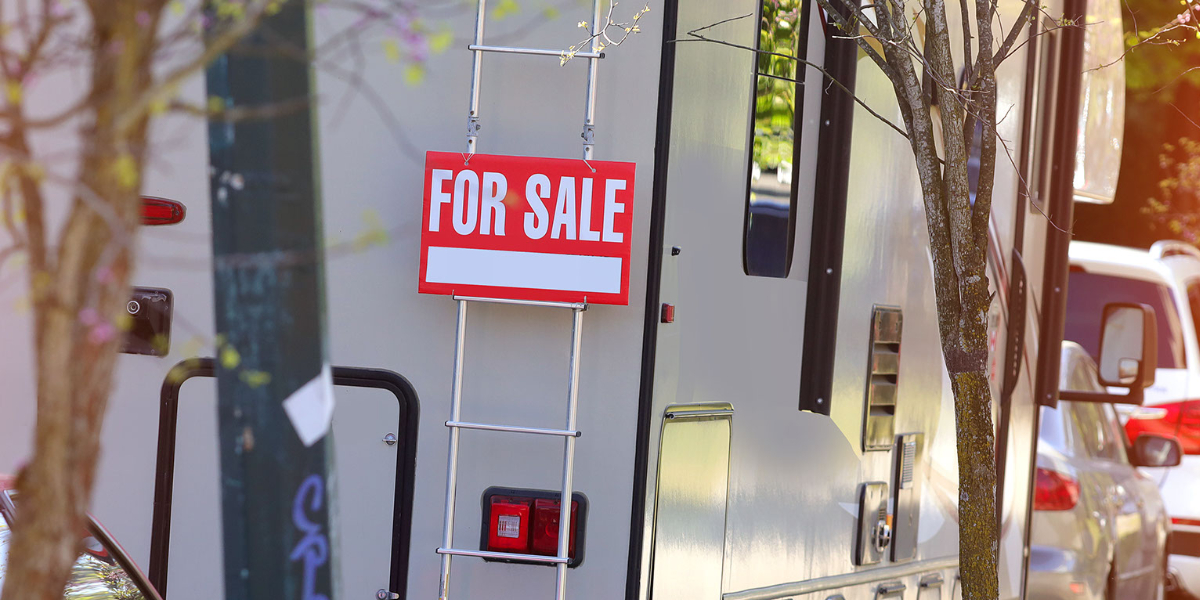
    If you’re searching for an RV, start with the for-sale units available on our nationwide marketplace at RVTrader.com.

  • What It’s Like to Sell an RV on RVTrader.com

    What It’s Like to Sell an RV on RVTrader.com

    Once you’ve decided to sell your RV, we hope you head to RVTrader.com to list it. We’re an online marketplace that attracts millions of active buyers every month who are searching for their next unit. Listing with RV Trader is quick, easy, and secure, guaranteeing a smooth and reliable experience. Here’s everything you need to know about selling an RV on RVTrader.com.

    Get Started

    Click the “Sell” button at the top of the RV Trader webpage, or the “Menu” button in the top-right corner, then click “Sell My RV.” Both options will direct you to the page where you can view the listing packages. Simply scroll down or click “Get Started” to browse the package options and make your selection.

    Choose a Package

    RV Trader provides three package options for sellers.

    • Basic: The basic package ensures that your ad will be listed on the website for two weeks. Your listing will allow up to four photos.
    • Enhanced: The enhanced package offers eight weeks on RV Trader’s website, as well as up to 20 photos and a YouTube or Vimeo video.
    • Best: The best package features a one-year-long listing, up to 50 photos, a video, premium placement on the website with a highlight in search results, and a featured spot in carousels on the homepage and search results.

    Log In or Create Your Account

    Once you select your package, a window will pop up and prompt you to log in to your My Trader account. If you don’t have an account yet, it won’t take long to make one. Enter your email and a password, then verify your password and click “Sign Up For My Trader.” Having an account allows you to create, edit, and share listings, save your progress when creating listings, and see leads and activity on your listings.

    Generate Your Listing

    After choosing your package and logging in to your account, you can create your unit listing. Remember, this is the first impression you make with a consumer, so you want the information to be understandable and accurate. You can build your listing in just three simple steps.

    • Enter Your Vehicle Information: Beginning at the first drop down, select the class of your RV. Enter the year, make, model, and trim. Add your price and choose a tagline; this is your opportunity to tell potential buyers if the price is cash, open to trade, negotiable, or firm. In the listing description, you have a maximum of 2,500 characters to tell buyers all about your RV. Below you can provide additional details, including fuel type, measurements, mileage, engine information, and unit color. The more information you give a consumer about your unit, the faster they can make their decision.
    • Add Photos: Upload up to four, 20, or 50 photos, depending on which package you chose. Listings on RV Trader with pictures generate 2.4X higher search result impressions and 15.8X higher vehicle detail page-views than listings without photos. Make sure your photos are clear and offer different angles of your RV so potential buyers can see as much as possible. For more tips, read our eight tips for taking great listing photos. If you selected an Enhanced or Best package, you’ll also add the link for a video on YouTube or Vimeo here.
    • Enter Your Contact Information: If you’re logged into your My Trader account, some of the contact information may auto-populate. You’ll also need to add your first and last name, address, and phone number. To protect your privacy, only your city, state, and zip code will appear on your listing—not your street address. If you prefer for buyers to only contact you via email, you can also choose to hide your phone number.

    Get an Inspection

    Sellers on RVTrader.comhave the option to get a pre-purchase inspection through RV Trader Assurance powered by Lemon Squad. If you choose this service, an Automatic Service Excellence (ASE)-certified Lemon Squad inspector comes directly to you for an on-site inspection of your for-sale RV. This thorough inspection covers a computer diagnosis of the engine, along with a comprehensive examination of the vehicle condition, mechanical, underbody, tires, wheels, structural integrity, and more. Following the inspection, your listing will receive a certified RV Trader Inspection Badge, which showcases your ability to provide an inspection report to prospective buyers and makes your listing stand out on the marketplace.

    Preview, Review, and Check Out

    At the bottom left of the page, you’ll have the option to preview your listing with the photos. Put yourself in the shoes of a buyer to make sure you’re seeing everything someone would need to know about the RV you’re selling.

    Once you decide it looks good, you can view a receipt for your listing. 

    When you sell your RV on RVTrader.com, you can take advantage of our digital marketing solutions to help advertise and reach more buyers. In just a few quick and easy steps, your listing will be available to consumers nationwide. For more top tips for selling your RV, visit our blog. And for more helpful resources, check out our RV Seller’s Guide!

    Another option for private sellers is to connect with dealers who are buying inventory directly. Skip the listing all together and look for the “We Buy RVs” button on a dealer’s gallery page to sell your unit right to a dealership.

  • 7 Tips for Preparing Your RV for a Hurricane

    7 Tips for Preparing Your RV for a Hurricane

    Traveling in an RV can be an exciting adventure, but one thrill you don’t need is the dread of an impending hurricane! If you plan to travel to an area—or live in an area—that’s prone to hurricanes or tropical storms, it’s important to know how to prepare yourself, family, and unit for this extreme weather. Get a plan in place ahead of time with RV Trader’s seven tips for preparing your RV for a hurricane.

    1. Track the Weather

    Weather patterns and conditions can change quickly, especially during hurricane season. Remain proactive by keeping an eye on weather forecasts. As you’re following the weather alerts online, on TV, or over the radio, make sure you understand what each type of weather condition indicates.

    • Advisory – Advisories are most often used for less severe weather, like wind.
    • Watch – A hurricane is possible. Watches typically span over a large area for a long period of time.
    • Warning – Hurricane conditions are imminent. Warnings cover a smaller, more precise area for a definite period of time. High Wind Warnings are issued for wind speeds of 40 mph for an hour or more, or wind gusts of 56 mph for any duration.

    2. Prepare an Emergency Kit

    RVs aren’t safe to drive in any storm with high winds. Whether you have to hunker down in a storm shelter or safely in your RV, make sure you have everything you need to wait out the storm. Here are some items to keep in an emergency/evacuation kit:

    • Drinkable water
    • Water for brushing your teeth, flushing, and washing
    • Non-perishable food
    • Medication
    • Cash and ATM cards
    • First-aid kit
    • Batteries
    • Battery-operated radio
    • Portable phone charger
    • Flashlight
    • Rain attire, including jackets and boots
    • Insurance information and other important documents

    3. Choose the Right Campsite

    During hurricane season, boondock your RV in an elevated location that’s away from large trees. Pick up any nearby fallen tree branches that could become projectiles and cause damage during high winds. Once you’ve secured the campsite, find the closest storm shelter in or near the campground and determine an evacuation plan.

    4. Do a Safety Check of the RV

    Before a storm, perform a safety inspection of your RV. Fill the fuel tank and check the windshield wipers and tires. If your unit has a gas-burning stove, be sure to check the batteries in your RV’s smoke alarm and carbon monoxide detector. Finally, test your generator to make sure it’s ready for use before, during, or after a storm.

    5. Secure Your RV

    If you aren’t able to store your RV inside a garage or storage facility, do your best to protect it from the effects of the storm. Cover and tie down the unit, board up windows, and make sure the water tank is full in order to add weight, lower the center of gravity and increase stability. If you have items outside your RV, such as lawn chairs, tables, and grills, make sure to tie those down too. Chock the tires of travel trailers in both directions to stop the wheels from rolling. If your RV has slide outs, stow them away.

    6. Check Your RV Insurance

    Before hurricane season, check that the insurance policy on your RV is up to date and covers the effects of hurricanes, such as wind and water damage. Make sure you know if your insurance requires that you follow state or local evacuation mandates in order to access coverage. Before the storm, take photos or videos of your RV and belongings so you’ll have a record to show your insurance agent, if necessary. After the storm, take photos and videos of any damage.

    7. If You Get Caught in a Storm

    If you’re on the road and get caught in a storm without time to prepare, carefully drive to the nearest exit, find a large, sturdy building near to which you can park your RV, and seek shelter inside. Tune into a local weather forecast, or utilize a mobile weather app, to track the storm conditions and determine when it will be safe to get back on the road. When it is safe, NEVER attempt to drive through high standing water or flash floods.


    Safety should always be a priority when traveling in your RV, but even more so during hurricane season. These tips can help prepare your RV for a hurricane, whether you encounter a storm on the road, are using your unit to evacuate, or are simply securing the RV until the storm passes.

    If you’re searching for your next RV, browse the for-sale units available nationwide at RVTrader.com.

  • 6 Benefits of Buying a Used RV

    6 Benefits of Buying a Used RV

    Deciding to purchase an RV can raise many questions. How much time will I spend in my RV? What class should I buy? Should I buy it new or used? While it’s easy to get lured in by the sparkle of a brand-new camper, don’t rule out a pre-owned unit especially if you plan on performing RV renovations. Before you begin your search, check out RV Trader’s six benefits of buying a used RV.

    1. Save Money Upfront

    The biggest benefit of buying a used RV is the savings. With a little patience, and careful research, you can find a used RV model that fits your needs at a lower cost than buying new. An older model even has lower insurance costs. The best part is that you can put the money you saved into your renovation budget.

    2. Less Depreciation

    Much like cars, purchasing a brand-new RV means losing value shortly after you drive off the lot. RVs can depreciate up to 20% during the first year or two of ownership. If you buy new and plan to sell your unit in a few years, you more than likely won’t make back the money you initially spent. Buying used, then, is often the best investment for flipping an RV, whether you’re renovating it for resale or for your own long-term use.

    3. Greater Inventory Options

    When searching for pre-owned units, you will come across lots of RVs from the past few years. And these aren’t only vintage models. Many owners trade-in or sell their campers after the first couple of years of ownership, creating a marketplace of recently manufactured RVs available for sale at a lower price, thanks to depreciation.

    4. More Design Variety

    RVs vary in size, weight, and floor plans. When you look to buy outside of new models, you’ll see that older models can differ in these aspects. Since manufacturers create floor plans that cater to each type of RV owner, browse different layouts to find one that meets your needs. Shop used RVs from recent models, within the last three years, to a retro camper with a nostalgic floor plan and design.

    5. DIY Customizations

    Buying a used RV is a chance to design and remodel your unit exactly how you want it. Whether you want to repaint, add new flooring and fixtures, or completely gut it, a used RV gives you the opportunity to start fresh and make your camper completely one of a kind. With an older RV, you can overlook any cosmetic wear-and-tear and start seeing the unit as your next DIY project.

    6. Increased Resale Value

    If you don’t have long-term plans for your RV, keep in mind the potential resale value of your unit. If you avoid early depreciation by buying a pre-owned unit, then you should be able to sell it a few years later for close to what you originally paid (assuming it’s been well-maintained and depending on market conditions). However, if you’ve renovated the RV, you may be able to sell it for more than you initially paid plus the upgrades, earning you a tidy profit.

    If you’re stuck deciding whether to purchase a new or used RV, consider how you plan to use the unit. Used offers benefits for both long- and short-term ownership even after you renovate. Once you decide to buy used, it’s time to learn everything you need to know about renovations, which you can find on RV Trader’s RV Renovations resource page, with in-depth articles, checklists, and videos. And you can begin browsing pre-owned units at RVTrader.com, the premier virtual marketplace for buying recreational vehicles.

  • 8 RV Renovation Tips for Beginners

    8 RV Renovation Tips for Beginners

    You want to renovate your RV, but you don’t know where to start, right? Customizing and fixing up an RV offers nearly endless options, which may seem intimidating at first. The end result will be well-worth it, but without preparation, the remodel process can be full of missteps and unforeseen expenses. Before you start picking out paint samples, get a plan in place with RV Trader’s eight renovation tips for beginners.

    1. Know Your Budget

    Start your remodel journey by planning your finances. Decide how much you’re willing to spend on this process. While it’s always efficient to use a professional contractor, doing the renovations yourself keeps you in control of your money since you decide which supplies to use and you won’t have to pay yourself for labor costs. Don’t forget to leave room in your budget for any unexpected costs along the way. And if you don’t have your entire budget up front, don’t worry. The long renovation process will likely give you time to continue saving for each expenditure along the way.

    2. Assess the Condition of Your RV

    Before you start planning your dream redesign, make a quick assessment of your camper. If you’re purchasing an RV specifically to renovate, check the condition of the appliances, windows, tires, water systems, and electrical. You’ll also want to keep an eye out for engine problems, water damage, and frame damage. If you find an issue with your camper after you buy it, get it fixed before starting your renovation.

    3. Decide What You Can DIY

    Renovations can range anywhere from a complete gut job to simpler aesthetic touch ups, requiring different resources and skill levels. If you decide to go the DIY route and not use a professional, it’s best to do a renovation that allows you to work with your RV’s existing structural, electrical, plumbing, and mechanical systems. You know how much you can take on. If a project becomes too much, reach out for help.

    4. Have a Realistic Timeline

    Remodeling your camper will likely take longer than you expect. Knowing and preparing for this in advance can help you avoid future frustrations. Replacing light fixtures can take a few hours, but painting, building shelves and tables, and installing new appliances can be much more time consuming. If you live in your RV full-time, make a plan for where you’ll stay during parts of your renovation. Remember, you can’t tackle all of your ideas at the same time, so keep in mind how long each project will take before you start a new one.

    5. Figure Out Where to Shop

    Shopping doesn’t have to break the bank, especially when you plan ahead. Define your decorating style, whether it’s modern, rustic, or industrial, and shop retailers that have the widest selection. Shopping at just a few intentionally selected stores, instead of running around to a bunch, will save time that can be spent on designing and renovating. Accessories and fixtures specifically for RVs can cost more than they do for homes, so shop around and price compare to get the quality and style you want at a lower price. Popular household furnishing stores also have lightweight furniture that’s perfect for RVs. 

    6. Make a List of What You’ll Need

    As you plan your projects, make a list of the tools, fabrics, paints, and furnishings you’ll need for your remodel and the quantity you’ll need. Power tools like drill sets can add to your budget, so rent or borrow them when possible. Buy extra renovation essentials like painter’s tape, paper or plastic covers, and sanding paper. These can go quicker than you think so it’s always best to have more on hand.

    7. Measure Everything

    Measuring your RV is a critical step in determining the full scope of your project. Use a measuring tape and go room to room to get the dimensions of your camper. Measure once then do it again to make sure all the sizing is correct before you buy anything. Make a note of where switches and outlets are located to avoid blocking them with any new furniture. Don’t forget to also measure the height and width of your RV door to ensure that you can fit your purchases through the opening.

    8. Connect with Other RV Renovators

    Online forums and Facebook groups are a great way to connect with other people who have renovated their campers. Share your remodeling projects, ask for advice, and get ideas from other RV renovators. Follow DIYers on social media for even more designs and tips. What you see from someone else could spark inspiration for your project.


    Now that you have an idea of how to start, get ready to design and remodel your rig. Putting a plan in place early on can make your RV renovation process easier and help keep you on budget. Before you know it, you’ll be on your way across the country in your chic, updated camper. For similar advice, review the RV Renovations resource page, which offers a series of detailed articles, checklists, and videos.