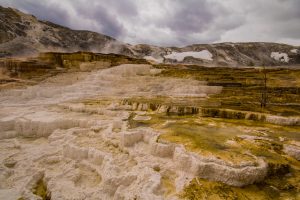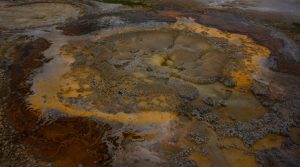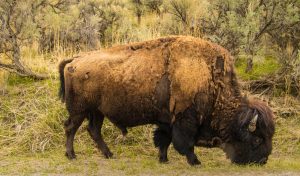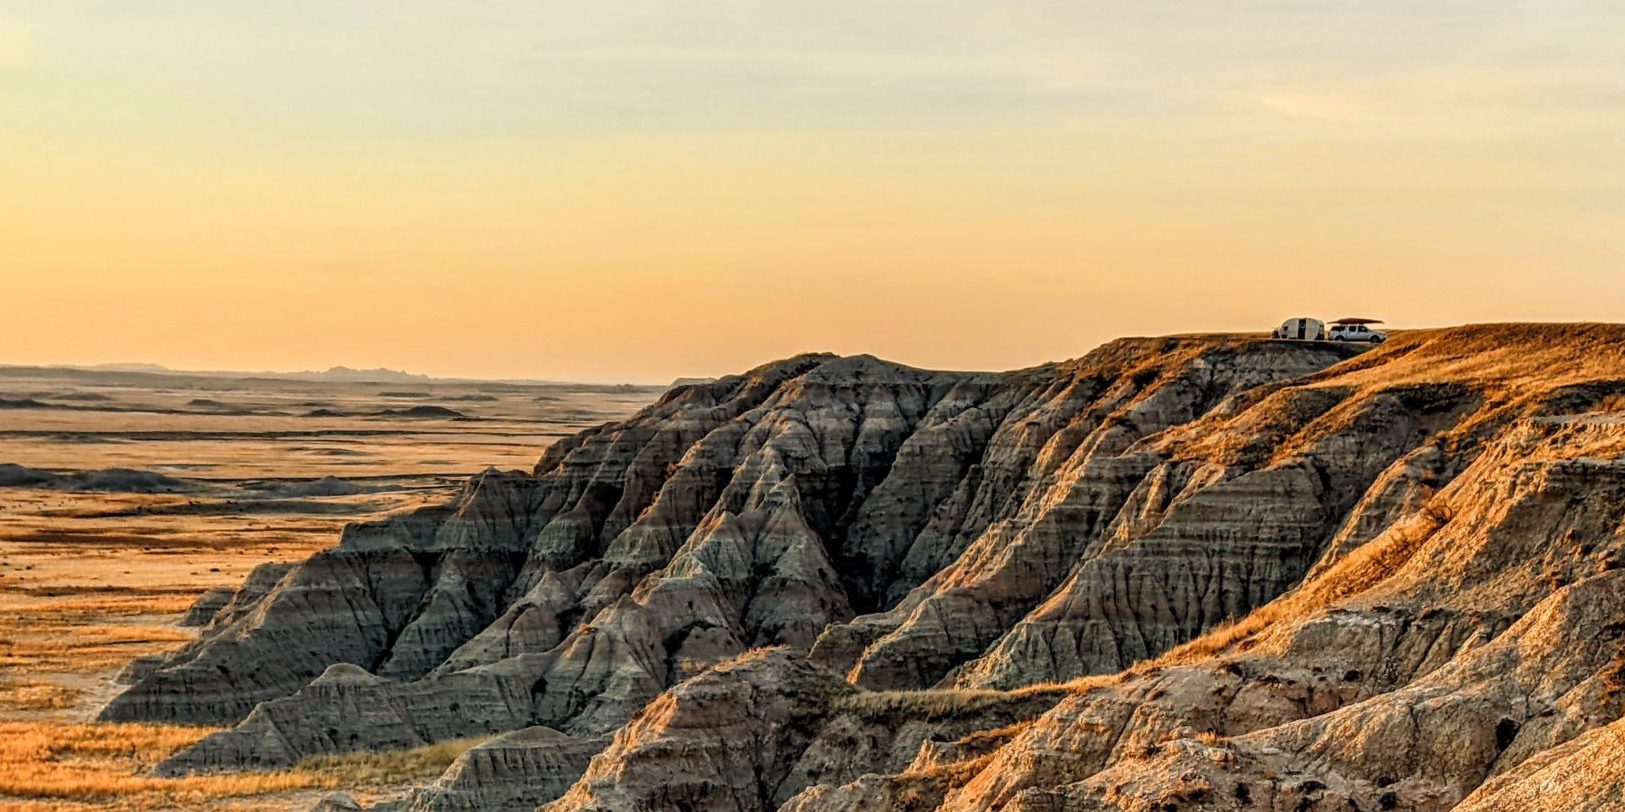
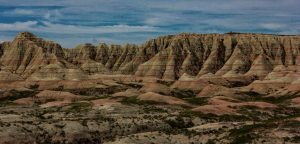
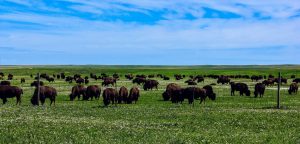
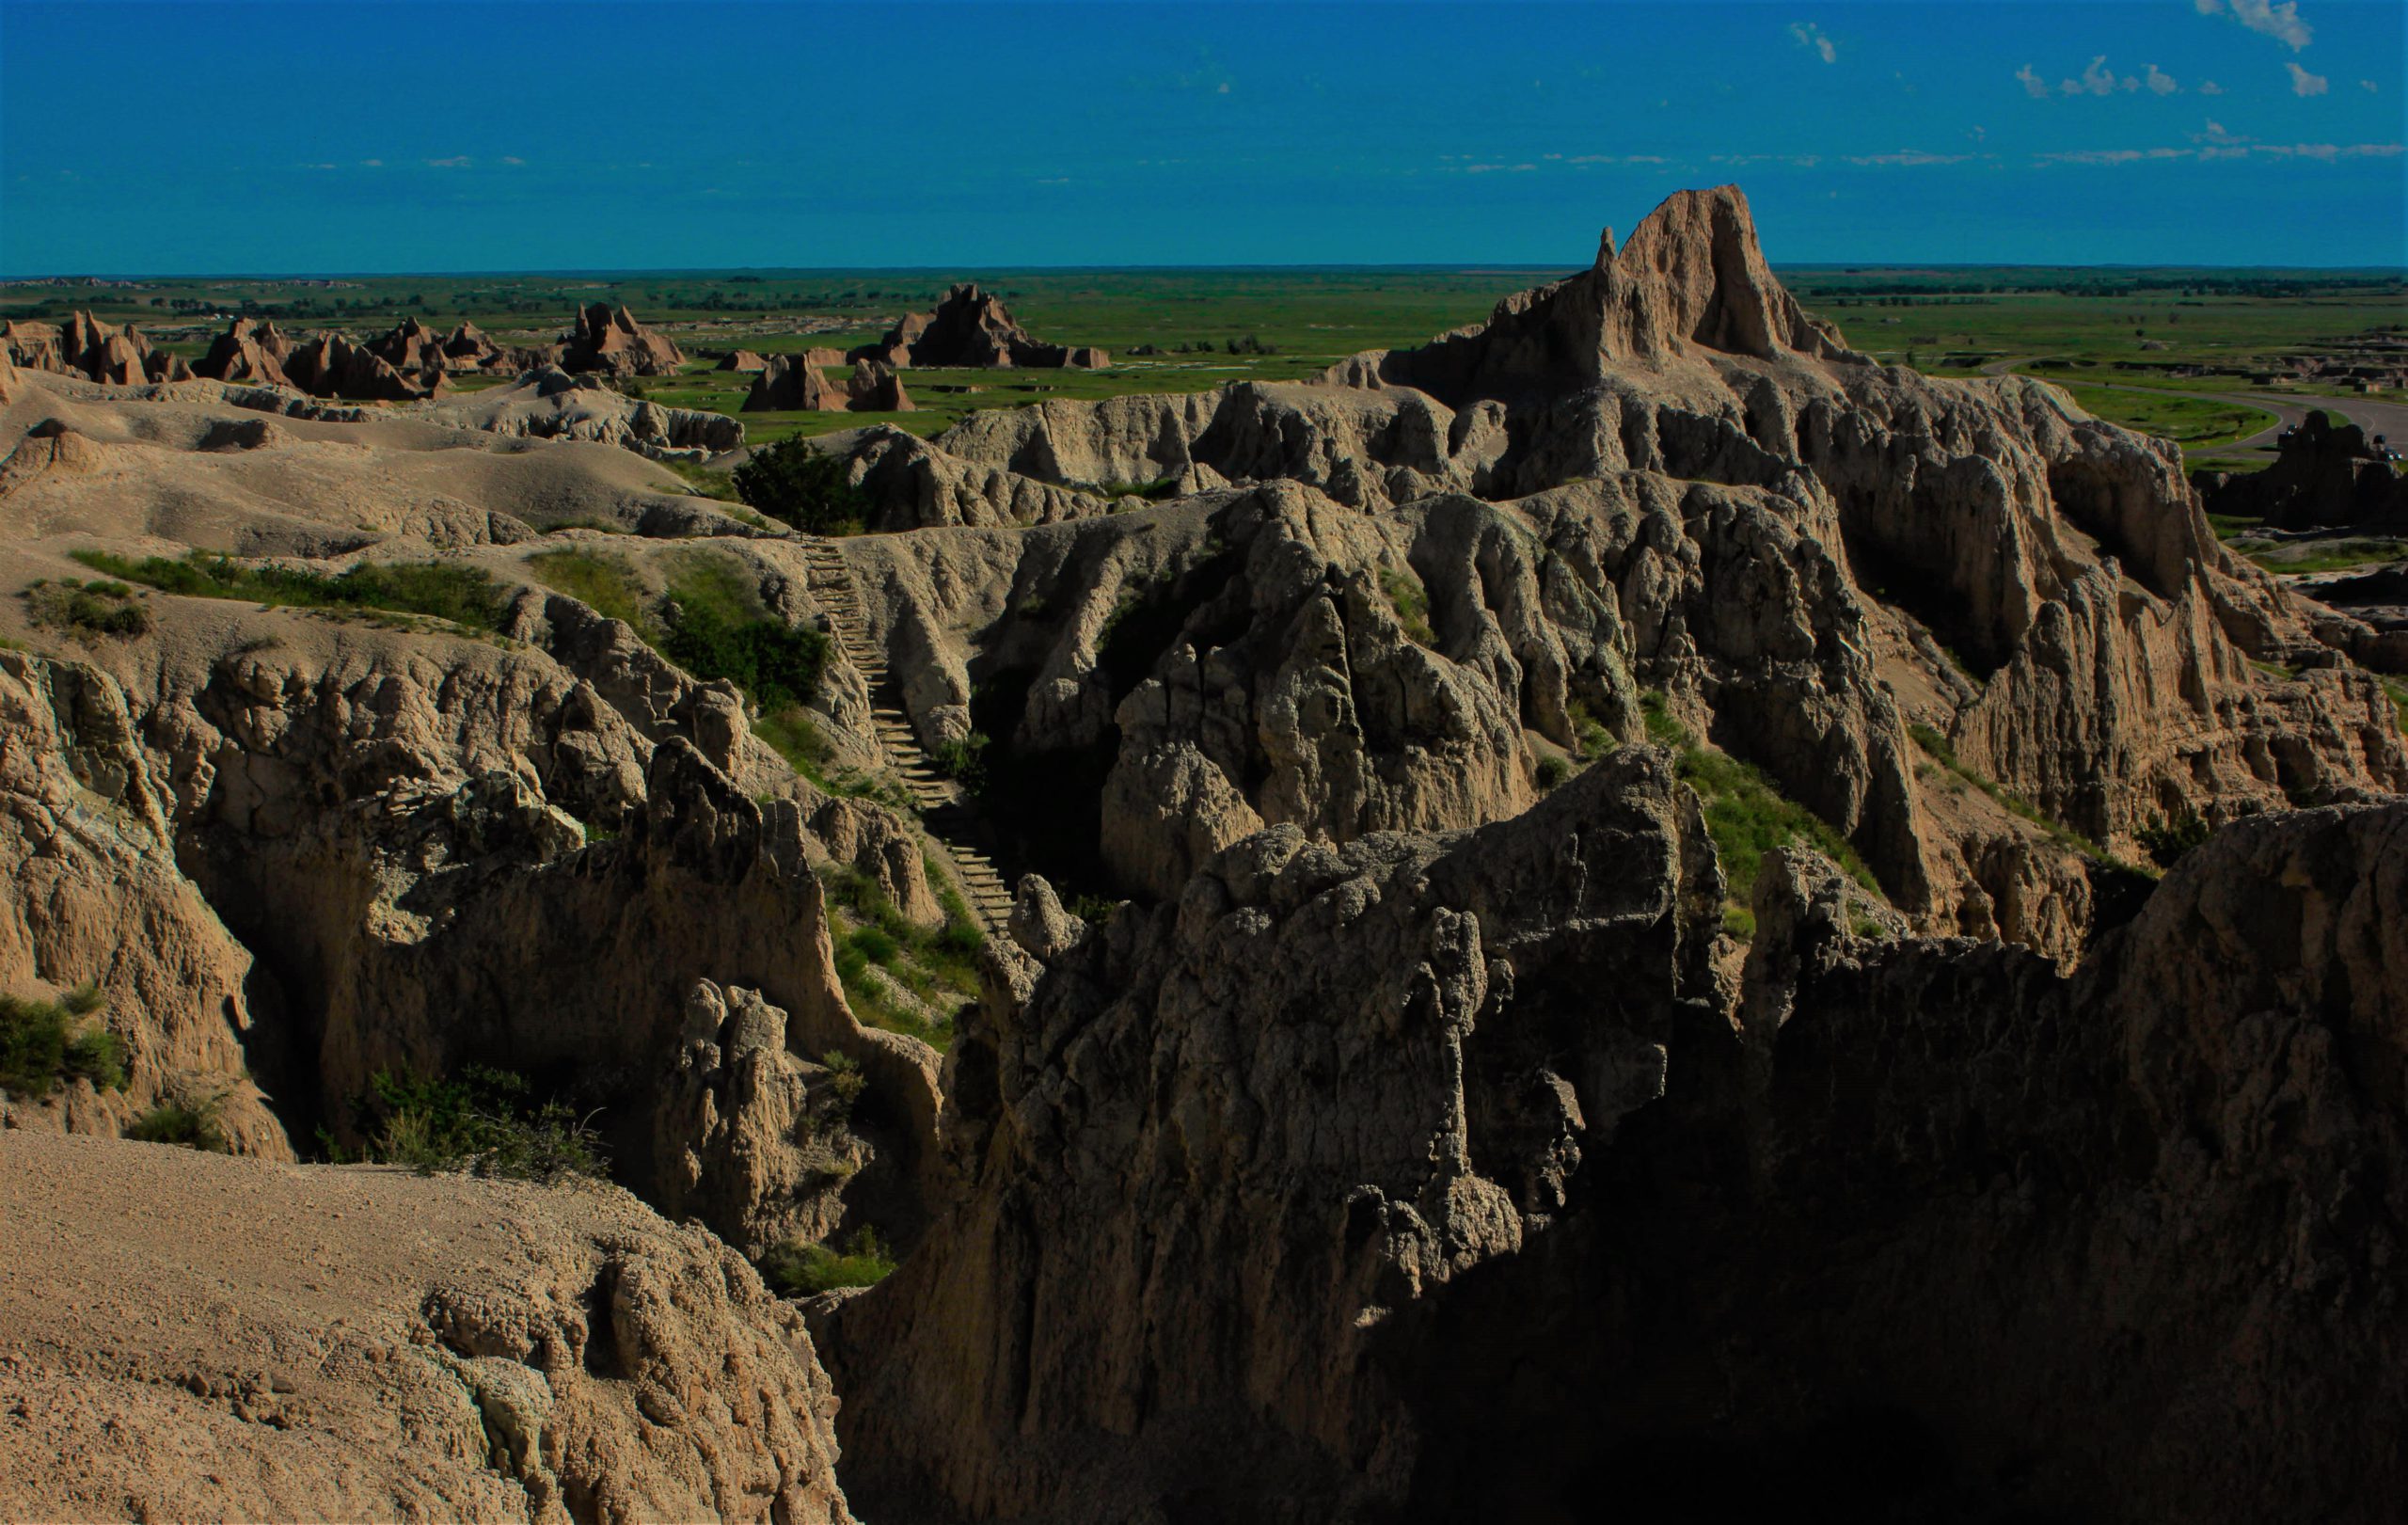
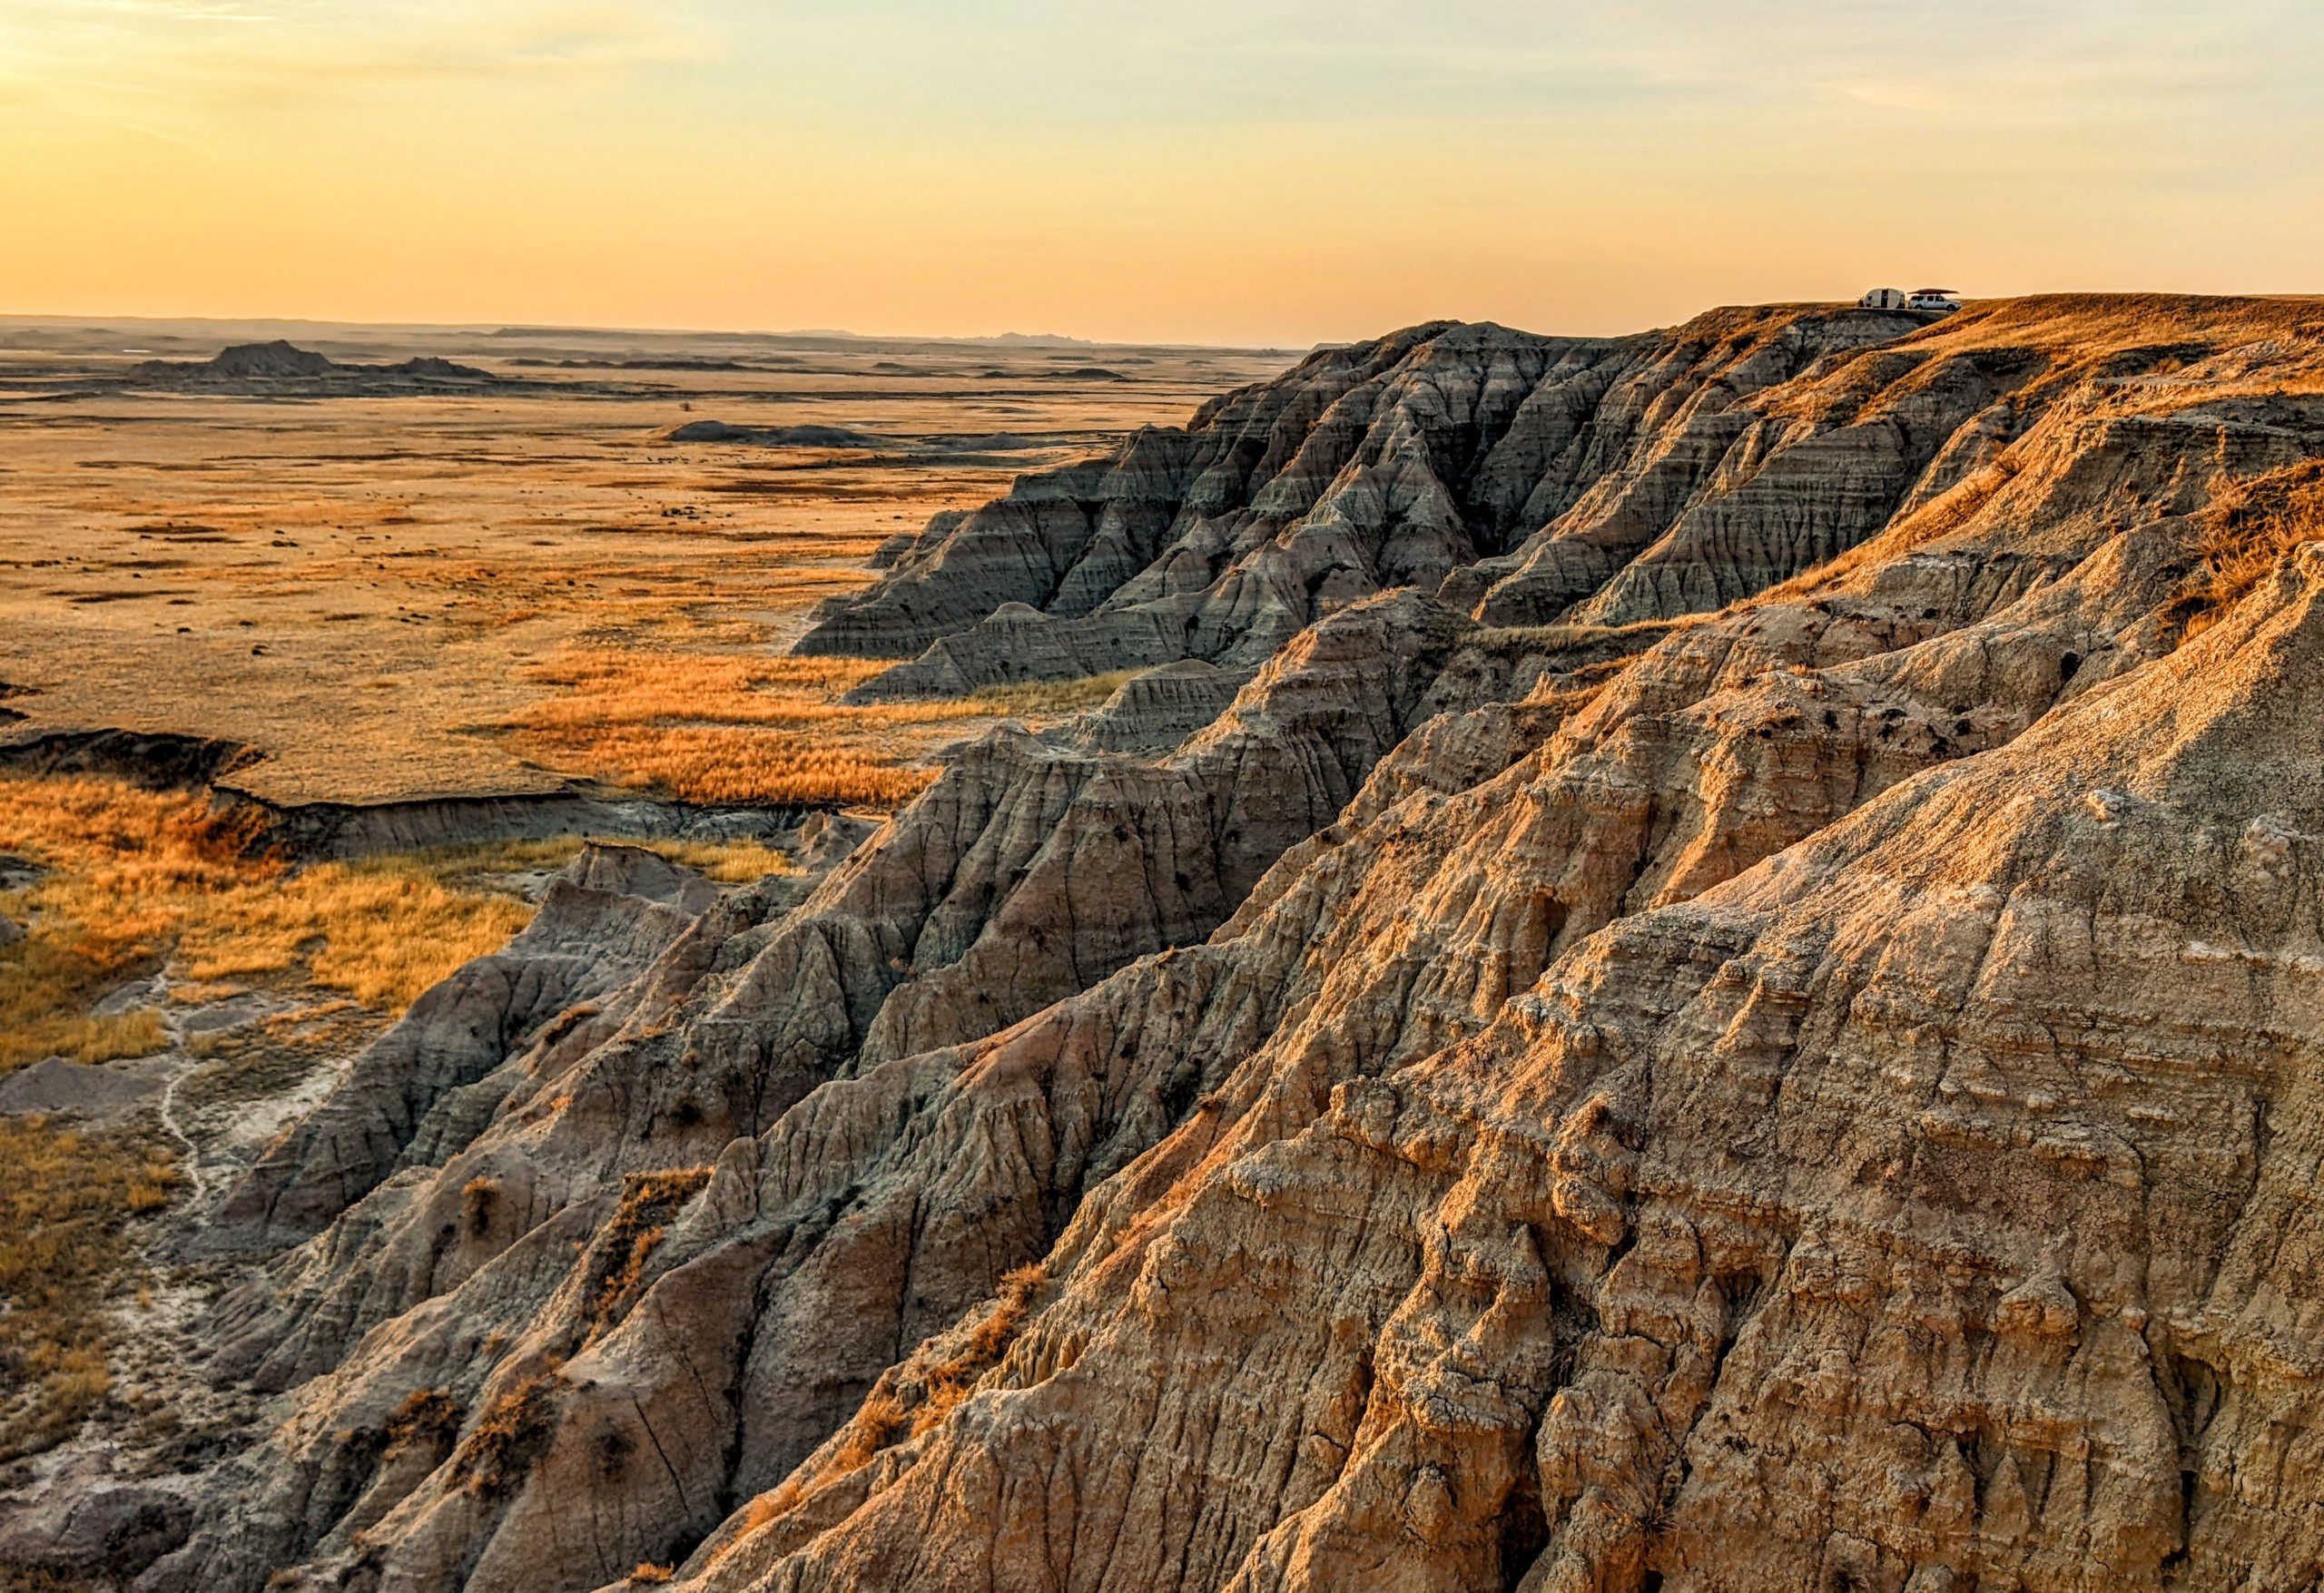
Dramatically eroded mountains painted with colorful geologic deposits and packed with the fossils of ancient creatures, Badlands National Park offers a stunning landscape rising from the South Dakota plains! Appearing like the surface of another planet plunked down on the prairie, this park will transport you. Driving through evening light yields a spectrum of colorful hues that appear to glow in the golden hour. Along with its stark yet striking beauty, this park protects and preserves over 240,000 acres of grassland and prairie where America’s largest land mammal roams, as well as majestic big horn sheep, adorable prairie dogs and black-footed ferrets.
So, you might ask, what’s so bad about the Badlands? The name comes from the people who lived in the area before its national park designation. For hundreds of years, the Lakota people called this area “mako sica,” literally “bad lands.” Early French fur trappers passing through this area referred to it as “les mauvaises terres a traveser” (bad lands to travel across). Since the French trappers spent time with the Lakota, it’s clear that they agreed with the local’s assessment.
Rain in the Badlands makes the wet clay soil slick and sticky, making it very difficult to cross. The jagged canyons and buttes that cover the landscape make it nearly impossible to navigate. With cold and windy winters, hot and dry summers, and the scarce water sources muddy and unsafe to drink, it’s no wonder the early people living near the area referred to it as bad!
Now, here’s the good news: The Badlands are certainly not bad to cross with an RV. Rather, they’re primed for exploration.
Scenic Drives
South Unit is a beautiful part of Badlands National Park, and a drive around its perimeter offers spectacular sights. Whether you’re headed east or west, the South Unit provides access to the White River Visitor Center.
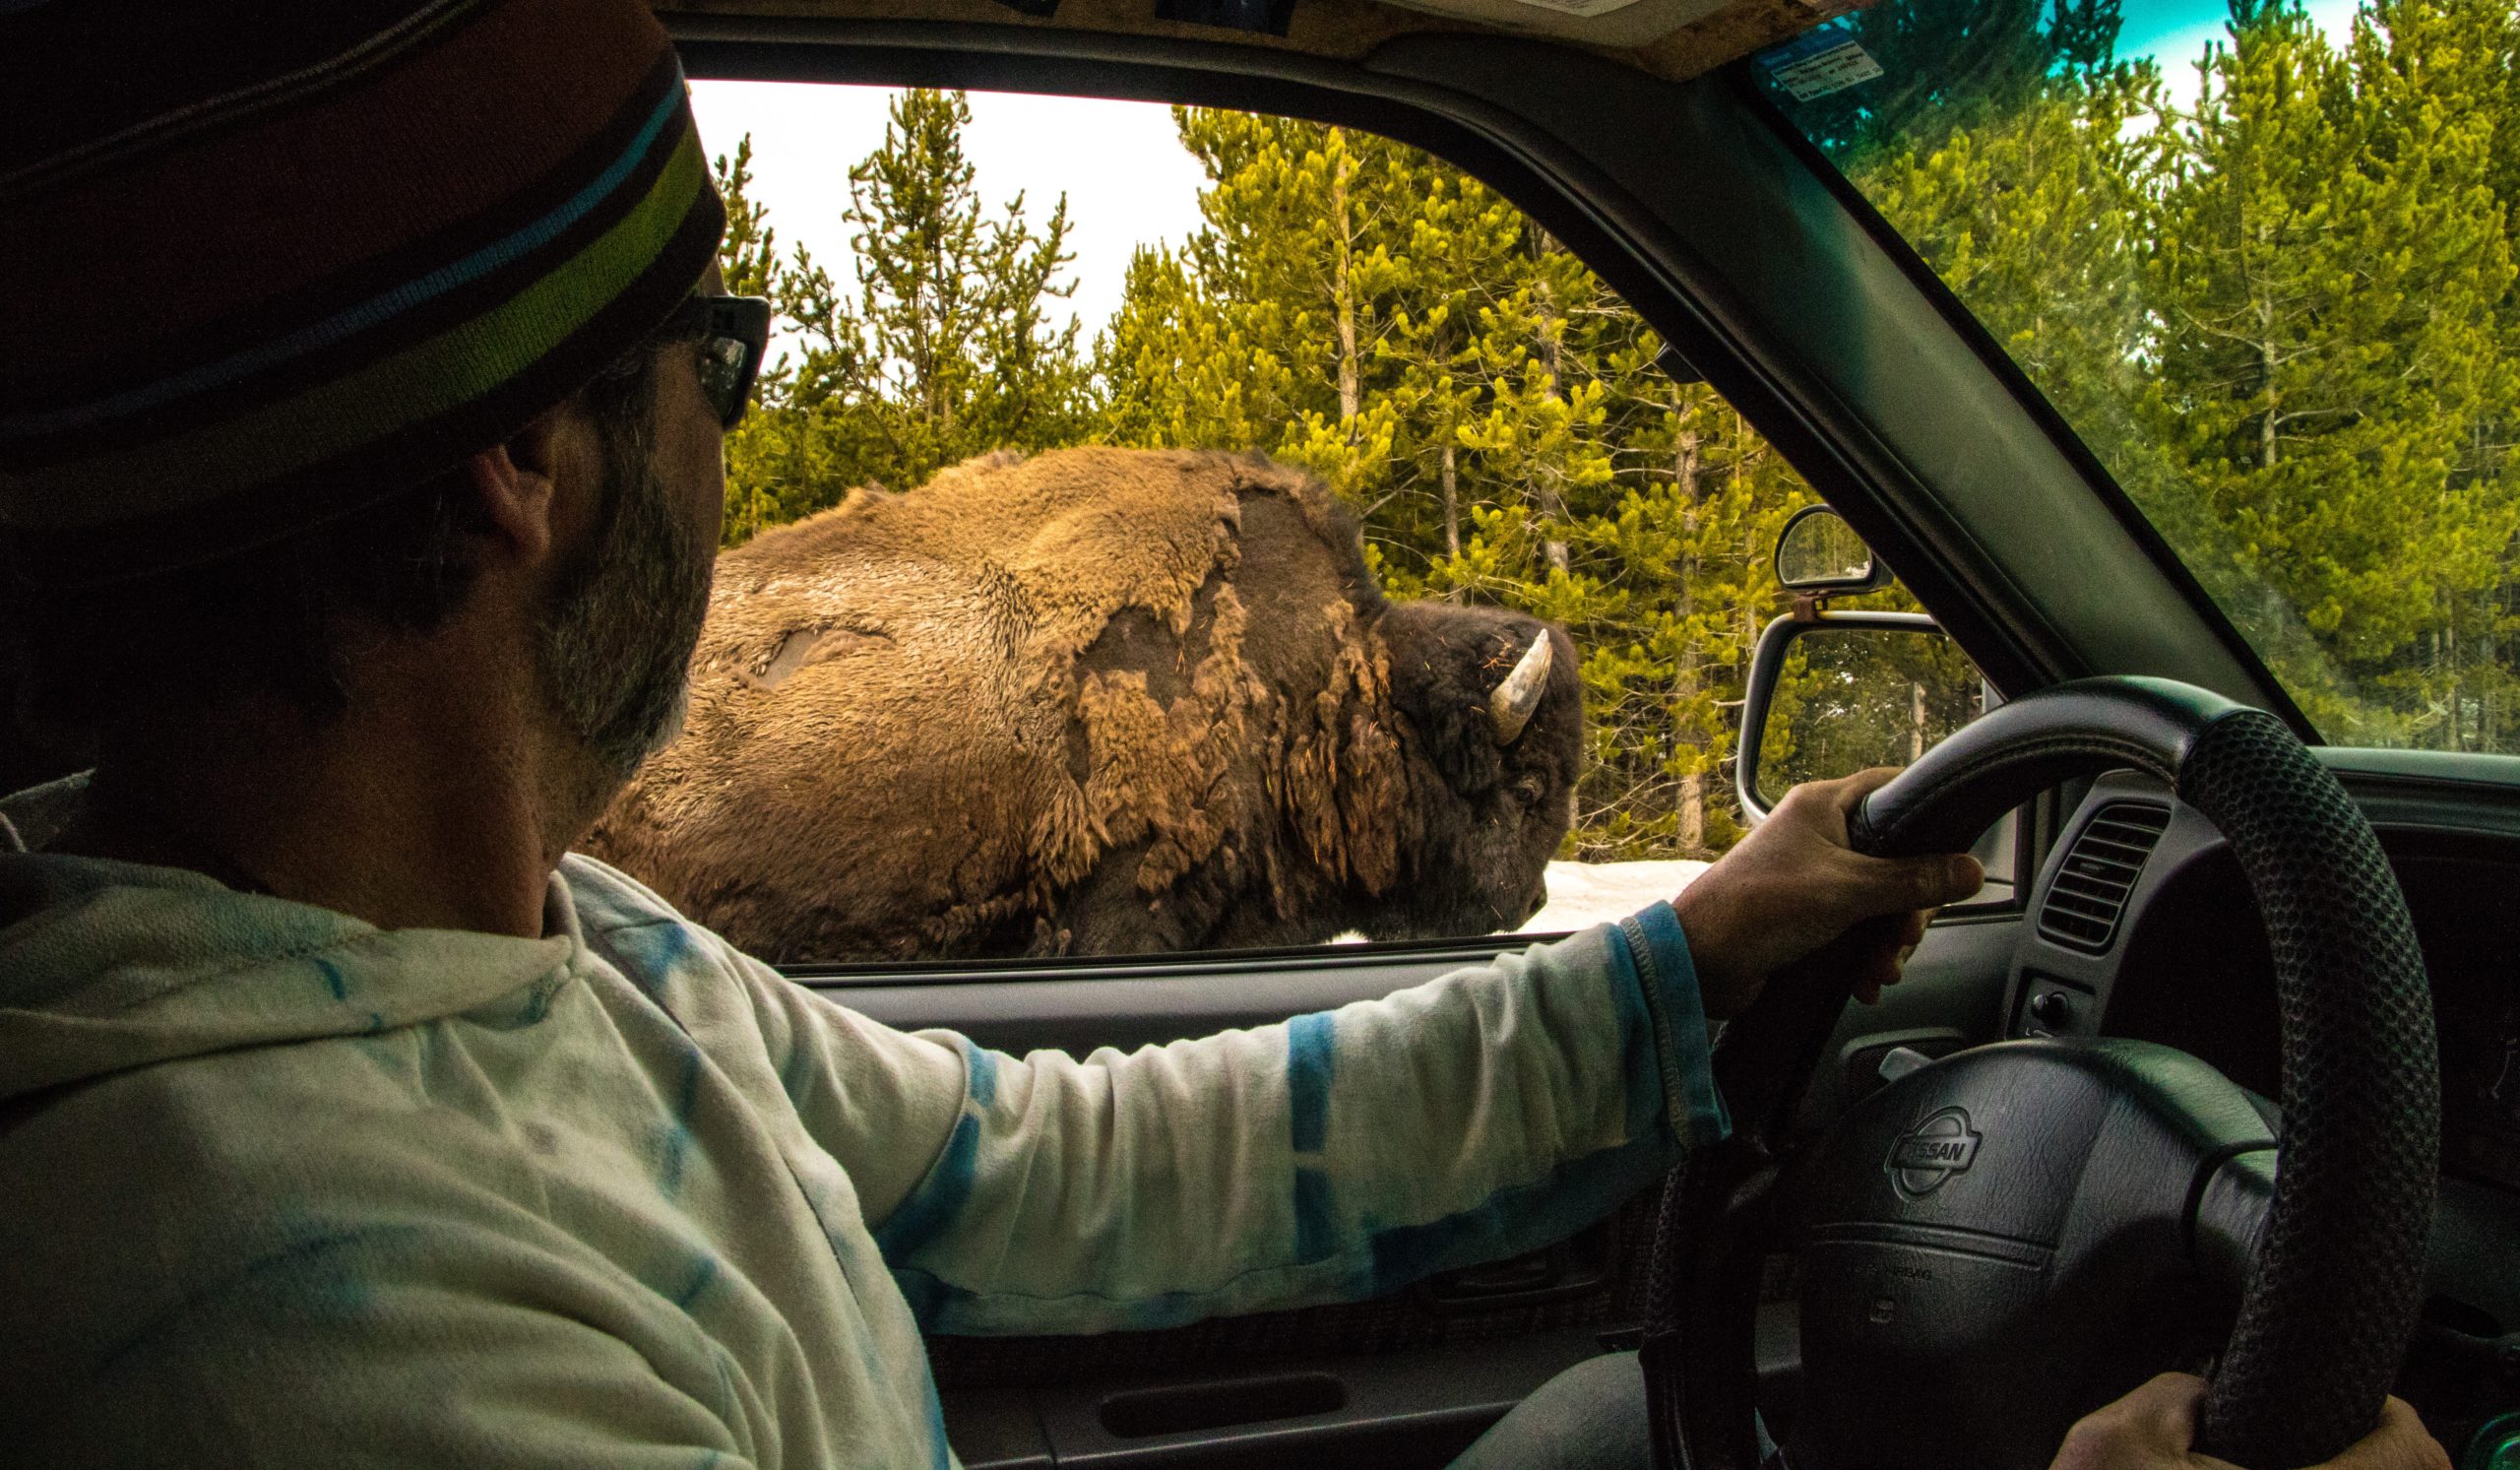
Sage Creek Rim Road offers amazing views from a number of overlooks and pull-offs where you can park safely and enjoy the view. From east to west, the overlooks on Sage Creek Rim Road are: Hay Butte, Badlands Wilderness, Roberts Prairie Dog Town, and Sage Creek Basin. Bison, bighorn, prairie dogs and a wide variety of birds are frequently seen along this road. You can access Sage Creek Campground from this road as well. Note: This dirt/gravel road can be rough during or after storms!
Badlands Loop Road (aka Hwy 240) is a spectacular way to see stunning overlooks and features of the North Unit. Among these are Big Badlands, Prairie Wind, White River Valley, Bigfoot Pass, Yellow Mounds, Pinnacles, Ancient Hunters, and more. In addition to being a stunning drive with easy pullouts, this road provides access to several hiking trails, the Ben Reifel Visitor Center, and Sage Creek Rim Road. Note: This two-lane paved road is appropriate for all motor vehicles, but does include several steep passes and sections with reduced speed limits. And always keep an eye out for wildlife!

Must-Hike Trails
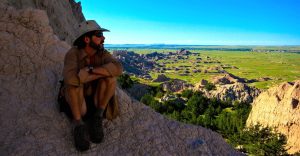
Whether you’re looking for a short, easy boardwalk trail or a more challenging trail through Badlands terrain, there is a hike in the park for everyone. In addition to developed trails, Badlands National Park has an Open Hike Policy. You are allowed to hike off-trail and explore social trails like Deer Haven, the Sage Creek Wilderness Area, or any other part of the park you can visit safely. Just know your limits and bring plenty of water!
Easy and Accessible Trails
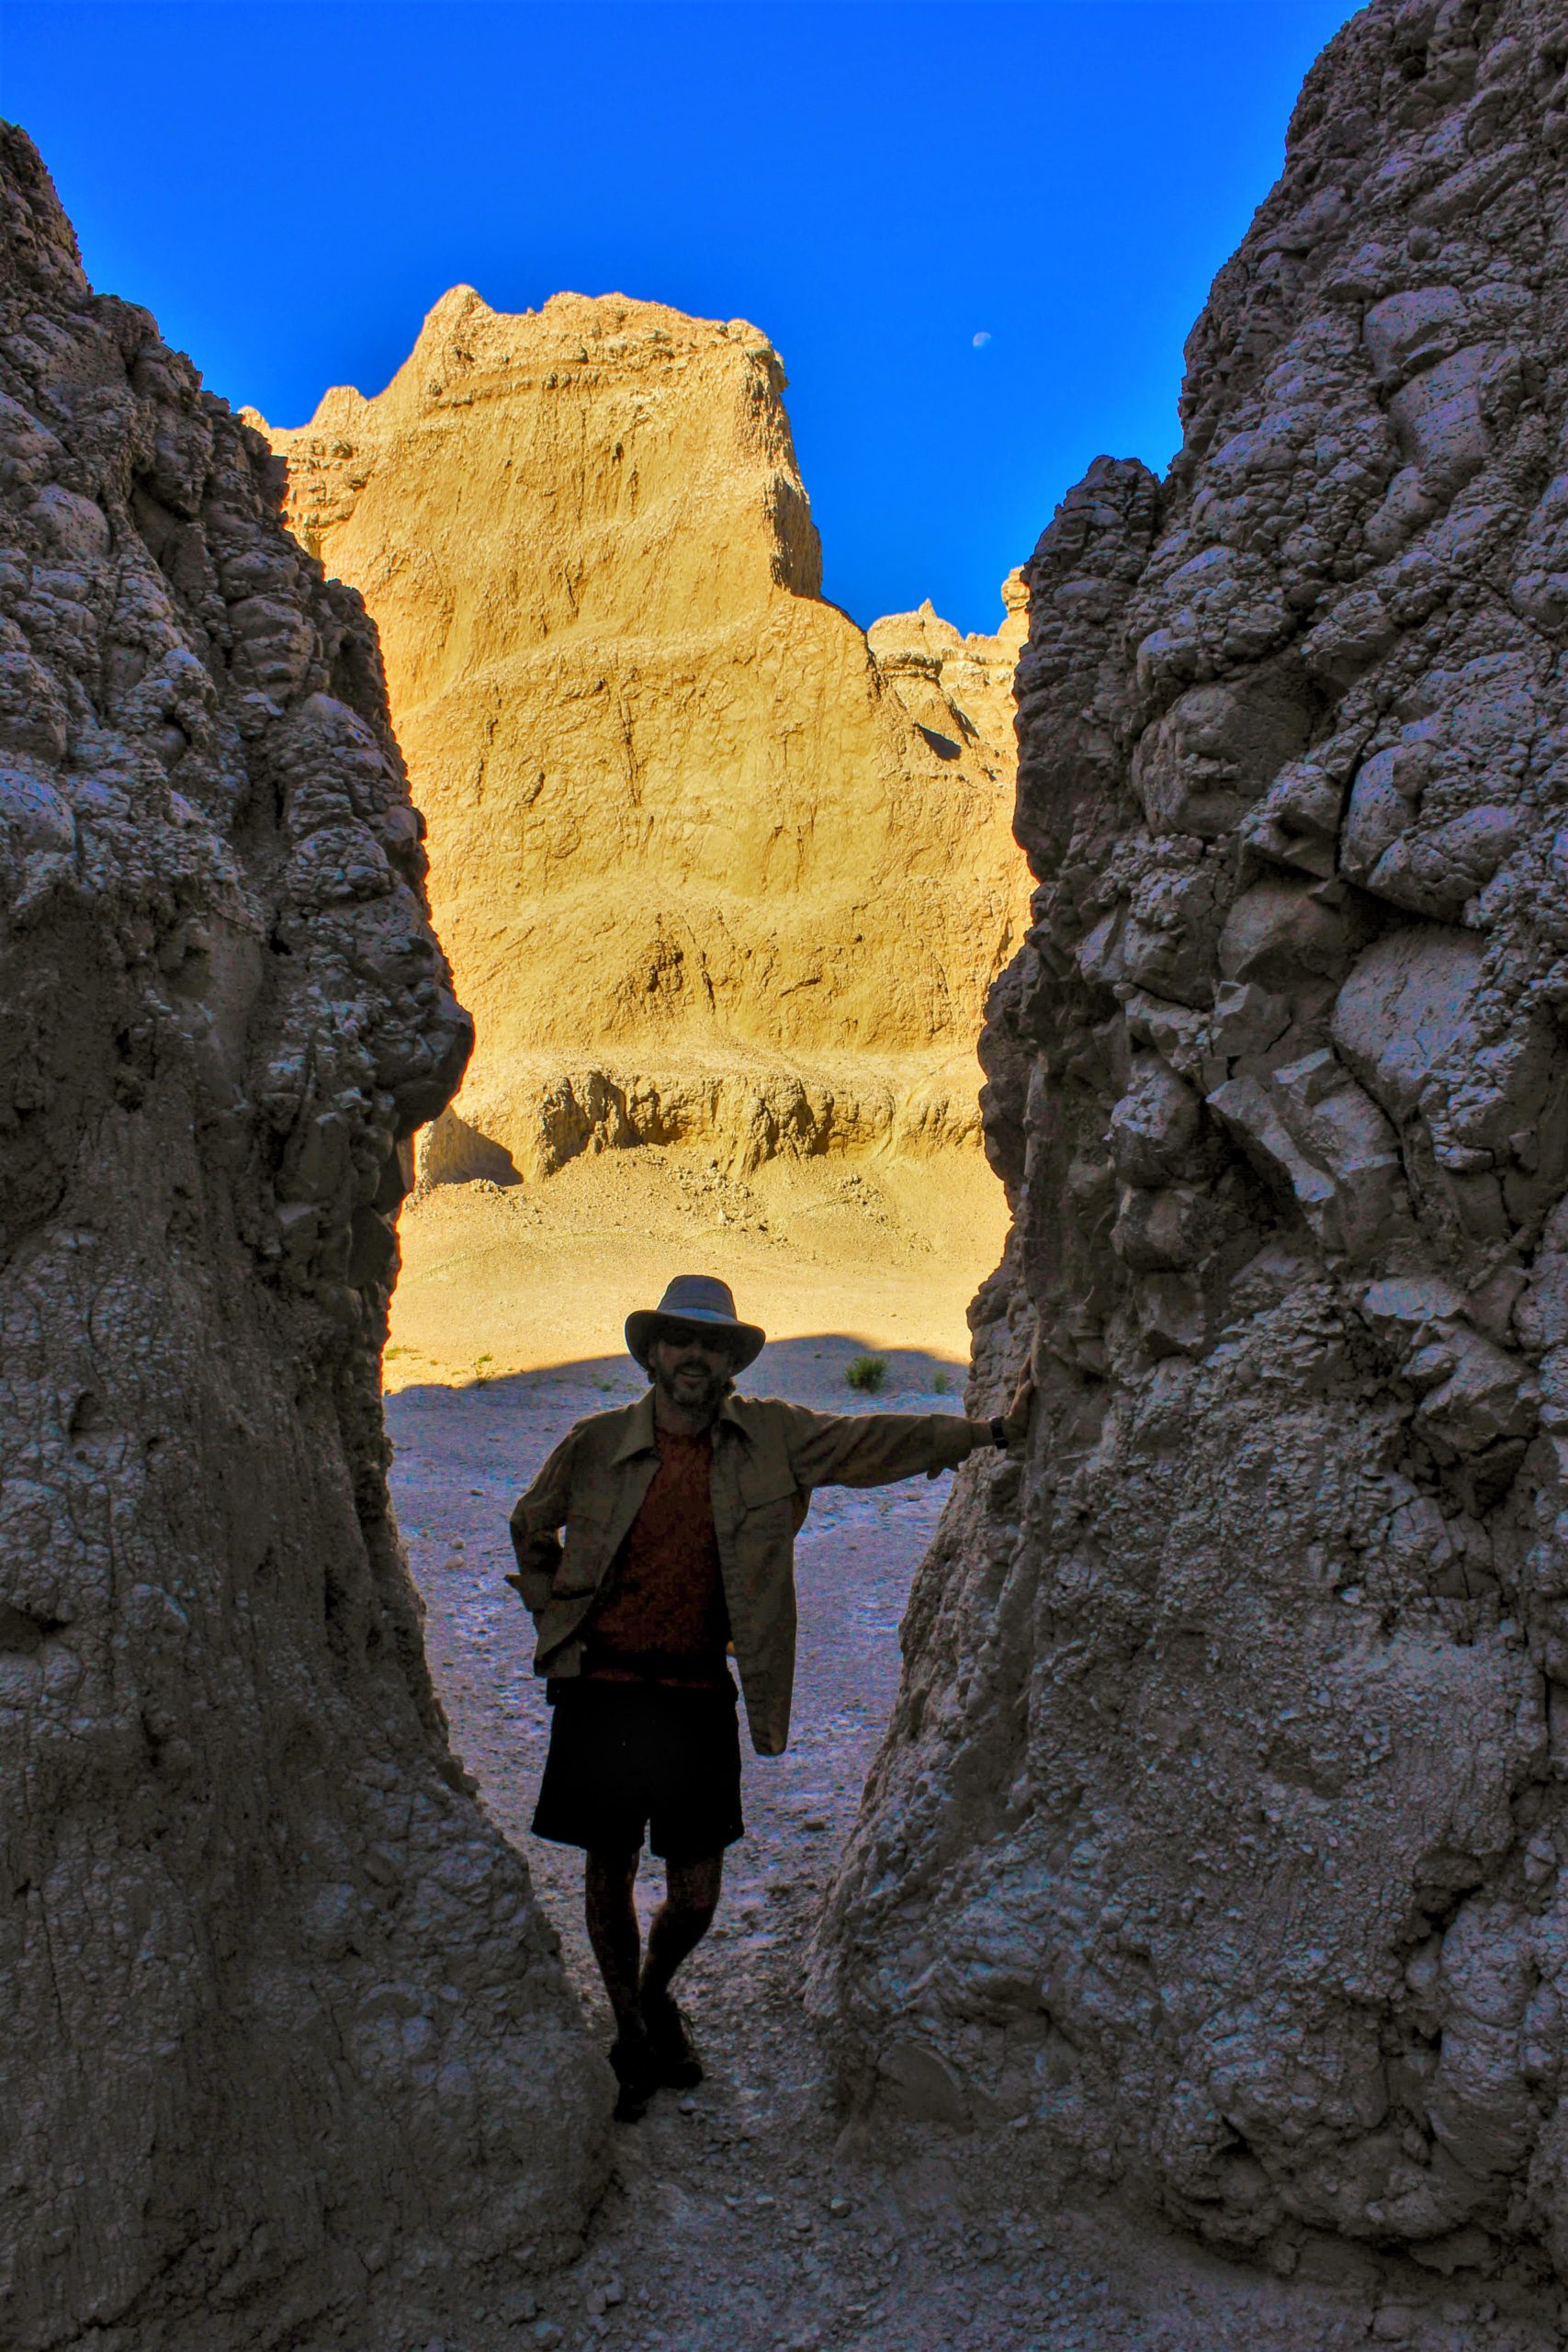
Door Trail. An accessible quarter-mile boardwalk leads through a break in the Badlands Wall known as “the Door” and to a view of the Badlands. From there, the maintained trail ends but hikers may continue. Distance: 0.75 miles roundtrip
Fossil Exhibit Trail. This fully accessible boardwalk trail features fossil replicas and exhibits of now extinct creatures that once roamed the area. Distance: 0.25 miles roundtrip)
Window Trail. This short trail leads to a natural window in the Badlands Wall with a view of a beautiful intricately eroded canyon. Distance: 0.25 miles roundtrip)
Moderate to Strenuous Trails
Castle Trail. The longest trail in the park begins at the Door and Window parking area and travels five miles one way to the Fossil Exhibit Trail. Relatively level, the path passes along some stunning Badlands formations. Distance: 10 miles roundtrip
Medicine Root Loop. This rolling trail connects with the Castle Trail near the Old Northeast Road and at the intersection of the Castle and Saddle Pass Trails. Hikers will enjoy the mixed grass prairie with long range views of the Badlands. Distance: 4 miles roundtrip
Notch Trail. Short but considered moderate to strenuous. After meandering through a canyon, this trail climbs a log ladder and follows a ledge to “the Notch” for a dramatic view of the White River Valley. Not recommended for anyone with a fear of heights and can be treacherous during or after heavy rains. Distance: 1.5 miles roundtrip
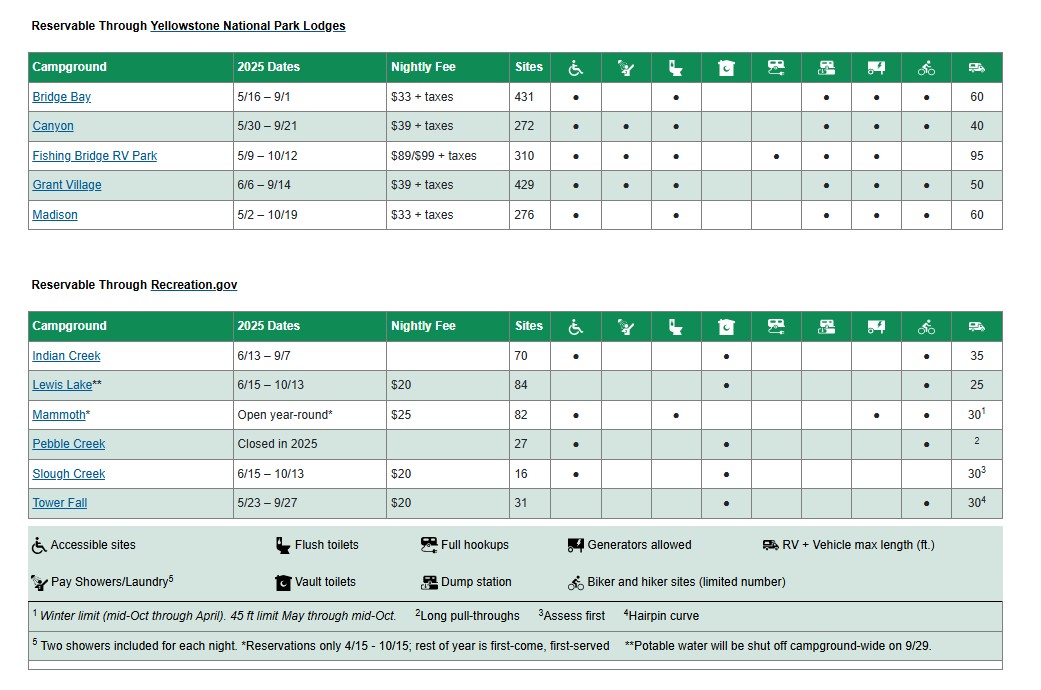
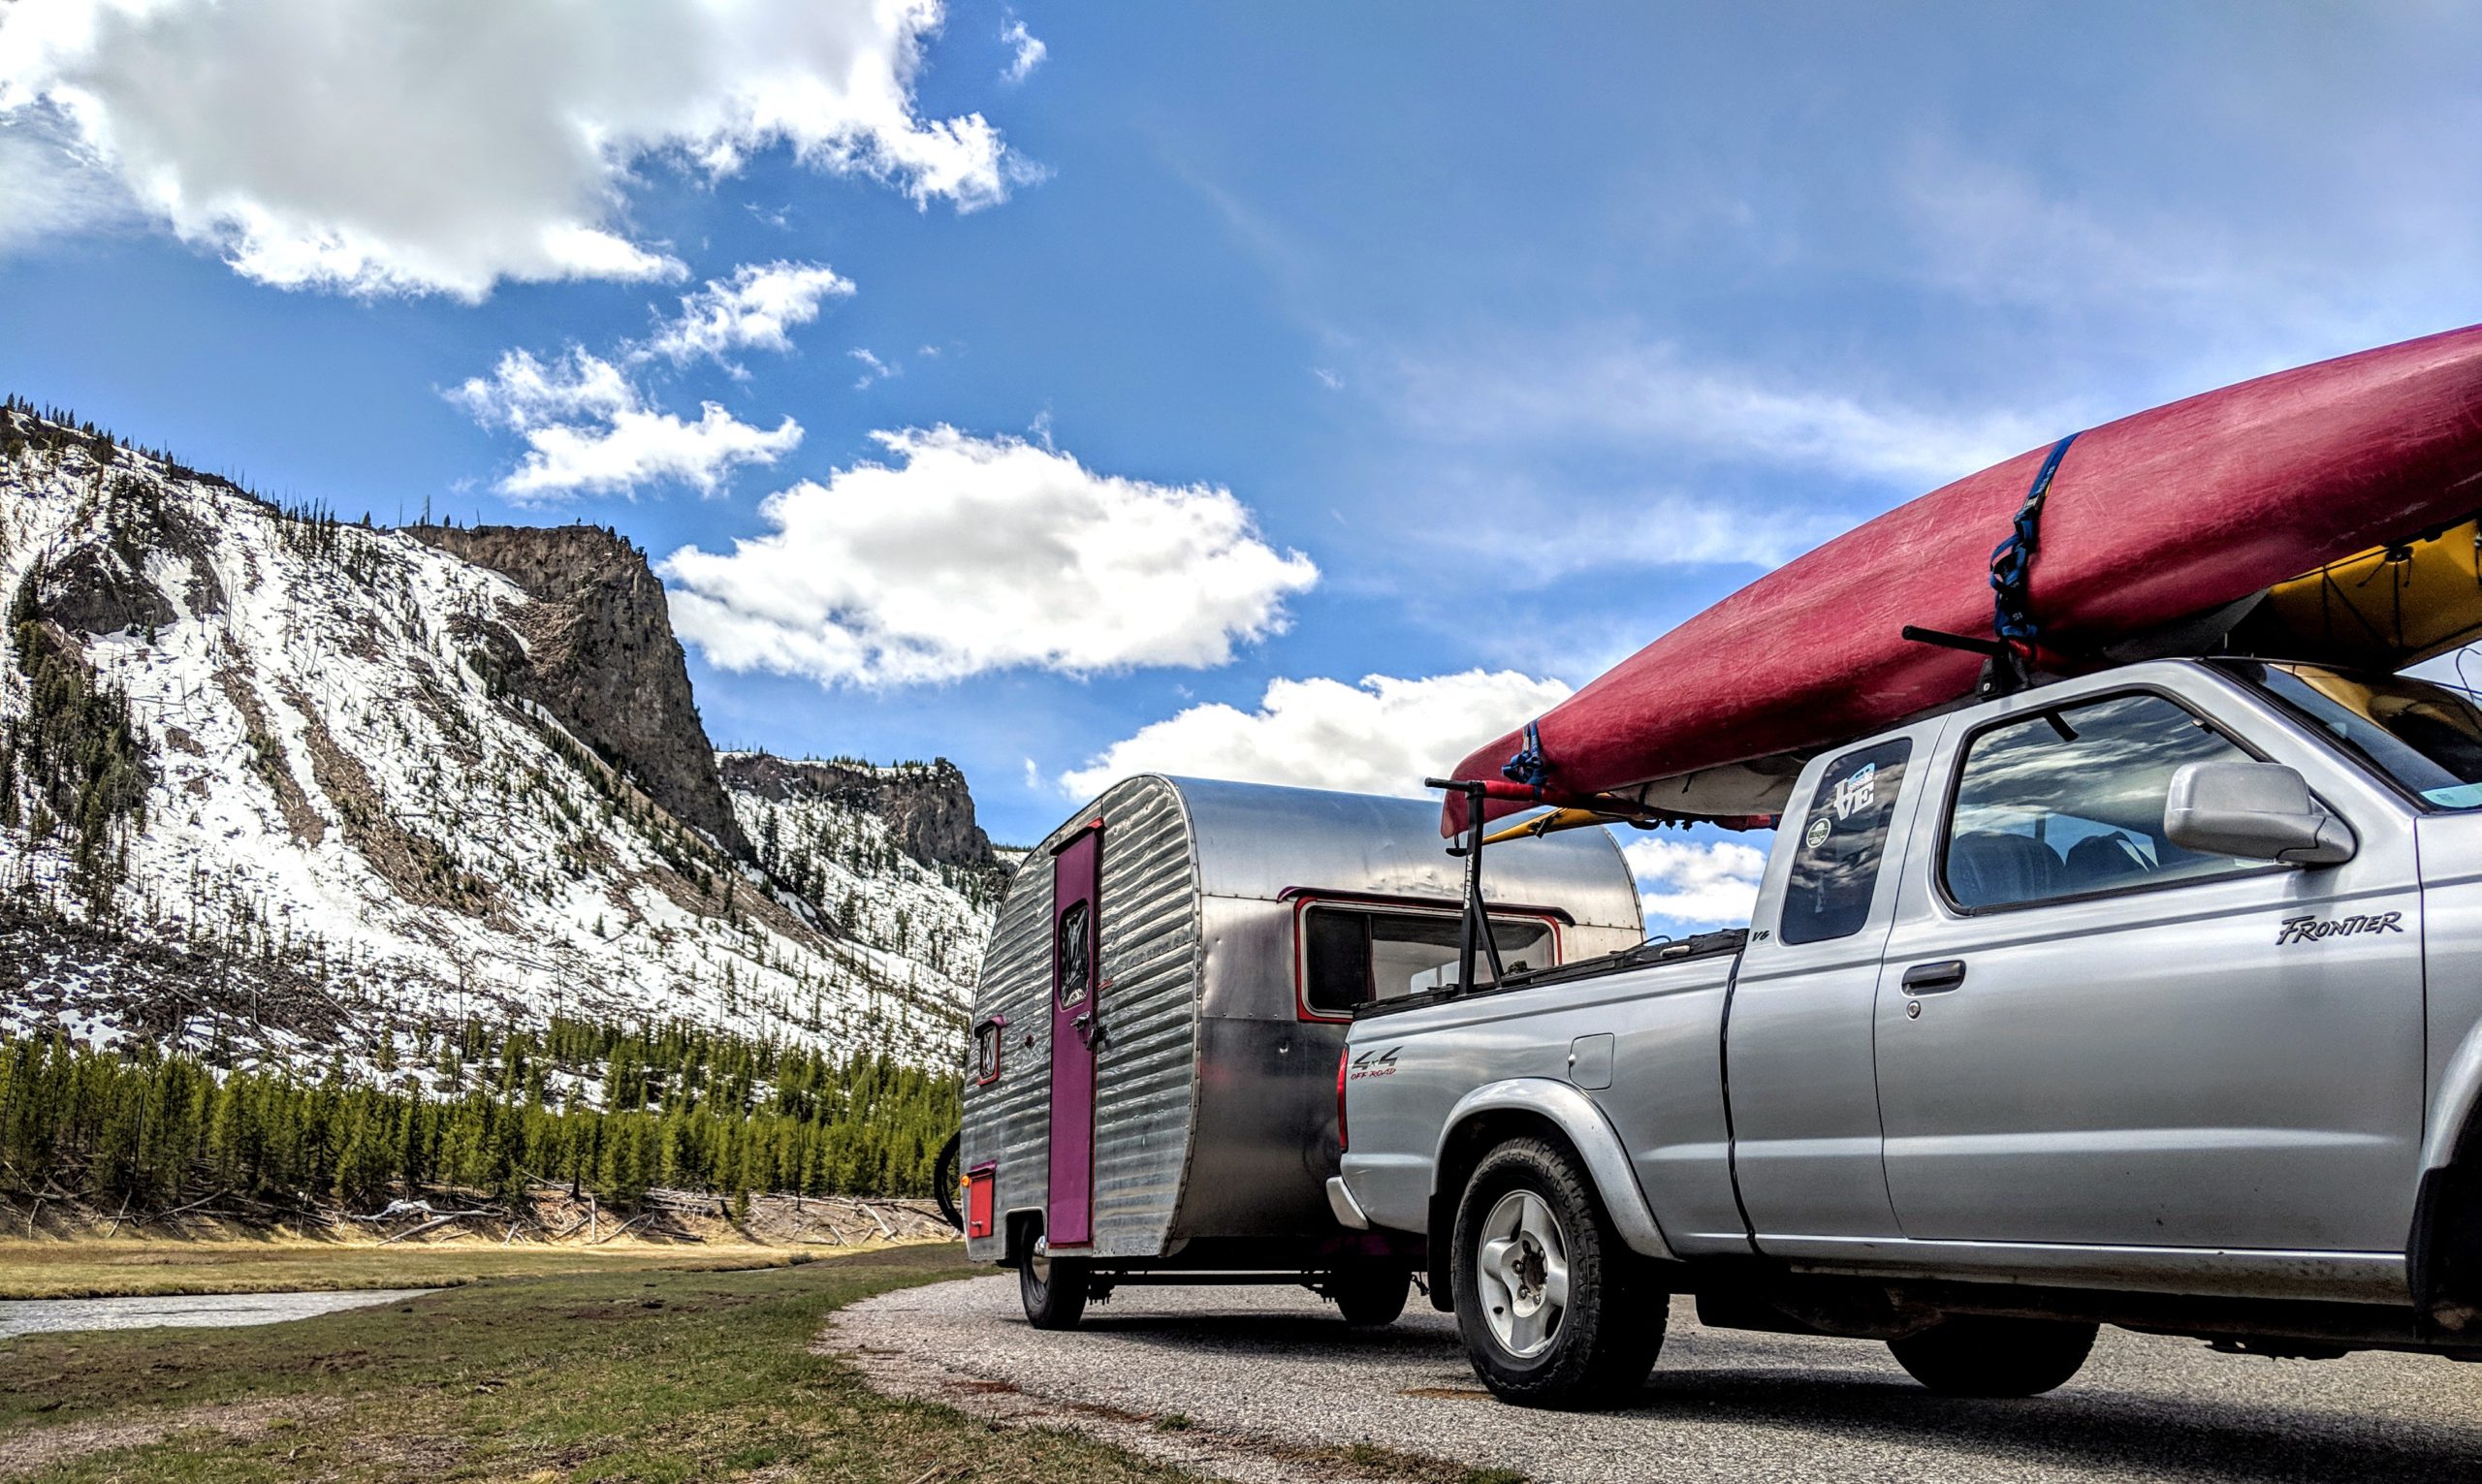
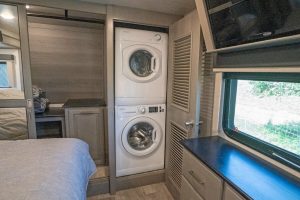
RV Parks & Campgrounds
Park Campgrounds
There are just two established campgrounds within the park, located on opposite ends. Cedar Pass is very modern and located within walking distance to the visitor center, Sage Creek is very rustic and remote.
- Cedar Pass RV & Campground offers amenities such as paved sites, accessible sites/bathrooms, flush toilets, showers, dump station, water, and a general store. The 96 sites offer scenic views of the badlands formations. Both electric and non-electric sites are available and the campground is open year-round with limited availability in the winter season. Reservations are recommended from late March through mid-late October.
- Sage Creek Campground is a free, first-come first-serve campground with 22 sites located on Sage Creek Rim Road, an unpaved road that may temporarily close after winter storms and spring rains. Motor homes, pull behind trailers, and other RV’s greater than 18 feet are prohibited. This limitation does not apply to horse trailers as a portion of the Sage Creek Campground is designated for horse use. Pit toilets and covered picnic tables are available, but not water. Generators are NOT permitted due to fire danger.
Public and Private Campgrounds
The greater Badlands and Buffalo Gap National Grassland area offers many camping options from RV resorts to dispersed boondocking:
- Several RV parks are located in the nearby communities of Wall (north of the park) and Interior, South Dakota (south of the park).
- Buffalo Gap National Grassland developed campgrounds are also a great option, in addition to many dispersed camping areas just a few miles from the park.
- Harvest Hosts and Boondockers Welcome offers members several camping options within an hour’s drive of the park.
Seasonal Advice
Welcome to the land of extremes! Weather swings from each side of the thermometer from 116 to minus 40 degrees Fahrenheit. Summers in Badlands National Park are hot and dry with occasional violent thunderstorms. Winters are typically cold with 12 to 24 inches of snowfall. During any season sudden and dramatic weather changes are common. (So, come prepared.) While summer sees the most visitors, the spring and fall offer the most pleasant temperatures.
While visiting in late March 2022, we experienced some beautiful days of bright sunshine and daytime highs into the 70s. But we also hunkered down during a late season blizzard that nearly closed the interstate. The winds on I-90 can be furious. Once, during a winter storm, several RVs and tractor trailers were overturned between Wall and Rapid City. Remember that no itinerary schedule is worth having to call a tow truck. Take your time and wait it out!
Unique Programs & Opportunities
Fossil Preparation Lab
Located in the Ben Reifel Visitor Center, this working paleontological laboratory gives visitors the chance to watch paleontologists at work. Observers can also learn more about ongoing science within the park. This includes identifying species based on fossil characteristics, removing rock from fossils, and preparing and cataloguing finished specimens for display. The lab is typically open everyday from the second week in June through the third week in September.
Night Sky Viewing
Although light pollution threatens dark skies across the globe, the Badlands are nestled in a corner of the Great Plains where light pollution is not a large issue. On any given night, visitors will be exposed to more than 7,500 stars, along with the Milky Way Galaxy. Night sky views include not only galaxies but star clusters, nebulae, planets and moons. Join park rangers and astronomy volunteers each night in the summer after the Evening Program for a Night Sky Viewing. The time of this program is subject to change due to sunset, but the location is always the same at the Cedar Pass Amphitheater. For an extra special treat in July, visit the park during the Annual Badlands Astronomy Festival. This event brings together space science professionals, amateur astronomers, educators, youth groups, and park visitors for a stellar experience.
Ranger-Led Programs
From Geology Walks to Porch Talks and Fossil Walks to Night Sky Programs, there is so much to learn from Park Rangers during a visit to the Badlands! During the summer months, many different programs are offered daily. Check the schedule online or at one of the visitor centers during your visit.
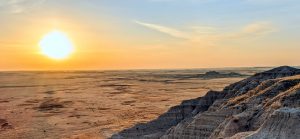
Sunrise and Sunsets
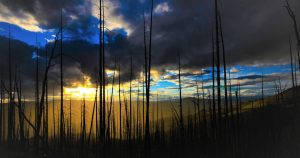
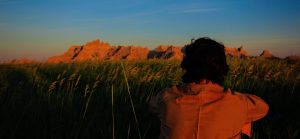
Some of the most stunning times to experience the Badlands are at the beginning and end of the day. These times are when the low angle sunlight enhances the diversity of hues, creates dramatic shadows, and illuminates the area’s many moods.
- For sunrises try the Big Badlands Overlook, the Door Trail, the Norbeck Pass area, the Dillon Pass area, and Panorama Point, just west of Bigfoot Pass. Each of these areas provide views of the sunrise itself, along with the first rays of light that hit pinnacles facing east.
- For sunsets try Pinnacles Overlook, Conata Basin Overlook, Bigfoot Pass Picnic Area, and the Norbeck Pass area. Walking the Castle Trail (west for sunrise, east for sunset) is a great way to view the changing light on the north side of the Wall. It also provides a wonderful opportunity to explore and immerse yourself in the environment.
Horseback Riding
While no commercial horse rental or day rides are available in the park, Badlands offers horse owners a chance to explore the Badlands Wilderness Area. This expanse consists of 64,000 acres of eroded spires and mixed-grass prairie, or other areas of the park via horseback. Horseback riding is allowed in any area of the park outside of marked trails, roads, highways, and developed areas.
Bicycling
Visitors planning on exploring by bicycle should be aware that bicycles are only allowed on designated paved, gravel, and dirt roads within Badlands National Park. As such, they are not allowed on hiking trails, closed roads, off-road, off-trail, or in backcountry areas.
*****
We recommend at least three to five days in Badlands National Park. It also make a lot of sense to combine it with a visit to other fantastic area attractions such as Wind Cave, Jewel Cave, Minutemen Missile Historic Site, Custer State Park, Mt. Rushmore, Crazy Horse, and more. South Dakota is loaded with fascinating things to see and do! Come prepared for whatever nature brings your way. Also, drink plenty of water (at all times of the year), and you’ll have a wonderful time exploring this fascinating national park!