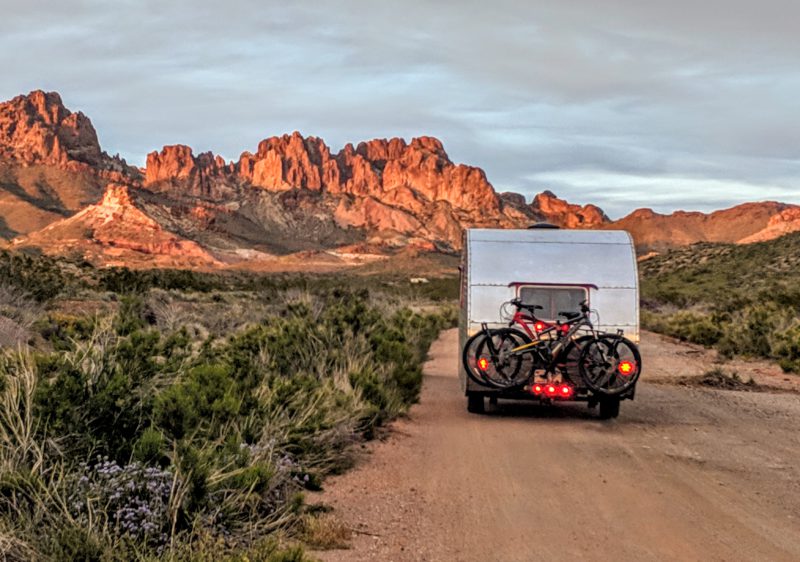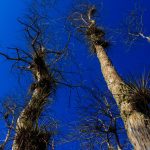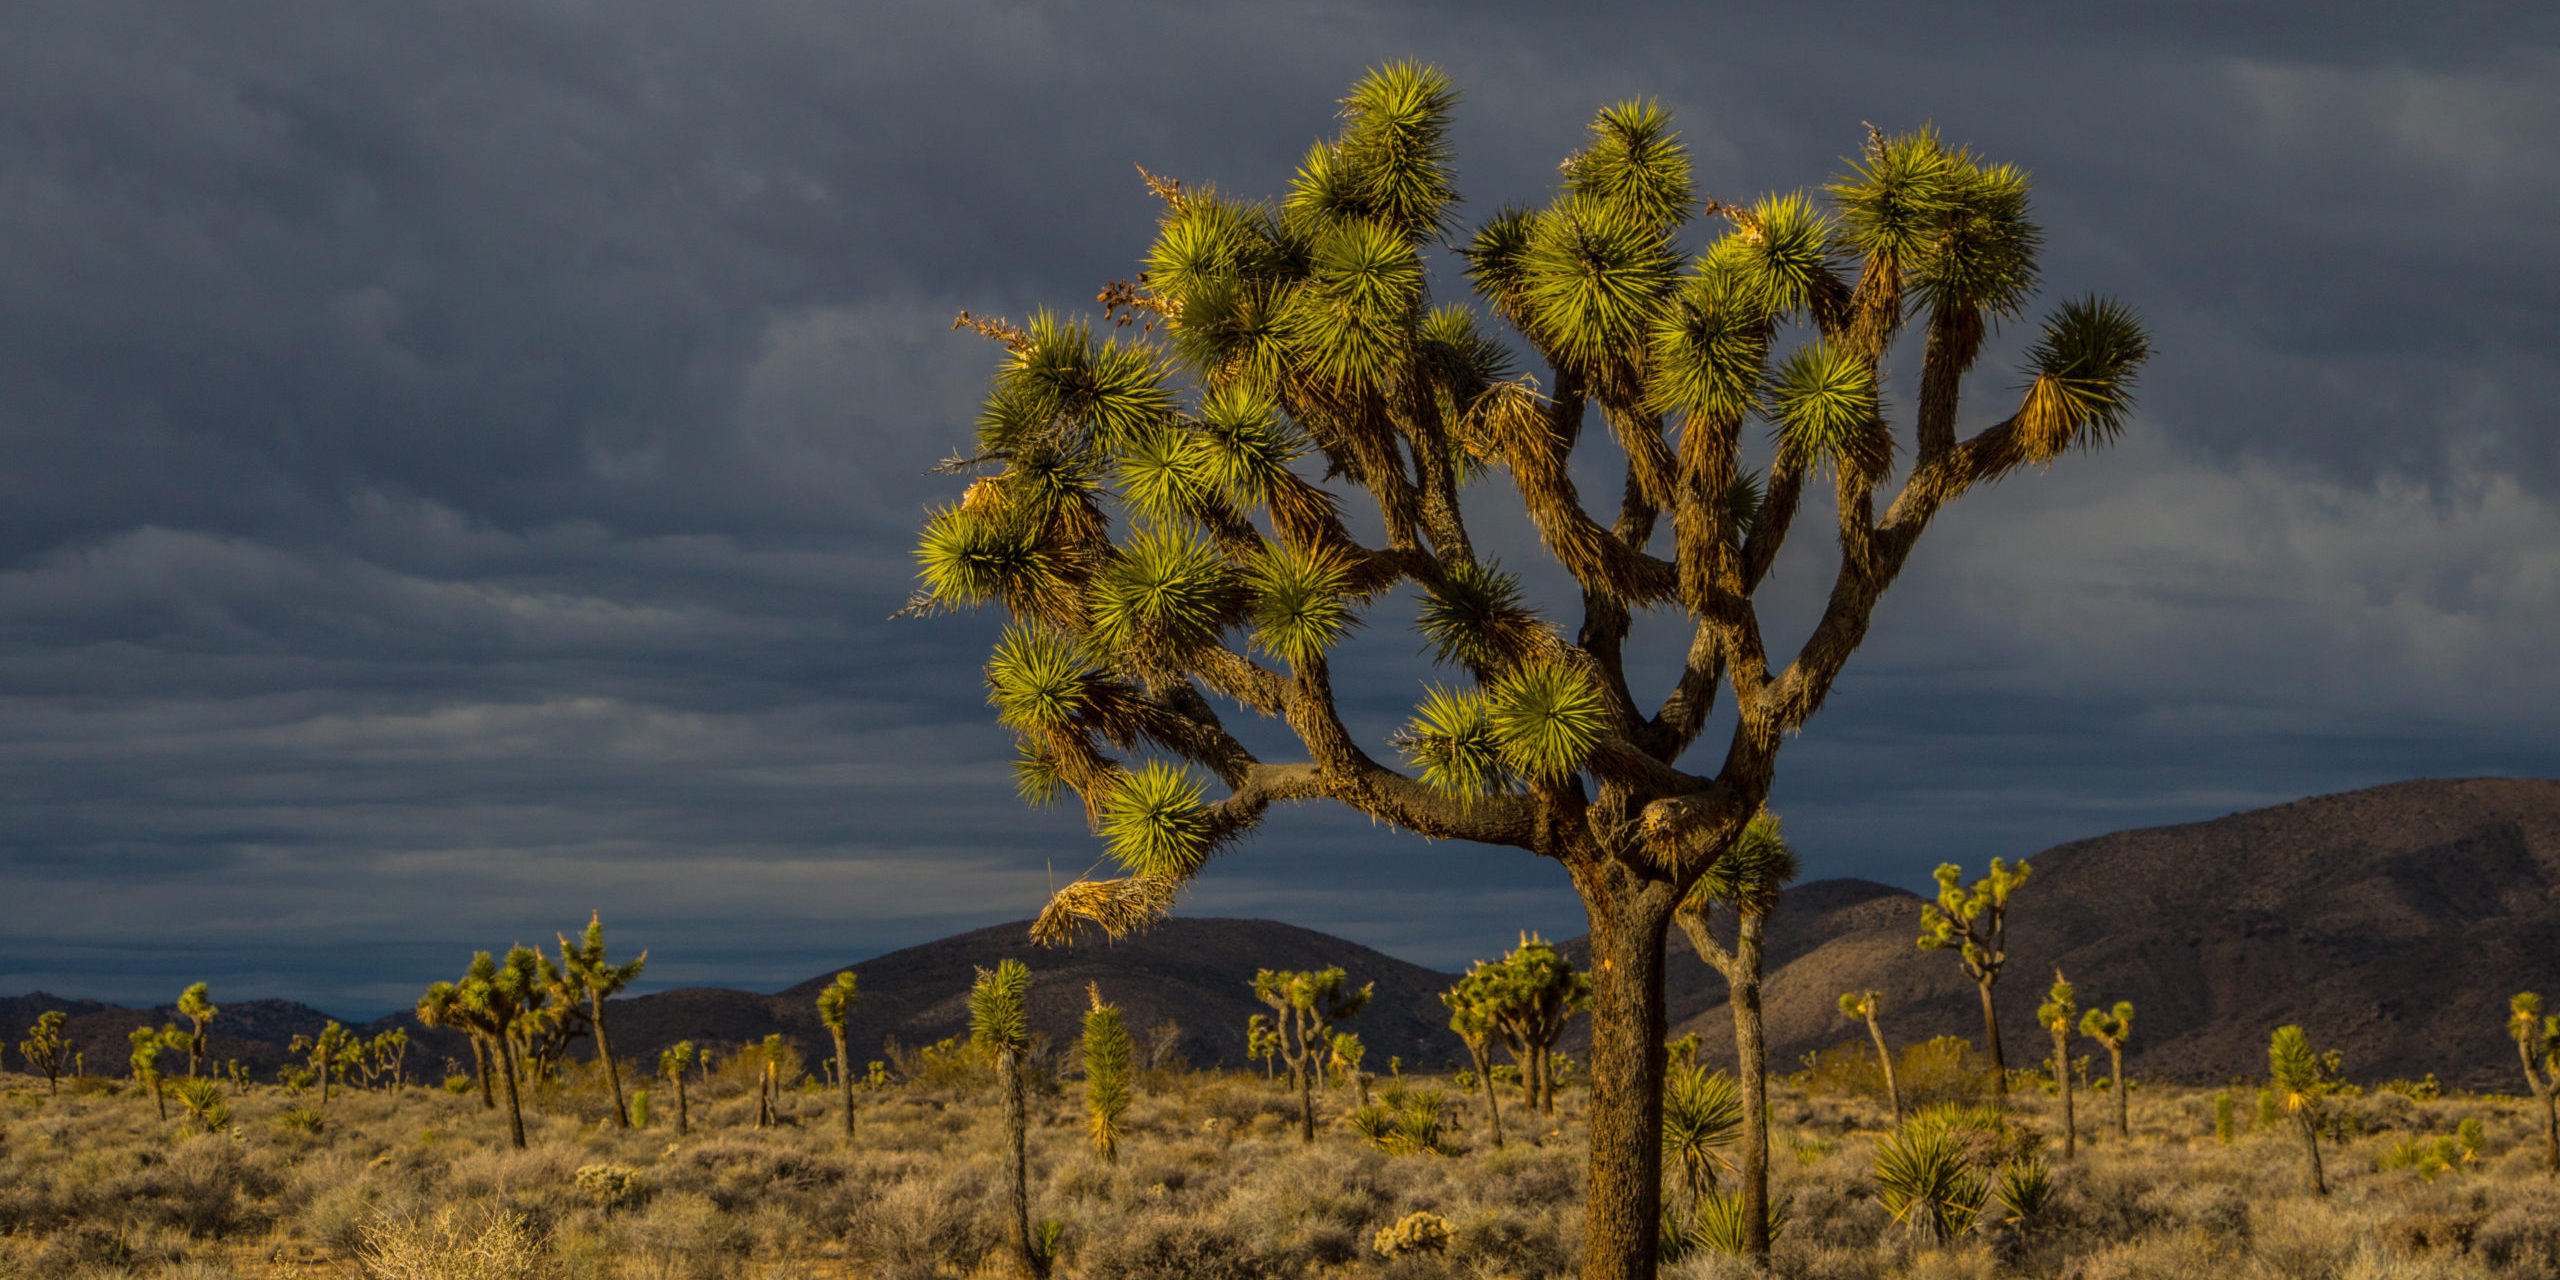
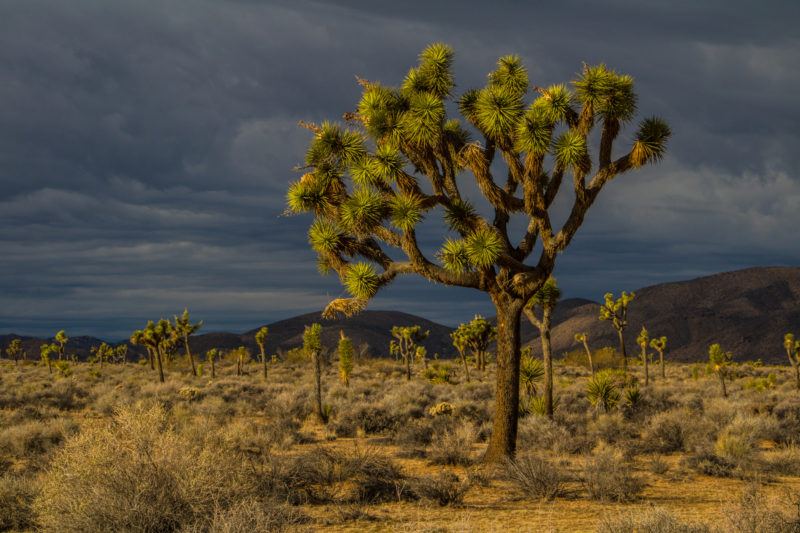
Those twisted, gnarled, and spiky branched trees — for which the park is named — quite simply make Joshua Tree National Park iconic. Peppered among the desert landscape and surrounded by surreal rock formations, these trees look like something out of a Dr. Seuss book for adults. There is just something magnetic about them.
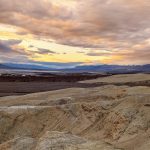
This fascinating park, located at the unique intersection of the Mojave and Colorado Deserts, boasts a wide variety of desert flora and fauna. This curious junction is continuously shaped and sculpted by strong winds and occasional — yet torrential — rain storms. Add a dose of some of the best night sky viewing, world-class hiking and rock climbing, and fascinating cultural history, and you’ll understand why three million visitors flock to this national park each year.
Fact is, most campers don’t need to be convinced to jump in the RV and head to Joshua Tree National Park. The real question is how to make the most of it. Let’s take about that.
Scenic Drives
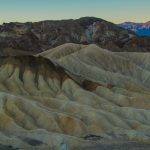
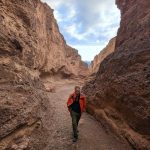
Just driving along along Park Boulevard, you will find a whole host of interesting things to explore in Joshua Tree National Park. The Black Rock Canyon area in the northwest corner of the park is home to the beautiful Joshua Tree Forest. Near the south entrance, the Cottonwood Spring Oasis awaits with its fascinating treasure trove of rich, cultural history. If you enjoy exploring fascinating rock formations, many of nature’s sculptures abound. They also come with fun names like Oyster Bar, Cow Rock, Cyclops Rock, Skull Rock, and the Hall of Horrors. (Check out the slot canyons.) All of these lie along the main park road.
Neither do panoramic views of the Coachella Valley, the San Andreas Fault, and the high peaks of San Jacinto and San Gorgonio require leaving your truck or motorhome. Head out along Keys View Road in the southwestern part of the park for some fantastic bird’s-eye views. (Tip! For an extra special treat, go at sunset, but get there very early as parking is quite limited.)
For more adventurous types, the Geology Tour Road is an 18-mile motor tour leading through one of the park’s most fascinating landscapes. Give yourself at least two full hours to enjoy this trip. It offers scenic pullouts, a few hiking trails, and some climbing access routes. In good weather, most passenger vehicles can handle the first few miles of this rougher road. But watch for the sign marking the point where a four-wheel-drive (4WD) vehicle is recommended to continue. Turn around there if your vehicle is not capable of handling deep ruts and soft sand. The road is not suitable for campers, trailers, and motorhomes.
Unpaved Routes
In addition to these options, the park offers many miles of unpaved backcountry roads to explore by car or mountain bike, as well as some for 4WD vehicles only. With over 1,000 square miles of designated wilderness, these roads allow you a glimpse into undeveloped parks of the park as well as offer some stunning solitude. However, before you travel on these roads, plan ahead and prepare. (It could save your life!)
- Get maps. It’s important not to rely solely on GPS. Detailed topographical maps are downloadable from the park’s website or any of the four visitor centers scattered throughout the park.
- Come prepared. Bring survival gear, spare tires, extra food, and plenty of water and food if you head out on one of these rough roads. This is desert camping.
- Fuel up. Vehicles tend to burn through more fuel when taking on challenging dirt roads. So, be sure to fuel up before coming into the park and bring an extra fuel can as there are no gas stations located within the park boundaries.
Approximate Driving Times (No Stops)
- 45 minutes between the West and North entrances.
- 1 hour between the North and South entrances.
- 1.5 hours between the West and South entrances.

Must-Hike Trails
Hiking trails abound in the park with nearly 30 designated trails ranging from easy to very challenging. It’s important to note that the heat can be overwhelming here in the summer months. If you plan to hike in the summer, hydrate before you start hiking AND bring at least two liters of water per person. Start out early. Take shade breaks as often as you can. Assess what your group’s abilities are and check in often. Be realistic about what you can accomplish. Here are some good options, depending on the season.
Best Hiking Trails by Difficulty
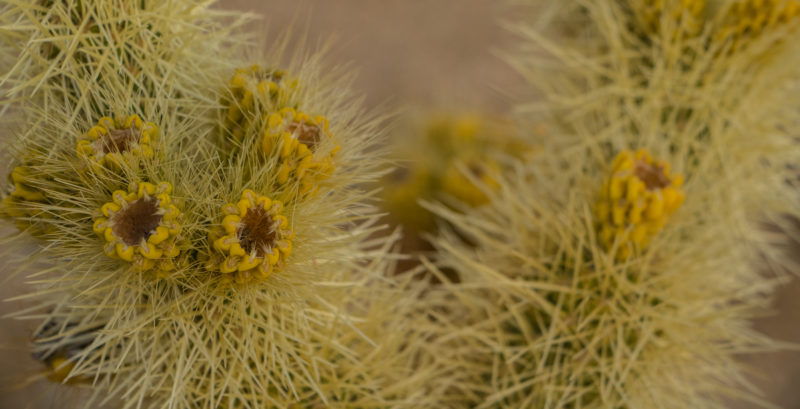
Easy. Hidden Valley, Cholla Garden, Barker Dam, Arch Rock, and the Discovery Trail are all around one to two miles long and very scenic. Combined, they offer a taste of just about every type of environment that Joshua Tree has to offer, without being a super-physical hike. Collectively, these are great hot weather options so that you can rest and enjoy some shade in between several short hikes!
Moderate. The West Side Loop Trail is a beautiful 4.7 mile hike with an elevation gain of 785 feet that takes you through sandy washes and along ridges with views of Joshua Trees and mountain peaks. Lost Horse Mine Trail, at four miles long with a 550-foot elevation gain, takes you to one of the most successful gold mines in the park. For a longer and more challenging option, you can add on Lost Horse Loop if you are feeling it — and the weather isn’t too hot. (Always a factor.)
Difficult (not recommended in the heat): Ryan Mountain is a three-mile roundtrip hike to the summit of Ryan Mountain, with an elevation gain of just over 1,000 feet. If you are up for a full-day hike and the weather is conducive, the Panorama Loop at 6.6 miles and a 1,100-foot elevation gain allows you to enjoy much of what the park has to offer in one longer hike — sandy washes, ridgeline trail, scenic views, a dense Joshua Tree forest, and some beautiful pinyon-juniper woodlands.
Wheelchair Accessible Trails (Paved)
- Oasis of Mara Trail near the Park Headquarters in Twentynine Palms is great.
- Lower Keys View Overlook lies near the accessible parking spots, but views may be limited by signage and naturally growing vegetation.
Pet-Friendly Hikes
As with all national parks, pets are not allowed on hiking trails for the protection of the park’s animals and yours. The only exception in Joshua Tree is the Oasis of Mara trail near the park headquarters in Twentynine Palms. To hike with your pet, try hiking down a dirt road or walking your pet through the roads in campgrounds. Dogs must always be on a leash and can’t be more than 100 feet from a road.

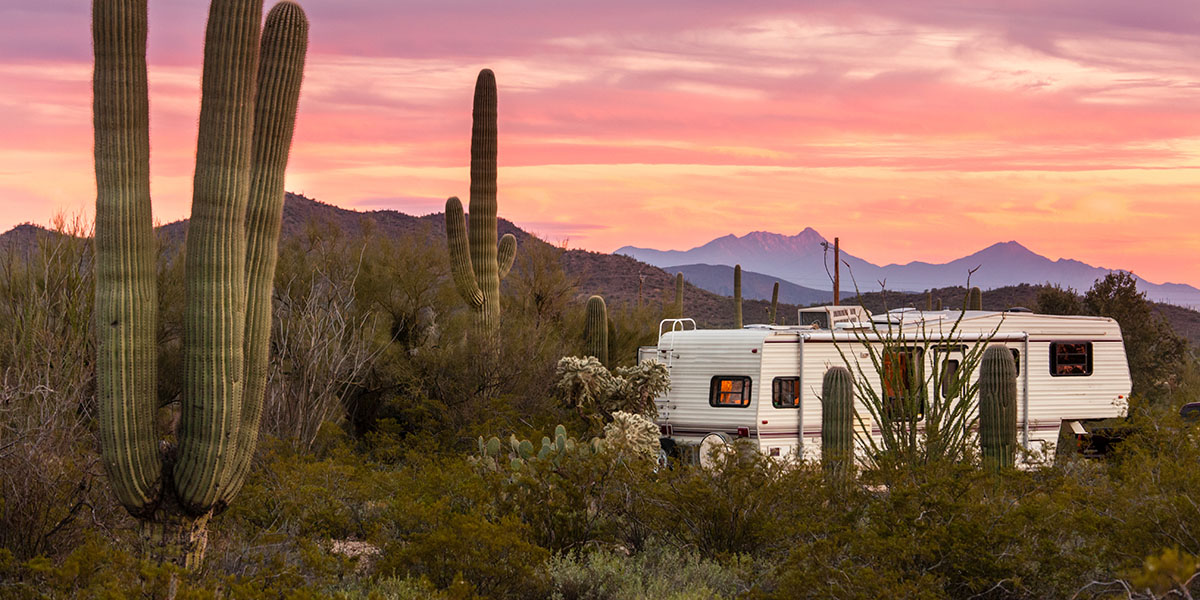
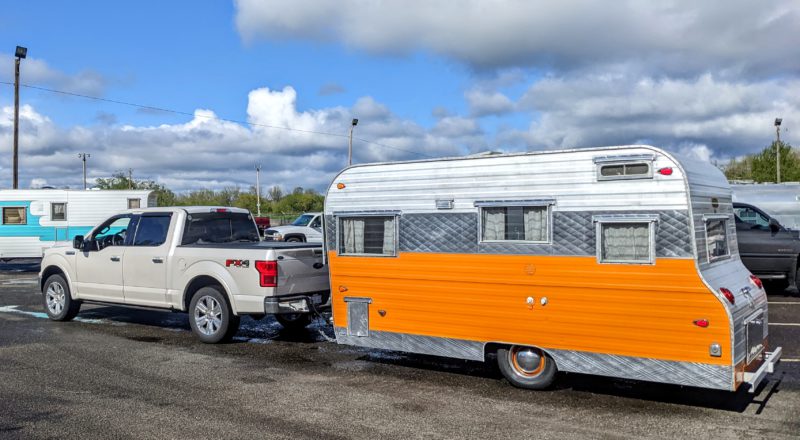
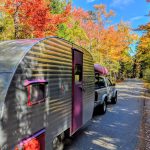
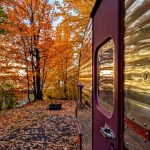
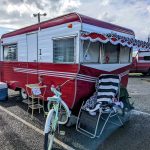
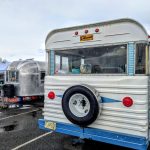
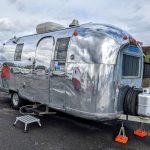
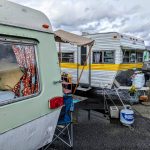
RV Parks & Campgrounds
Park Campgrounds
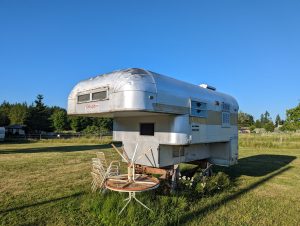
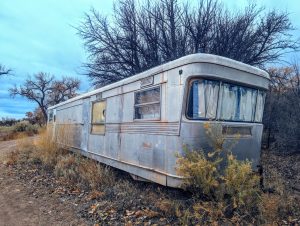
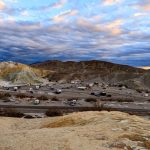
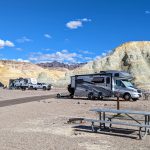
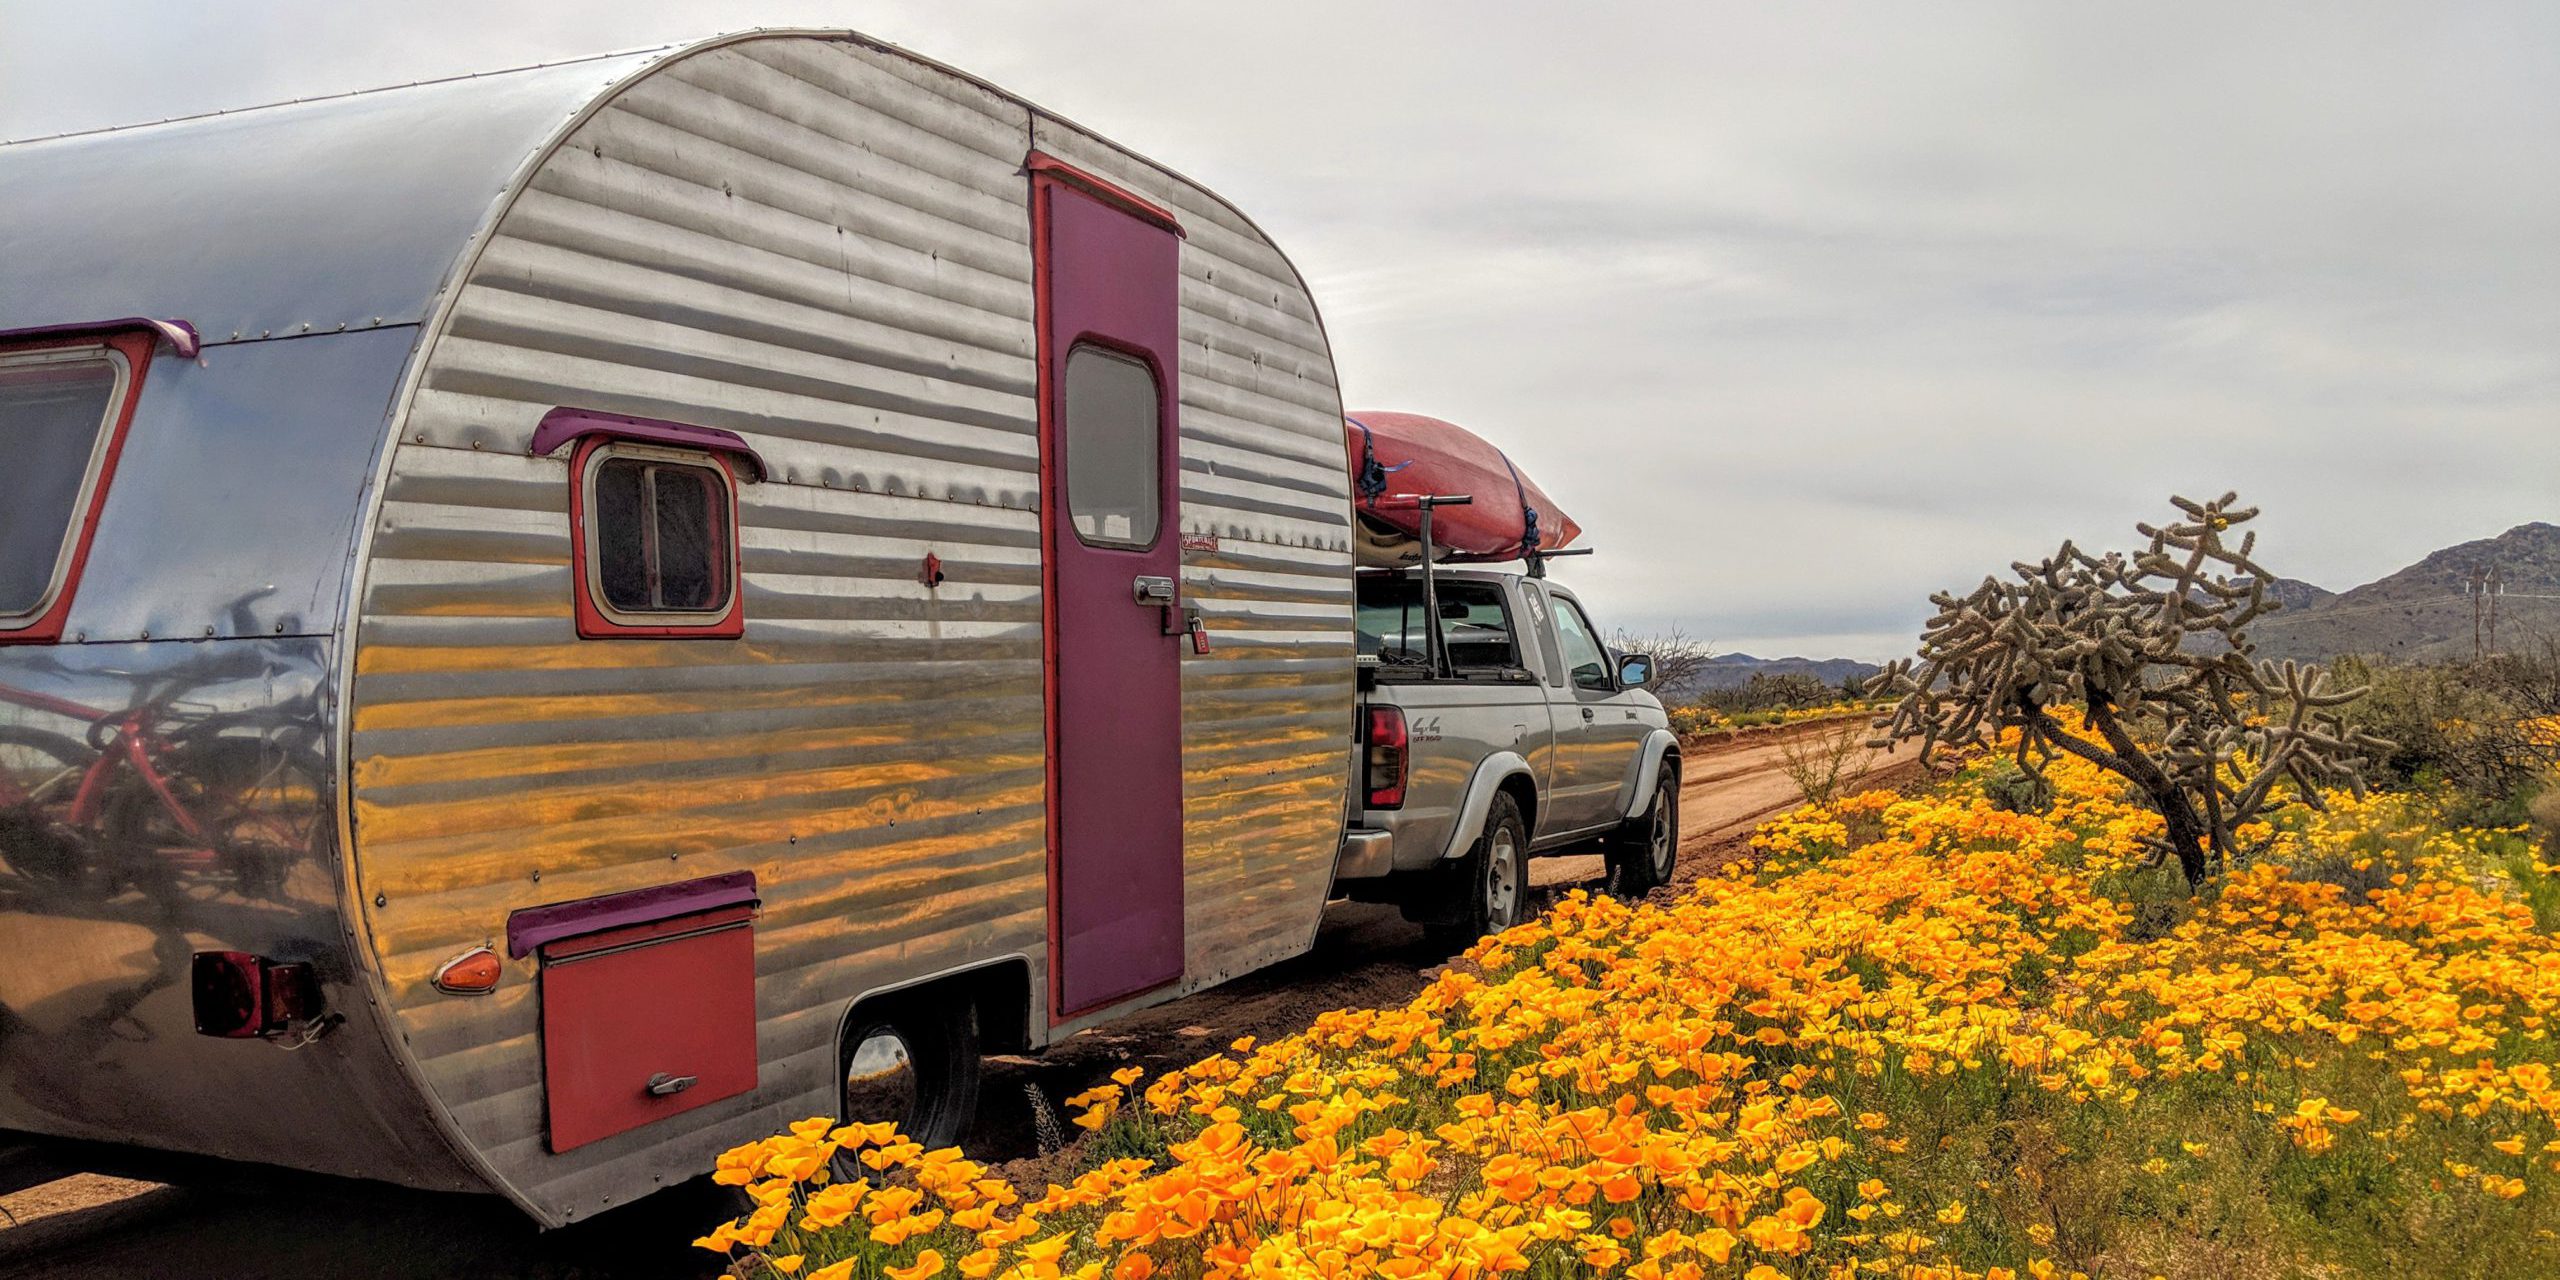
There are approximately 500 campsites at eight campgrounds within Joshua Tree, all of which allow both RVs and tents. Five of the campgrounds inside the park require reservations and book up quickly each year: Black Rock, Cottonwood, Indian Cove, Jumbo Rocks, and Ryan are open year-round with partial closures between June 1 through September 1. The other three campgrounds are available on a first-come, first-served basis: Hidden Valley (open year-roun); White Tank and Belle (closed in the summer). All campgrounds are situated at 3,000 to 4,300 feet in gorgeous rock garden settings. None of Joshua Tree’s campgrounds offer electrical or water hook-ups.
RV Length Limitations. White Tank and Hidden Valley campgrounds have a length limit of 25 feet combined. Belle Campground can accommodate up to 35-foot rigs, but most can only accommodate 25 to 30 feet. For the reservation-only campgrounds, be sure to check the length of each site before reserving at recreation.gov.
Note: It is illegal to sleep in your vehicle outside of campgrounds (e.g., trailheads, dirt roads, parking lots, roadsides, etc.).
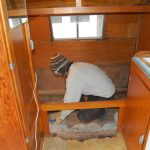
Water and Dump Stations. Water is at a premium in this park. So, come with filled tanks and extra water jugs! There are two RV water filling and dump stations at Black Rock campground and at Cottonwood (between the visitor center and campground). Water is free and a dump costs five dollars.
Staying hydrated while out and about is key to both enjoyment and survival in this park. Water bottle and water-jug filling stations are located at various visitor centers, nature centers, ranger stations, and campgrounds. But the center of the park does not have any potable water. Be sure to know where your closest filling station is so that you never find yourself in an emergency situation.
Camping Outside the Park
Privately-operated campgrounds and RV parks are nearby in the towns both north of the park in Joshua Tree, Twentynine Palms and Yucca Valley, as well as south of the park in Palm Desert, Desert Hot Springs, and Chiriaco Summit.
For boondocking options, the park is surrounded by Bureau of Land Management (BLM land) and they allow permit-free RV and tent camping. Here is a list of camping options outside of the park to help you plan your time at Joshua Tree.
Seasonal Advice
Joshua Tree National Park ranges in elevation from 536 feet in the park’s southeast corner to 5,814 feet at the summit of Quail Mountain. Conditions may vary greatly depending on your exact location within the park.
Most days are typically clear with less than 25 percent humidity. Temperatures are most comfortable in the spring and fall, with an average high/low of 85 and 50 degrees Fahrenheit, respectively. Winter brings cooler days, around 60 degrees Fahrenheit and freezing nights. It occasionally snows at higher elevations. Summers are often very hot, over 100 degrees Fahrenheit during the day and may only cool to around 75 degrees Fahrenheit at night.
As with many national parks, one visit is often not enough to see and explore all of what Joshua Tree has to offer. And, with Joshua Tree within easy reach of Death Valley and Sequoia/Kings Canyon National Parks, you could easily plan a few weeks in this area and never run out of places to explore!
Insider Tips!
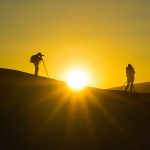
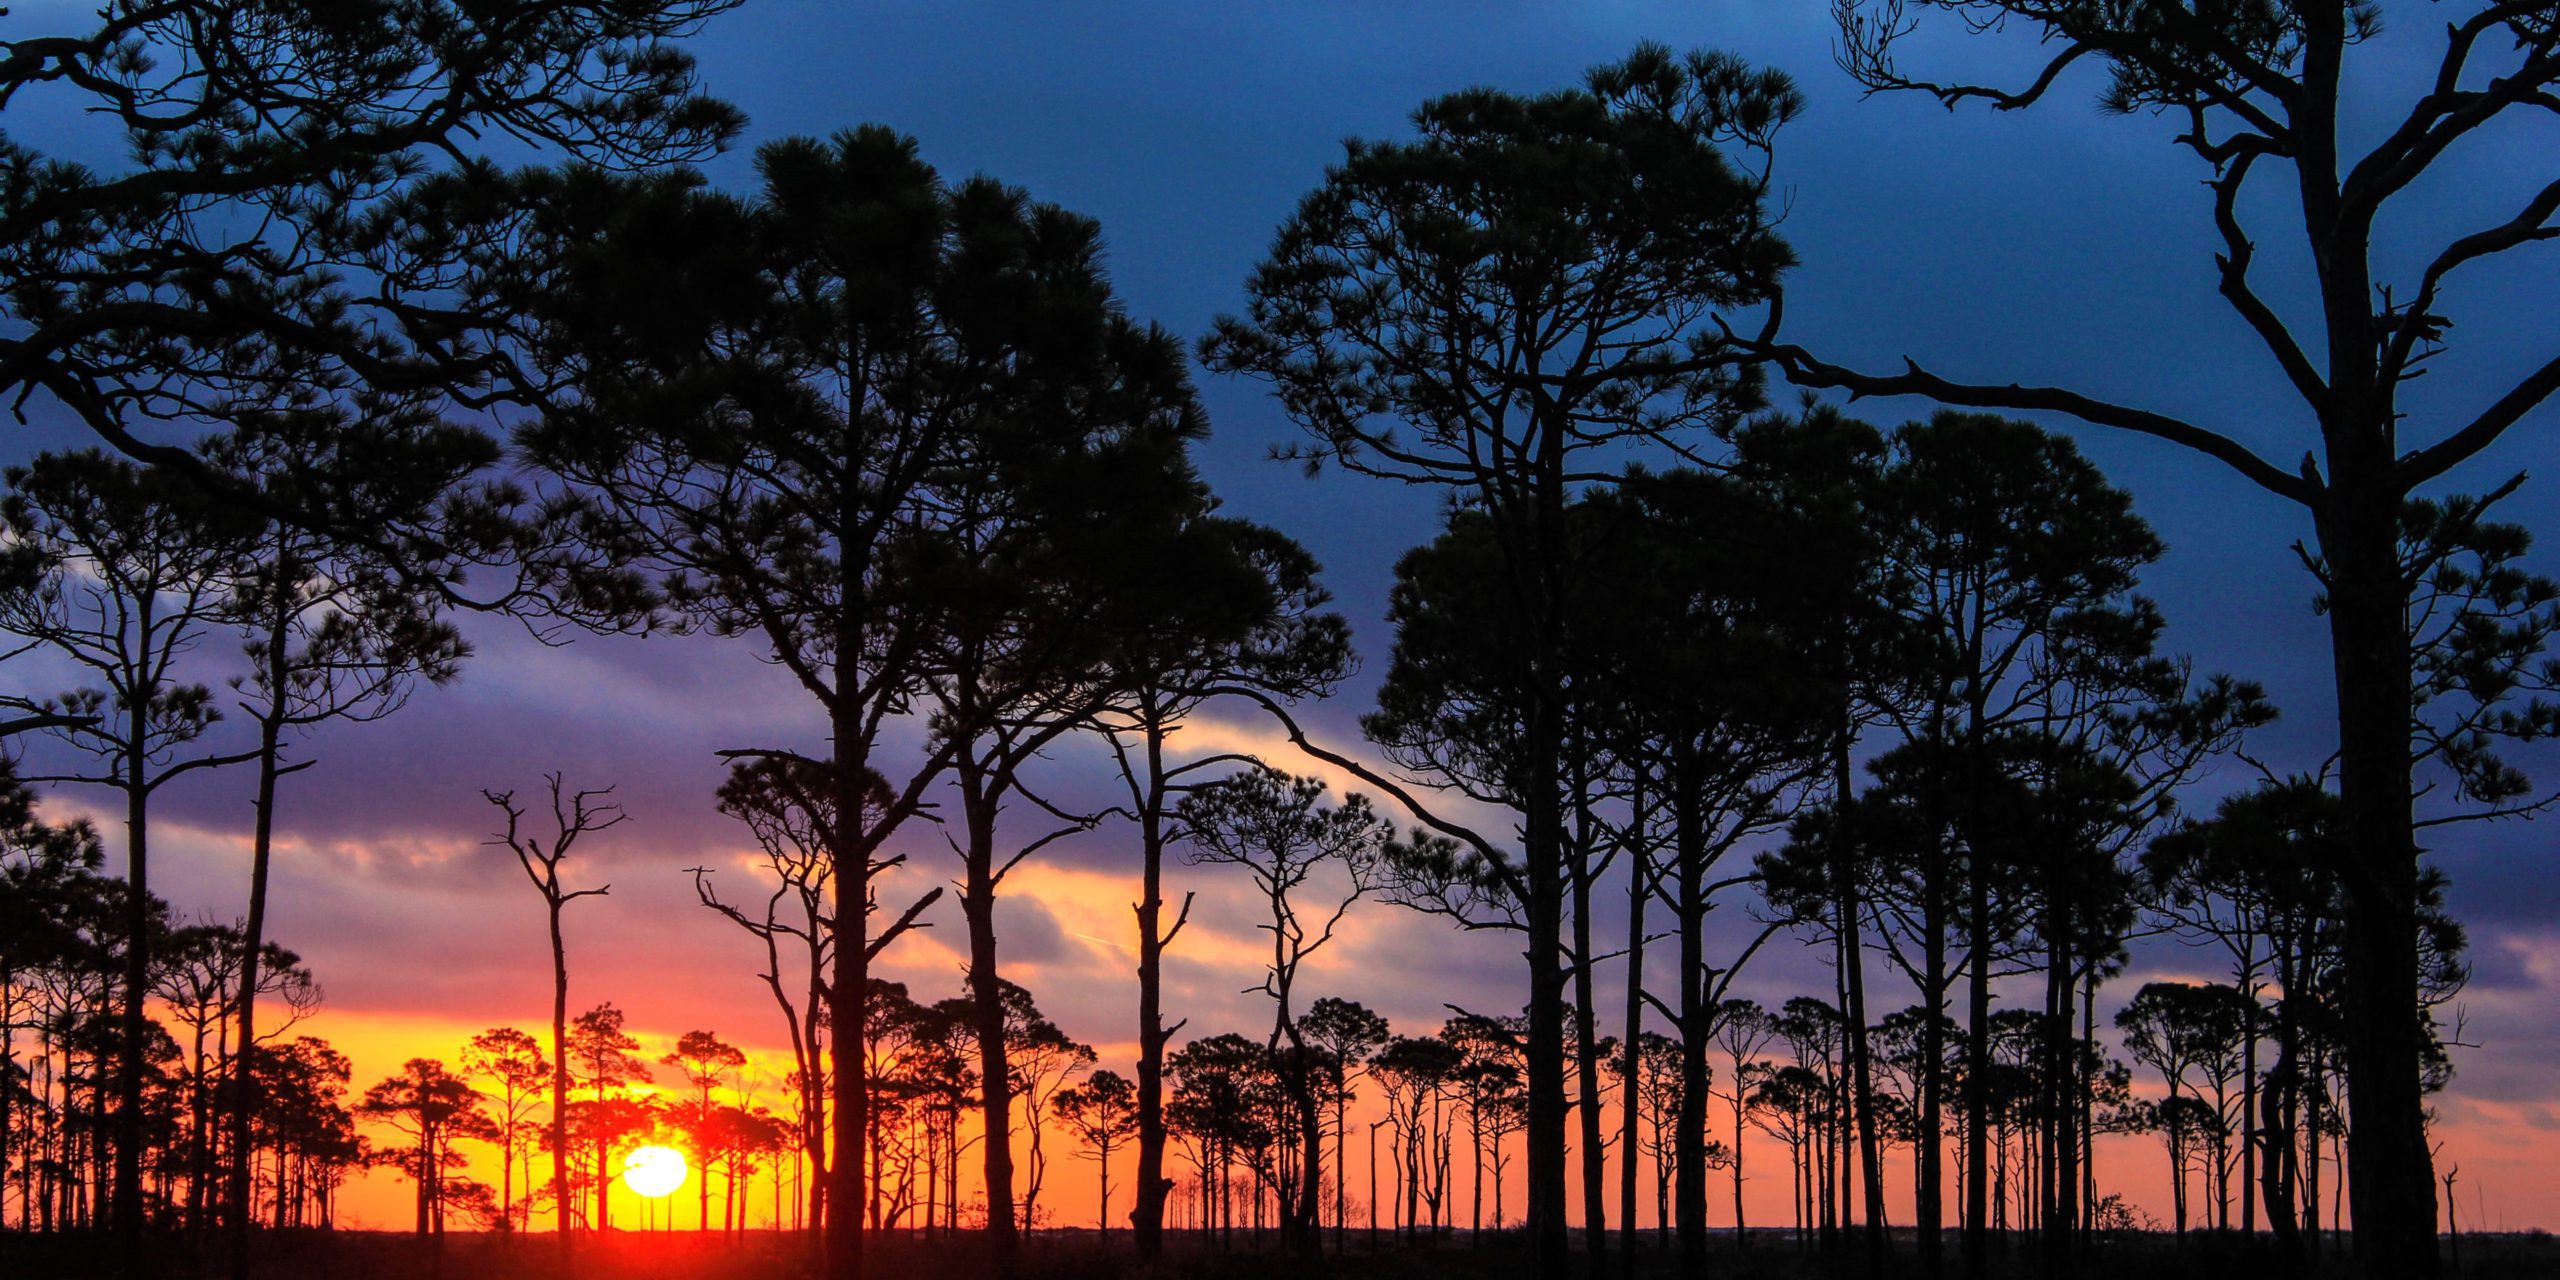
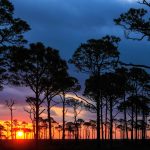
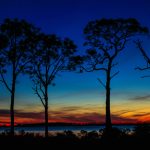
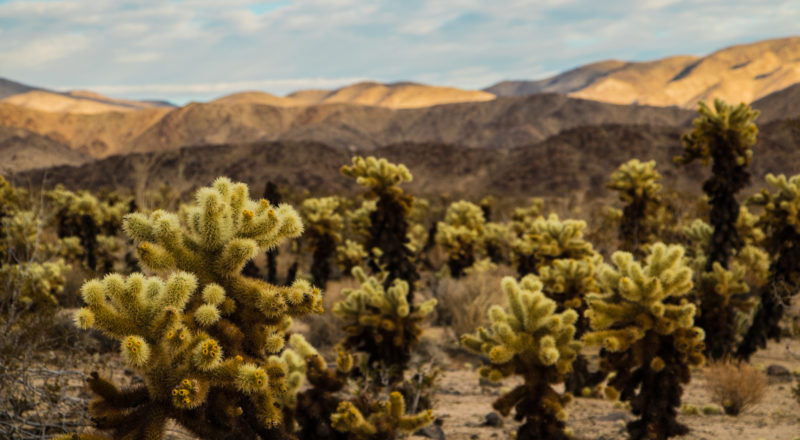
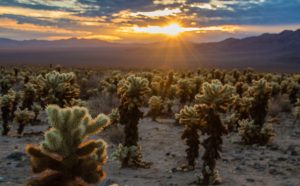
Watching Sunrises and Sunsets. While there is truly no bad spot to watch the sunrise or sunset at Joshua Tree, some popular places include Indian Cove, Quail Springs, Cap Rock, and the Cholla Cactus Garden. Keys View is very popular at sunset as well but can be crowded and difficult to find parking.
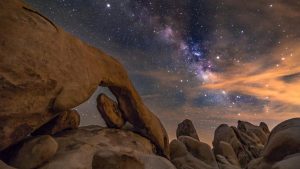
Night Sky Viewing. As an official International Dark Sky designated park, there are many fantastic spots to view the stunning night sky — from the campgrounds to four designated parking lots (Quail Springs, Hidden Valley, Cap Rock, and Ryan Mountain) to roadside pullouts along Pinto Basin Road between Cholla Cactus Garden and Cottonwood, which boast the darkest skies and the least amount of traffic.
Ranger-Led Programs. Ranging from Ranger Strolls to Evening Programs at various campgrounds, these programs are always free, do not require a reservation, and vary by season and available staff. Check the online calendar or inquire at a visitor center. However, Keys Ranch tours run from October to April, require a fee and an online reservation at recreation.gov.
Fun Activities
Cycling. Cycling is allowed on dirt and paved roads in the park. Bikes are not permitted on hiking trails or off-road. Bring your mountain bikes to explore the park’s backcountry dirt roads which offer numerous opportunities to explore much less trafficked areas than the busy paved roads which don’t have bike lanes or paved shoulders.
Rock Climbing: If you are a climber, you know that this high desert monzogranite climbing mecca is famous for its traditional-style crack, slab, and steep face climbing. As a world-class climbing destination, the park offers challenges for all ability levels with more than 8,000 climbing routes, 2,000 boulder problems, and hundreds of natural gaps to choose from.
Tip! If you are learning to climb or are looking to expand your skills, hire a guide or take a class. When hiring a climbing guide, make sure that they are permitted to work in Joshua Tree National Park.