Category: Maintenance

  • Tech Tip: 10 Steps for A/C Maintenance

    Tech Tip: 10 Steps for A/C Maintenance

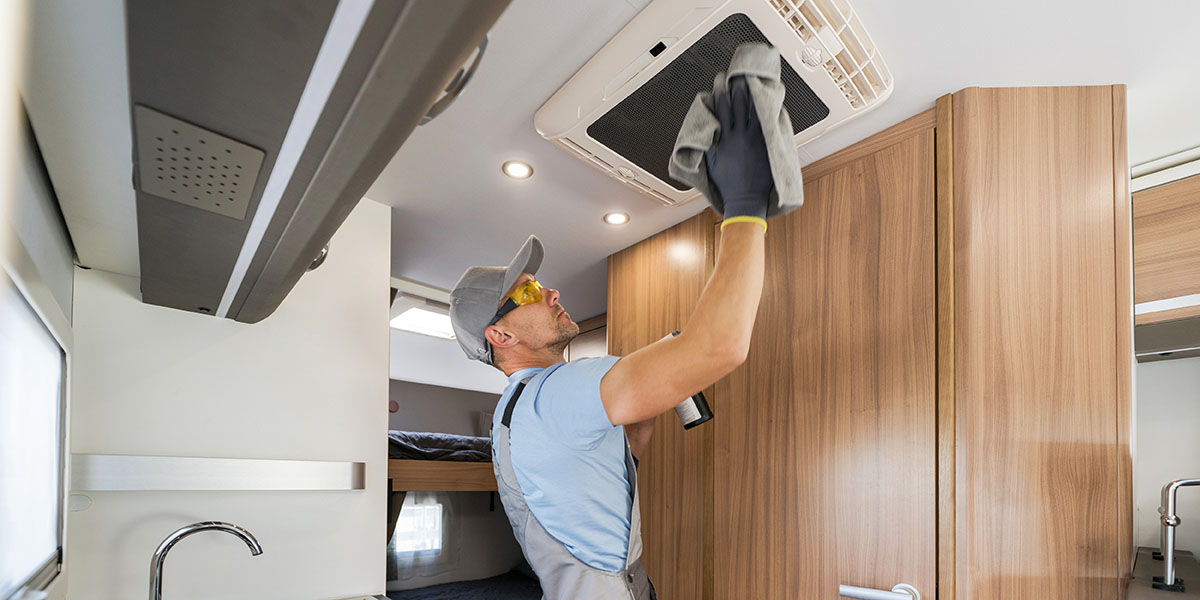
    Summer is heating up! RVers, it’s time to perform routine maintenance on your roof-top air conditioner(s). Follow these steps from FMCA and the “RV Doctor” Gary Bunzer to keep cool and extend the life of your RV’s A/C system.

    Performing Annual RV A/C System Maintenance

    Overall, the average RV owner can perform this maintenance procedure in an afternoon. Prior to beginning, turn 120-volts AC power off at the breaker-box or unplug the RV from shore power.

    Step 1

    This is an easy first step; in fact, you are probably already familiar with this task. All A/C systems –home and RV – require filter cleaning; some as often as every three months. From inside the RV, access the A/C unit’s filter(s). On some units, the interior air delivery shroud will have to be removed. Consult the owner’s manual if in doubt. Remove and wash all the filters in warm water or simply vacuum them clean.

    Fresh Jet 3200
    Step 2

    Check the positioning of the thermostat sense probe. That’s the thin, pencil-like, copper-looking device attached to the tiny tubing leading to the thermostat. Be sure it is situated in the direct flow of return air to the unit. Look closely for grime or film that may have accumulated from cooking oils and/or smoke. Gently clean the sense probe if contaminants are found. Take special care not to kink the small capillary tubing leading to the probe.

    Step 3

    Check the visible electrical connections inside the A/C unit. To eliminate the possibility of road vibrations causing the wire nuts to loosen, always wrap them with electrician’s tape.
    Step 4
    With the interior shroud removed, check the condition of the mounting gasket located between the bottom of the roof-top unit and the roof. It will be visible from inside the RV by looking up into the roof opening. If the gasket looks compressed or if there is evidence of water leaks, it’s time to install a new gasket. Also, tighten the mounting bolts holding the roof-top unit to the inside unit if they are loose.
     
    Step 5
    From inside the RV, vacuum in and around all exposed portions of the unit to clear dust, cobwebs, etc.
    Step 6

    If the unit is equipped with a wall thermostat containing unenclosed contacts, clean them by simply sliding a business card between them and gently pulling the card through the closed contacts a few times. This effectively cleans them without causing damage. Never file or sand thermostat contacts.

    Steps #7 through #10 need to be serviced from the roof. Grab your ladder, and head on up!

    Step 7

    On the roof, remove the A/C unit’s outer shroud, exposing the motor and condenser. Look for a series of small drain holes in the mounting pan. These holes drain any moisture produced from the cooling cycle. Clean and verify that all condensate drain holes are open and able to drain.

    Step 8

    Inspect and clean the exposed condenser fins at the rear of the roof-top unit. Remove any debris that may have collected on or near the condenser. Check for mud dabber nests in this area. Straighten damaged fins carefully. It may be necessary to purchase an aftermarket fin “comb” to safely straighten severely damaged areas. Never use a screwdriver or other sharp object for this task.

    Fin Comb

    Step 9

    Clean the area in and around the fan motor and compressor. Check the motor mounts for damage and/or fatigue.

    Step 10

    Look closely at the exterior shroud itself. Do you see any damage caused by low hanging branches or gas station overheads? Some minor damage can be repaired; however, if the cover has severe cracks, it needs to be replaced. Replacement shrouds are typically available for purchase at camping goods stores or your local RV dealer. As an alternative to the plastic shroud, consider an upgrade to a sturdier metal or fiberglass cover.

    Remember that though the average RV owner can safely perform roof-top air conditioner maintenance, air conditioner repairs should be handled professionally. Stay cool this summer!

    FMCA RV Club brings you this monthly tech tip to Enhance Your RV Lifestyle. FMCA delivers RV know-how to its members. Learn more at FMCA.com.
  • Tech Tip – To DIY or Not: When Should I Call a Mechanic?

    Tech Tip – To DIY or Not: When Should I Call a Mechanic?


    Understanding when to choose the do-it-yourself (DIY) path or when to rely on the professionals is an important RVing lesson. Know your options with these tips from FMCA and the “RV Doctor” Gary Bunzer.

    Types of Service

    Simply put, there are two types of RV service – crisis repairs and preventive maintenance. RVers need to stay on top of preventive maintenance to lessen the chance of an emergency repair situation.

    Many RVers choose to take care of their RV’s preventive maintenance tasks on their own. These tasks are often seasonal to-dos, such as checking seals, checking fluid levels, cleaning air filters, and performing battery maintenance.

    However, before you take on anything yourself, know the details of your RV’s factory warranty period. Oftentimes, during this period, all repairs should be performed by a certified technician. In some cases, warranties may be voided if unauthorized tasks are performed.

    To DIY or Not?

    So should you even consider performing maintenance tasks on your RV yourself?

    An RV owner who performs routine service typically

    • is mechanically inclined or has past automotive experience.
    • has an impressive assortment of hand tools and testers.
    • has a keen interest in RV technology.
    • camps in remote areas far from RV service centers.
    • has a technical aptitude.
    • is or has been a full-time RVer.

    If you recognize yourself in these listed characteristics or are wondering whether or not you should attempt a maintenance task, here are a few points to consider. Keep in mind that this list is not all-inclusive and all items may not apply evenly across the board.


    Know your physical limitations.

    Ask yourself if you can physically perform a task. For some maintenance tasks, you will have to crawl under the RV or into a tight space.

     
    Review your mechanical and technical aptitude.
    Admit when the subject is beyond your knowledge base. There is no need to be a hero. You definitely do not want to risk converting a simple maintenance task into a costly crisis repair! It will cost substantially more to undo an error than to make an appointment with a service center.
    Have a willingness to learn.
    If you want to be able to perform routine maintenance items, be willing to do a little homework. Servicing propane-related appliances and components, for instance, mandates a basic understanding of the electronic and gas operation sequences. Learning requires reading and studying the literature that came with your RV. In cases where the owner’s manual has disappeared, check online or contact the manufacturer directly. Most manufacturers are more than willing to provide the manual you need.
     
    Be properly equipped.
    Some maintenance tasks require specialty tools, such as the long flue brush needed for cleaning and servicing an RV refrigerator. If you commit to performing tasks that need a specific tool, evaluate if the cost is really a savings in the long run. Also, can you easily purchase replacement parts? Even the most routine maintenance tasks can require purchasing new parts. An example: the replacement gaskets needed when performing RV furnace cleaning maintenance.
    Consider the time factor.
    Always plan your approach to any maintenance task appropriately. Realize that all maintenance requires time. Be sure to allot enough time to the task. You are more likely to omit a step or make a mistake if you are under pressure to complete a task hurriedly. Remember, the next time you perform that same task, the time element will be reduced.

    If you feel comfortable with the points above, you are probably a good candidate to tackle an RV maintenance project on your own.

    How to Succeed at DIY

    If you feel like you just may qualify as an RV DIY-er, the following suggestions will help you get started:

     
    Control your work area.
    Having a clean work area is vital in avoiding confusion and keeping the RV clean. When servicing the appliances, for example, it is best to perform the maintenance tasks with the appliances left in the installed positions. An exception would be the RV furnace. Sometimes better results are attained if the furnace is removed and the work performed outside of the RV. Proper preparation will make any task easier.


    Prepare your replacement parts.

    When you begin a task, have all replacement parts prepared and laid out for easy access. If the new parts need any type of pre-assembly, do it before you become engrossed in the task. If some pieces in a repair kit will not be needed, separate them prior to beginning. This will simplify your repair and avoid confusion later when you’re left with unused parts.

    Obtain the necessary support materials.

    Have all wiring diagrams, service notes, installation instructions, etc. before starting the job. If you feel you may need more support information, postpone the maintenance until you have all the resources. A prime example would be if you are performing maintenance on any electrical item. Have a wiring diagram or schematic available. Most diagrams are usually included in the owner’s literature, and many will accompany the replacement part kits.

    Have a back-up vehicle.

    This is especially important if you are servicing a motorhome and it’s your only mode of transportation. It’s always advisable to have another available vehicle just in case. Whether it’s a neighbor’s truck or a second vehicle of your own, always plan to have transportation available in case of an emergency or if you forgot a part.

     
    Establish a relationship with a local RV service facility.

    This step is vital. Even though you wish to perform RV maintenance yourself, always get to know a local dealer or service center in your area. Aside from being there to order parts for you, techs can be a good source of information. They should work with you and not feel threatened that you elect to perform some of your own maintenance tasks. Obviously, you will need to rely on them for any task you decide not to pursue. All major repairs and many items that require specialty equipment are best left to the professionals.

    A tip on RV generators.

    Never attempt to adjust your RV generator yourself. This is definitely better left to your service shop. Many specialty tools are required since the generator needs to be load-tested while making governor and carburetor adjustments. Load banks and specialty testers are beyond the scope of the DIY-er. With an RV generator, every mechanical adjustment that is made has an electrical result. You cannot tune a generator by ear.

    A tip on propane regulators.

    Never attempt to adjust the propane regulator without the use of a water column manometer. Changes in the delivery pressure, which is crucial to each appliance, cannot be determined by visually watching a burner flame. Too high gas pressure will damage many appliances, while too low of a delivery pressure will result in improper combustion and inefficient appliance operation.

    Be a Confident RV DIY-er!

    By carefully evaluating your technical expertise, gathering a resource library, acquiring the proper tools and parts, and having the right attitude, you may be a great candidate for RV DIY tasks. Many RVers find that performing their own RV maintenance is a source of pride, peace of mind, and enjoyment. Wishing you luck in your maintenance ventures and the ability to admit when you need to call a professional!

    FMCA RV Club brings you this monthly tech tip to Enhance Your RV Lifestyle. FMCA delivers RV know-how to its members. Learn more at FMCA.com.

    This information is for educational purposes. FMCA shall not be responsible nor retain liability for RVer’s use of the provided information. Prior to making any RV service decision, you are advised to consult with an RV professional.


  • RV Reno: Tips for Flipping Older Trailers into Refurbished Masterpieces

    RV Reno: Tips for Flipping Older Trailers into Refurbished Masterpieces

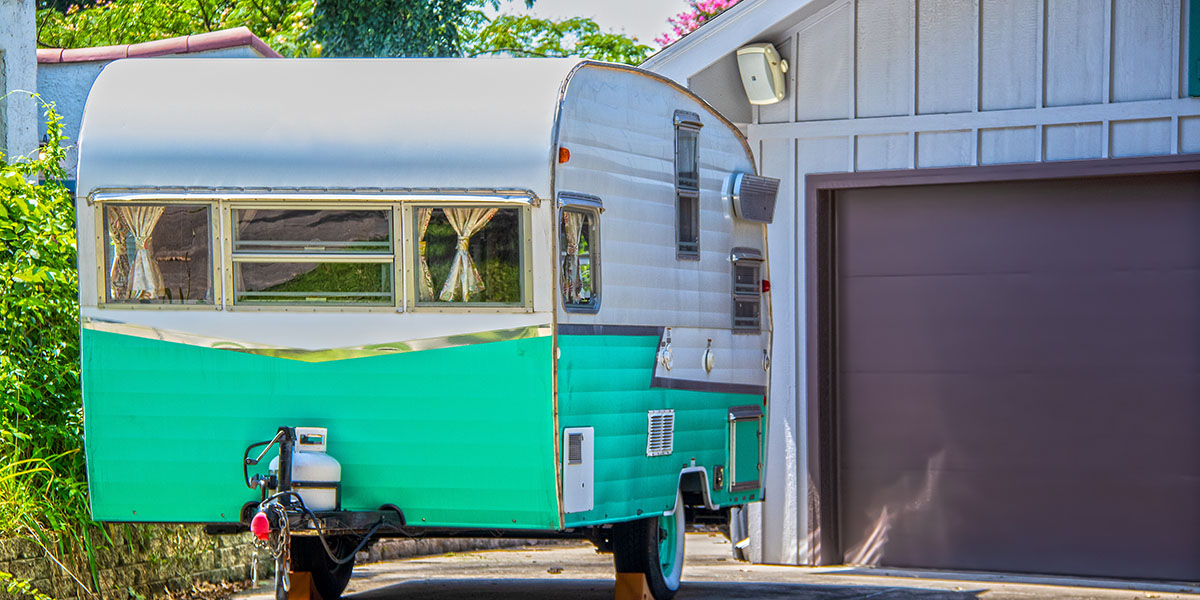
    Rather than buying a brand new RV, have you thought about purchasing an older unit and remodeling it with a custom design tailored to your preferences and style? While this may seem intimidating in terms of scope and scale, RV renovation projects can actually be some of the most fulfilling. If you’re looking for a little inspiration, check out these prime examples of how motivated, creative RVers have completely redone their motorhomes to fit exactly the look and feel they’re looking for.
    While a number of great updates have been made to this unit, the privacy and airy feel provided by the window curtain is a great touch.
    Don’t be afraid to experiment with colors that stand out against freshly polished aluminum.
    Sometimes, too much patterning on furniture can become less of a decorative accent and more of a distraction from the ‘hominess’ of the rest of the RV. Keeping patterns minimal and bright helps keep the space from seeming aged and crowded.
    Similarly, furniture doesn’t need to be expensively reupholstered to provide a fresh and simplistic feel. You can easily purchase a quilt or coverall to quickly drape over a couch or chair, and ta-dah – a seemingly brand new seating area is ready to be decorated with accent pieces.
    Don’t be afraid to mix things up a bit by contrasting light, muted tones with bright and colorful ones. Doing so creates a more centralized, positive feel to your motorhome, and can cause anyone who enters your vehicle to feel a number of ways – for example, turquoise for relaxed, yellow for energized, or deep red for comfortable.
    Similarly, there’s no need to choose between painting all your furnishings a single neutral color. Placing darker tones on grounded/lower pieces and brighter, more airy colors on pieces towards the ceiling provide a feeling of upward expansion, making the space appear to have much more headspace than it actually does.
    Yet another way to add more life and vibrancy to your unit: update those lighting fixtures! Acquiring more simplistic or modern-looking appliances for your lights and contrasting the types of lighting (for example, warmer-toned bulbs) tends to add dimension, making your mobile home seem just as accommodating as a traditional home.
    We love a number of things about this unit but the thing we love most? The added warmth from a centralized feux fire heater! Who said you couldn’t bring the comfort of a cozy, warming fireplace on the road?
    Believe it or not, having solid-colored, muted walls doesn’t mean you have to incorporate heavily decorated bedding. In fact, keeping your comforter singularly toned as well and playing with fabrics, textures, and varying patterns or colors on your throw pillows can draw eyes toward the top of the bed, lengthening the amount of space your sleeping area appears to have.
    If you’re into rustic, vintage vibes, you may want to leave certain features in their older, more aged state. For example, paint your heart out on your walls and drawers, but let the drawer pulls and handles contrast with these new features by maintaining their old-school vibe.
    Have you ever tried or considered redesigning an older trailer? If you had the time and resources, how would you like to “flip” your RV? Comment and let us know, and submit photos to rv.trader.social@gmail.com for the chance to get featured!
  • Fall Is Not The Time To Put Away The RV


    Hundreds of KOAs in North America Celebrate Autumn In Style
     
    KOA Newsroom (September 2015) – Temperatures are falling as fast as the leaves, but that’s no reason to put away the camp chairs and winterize your RV.
    Autumn is one of the most popular camping seasons at the 485 Kampgrounds of America parks located throughout North America. KOAs make a fantastic base camp for leaf peepers, football fanatics and anyone addicted to warm days and cool evenings around the fire.
    In fact, hundreds of KOA locations have special Harvest Festivals or Halloween Weekends, as well as celebrations for Thanksgiving (both the Canadian version Oct. 9-12 and the U.S. holiday Nov. 26-29).
    You can view a complete list of fall events at KOA campgrounds by clicking HERE.
    KOA Value Kard Rewards members can also take advantage of VKR Appreciation Weekend, September 18-19. Participating KOA campgrounds will be offering a free night of camping on Saturday, September 19 to Value Kard Rewards members who stay as paying guests on Friday, September 18. It’s a great way to celebrate fall with family and friends.

    For more on VKR Appreciation Weekend, click HERE, or to find your next KOA adventure, go to www.KOA.com.
  • Diesel vs Gas: Which one Should You Choose for your RV?

    Diesel vs Gas: Which one Should You Choose for your RV?

    The urge to reconnect with the outdoors and the open road usually returns with spring and RV shows. Maybe you would like to sell your “old clunker” and replace it with a newer, more polished model. Or perhaps, on the eve of an upcoming retirement, you imagine yourself driving into the sunset at the wheel of your very first RV. When it comes to choosing an RV, it is important to make an informed decision before you buy, and the same age old question has fueled the debate with regard to the type of RV engine: gas or diesel? The answer is not simple as it often depends on many factors such as your travel frequency, maintenance, fuel economy, financial means and floor space needs.

    Pros of owning a Gas RV

                 If you’re looking to travel only once in a while, then a smaller gas engine RV (35 feet or smaller) could make more sense.
                 Since service and fuel stations are common, gas is much more accessible and affordable than diesel.
                 Gas engines are also more resistant to cold weather than diesel engines.
                 They have higher RPMs (about 6000 RPMs), allowing for a smoother, quieter ride with faster acceleration.

    Cons of owning a Gas RV

                 Gasoline has a strong odor and a short shelf life due to evaporation.
                 Gas engines have weaker towing power compared to diesel equivalents.

    Pros of owning a Diesel RV

                 RVs with diesel engines are an excellent choice if you are looking to travel frequently and for longer periods of time.
                 They tend to offer more efficient fuel consumption, meaning less frequent refills at the gas pump.
                 Diesel engines usually have better torque. This means improved towing capability, an important factor if floor space is a priority.
                 If well maintained, diesel engines have a longer life than gasoline ones and can still perform reliably after extensive mileage. This means diesel RVs often retain a higher resell value after a few years.

    Cons of owning a Diesel RV

                 At a range of $2.00 to $3.50 per gallon, diesel fuel often costs more at the pump. However, this is off-set by their superior fuel economy.
                 RVs with diesel engines have lower RPMs than those with gas engines meaning slower acceleration and lower top speeds.