Category: Maintenance

  • Your Get-Smart-Quick Guide to RV Antifreeze

    Your Get-Smart-Quick Guide to RV Antifreeze

    Colder weather is already approaching. (And in many cases it’s already here. That means it’s time to start thinking about winterizing your RV to protect it from freezing temperatures. One of the most critical tasks involved in preparing your RV for winter’s onslaught is using RV antifreeze to keep water from freezing in the pipes and bursting them.

    In this guide, we’ll delve into everything you need to know  Starting with what it is (and is not), we’ll share when, why, and how you should use it to protect your RV’s plumbing system this winter. 


    What RV Antifreeze Is — and What It Isn’t

    You’ve probably seen jugs of pink stuff in the RV maintenance section of  your local RV parts or hardware store. Although RV antifreeze is usually found alongside automotive antifreeze, always remember: Even aside from it’s usual pink color, it’s very different from automotive antifreeze. RV antifreeze is formulated with propylene glycol and is made to be nontoxic. Automotive antifreeze, on the other hand, is very toxic because it’s made with ethylene glycol. That’s because the two have very different purposes. And the differences between RV and automotive antifreeze don’t end with toxicity.

    Let’s be clear: RV and automotive antifreeze aren’t interchangeable at all. RV antifreeze was formulated specifically for use in plastic RV plumbing components. It even acts as a lubricant for the RV toilet seal. But’s not for use  in your car, because propylene glycol just doesn’t have the necessary properties to allow it to regulate engine temperature. 

    Conversely, automobile antifreeze is specially formulated to help regulate the temperature of vehicle engines no matter what the ambient temperature is. And even more ephartically, you would never want to use automotive antifreeze in RV plumbing because it’s highly toxic. And that’s not all. Automotive antifreeze is also corrosive to plastic and rubber. That means instead of protecting RV plumbing, automotive antifreeze destroys it. 


    RV Antifreeze Is Not Safe for Consumption

    Even though RV antifreeze is technically nontoxic, you should avoid consuming it. Even though propylene glycol is used in minute amounts in processed foods, RV antifreeze is not considered safe for consumption. At least not beyond the trace amounts you ingest when you use it as intended. That being said, after you drain all the antifreeze out of your pipes, the freshwater coming out of  your RV faucets will be safe to drink. 


    Why It’s Necessary for Winterization

    Water is one of very few substances that expands as it freezes. That means water that freezes in your RV pipes also expands as it transforms into a solid. This expansion is enough to burst pipes and fittings, creating leaky plumbing and water damage as well as moisture related problems like mold.  

    Water freezes at 32 degrees Fahrenheit. Contrastingly, RV antifreeze doesn’t freeze until the ambient temperature is a very chilly  negative 50 degrees Fahrenheit and doesn’t expand when it finally freezes. Unlike water, instead of expanding into an RV pipe destroying solid form, RV-specific antifreeze freezes into a semi-liquid slush that’s harmless to plumbing. You can probably see why it makes sense to get all the water out of your RV plumbing system and replace it with the pink stuff.  


    What About Environmental Concerns?

    As you’re probably aware, automotive antifreeze has multiple and significant negative environmental impacts. First of all, it’s highly toxic to every living organism, including the bacteria in sewage systems. Automotive antifreeze is so bad for the environment that it’s considered a hazardous material. That being the case, most communities have laws regarding how to dispose of automotive antifreeze.

    On the other hand, RV antifreeze is considered non-toxic and breaks down quickly when introduced to a sewage system or water supply. That means when you flush it out of your RV plumbing when spring rolls around, it can go down the drain at the dump station. 


    How Much Do You Need for RV Winterization?

    When it comes to RV antifreeze, most RVs don’t need a lot. Many RVs only require one or two gallons of RV antifreeze  to protect the entire plumbing system. But it really depends on the size of your rig. So, if you have a larger RV with multiple bathrooms you may need as much as five gallons.


    Where to Buy This Magical Stuff

    RV antifreeze is easy to find. It’s readily available from RV supply stores, automotive stores, and hardware stores as well as from online retailers. Here’s a brief list of some of the places where you’ll find RV antifreeze: Amazon, Tractor Supply, Walmart, and Home Depot.


    How To Use It to Winterize Your RV

    It’s essential to winterize your RV when it will be in storage for the winter months or only used occasionally during that time. Winterizing your plumbing system means draining out all the water and replacing it with RV antifreeze.  


    Prepping Your Plumbing System

    1. Disconnect from city water and make sure the hot water tank has been turned off overnight.
    2. Empty the majority of water from the plumbing system. With the pump on, turn a faucet on and pump all the water from the freshwater tank and most of the water from the plumbing system.  Flush the toilet too. Turn the pump off.
    3. Empty the black tank and gray tank. 
    4. Drain the outside shower hose.
    5. Open the low point drains beneath the RV.
    6. Drain the hot water tank by opening the pressure relief valve and remove the drain plug or anode rod. 
    7. Open the drain valve under the freshwater tank to drain all the water from it. 
    8. Optional step: Connect an air compressor to the city water connection and blow any remaining water out. While this is preferable, it’s not absolutely necessary.
    9. Close  all the valves
    10. Find the bypass valves for the water heater and close it to prevent antifreeze from entering the water heater. There will be an intake valve and an outlet valve-both should be closed.


    Applying RV Antifreeze

    1. Locate the water pump intake and ensure that it has an antifreeze syphon hose connected. Many RVs have one installed, but if yours doesn’t simply replace the freshwater line with a siphon hose.
    2. Open the siphon hose valve and close the valve that allows water to flow from the freshwater tank.
    3. Insert the siphon hose into a bottle of RV antifreeze.
    4. Turn the pump on.
    5. Open the cold water at the kitchen faucet and close it after pink fluid comes out. Now open the hot water and wait until pink antifreeze comes out before closing it. Repeat these steps with each faucet in the RV, including the indoor and outdoor shower. 
    6. Flush the toilet until pink antifreeze runs into the bowl. Leave antifreeze in the bowl to help condition the seal at the bottom of the bowl.
    7. Turn the pump off.
    8. Pour a little antifreeze down each drain in the RV to prevent the the P trap from freezing.
    9. Drain the pump by finding two hoses located near it underneath the RV and opening them. Leave them open until you see RV antifreeze draining from them.
    10. Dump any leftover antifreeze into the toilet, as well as the sink and shower drains.


    Final Thoughts on the Pink Stuff

    RV antifreeze is crucial for protecting your RV’s plumbing system from freezing while your RV is in storage over winter.  RV winterization is easy and can often be done in under 30 minutes, even on a large RV. If you really want to go the extra mile with RV winterization, you’ll want to blow every last bit of water out of your plumbing with an air compressor before pumping RV antifreeze into it. In spring, winterization is as easy as connecting to city water and turning on the faucets until no pink comes out.

  • Avoid These Costly RV Renovation Mistakes!

    Avoid These Costly RV Renovation Mistakes!

    Cha-ching. Cha-ching. That mental or literal register sound can be your RV renovation nightmare. It’s the calling card for your archnemesis — the blown-up budget! You may picture yourself cruising down the highway in a decked-out home on wheels, living the RV or van life dream of embarking on epic road trips. However, between the initial plan and the final product, there are plenty of budget traps that could turn your renovation into a financial blackhole. What starts as a “simple refresh” can snowball into surprise expenses, hidden damages, and unexpected splurges. That is, unless you avoid some costly — and common — RV renovation mistakes.

    If you detour away from these pitfalls, renovating an RV can be an exciting and rewarding project. This blog will walk you through five common ways renovators blow their budget — and how to avoid them —s o you can create the RV of your dreams without draining your savings. Let’s get started!


    1. Underestimating Structural Repairs

    A fresh coat of paint or some new flooring might be what you had in mind, but things can quickly change once you start peeling back the layers of your RV. Structural issues —such as water damage, rotten subfloors, or cracked walls—are some of the most common hidden problems. They often catch renovators off guard. These repairs are not just inconvenient. Thet can also be costly. Ignoring or cutting corners on these types of repairs can lead to further damage, making it even more expensive in the long run.

    Pro Tip: Before diving into your renovation, we can’t recommend having your RV inspected by a professional enough. (Especially if you suspect there might be hidden damage.) The cost may set you back a few hundred greenbacks, but it may save you thousands. If hiring an inspector isn’t feasible, do a thorough DIY inspection. Checking around windows. Examine plumbing connections. Assess roof seams for water damage. Addressing these issues upfront will help you avoid costly surprises during the project.


    2. Falling in Love with High-End Upgrades

    Luxury sure is tempting. And with endless inspiration from social media and Pinterest, it’s easy to find yourself wanting the finest fixtures, sleek appliances, or custom cabinetry. The problem is that these high-end upgrades come at a premium. And the price tag adds up quickly. Plus, some luxury options are better-suited for a home rather than an RV, (Meaning they could break or wear out faster on the road.)

    Pro Tip: Pick two or three statement upgrades to splurge on that will have the most impact. Think flooring, countertops, or an upgraded mattress (an upgraded mattress is always a must for us). Balance the rest with budget-friendly options like peel-and-stick backsplash tiles or thrifted furniture. Remember, the goal is functionality and style, but not at the expense of practicality for life on the move.


    3. Ignoring RV-Specific Products

    Many renovators assume they can use regular household products in their RV, only to find out too late that certain materials don’t work well on the road. (If you’ve done this, don’t feel bad. It’s one of the most common RV renovation mistakes.) Standard home flooring might warp under varying temperatures, and heavy countertops or furniture will weigh down your RV, reducing fuel efficiency. Worse, incompatible materials can lead to costly repairs down the road if they break during travel.

    Pro Tip: Use products designed for RV life. Lightweight vinyl flooring, collapsible furniture, and RV-specific appliances are all excellent investments. These products are built to handle vibrations, movements, and environmental challenges unique to RV travel. Research your options carefully. (YouTube renovation videos are a great place to start.)


    4. Skipping a Detailed Budget Plan

    Without a solid budget, costs can spiral out of control. Many renovators start with a vague idea of how much they want to spend, only to find themselves overwhelmed by hidden expenses. Every additional purchase — whether it’s an upgraded faucet or unexpected plumbing repair — pushes you further off-track. Without a clear plan, it’s easy to lose sight of your financial goals and end up spending way more than anticipated.

    Pro Tip: Break your budget down into specific categories such as flooring, furniture, appliances, and labor. Assign a spending limit to each category and build a 10 to 20 percent buffer into your overall budget for unexpected costs. Keep a running tally of expenses as you go to make sure you’re staying on track.


    5. Overlooking the Time Factor

    Renovations don’t just cost money — they cost time, too. Every day spent renovating means time off the road, which can be frustrating if your RV is your full-time home or part of a rental income stream. Additionally, longer projects often lead to more expenses, whether it’s a few extra hardware store runs or paying for additional labor. Renovations that drag on can also sap your enthusiasm, tempting you to make costly decisions just to wrap things up faster.

    Pro Tip: Set realistic timelines for each stage of the renovation. Prioritize must-do upgrades first—like repairing leaks or updating appliances—and save non-essential projects for later. Remember, the faster you get back on the road, the less likely you are to blow your budget with unnecessary extras.


    Bonus Tips: How to Avoid RV Renovation Mistakes

    • Start Small. If it’s your first RV renovation, start with small projects to learn the ropes before diving into a complete overhaul.
    • DIY When Possible. Labor costs add up quickly, so handle smaller tasks yourself—like painting or installing new curtains—to save money.
    • Shop Secondhand. Facebook Marketplace, thrift stores, and RV forums can be gold mines for budget-friendly furniture and décor.
    • Get Creative. Look for multipurpose furniture that can save space, like convertible sofas or beds with built-in storage.
    • Stick to the Plan. Avoid scope creep by focusing on your must-haves. It’s easy to get carried away with extra projects once you start, so remind yourself of your original goals.


    Final Thoughts: Stay on Track and Enjoy the Journey

    Renovating your RV is an exciting opportunity to personalize your space, but it’s easy to get carried away and blow your budget. By planning ahead, setting clear priorities, and staying mindful of your expenses, you can create a beautiful and functional RV without breaking the bank.

    Just like a road trip, RV renovation is a journey — there will be bumps along the way, but the reward is well worth it. Whether you’re transforming your RV into a cozy getaway or prepping it for a new adventure, keeping your budget in check — and avoiding those dreaded RV renovation mistakes — will help you enjoy the process (and the finished product) even more. Happy renovating!

  • 7 Ways to Upgrade Your RV Insulation

    7 Ways to Upgrade Your RV Insulation

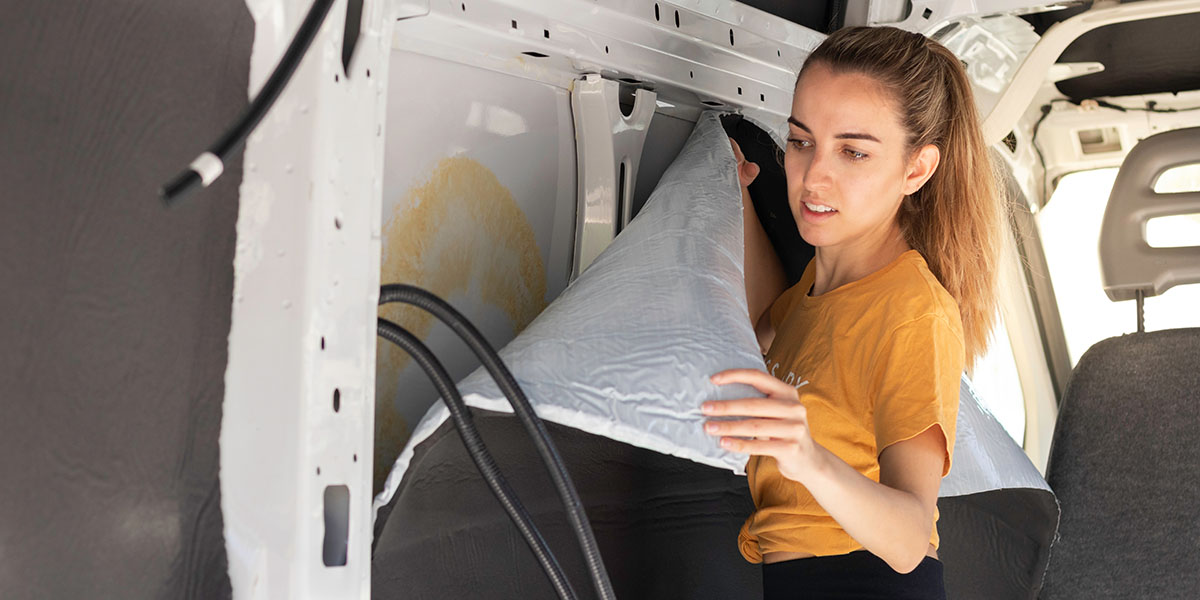
    Whether cold or hot weather, making the decision to upgrade your RV insulation is a game-changer. Quite simply, it can transform your rig into a comfortable space regardless of where or when you travel. As a couple that has braved the winter cold and sought refuge from scorching summer heat, insulation has played a critical role in energy efficiency, temperature regulation, and even soundproofing. 

    With a few thoughtful upgrades, you can improve climate control in your RV. That way, it feels like true home any time of year. So, let’s dive deeper into effective ways to boost your RV’s insulation and make your travels more enjoyable all year round.


    1. Seal Windows and Doors for Maximum Efficiency

    Over time, gaps and cracks around windows and doors develop, leading to annoying drafts. Properly sealing these entry points improves energy efficiency and makes it easier to regulate the interior temperature.

    • Caulking. Use high-quality silicone caulk around windows, doors, and any seams where air might escape or come in. Silicone caulk is water-resistant and remains flexible through temperature changes, making it a great long-term solution.
    • Weather Stripping. Check for deteriorating weather strips around the doors and windows. Replace them with new weather stripping designed for RVs to ensure tight seals.


    Pro Tip: Keep a small infrared thermometer handy to identify any drafty areas quickly. These devices detect temperature variations, pinpointing where cold air is sneaking in.


    2. Install Reflective Insulation for Seasonal Comfort

    Reflective insulation is a versatile and budget-friendly solution to minimize temperature fluctuations inside your RV.

    • Window Film. Apply removable insulating window film to help reflect sunlight and keep heat out during the summer. In winter, this same film helps retain heat inside.
    • Reflective Panels. These panels are particularly helpful if you camp in extreme climates. Place them in your windows or even under the roof vent covers for additional protection against heat loss or gain. There are several cost-effective options.


    Pro Tip: Invest in thermal curtains. They provide additional insulation and are easy to pull closed when temperatures become extreme. This works great in our Class B van to keep the cold out in the winter and the heat out in the summer. 


    3. Upgrade to Energy-Efficient Windows

    Upgrading your RV’s windows might require an initial investment, but the benefits in when you upgrade your RV insulation are long-lasting.

    • Double-Pane Windows. These windows feature two layers of glass, and they help reduce condensation while maintaining a more consistent temperature inside your RV, making them a worthwhile upgrade.
    • Alternative Solutions. If replacing windows is too expensive, consider using clear acrylic panels over your existing windows as an extra insulating layer.


    Pro Tip: For maximum efficiency, ensure your window frames are insulated and sealed with foam tape or weatherproof caulk.


    4. Add RV Skirting for Cold-Weather Camping

    RV skirting is a game-changer for those spending extended periods in cold climates. It prevents cold air from circulating beneath your RV, helping to retain heat and protect your plumbing from freezing.

    • Custom Skirting. Professional skirting is tailored to fit your RV and can be quickly installed and removed, but it can get pricey. 
    • DIY Skirting. Use foam board, vinyl sheets, or plywood for a budget-friendly option. Make sure the material is secure to block out drafts effectively.
    • Airskirts: For those looking to add a more mobile and space-friendly option, this is a newer solution that may be perfect for those extended winter travel plans. They are pricey, but as a long-term investment in your rig, they may be worth it if you spend a lot of time in cold weather.


    Pro Tip: Install a small space heater or heat lamp under your RV during freezing temperatures to prevent pipes from freezing and to provide an extra layer of warmth.


    5. Insulate Vents, Skylights, and Fans

    Vents and skylights are notorious for allowing air to escape, making them key areas to target for insulation.

    • Vent Covers. Foam vent cushions are easy to install and block unwanted drafts. Look for reflective vent covers to further reduce heat transfer through skylights and roof vents.
    • DIY Vent Covers. Cut pieces of foam board or insulated fabric to fit the openings, providing a simple and affordable fix.


    Pro Tip: Use adhesive magnetic sheets to secure vent covers during travel. They hold firm but can be easily removed when not needed.


    6. Prevent Heat Loss Under the Mattress

    If your bed sits above a storage compartment or is directly over the RV’s undercarriage, it can become uncomfortably cold at night. The more you think about it, this is a prime place to upgrade your RV insulation.

    • Foam Board Insulation. Cut foam boards to fit under your mattress. They provide a solid thermal barrier between the bed and the cold air below.
    • Mattress Topper. Adding a memory foam or thermal topper ensures maximum comfort and helps retain body heat.


    Pro Tip: Consider using electric blankets or a heating pad with automatic shut-off timers for extra warmth during cold nights. (The pad is actually much better for power consumption but is smaller.) 


    7. Use Door Snakes to Block Drafts

    Simple but effective, door snakes (fabric tubes filled with rice, beans, or foam) block cold air from sneaking in under doors. This is more for doors inside your rig, as it can be a hassle for the entrance door.

    Pro Tip: Keep an extra door snake in your storage compartments to use at windows or other drafty areas that may need quick insulation during extreme weather.


    Bonus Section: Upgrades to Protect Pipes and Optimize Comfort Year-Round

    Ensuring your RV stays comfortable and functional in extreme temperatures requires more than just insulation. Your heating, cooling, and plumbing systems play a critical role too. Combining smart upgrades with preventive measures helps maintain a consistent environment and protects your RV from temperature-related issues.


    Upgrade Your HVAC System for Efficiency

    Modern HVAC upgrades ensure your RV remains comfortable without wasting energy.

    • Install a High-Efficiency Furnace. Newer RV furnaces are quieter and more energy-efficient than older models, reducing propane use while maintaining consistent warmth, so the long-term investment usually ends up paying off.
    • Add a Smart Thermostat. A smart or programmable thermostat allows you to control your RV’s temperature remotely. You can optimize heating or cooling based on your schedule, improving energy efficiency.


    Pro Tip: Portable fans and space heaters help distribute air more evenly, relieving your HVAC system’s workload and ensuring every corner of your RV stays comfortable. Battery powered fans are great and save your house batteries, but space heaters usually require a hookup or propane tank, so they can be costly.


    Keep Pipes, Tanks, and Hoses from Freezing

    When winter weather hits, preventing frozen plumbing is essential to avoid costly repairs. Cold weather can compromise your water systems if they’re not properly insulated and heated.

    • Use a Heated Water Hose. A heated hose prevents water supply lines from freezing, ensuring you always have running water. Be sure to connect and plug it in before temperatures drop. 
    • Install Tank Heaters. Heating pads for your black, gray, and freshwater tanks keep them from freezing during cold spells, making them ideal for off-grid camping or winter stays.
    • Insulate Exposed Pipes. Wrap foam insulation around pipes, especially those underneath your RV. For additional protection, apply heat tape before insulating.
    • Monitor Temperatures. Keep an eye on temperatures near pipes and tanks using thermometers. This helps you take quick action if freezing becomes a risk.


    Pro Tip: On extremely cold nights, leave your interior faucets slightly dripping to keep water moving. This simple trick prevents water from freezing inside pipes.

    *****

    Upgrading your RV insulation doesn’t just keep you comfortable — it extends your travel season and enhances energy efficiency. My wife and I actually prefer traveling in the shoulder months because extreme weather is less common, but we have been through summer heat waves and winter freezes many times. 

    So, take my word for it, whether it’s sealing windows, installing reflective panels, or adding foam insulation, each step brings you closer to creating a cozy, climate-controlled environment in your RV. With these upgrades, your rig will be ready to tackle everything from snowy mountain adventures to sweltering desert stays, ensuring every journey is enjoyable year-round.

    Happy travels!

  • Sealing Up Your RV for Winter Weather

    Sealing Up Your RV for Winter Weather

    Cooler temperatures and naked trees signal a sad reality for the majority of RVers: Camping season is over. Now, it’s time to get RV maintenance chores done before winter weather comes. And one of the most important maintenance jobs is sealing up your RV in preparation for winter weather. 

    Moisture from rain, snow, and all of their wintry combinations is your RV’s biggest enemy. Because when moisture gets beneath the outer surfaces of your RV, it causes all kinds of problems. Things like delamination. And mold. And rot. The seals on the roof and exterior walls of your RV form part of a protective barrier. Together, they help prevents water from rain and snow from seeping into your RV. 

    The brutal reality is this: How often you inspect and maintain your RV seals is a determining factor in how long your RV will last. As the old saying goes, “An ounce of prevention is worth a pound of cure.” In this case, the ounce of prevention means inspecting all of your RV seals and then resealing where necessary.

    Now, here’s the good news. Sealing up your RV is not a difficult job. Plus, it’s one that could save you thousands in the long run. Seals are easy to find on the roof and all of the exterior walls of your RV, wherever two surfaces meet.  (RVs with slide outs also have slide-out seals that require regular maintenance.)

    So, let’s look at the best ways to seal up your RV before winter weather hits.   


    3 Types of RV Sealant

    For this article, we’re going to focus on the three basic types of RV sealants. (Although we invite you to go even deeper into RV sealant 101.) Self-leveling lap sealant is used on horizontal surfaces on the roof of the RV.Non-sag lap sealant is used on angled surfaces, like around  the edges of the RV roof where self-leveling sealant would drip down the sides. Flexible sealant is used on the exterior  walls of the RV.  

    Self-leveling and no-sag roof sealants are colored to coordinate with just about any RV roof color. Flexible sealant is also available in a few colors too. However, transparent flexible sealant is a popular choice for exterior walls. 


    Maintaining Your Slide-Out Seals 

    RV slide-out seals are black rubber gaskets that keep rain and cold air out of the RV. You’ll find them on each side of the slide-out, where it meets the RV wall. RV slide-out seals should be inspected and lubricated at least twice yearly, depending on how frequently the slide-outs are used. These seals need to be kept supple with a slide-out seal conditioner applied several times per year. If they aren’t properly maintained, slide-out seals become dry, brittle, and useless at keeping moisture out.   No matter where your RV will be spending the winter, getting this job done before the cold weather hits will help ensure it’s ready to go camping season. 


    What You’ll Need


    How To Inspect and Reseal RV Slide Out Seals

    1. Extend the slide-out. Set up the ladder close to the slide-out seals so you won’t need to reach.
    2. Inspect each seal on the slide-out, looking for cracking, damage, or stiffness. The rubber slide-out seal should be supple enough to move back and forth with the slide-out.  Cracked or damaged slide-out seals can allow water to get in and will need to be replaced. 
    3. Spray foaming slide-out seal conditioner on every surface of each of the slide-out seals.
    4. Allow it to set in on each of the rubber seals for about 10 minutes.
    5. Use a soft, absorbent cloth to wipe away any excess seal conditioner.


    Protecting Your Exterior Wall 

    You’ll find wall seals around windows, doors, and any area where the manufacturer cut a hole for an appliance. These  seals are there to deflect water from getting under the siding of the RV. If water does get it, it can cause the siding to come apart.  Therefore, it’s crucial to inspect this caulking every six months. You’ll need to recaulk any areas where it looks like water could get in. 

    Resealing vertical RV surfaces is an easy but time-intensive job. For this reason, many RVers prefer to leave this job to professionals. However, if you have time and have a steady hand, it can be a satisfying DIY job. With that being said, here’s what you’ll need to do to ensure the seals on your RV walls are keeping moisture out of your RV.   


    What You’ll Need 

    • Ladder
    • Nitrile gloves
    • Plastic scraper for removing old sealant
    • Flexible sealant made for RVs
    • No-drip caulking gun
    • Mineral spirits
    • Absorbent cloth 


    How To Inspect and Reseal RV Walls

    Starting Your Inspection
    1. Choose a sunny day, if you’re working outside.
    2. Wash the RV.
    3. Work on one wall at a time.
    4. Identify all the seams on the sidewalls. Then the front cap. Then the rear wall of the RV, including windows, entry doors, and housings for lights.
    5. If you have a trailer, start at the front of the RV.
    6. Inspect the sealant at each seam for water intrusion points. Look for cracking, dryness, shrinkage and loose, peeling  sealant. If the sealant is in anything less than stellar condition, it’s a good idea to recaulk those areas. 
    7. Inspect rubber gaskets around windows and doors for cracking and shrinkage.


    Scraping and Cleaning
    1. If your RV is caulked with Geocel Proflex (a popular sealant), it can be applied over itself. However, if it’s sealed with silicone, you’ll need to remove all of the old sealant before you can apply sealant. That’s because nothing will stick to silicone. Scraping off the old silicone sealant may be a painstaking job. Even so, it will be well worth the trouble.
    2. If you need to remove old silicone sealant, it can be helpful to apply mineral spirits to the old bead before peeling it off. Also, use a plastic (never metal) scraper to get any leftover bits.
    3. Get an absorbent cloth damp (not soaked) with mineral spirits. Then carefully wipe the area where you’ll apply the sealant. This helps the sealant adhere to the surface beneath it whether you’re applying it over nonsilicone sealant or an RV wall.


    Applying the Sealant
    1. Now insert the tube of sealant in your caulking gun. Then carefully cut the tip at a 22 degree angle about one-eighth of an inch from the end. The hole should be very small.
    2. Squeeze the trigger a few times and wait for the sealant to appear at the end of the tube.  
    3. Apply a bead of sealant to the seam, working in sections of about one to two feet at a time. 
    4. When the whole seam has a bead of sealant on it, wipe your index finger on the mineral spirit dampened rag. Then gently drag it across the bead of sealant you just applied. In doing so, you are smoothing the surface and pressing the sealant into the seam. 
    5. Repeat with each seam that needs resealing until all the seams on the wall are finished and protected. Admire your work for a minute or two, and then move to the next wall. Start a new inspection and repeat the steps.


    Inspecting and Resealing Your RV Roof 

    Your RV roof shelters and protects everything inside your RV. So, it makes good sense to look after it. Since even a tiny hole in your RV’s roof membrane can allow a damaging amount of moisture into the RV, it’s important to inspect it at least twice a year. When you inspect it, you’re looking for holes or tears in the roofing membrane, bubbling, and soft spots. You’ll also want to check the sealant around roof edges and extrusions for cracks, dryness and peeling. Applying roof sealant isn’t difficult. However, it’s important to use the correct product for your RV roofing membrane.  

    Many RVers report success using roof repair tape to either reseal or repair their RV roof. It provides a fast, easy fix for leaks and other issues. However, a potential drawback of using roof repair tape is that it eventually dries out and deteriorates because it’s constantly exposed to the sun. When this happens, you can’t simply apply another layer of roof repair tape.  Not only that, but worn-out tape is very difficult to remove without damaging the roof membrane. With that being said, roof repair tape can sometimes be useful for emergency repairs, when there is no other choice. 

    In my excperience, when it comes to sealing up your roof, it’s best to stick with the product your RV manufacturer recommends. Fortunately, sealing your RV roof with RV lap sealant is easy and can be done fairly quickly. Here’s what you need to know about resealing your RV roof.


    What You’ll Need 

    • Ladder (if your RV doesn’t have one)
    • Nitrile gloves
    • Mineral spirits
    • 2 drip free caulking guns
    • Tube of self leveling RV roof sealant to seal around extrusions 
    • Tube of no-sag to seal the edges of the roof
    • Your RV manufacturers recommended self leveling and no-sag roof sealant
    • Soft, lint free cloth


    How To Inspect And Reseal Your RV Roof

    1. Check with your RV manufacturer to find out which roof sealant they recommend. 
    2. Make sure your RV roof is walkable before getting on it. If it’s not walkable, consider taking it into an RV repair facility and have them do the inspection for you. (You might be able to inspect the roof of a smaller RV from a ladder.)
    3. If your RV roof is walkable, begin at the front roof seam and work your way to the back, watching out for tripping hazards like roof top fans, acs, and aerials.  
    4. Carefully inspect the seals and roof membrane for  damage as outlined above. 
    5. Small holes in the roofing membrane can be sealed with a dab of no sag roof sealant.
    6. If the roof seals are showing fine cracks or other signs of wear and tear, you’ll want to reseal with self-leveling sealant, which can usually be applied directly over the old sealant.
    7. Wipe the area to be sealed with a cloth dampened with mineral spirits. This will help the new sealant adhere.
    8. On flat sections of the RV roof, use self-leveling sealant. 
    9. Insert the tube of self leveling sealant in your caulking gun. Then cut a hole in the tip at an angle of about 22 degrees about one-quarter inch from the end.
    10. Working in two-foot sections, apply two parallel beads of sealant on either side of the existing sealant for the entire length of the existing bead of sealant.
    11. Work another bead of sealant back and forth between the two parallel lines, from one line to the other for the entire length of the original bead of sealant. The self-leveling sealant will level itself to fill in gaps.
    12. Along the edges of the RV roof, where self-leveling sealant would drip, use no-sag sealant.


    The Difference Sealing Up Your RV Can Make

    By taking the time to inspect and seal up your RV for winter weather, you can rest easy knowing that your investment is protected. Inspecting seals and resealing where necessary is an easy task that pays off in peace of mind, and having your RV all ready for the camping season.  

    Note: If you have balance problems or are uncomfortable with ladders and/or heights, it’s well worth hiring a certified RV technician to do the job of resealing your RV.   

  • Going Into Hibernation: An RV Winterization Guide

    Going Into Hibernation: An RV Winterization Guide

    For many RVers, the always-too-soon arrival of late autumn means it’s time to wrap up another camping season. November is a good time to reflect on summer camping memories, but it’s also a great time to get your RV ready for winter weather. RV winterization means taking care of all the tasks that will make your RV ready to survive the winter. (So you can make more camping memories next year.) This seasonal process is essential for both occasional winter campers and RVs that will be stored over the winter. Sure, you could get on your RV dealer’s waiting list to have winterization done for you. But it’s not necessary. The reality is that the tasks involved are so simple and easy that anyone can do them. So, what does it involve?

    Commonly, many articles focus primarily on winterizing RV water systems and making sure house batteries don’t freeze. And that stuff is all correct. But seasoned RVers also know that completing seasonal maintenance tasks are also a part of the job. Tasks like cleaning the RV, washing and waxing it, and making sure all the seals are in good shape are just as critical as other RV winterization tasks.

    So, in this article, we’ll walk you through the all the steps that you can easily do yourself to get your RV ready for its seasonal hibernation.


    Your RV Winterization Task Checklist

    1. Clean the Inside of the RV

    Giving the inside of your RV a thorough clean before the winter’s arrival not only ensures that it’s  ready to go in spring — it also discourages mold, rodents, and other infestation. So, empty all cabinets and vacuum and wipe down all interior surfaces with your favorite cleaner. Be sure to empty, defrost, an clean the refrigerator too, leaving it slightly ajar to allow air circulation.  


    2. Clean, Lubricate and Retract All Awnings 

    Mold is gross. But it thrives in certain areas, and a rolled-up awning is one of its ideal environments to grow over winter.  That’s because mold loves dark, damp places, and rolled-up awnings are exactly that. Since mold spores are often carried around on microscopic dust particles, you want to make sure that your RV awning is clean and dry before rolling it up. This will help to ensure you don’t find a big, nasty mess when you open it up next camping season.  

    Washing your RV awning is easy to do. You just need a soft, extendable wash brush, a bucket of warm soapy water, and a hose with a nozzle to rinse. (By the way, bleach and other harsh chemicals can shorten your awning’s life span, so they’re best avoided.) First, open up your RV awning. You may need to either go up on the roof of your RV or use a step ladder to reach the exterior side of the awning. (In either case, be safety conscious.)

    Gently scrub the exterior surface of the awning from top to bottom with soapy water. Then use a spray nozzle on a hose to rinse. With the outside of the awning clean, it’s time to start cleaning the underside of the awning with the soft brush dipped in soapy water.  Begin next to the RV and gradually clean to the outer edge. Now spray it with water until all the soap is rinsed away. Leave the awning extended until it’s perfectly dry.

    After the awning is dry, lubricate all joints on the RV awning arms with a silicone lubricant. Then roll it up for the winter.


    3. Inspect and Reseal Exterior Surfaces

    The seals on your RV’s roof and sidewalls protect your RV all year round, but they tend to deteriorate over time. For that reason, you should inspect and reseal all your RV’s exterior seals twice a year — including as part of your RV winterization program. On the roof, you’ll want to look for holes or tears in the membrane as well as deterioration of sealant such as cracking or peeling. If the seals look dubious, or you see damage to the roof membrane, you’ll need to seal it up for the winter with the appropriate lap sealant.


    4. Wash the Exterior of the RV

    Use a bucket with your favorite RV wash solution and a telescoping soft wash brush to wash all exterior surfaces of your RV, beginning on the roof. Gently clean the roof from front to back in three-foot by three-foot sections, rinsing as you go to avoid a build up of slippery soap suds. (Be sure to watch for tripping hazards.) Once the roof is washed, rinse it thoroughly.  

    Back on the ground, and wash and dry all four sides of the RV with a fresh bucket of sudsy water and a soft brush. Use a microfiber mop or soft absorbent cloths to dry as you go. 


    5. Wax RV Exterior Sidewalls

    Waxing your RV before winter will protect it from UV rays that can cause its exterior finish to go from glossy to chalky. RV spray wax sprays on, wipes off and buffs up beautifully, making it easy to keep your RV new looking.


    6. Lubricate Locks and Hinges

    Lubricating your locks and hinges now will ensure that they’re working when it’s time to go camping. Using graphite spray lubricant or a silicone spray lubricant makes it easy to keep these parts operating quietly.


    7. Set Up Rodent Deterrents

    Mice and rats view RVs as safe, cozy places to spend winter, and raise families. As you might image, they generally make a mess. There’s nothing like opening up your RV in spring, only to find that these miniature squatters have been making themselves at home all winter.

    When it comes to rodents, it’s always best to prevent a problem than to deal with one. Rodents don’t like to take chances, so deterrents like peppermint oil, motion-detecting lights, and ultrasonic plug-ins are often enough to convince rodents to move along and seek accommodation elsewhere.


    8. Winterize Your RV Plumbing 

    Water left in the tank or plumbing of your RV will freeze over the course of winter. To prevent damage to your plumbing system, you need to empty all the water out of your water lines and either replace it with air or RV specific antifreeze. Here’s what you’ll need to do.

    1. Disconnect from city water.
    2. Empty and flush black and gray RV holding tanks.  
    3. Drain the freshwater tank using the freshwater drain located beneath your RV.
    4. Empty the freshwater pump and water lines by turning on the water pump and opening a faucet, using a bucket in the sink to catch water. Continue emptying until water stops coming out of the faucet. Turn the pump off.
    5. Locate your RV’s low point drains and open them to drain out any remaining water in the plumbing system.
    6. With the low point drain still open, drain the hot water tank by releasing pressure using the pressure relief valve and then unscrewing the plug or anode rod.
    7. Blow out the water lines using a blow out plug inserted in the city connection and a low pressure (20 psi) air compressor.  Continue until no more water comes out of the RV low point drain.
    8. Move the blow out plug to the black tank flush valve. Use low pressure air (20 psi) to blow any remaining water in the black tank waterline into the black tank. 
    9. Cap the city water and black tank flush inlets.
    10. Locate the hot water tank bypass valve, and close it to prevent antifreeze from getting into the water heater.
    11. Locate the water pump and replace the waterline with an RV antifreeze siphon line. Insert the end of the siphon hose into a jug of food safe RV antifreeze.
    12. Turn on the water pump and go outside and make sure antifreeze is coming out of the low point drains. Then close both low point drains.
    13. Inside the RV, turn on each faucet until pink antifreeze comes out. This includes the interior and exterior showers and the toilet too. Leave some antifreeze in the bottom of the toilet bowl.
    14.  Remove the siphon hose from the RV antifreeze bottle and allow the pump to drain it completely.  Remove the siphon line from the water pump and turn the pump off.
    15.  Pour antifreeze down each drain to get antifreeze into each drain’s P-trap.
    16. Remove and store house batteries in a warm, dry location.
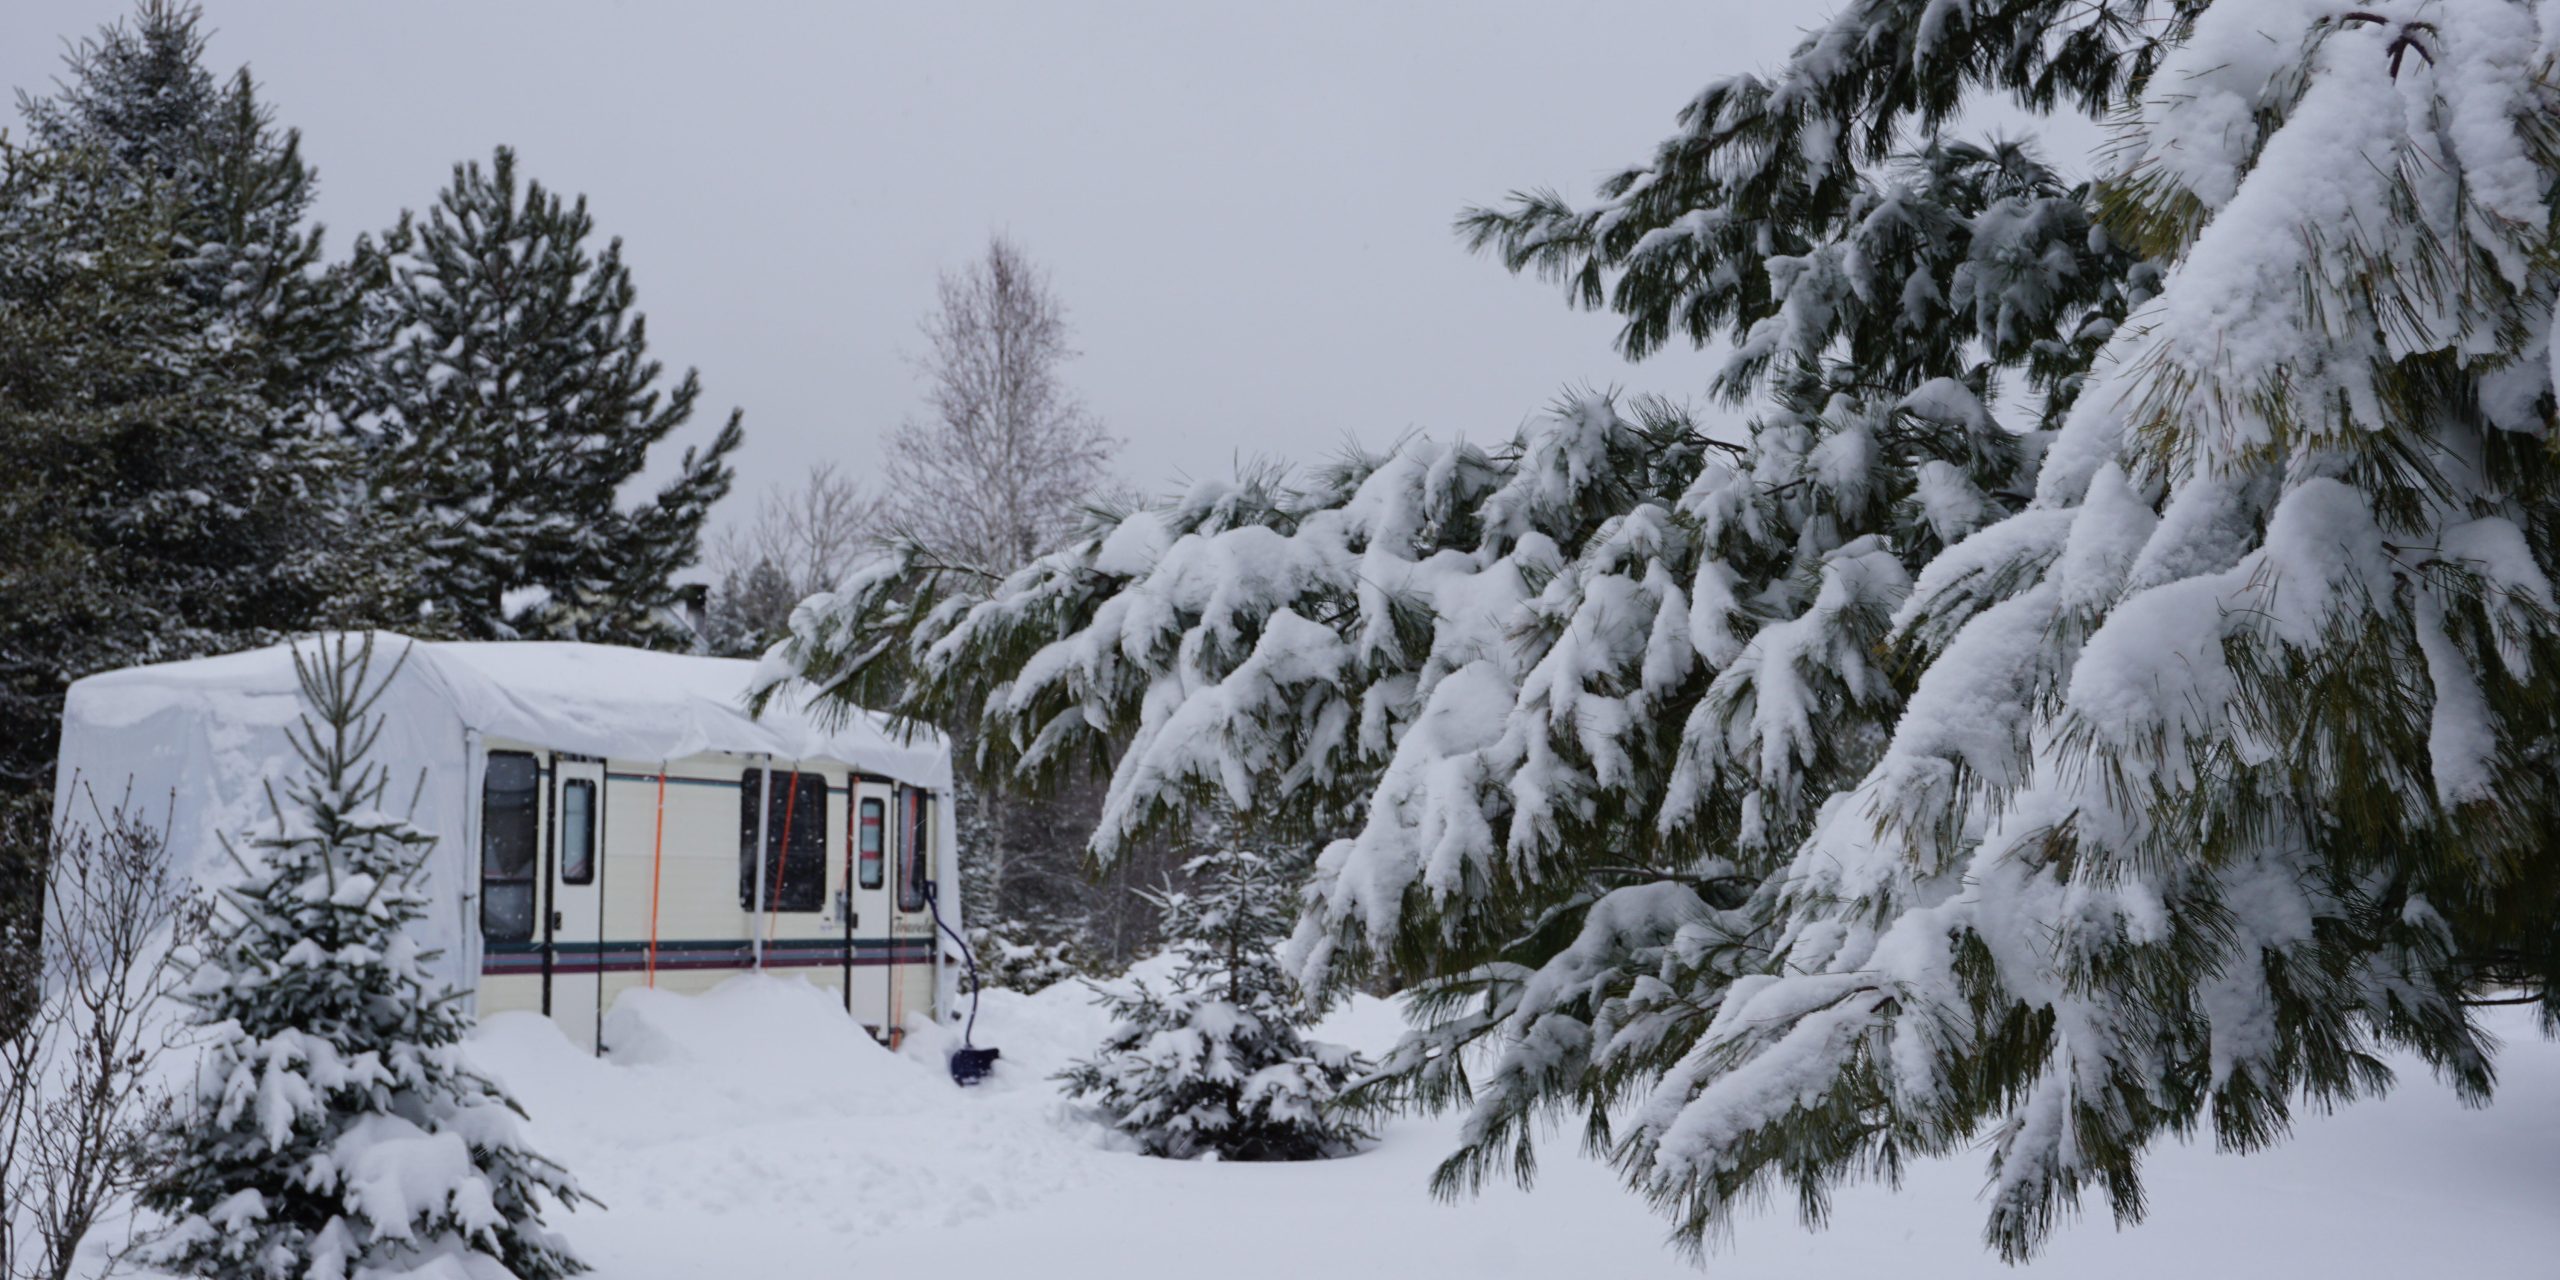
    17. Store your RV in an RV shelter or cover it with an RV cover to protect it from winter weather


    RV Winterization Wrap-Up

    RV winterization is really the final part of the camping season. While most RV dealers welcome the job of winterizing RVs,  it’s an easy DIY for most people. Looking after the exterior and interior components of your RV will help to ensure that it’s ready for the next camping season and many more to come.

  • Critical Questions to Ask Your RV Insurance Agent

    Critical Questions to Ask Your RV Insurance Agent

    When it comes to RV insurance, it’s OK to have questions. Even a lot of them. You may wonder what the insurance coverage is like on your RV? What’s covered when you’re on the road? And what about when you’ve parked  or even put it away for the winter and aren’t using it? Oooo! And does your vehicle coverage extend to your RV if it’s being towed?

    We get it, Alice. It’s easy to fall into a rabbit hole when digging into the terms and conditions of insurance policies. (Even when it’s not an RV.) But the basic questions you really want to get to are: What should you look for? And what do you actually need?

    To get a better picture of what you need. Let’s go through the most common policy elements and potential scenarios you’ll encounter. Reading these will better equip you to determine what you really need and — better yet — talk with an agent to ensure what you think is insured actually is.


    What Does RV Insurance Exactly Cover?

    Comprehensive Coverage

    The things we usually think of when it comes to insurance — collision, theft, natural disasters, and such — fall under the umbrella of comprehensive coverage. (Though they are also available separately.) Not all policies are created equal, of course. And even something called “comprehensive” may not cover everything.

    Double-check the specifics of your coverage to make sure there are no surprises. For example, does “flooding” mean a burst pipe in your RV or an overflowing river? Or both? If something isn’t clear, the insurance company’s agents are just a phone call away. There’s no sense in paying for a policy that doesn’t provide the protection you need.


    Liability Coverage

    Ugh. This is one of those cringe scenarios. But what if someone hurts themselves in your RV? What if your pet bites a fellow camper and that requires medical attention? Or the awning comes loose and causes damage to someone else’s RV.

    It’s wise to have liability coverage on your RV for all those “what if” situations. (There are so many.( Surprisingly, liability coverage for RVs is very, very inexpensive and might be part of a larger package of overall insurance to consider.


    Contents Coverage

    No matter how big or small your RV is, you’ve got stuff. As someone in the insurance industry said to me once, if you turned your RV upside down and shook it, those loose things are all the things you might consider covering.

    It’s amazing how quickly all the stuff in our RVs adds up in value. For example, we have an air compressor, electric drill, screen tent, Starlink dish and flag pole, sewer hoses, drinking water hoses, surge suppressor, and other things — just in the passthrough of our travel trailer. That collection of “stuff” that I mentioned is worth almost $2,000.

    The bottom line: Consider looking at your policy to see how it handles the various things inside the trailer. Are they covered by your homeowner’s insurance? Maybe, or maybe not. If you’re not absolutely sure, a trip through the legalese on your policy might be worth taking.


    Roadside Assistance

    Many RV policies make mention of roadside assistance, but how do you take advantage of that if you need it? Does your roadside assistance plan cover both your truck and trailer, or your motorhome and towed vehicle if there’s a breakdown?

    When our friend called roadside assistance, the tow company came and first hauled their tow vehicle to a repair shop. When the tow company returned to pick up their vintage trailer, however, it had been stolen. With a truck and trailer, it may take two tow vehicles at the same time to get everything to the shop at once. Knowing how the company handles these situations can save you some headaches and heartbreak.


    Medical Coverage

    If there is an incident, how does your insurance cover any needed medical attention? This can also extend to occupants of a drivable RV, and even all the way to pets.

    Since pets can often free-roam in a vehicle, they are susceptible to injury if there’s a sudden change of speed, which is exactly what happens in a collision. What does your policy say about Fido’s injuries?


    You Have RV Insurance. But What-If …

    “My RV trailer is covered by the tow vehicle’s policy.”

    This is something I read a lot. Your tow vehicle’s insurance may cover the trailer when you’re towing it. But I would strongly suggest you look at that insurance to see if it’s still covered once you’re unhooked.

    We recently had a tree limb fall onto our RV. While the damage was repairedwhich involved replacing the entire side wall of the camper — it was the RV park and not the tow vehicle’s policy that covered the repair.

    At least that’s how our policy is written. It’s a good thing the RV park stepped up in this case. If they hadn’t, and we only had the specific insurance policy we have on our tow vehicle, the almost $6,000 in repairs would have come out of our own pockets.


    “I have a loan on my RV.”

    Almost all loan companies require that you have specific coverage on your RV. Typically, the loan company wants to be sure that the vehicle they hold the loan on is covered in the event of damage.

    But they may also require specific liability insurance on the RV. If you’re involved in an incident, that liability coverage helps protect you from someone coming after you following the incident.

    A loan company can actually start action against you if you’re not meeting their defined coverage; some of them will also tack on their own insurance which can be very pricey compared to what you get in the open market.


    “I rent out my RV.”

    While many rental agencies have insurance or require renters to have coverage in the event that something goes wrong, it’s also a good idea to look at your policy to see if renting out your RV is allowed. Depending on the value of your RV and/or its contents, you might also consider additional liability coverage before renting it out.


    Why You Need RV Insurance

    Insurance is designed to provide peace of mind. But for true confidence whether at home or on the road, you’ll want to familiarize yourself with your policy’s coverage, know who to call when you need help, and have an idea what that help will look like. The best insurance policy is one you never have to use. The next best thing is one that you know you can count on.

    By the way, I recently had the opportunity to catch up with the Girl Camper podcast in a really good episode about RV insurance. You might want to give it a listen, even if you’re not a Girl Camper yourself.

  • RV Fire Safety 101

    RV Fire Safety 101

    While driving in the Texas panhandle, some folks pulled up next to us frantically waving and pointing to our travel trailer. We pulled over immediately. That’s when we discovered that one of our trailer’s tires had broken its bearing and was loosely spinning inside of the wheel well … no longer connected to the axle. Despite the wobbling and drag this must have caused, neither of us had felt anything from the front seats of our tow vehicle. Had it gone on any longer, a fire could have easily erupted — the exact kind of RV fire safety disaster no one wants to experience.

    The last thing you want to think about when you are dreaming about your next RV road trip is what to do in case of a fire emergency.  But, the 4,200 RV fires reported annually between 2018 and 2020 mean that you have got to take RV fire safety seriously. So, how can you prevent and prepare for an RV fire? Think about the following: 1) your RV, 2) yourself, and 3) your family. 

    So, let’s start with how to prepare your motorhome or trailer for RV fire safety.


    1) Preparing Your RV: Fire Prevention Strategy and Protection

    RVs are small houses with many of the same working systems of a traditional home. But most of those don’t rattle down the road.  Maintenance and cleanliness of each system is the first step in fire prevention. Here’s a checklist of items to assess on your RV.


    Mechanical  — Engine, Running Gear, and Wheels

    Over 26 percent of all RV fires start from the engine compartment or near the wheels and other equipment needed to enable the RV to travel smoothly. So it’s especially important to ensure that your bearings, brakes, axles, and the vehicle’s engine is regularly serviced and free from debris* (see note at bottom of section). One key piece of equipment to help keep an eye on things is a remote tire pressure monitoring system — especially when pulling a travel trailer or toad.


    Electrical — AC & DC Wiring

    Most RVs have two electrical systems — both an alternating current (110-120V) system like in a traditional home, and a direct current (12-48V) system that is energized directly from your battery bank. Typically, the AC side is only electrified when plugged into shore power, or through an inverter which is powered from the DC battery bank.  

    All wires need to be sized appropriately for the intended load, and the length of run from source to outlet. Additionally, each wire circuit needs to be fused appropriately to protect the wires from overheating. Doing any of these things incorrectly can cause wires to heat up and catch fire.  

    Other electrical fire sources can be loose fitting or worn connections. Vehicle vibration will inevitably loosen electrical connections overtime and loose connections can become an ignition source. Regularly check any connections that use nuts, screws, or bolts and retighten appropriately. Visually inspecting all connections, switches, and appliances for corrosion or discoloration is a good habit as well. 

    When plugging into shore power, always connect to an appropriate circuit for your RV’s load. Never try to run a 50A load through a 30A circuit, or 30A through a 15A, even through an adapter. While most campsite electrical posts are fused to prevent overloading, do not rely on this as a protection for your own RV.  


    Liquid Propane Gas

    Potential fires can come from any misuse, leak, or clog in the LPG system. Inspecting the propane line(s) for wear and tear from its source at the tank to the appliance is a good practice, especially if its path is close to any moving parts.  

    Propane has a particularly noxious odor (rotten eggs) that alerts us to its presence. If you smell it, get everyone out, and immediately shut off the LPG at the tank valve. Small leaks can go undetected. All RVs should have an LPG detector installed near the floor because LPG is heavier than air and will collect in low spots.  

    Exterior furnace or refrigerator flue vents can be a source for ignition if they become clogged* (see note at bottom of section), or if you are parked too close to another vehicle or structure. Be sure to keep adequate space for combustion fumes and heat to dissipate.  Inspect all flues and vents prior to using the propane after storage.  

    When in doubt, have your LP gas and electrical systems checked by a certified RV technician!


    Kitchen

    While cooking fires are a small percentage of the total fires reported, good practices are important:

    • Keep the cooking area clear from other flammable materials (e.g., paper towels, grease, etc.).
    • Regularly clean the gas burners and/or oven, or use an induction stove.
    • Avoid leaving the RV while cooking. Take a timer with you if you have to leave momentarily.


    Exits

    All RVs should have at least two exits. And everyone spending the night should know where they are. Any window exits should be able to open completely without a screen impeding the egress.

    *Don’t forget to check for this! Animal nests, especially small rodents, can be a major RV maintenance issue, especially if you store your RV for any length of time unoccupied.  


    Protection Devices

    Adding and regularly testing the following devices can save lives. Most have a 5-year lifespan from the date of initial installation.

    • Smoke detectors should be near the cooking area and in each sleeping area.  Closing doors between rooms at night can help compartmentalize any fire.
    • Carbon monoxide is an odorless and deadly gas that is a byproduct of combustion. CO detectors should be near the engine compartment in all self-propelled RVs as well as in all sleeping areas at shoulder level.
    • LPG detectors should be installed near the floor by a propane source.
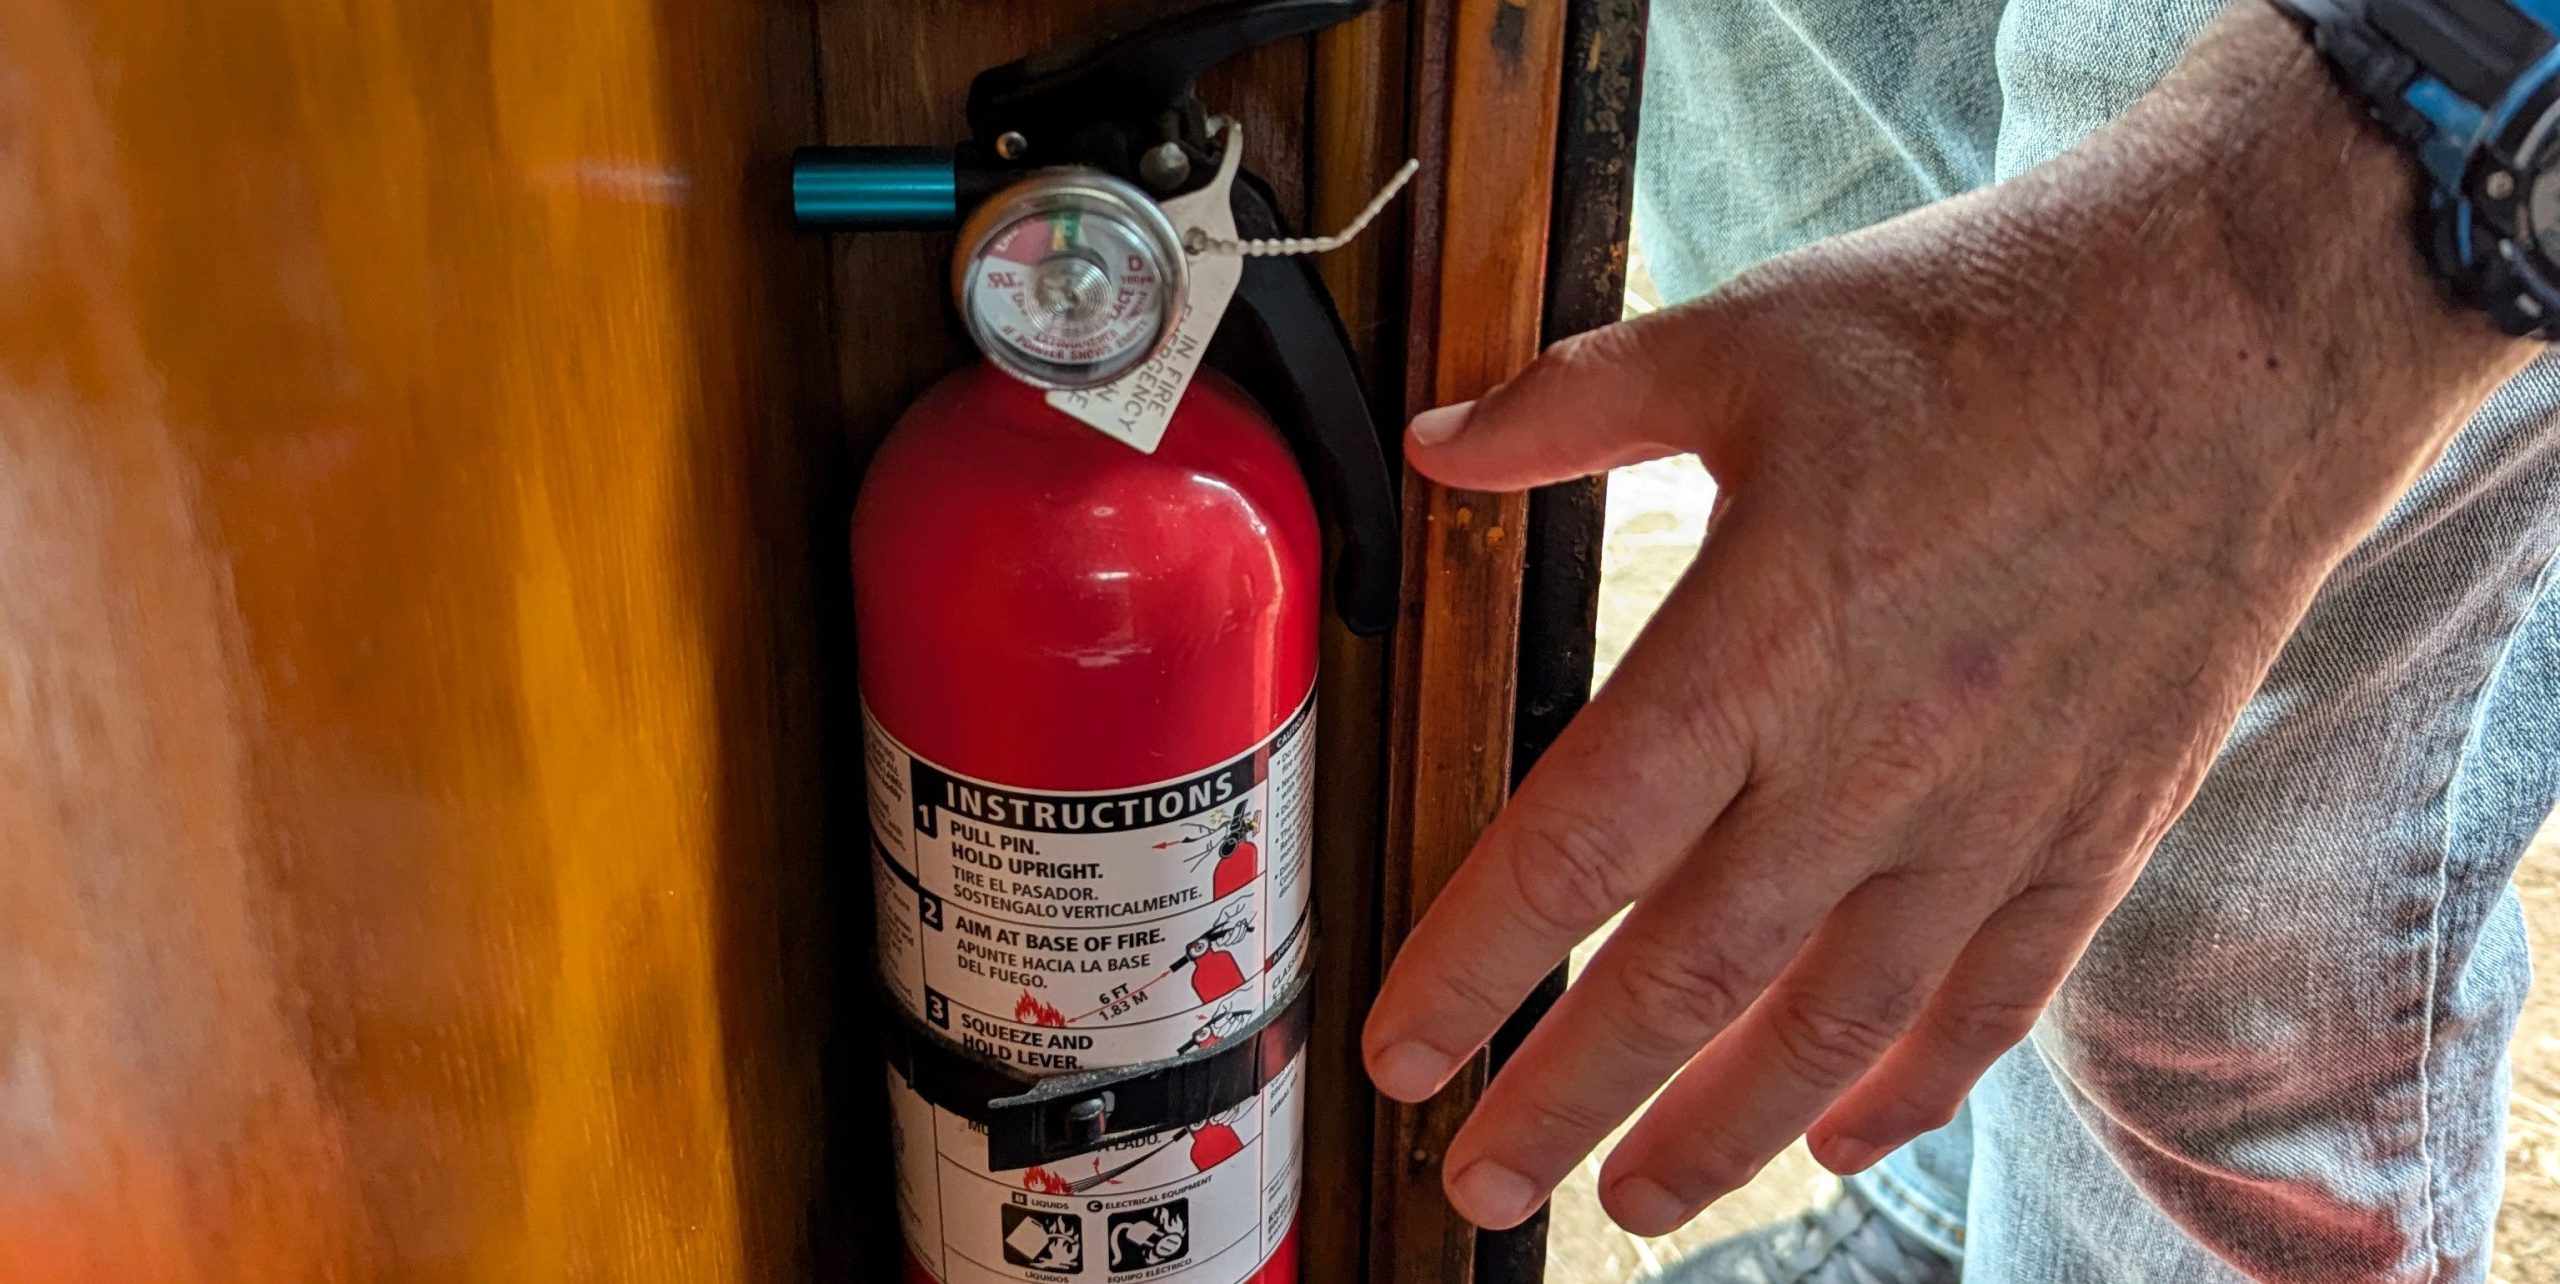
    • Fire extinguishers should be located just inside every door, including a labeled and unlocked exterior hatch. Regularly checking to see if they are still operational should become a habit and each model will have instructions for testing.  


    2) Preparing Yourself: Flight or Fight?

    People before property is always the first priority of dealing with any fires. Knowing whether this is a fire you can fight, or you should leave it to the professionals, is crucial and could save lives.  


    If you choose to fight…

    Always get everyone out. Then call 9-1-1. And only then try to fight small fires only with a reliable and appropriate fire extinguisher.  Never try to put out a grease kitchen fire with water because it can actually cause an explosion of steam and flammable oil!


    If you choose to go…

    Have a three-day go bag near the main exit with the following: 

    • Extra cell phone, family contacts, pet records, and copies of important paperwork.
    • Extra clothes, shoes, and medications for a few days. 
    • Extra credit cards, keys, IDs, and some cash.  
    • Personal-sized “wet chem” fire extinguisher, headlamps, hammer, whistle, and road flare.


    3) Preparing Family and Guests

    Including your family (including children) in a fire prevention plan is key!  

    • All people sleeping in the rig should know where the designated exits are, how to reach them in the dark, and how to get out of them.
    • Everyone should know the location of all fire extinguishers and how to use them.
    • Have a designated meeting location in case people need to leave from a different exit.
  • Basic Tools to Always Keep in Your RV

    Basic Tools to Always Keep in Your RV

    Who doesn’t love a good power tool workshop? Even if you don’t know a biscuit cutter from a drill press (or your soldering iron from a spoke wrench), it’s hard not to admire a well-laid out and organized workroom of the modern DIYer. But whether you have a tidy tool shed at the house or a hot mess of tool chaos, the fact is that neither will fit into your RV lifestyle. So, what are the essential tools to keep in your RV toolbox? (Because if you know anything about the RV life, you’re going to need them.)

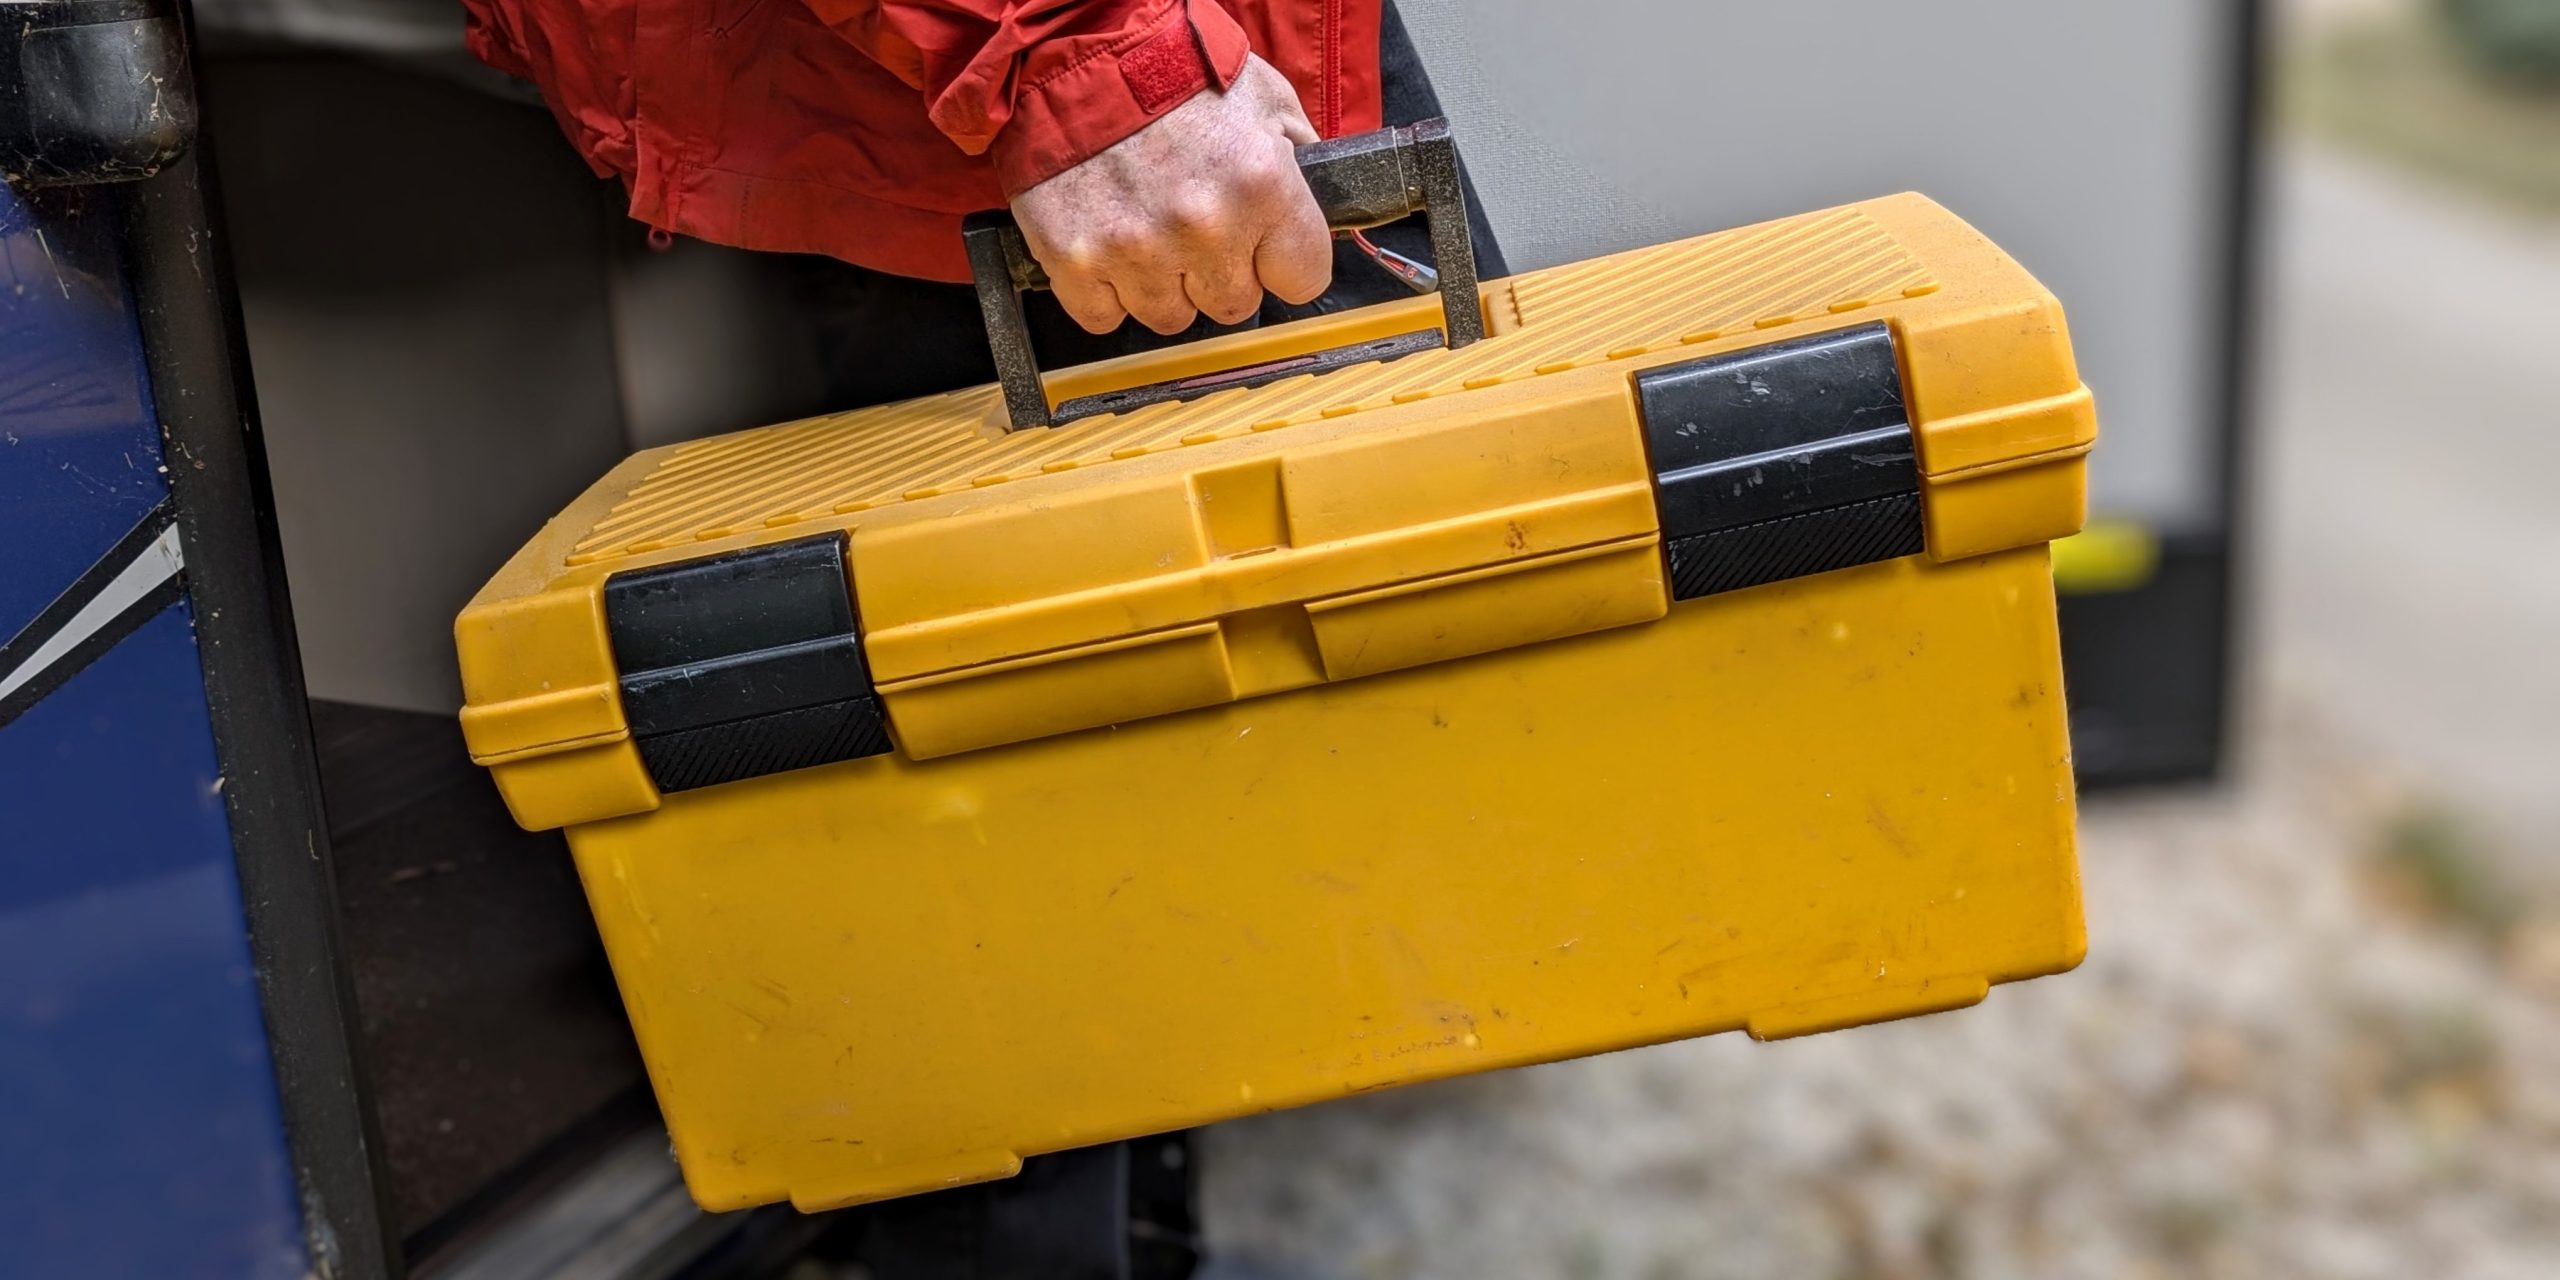
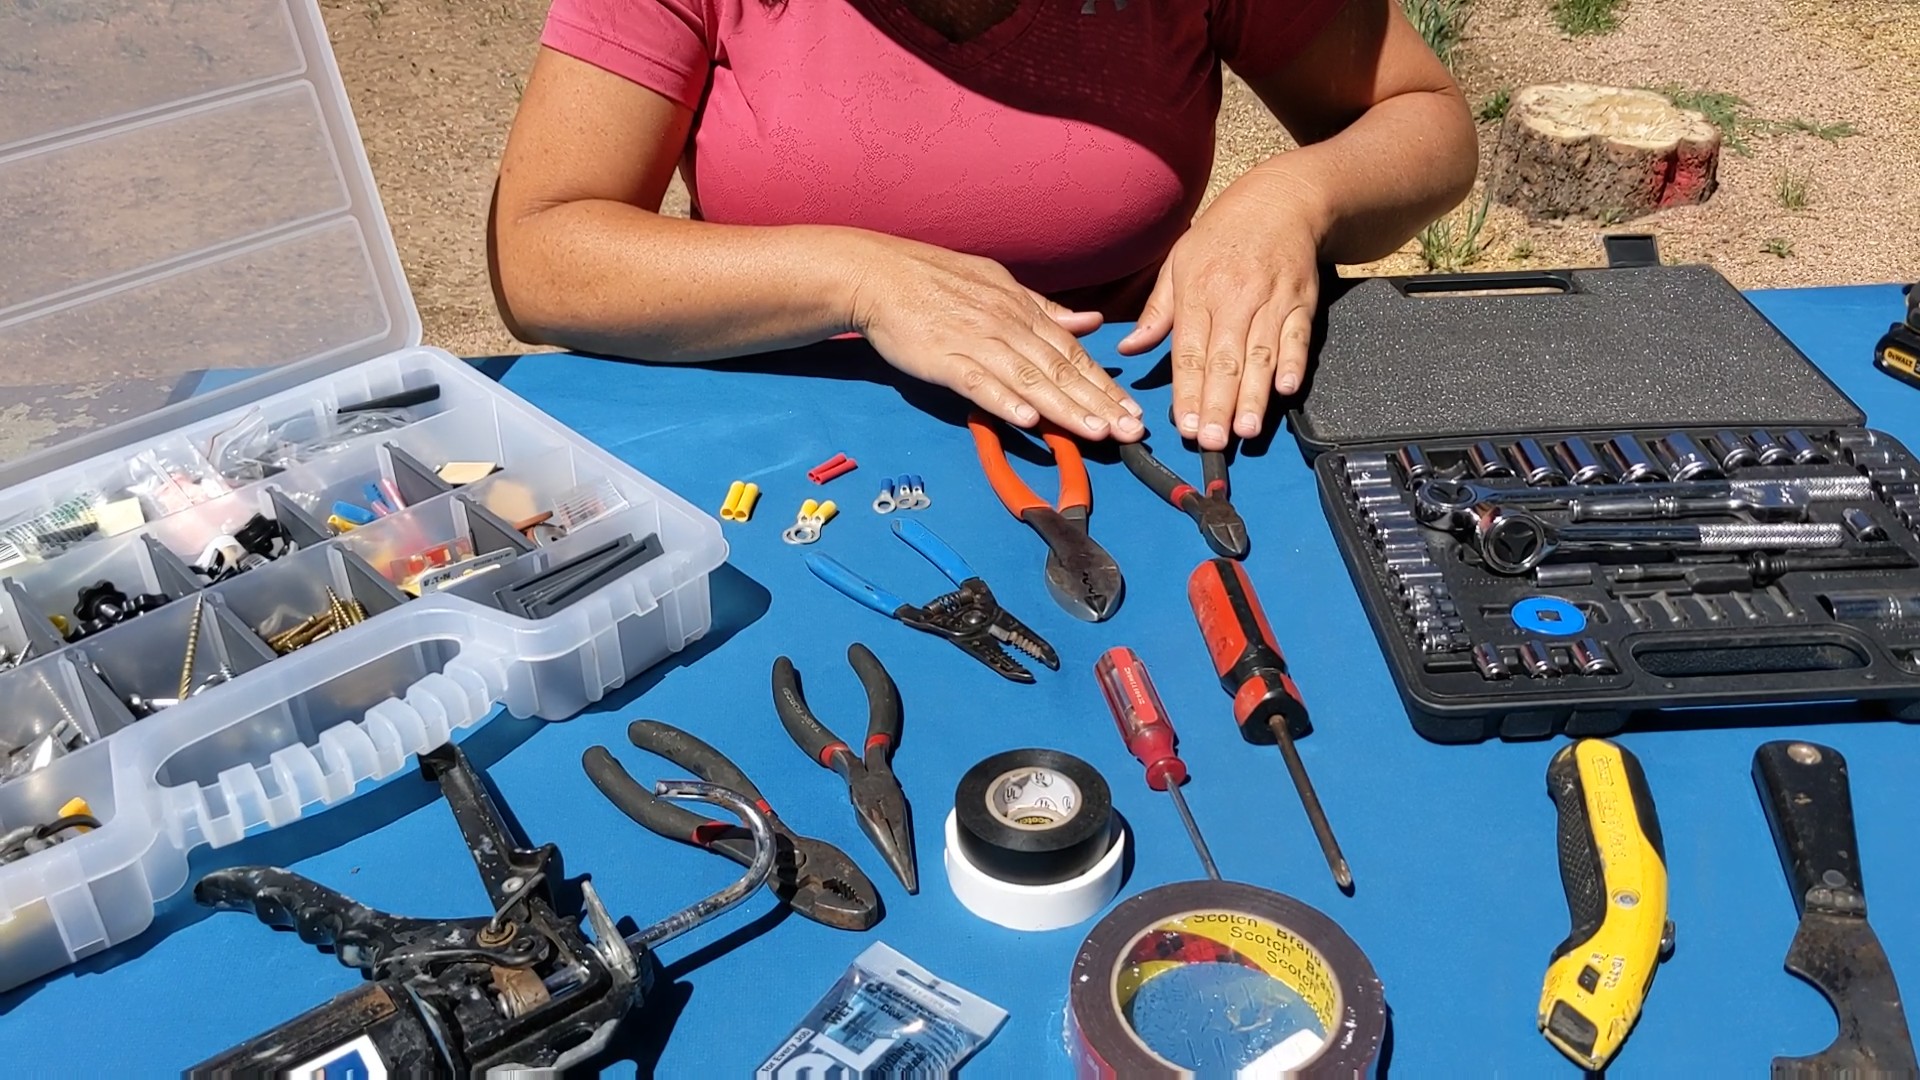
    Quite simply, ith limited space, you’ll need to pair down your tools. You know, to what can fit in the back of your vehicle or dedicated storage area in your RV. When we first hit the road in 2012, we took just the most important hand tools. In fact, we’ve managed for years with what could fit into a traditional, two-layer toolbox. When weeding through your tools, think about both multi-purpose and specialty tools. 

    Here are some of go-to tools to keep in your RV.


    Standard Tools for Your RV Toolbox

    Alright, let’s take a look at the tools that are worth their RV weight.


    • 4-Way Cross Wrench
      Also known as a “spinner wrench” for changing a tire. You need to be able to loosen the lug nuts on your towing vehicle and the trailer. This tool is a one and done!  

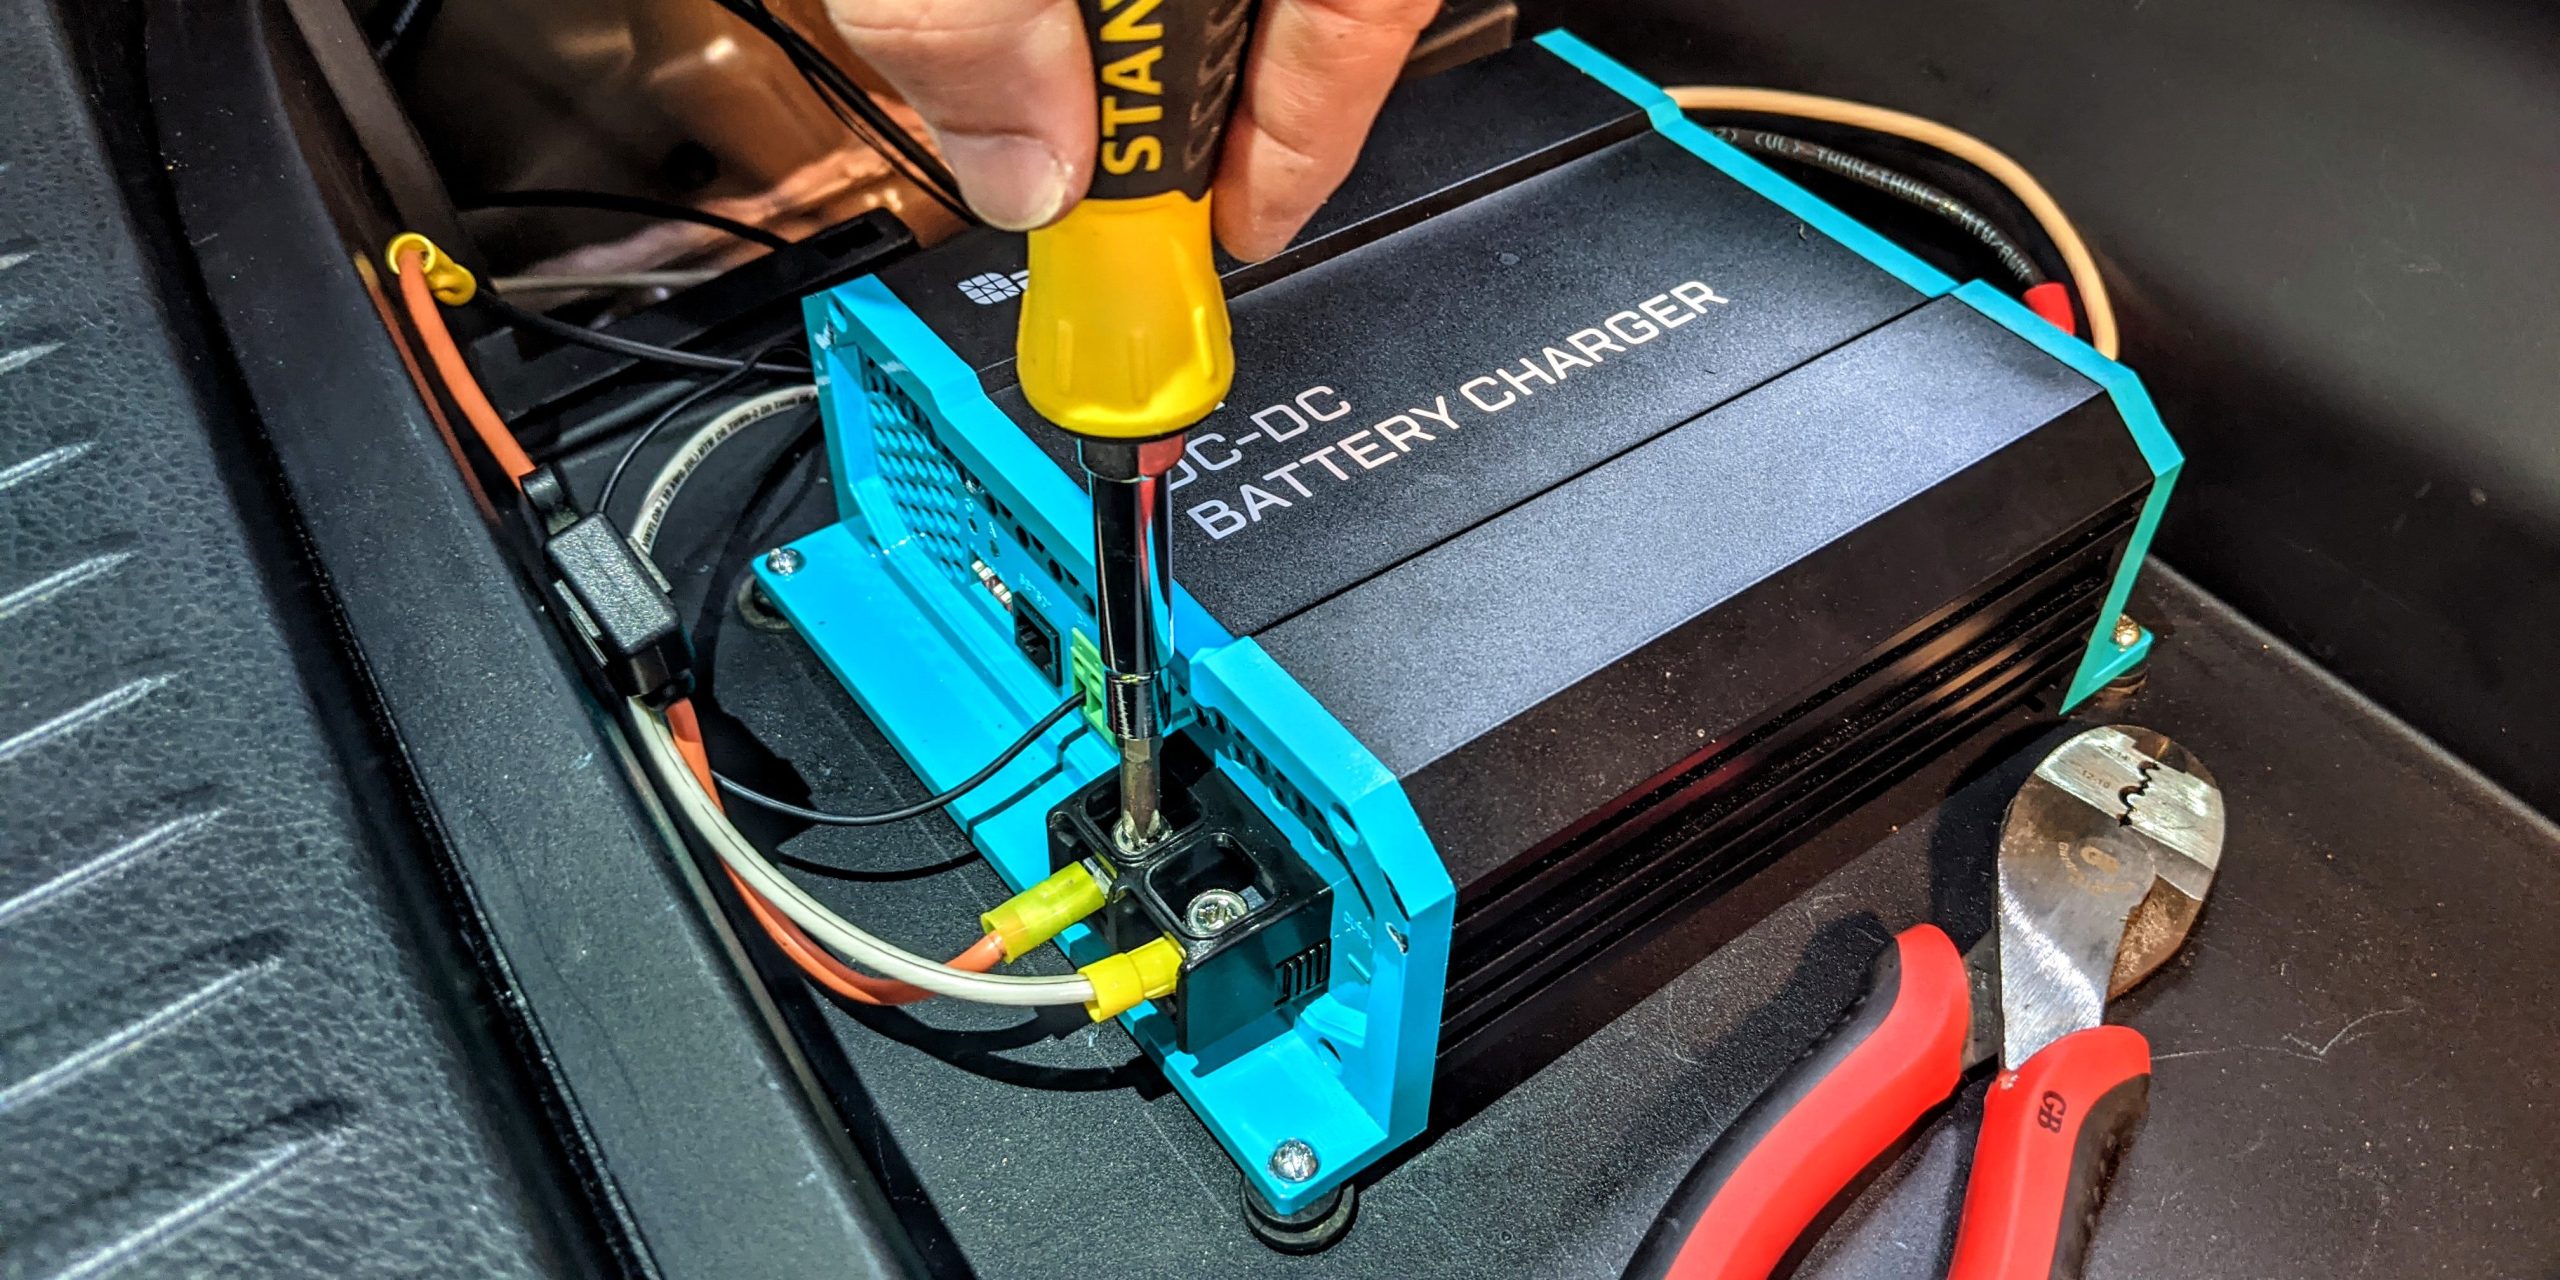
    • Multi-Bit Screwdriver
      We keep our goto multi-bit driver in the driver’s door compartment so we can swap out different bits for Phillips, standard, square, or hex fasteners in a jiffy.

    • Adjustable Wrench
      Alongside the screwdriver in the driver’s door, this is ready for use at a moment’s notice.  

    • Multi-Tool
      Love your Leatherman or Swiss army knife? And there’s a good reason why! We reach for this tool most often when we need some multi-purpose needle nose pliers or a flathead screwdriver.

    • 5-in-1 Tool
      All toolboxes should be sold with this handy tool already included. We use it for everything from scraping and prying to spreading and cleaning paint rollers.  

    • Channellock Pliers
      These are adjustable and useful for tightening (or untightening) jobs that require some extra umph, as well as in the kitchen to remove anything hot on the stove or campfire.  

    • Hatchet/Hammer Combo
      This is a great 2-in-1 tool for camping. It not only helps prepare kindling and larger firewood, but also helps drive a few tent stakes for any outdoor shade or rain shelter. The hammer head on the reverse side of the hatchet blade will work for any other small pounding tasks.  

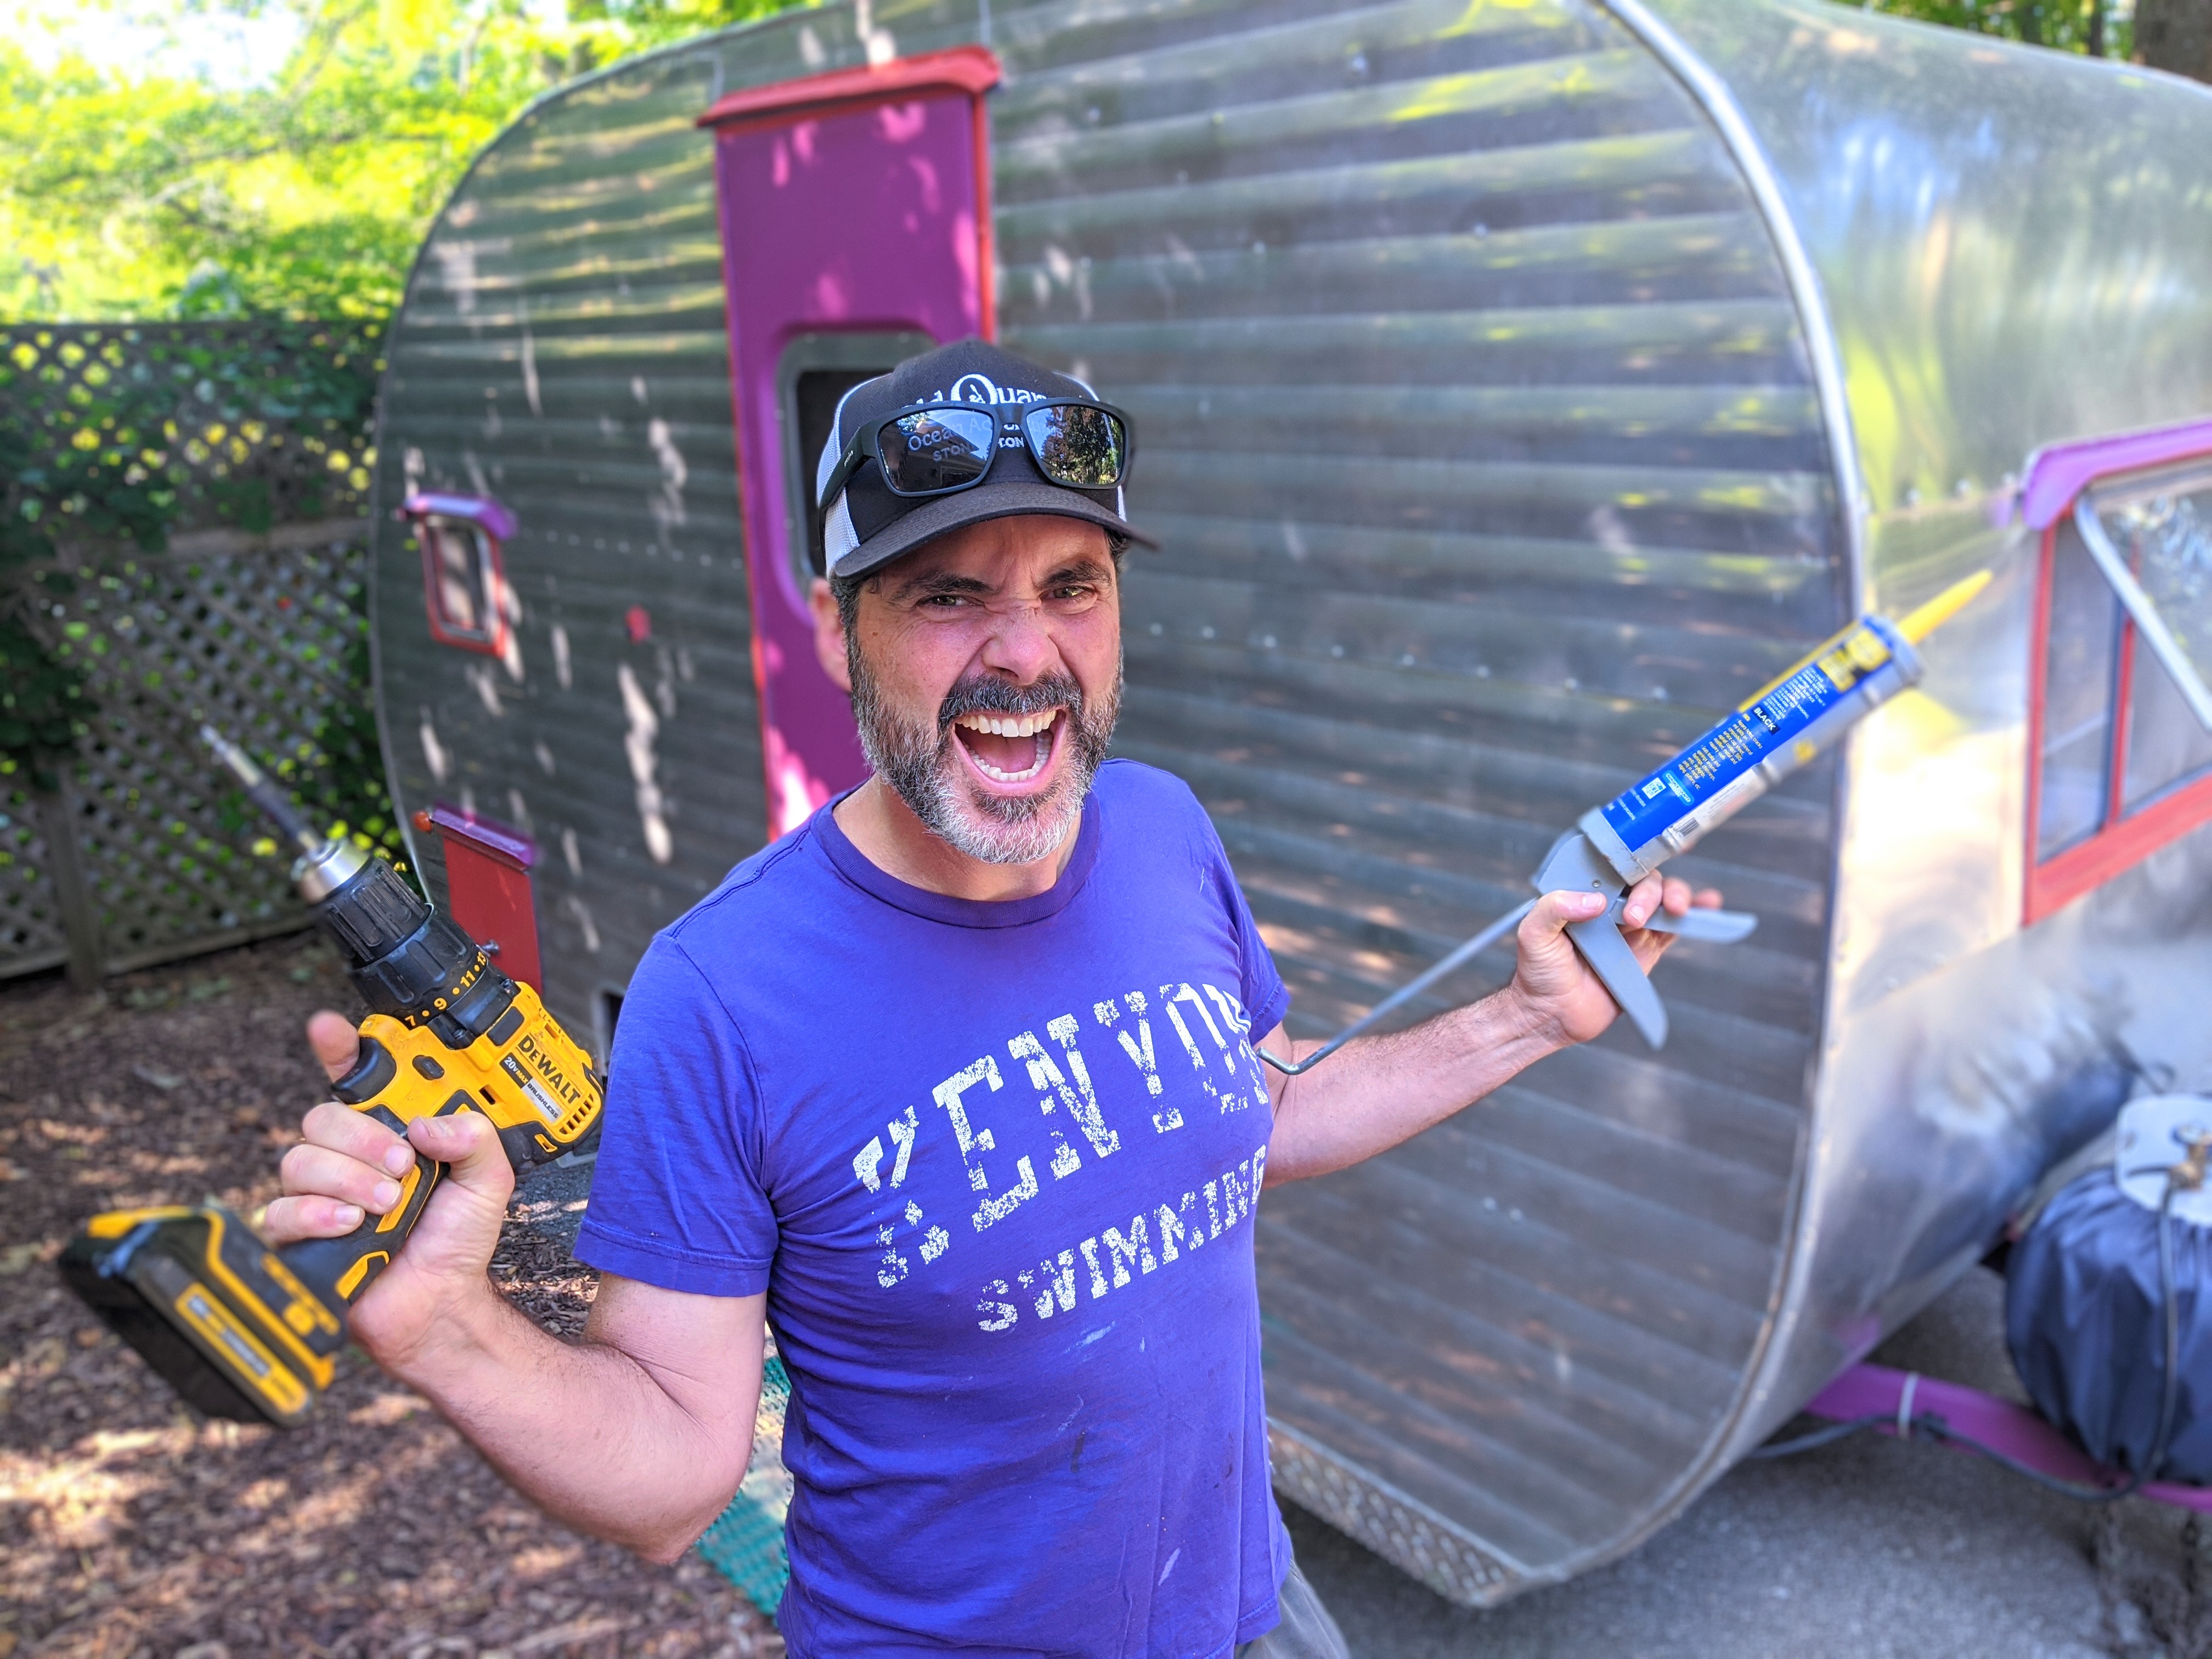
    • Cordless Drill/Driver
      If you have to choose only one power tool, this is it. Chalk in a bit large enough to handle your stabilizer jacks, and you’ll use this every time you set up the rig. A cordless drill is as helpful on the road as it is in your home, so be sure to bring it along with the charger, an extra battery, and set of drill and driver bits.  

    • Socket Set
      While you probably don’t need the big set, the junior set is very helpful to tighten many things on the truck or RV – making the job 10x easier. 

    • Blow Torch
      Surprised? From quickly starting the evening’s campfire to melting the cheese on a batch of nachos or pizza, these come in handy when needing a quick blast of heat. Oh! And also to heat shrink plastic tubing, reshape a plastic fitting, sweat a pipe fitting, thaw out frozen copper pipes, and more. 

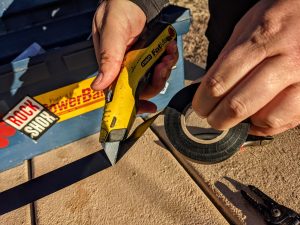
    • Utility Knife
      There’s no end to the usefulness of a good blade and these inexpensive box cutters always earn their place in your small toolkit. 


    Electrical/Solar Tools

    These tools work with both AC and DC wiring. They’ll come in especially hand if you’re doing DIY work on your RV solar system

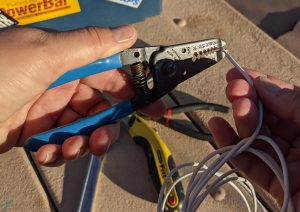
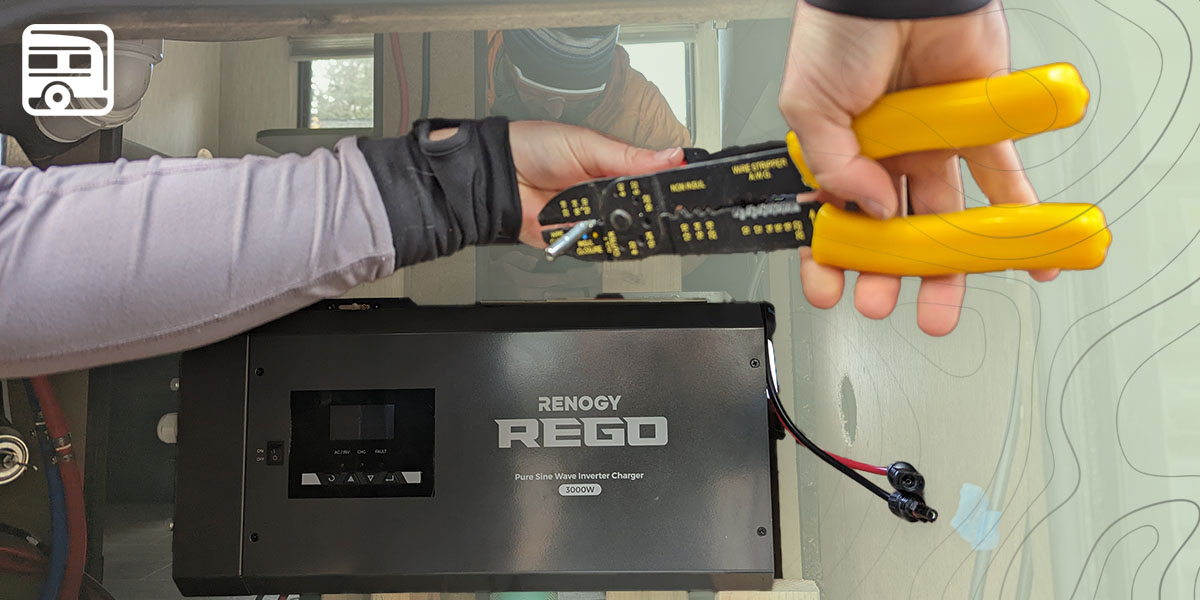
    • Wire Cutter/Stripper/Crimper Combo

    • Wire Nuts and Connectors

    • Electrical Tape

    • Zip-Ties 

    • MC-4 Tool
      For installation and quick disconnect of standard solar panel connections.


    Plumbing Tools

    Most RVs have moved away from copper pipes and rely on higher pressure PEX and PVC pipes for drains and waste water. The benefit of PEX is that they are flexible, seal easily with the proper fittings, and are less likely to be damaged by freezing temperatures.

    • Small Saw/Coping Saw.
      Works great in small spaces and cuts through PVC plastic easily to replace a section of pipe if needed.

    • Crescent Wrench Set.
      Helps to remove faucet and water tap fittings, though an adjustable wrench works well, too.


    Structural Tools

    Every now and again, something will come loose on a house that rolls. Many of the tools listed above will help snug something up.  Also, keep a variety of cabinet and finish screws on hand, and you’ll always be able to get something back together. Much of the cabinetry in modern RVs is made of particle board covered in vinyl wrapping. 

    Pro Tip!  To get a snug fit, pre-drill the hole, slip a toothpick inside the hole, replace the screw, and don’t overtighten.  Use wood glue if the problem persists!

    ***


    Being able to handle a repair on the road? Yeah, that’s good for morale.


    While you may find that you need a few more things along the way, this list will get you started on your first RV road trip. Naturally, no one likes to think they’ll need to do a lot of repairs. But when you’ve identified the basic tools to keep in your RV, you give yourself a better chance at handling the unexpected when it comes your way.

  • Does a DIY RV Solar System Install Make Sense for Me?

    Does a DIY RV Solar System Install Make Sense for Me?

    There’s something very American about a do-it-yourself (DIY) project. But a DIY RV solar system project can seem daunting. Even so, don’t overlook the benefits. Beyond proving your rugged individualism, one of the great things about installing your own RV solar system is that you will know it well. And should something go wrong while you are boondocking, you’ll have the tools as well as the skills to fix it. 

    Back in 2011, when we did a full renovation of our vintage camper, we started with zero knowledge of how to do any of it — much less DIY an RV solar system install. But, with some patience, resourcefulness, and time, we did 99 percent of it ourselves. Over the past 12 years, we’ve had the opportunity to teach thousands of RVers how to install their own solar powered system — both in person and online.  

    Curious whether your up to the challenge of a DIY RV solar system? Take this short quiz to determine if you have what it takes to DIY.


    The DIY Quiz to Assess DIY RV Solar System Ability

    1. Do I have the free time to do this?

    While we know that everyone who wants to learn how to install solar can do it themselves, it’s important to be completely honest with yourself about your schedule. If you are new to solar, these projects can often take three times longer than you think. Consider doing part of it by yourself and hiring a professional to do the rest. Weigh the cost-benefit of both options and be sure to be realistic.


    2. Do I have the space to work on my rig?

    It’s one thing to be able to store your camper in your driveway, but do your community regulations allow you to work on it there as well?Not every neighborhood allows RVs to be parked long term and/or be under construction. 


    3. Am I able-bodied enough?

    Some of this work requires getting up on top of the roof of your RV, while other parts require laying down on the ground underneath it, as well as wiggling into some tight spaces. If you are able-bodied enough to deep clean your house or do yard work, then you are probably able-bodied enough to DIY your own system.


    4. Do I want to spend the time on the research?  

    There’s a lot of information out there – some great, some…well…not so much.  Sifting through it all can be time consuming and frustrating for newbies. We’ve compiled a list of great DIY resources in addition to making our own resources easy to follow and understand for the beginner. 


    5. Do I own the right tools?

    You don’t need expensive power tools to install solar, just some basic hand tools.  We have everything we need in a toolbox in our truck. If you are a handy homeowner or do basic work on your car, you probably already own these or can borrow them from a friend.  


    6. Do I have a friend or relative with handyman/mechanical skills?  

    None of us get by without a helpful, handy friend. Make a list of everyone you know that works on their car, RV, or house.  For the price of dinner and a 6-pack, you can often enlist their help. And, remember, we can be that friend for you as well as we offer free solar coaching.


    7. Can I still do middle school math?  

    To calculate the size of your solar powered system to meet your energy demands, you need to determine your average daily watt hours based on the appliances you use in your RV or van. While this is just basic middle school math, this solar system sizing worksheet will do most of the hard work for you.


    8. Can I identify the difference between AC and DC wires?

    RV’s and vans have both AC (alternating current) and DC (direct current) electrical systems that run various appliances. It’s important to understand what each system does and how to identify and size the wires* within each system as they can differ depending on whether they run standard household appliances (AC) or fans, slideouts, water pumps, etc (DC). *See pages 37-38.


    9. Can I follow a recipe? 

    If you can bake a cake or prepare a holiday dinner, you can probably follow a wiring diagram. Take it step-by-step and be sure to read all the instructions before diving into the installation of any new components. Check out this video series to watch a full installation… then decide for yourself!


    Got Your Results?! Here’s What’s Next

    If you answered mostly YES to these questions, you are eager and ready to DIY your own system! If mostly NO, it’s important to listen to that realistic voice in your head and hire a professional to do part OR all of the installation for you.  We wish you the best of luck and reach out if you need assistance!


    In our next installment, we’ll walk you through a self-assessment to determine if you have what it takes to DIY your own RV solar powered system…or hire a professional installer?

    What to Look for in a Solar-Ready RV (Part 1)
    5 Solar Components Every RVer Should Know (Part 2)
    RV Solar Explained … with Middle School Math (Part 3)
    Does a DIY RV Solar System Install Make Sense for Me? (Part 4)
    Choosing the Right Solar Powered System for My RV (Part 5, Coming Soon)

  • RV Solar Explained … with Middle School Math

    RV Solar Explained … with Middle School Math

    Want to boondock with solar? It’s so easy. Any off-grid solar powered system just needs to do four things: 1)Transform solar energy into an electrical current (solar panels); 2) regulate the electrical current for appropriate battery charging (charge controller); 3) store the electrical energy for later use (battery); and 4) transform the stored current to power household appliances (inverter).

    Easy, right?

    Look: We get that solar can be a little daunting for beginners. We’ve been there. When we built our own solar-powered system in 2012, there was a barren of resources.  But now, 12 years later, we have good news: There’s an all-you-can-eat buffet of information. Some of it is great, and some of it … not so much.  

    Taking the lessons learned from 12 years of living with solar, we created a worksheet to help RVers size, select, and price out the components needed to build a custom, off-grid, solar powered system.


    AC/DC: The Two Rockstars of Electricity

    Direct Current (DC) = current that flows in one direction within a circuit from source to appliance, just like water, from a place of higher pressure to lower. Solar panels create and batteries store/release DC current. Appliances including lights, fans, water pumps, smartphones and even some RV refrigerators can run directly off of DC power.

    Alternating Current (AC) = current that moves back and forth from the source to the appliance all along the circuit. It is the type of current that connects to our houses, and powers a standard household outlet. Anything with the typical two or three prong plug needs AC power in order to function. 


    Basic Electrical Terminology

    Forgive us if you’ve already read our summary of a few of these essential terms in our previous article. Understanding them is so vital, it’s always good for a little review. Let’s use the analogy of water flowing through a pipe to discuss these terms.

    Voltage/Volts (V) = a unit used to measure the pressure within the electrical system. Imagine water flowing through a shower head, volts would measure the pressure of the water in the system. 

    Amperage/Amps (A) = a unit used to measure the flow of the electrical current in the system. Back in the shower, if volts is pressure, amps measure the flow rate of the water moving through it.

    Wattage/Watts (W) = the unit used to measure the work completed by the electrical system; it is the product of volts and amps.  This is an important equation to remember, W = V x A. Using our analogy, wattage measures how well (and how satisfying) the shower worked at cleaning you. 

    Watt Hours (Wh) = (W x time) the total hours that a system can do work at a given flow rate and pressure, or the length of time that you could take a shower at the same pressure and flow. 

    Amp Hours (Ah) = the number of amps that a battery can deliver in 1 hour at its nominal voltage (e.g. 12V).  For example, a 100Ah deep cycle battery can provide 100A for 1 hour -OR- provide 1A for 100 hours.  In shower terms, you could have a firehose for 1 hour -OR- a trickle for 5 days.

    View our Solar 101” video for more information.


    Calculating YOUR Daily Watt Hours

    Everyone will use their RV off-grid differently. So, it’s important to do your own energy audit rather than relying on the same system as your RVing neighbors. Relax, it’s just middle school math. And our worksheet does most of the calculations for you.

    The first step is to figure out how many watts each of your appliances requires.  While most AC appliances are already listed in watts, many DC appliances just list the amps because the voltage may vary.  If you only know the amps, but need to determine the appliance’s watts, what would you do?  Remember our friendly equation:  watts = volts x amps

    Examples:

    • Fan Vent:  12V (DC voltage of your system) x 1.9A (amps of the appliance) = 22.8W
    • LED Light Strip / Bulb:  12V x .667A = 8W    


    If you can’t find the wattage of your appliances, use this Wattage Chart for Typical RV Appliances.  Some appliances have a wide wattage range, so it’s always best to determine the wattages of YOUR appliances.


    Watts x Hours = Watt Hours (WH)

    Now that you’ve determined the watts of each appliance, estimate how long you will run them.  Using the watts for each appliance, multiply the watts for each appliance x the hours you typically use EACH appliance EACH day.   

    Examples:

    • Fan: 22.8W x 4 hours = 91.2WH
    • Coffee Maker:  1200W x 0.25 hours = 300Wh
    • Lights: 16W x 5 hours = 90WH
    • Laptop: 65W x 6 hours = 390WH   


    Add all of these WH together to reach YOUR TOTAL Watt Hours, or what we like to call YOUR “magic number.” This will help you choose which and how many components that you need.  And here’s where our downloadable worksheet will help you keep track of everything in one place.  

    In our next installment, we’ll walk you through a self-assessment to determine if you have what it takes to DIY your own RV solar powered system…or hire a professional installer?

    What to Look for in a Solar-Ready RV (Part 1)
    5 Solar Components Every RVer Should Know (Part 2)
    RV Solar Explained … with Middle School Math (Part 3)
    Determining How Much Solar Power My RV Needs (Part 4, Coming Soon)
    Should I Attempt a DIY Install for My RV? (Part 4, Coming Soon)
    Choosing the Right Solar Powered System for My RV (Part 5, Coming Soon)