Category: Maintenance

  • The 6 Most Common RV Issues And How To Avoid Them

    The 6 Most Common RV Issues And How To Avoid Them

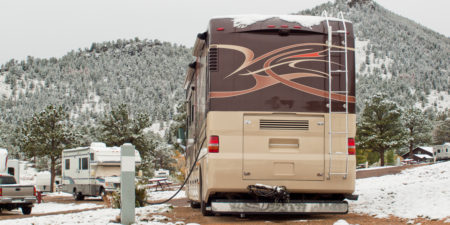
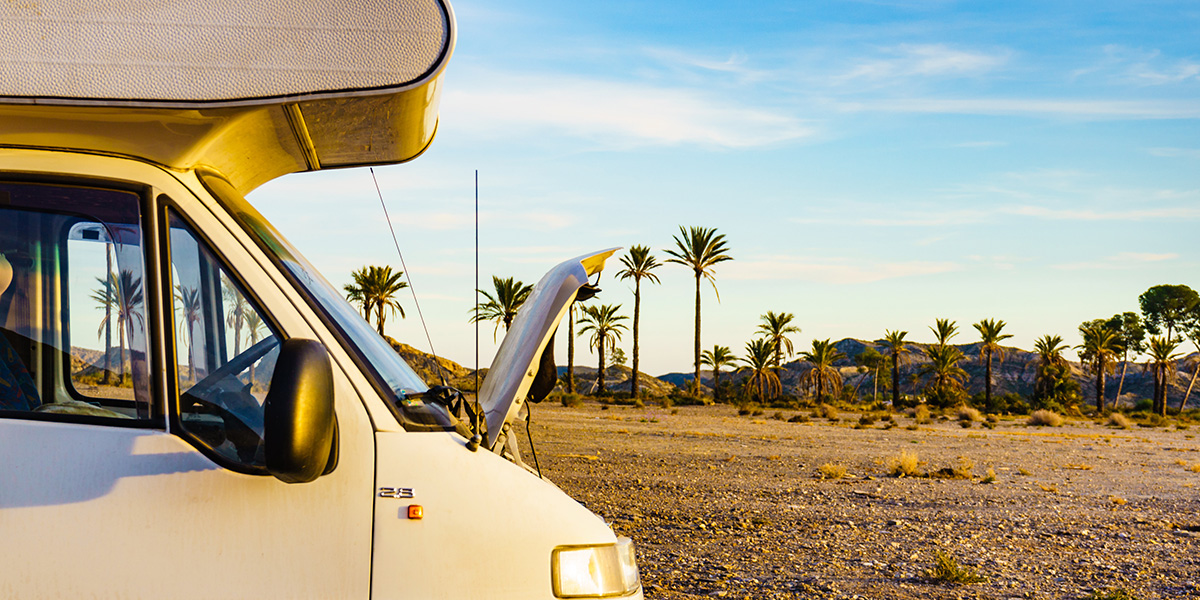
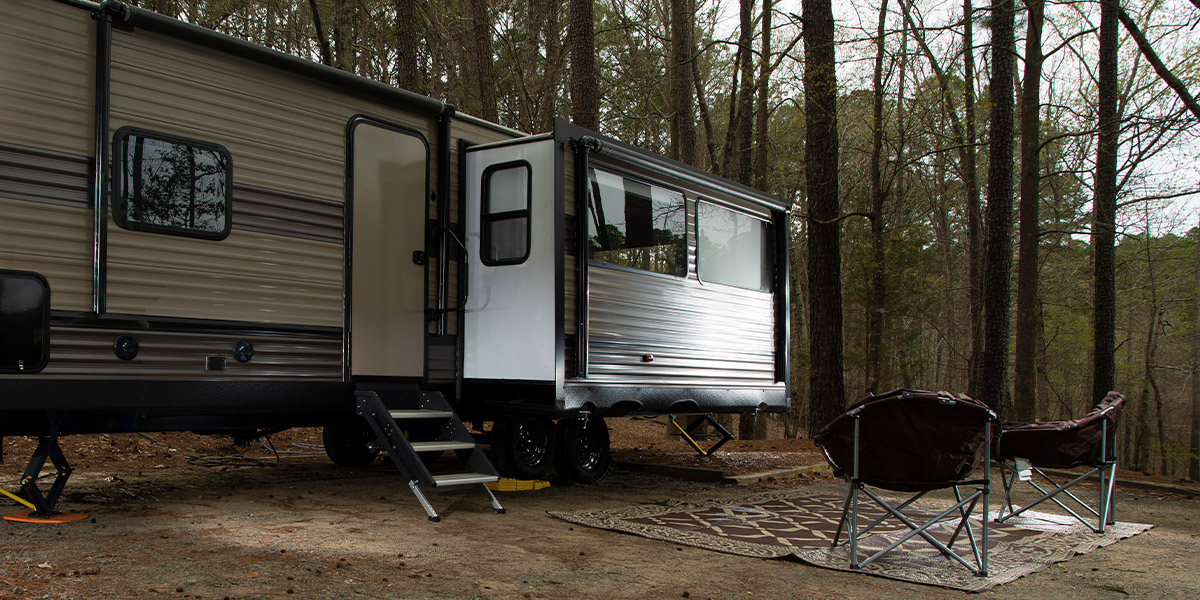
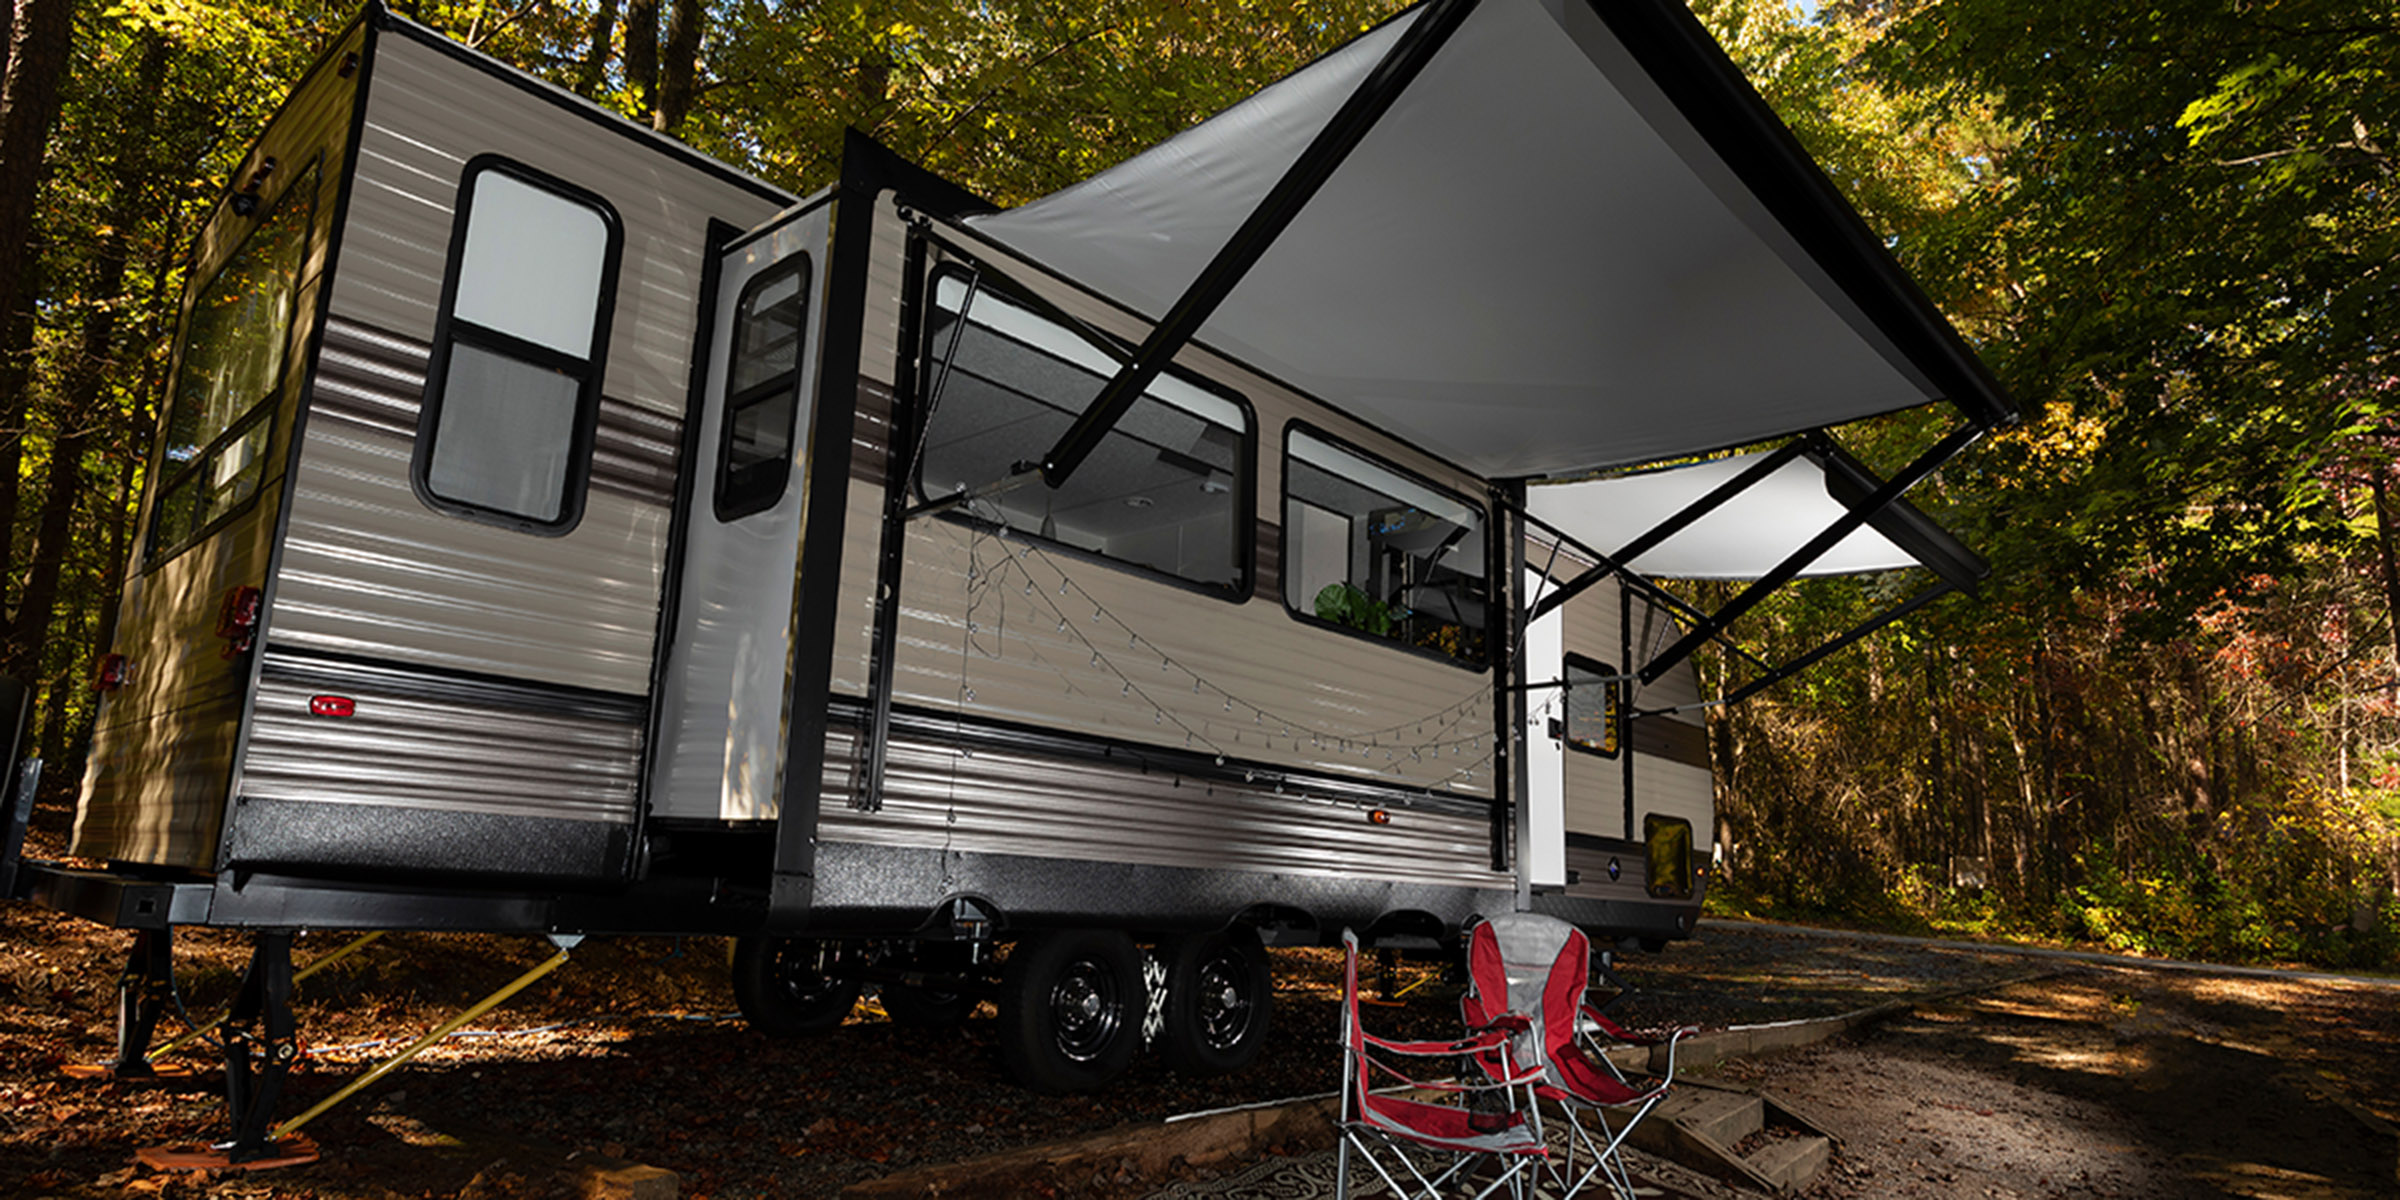
    Whether your RV is your home or your home-away-from-home, its primary purpose is to provide you with safety and security while you discover new and exciting places. But just like any home, your RV can experience various issues from time to time. Here are the six most common problems RV Trader has been hearing about and what you can do to prevent or safely resolve them.

    Water Damage

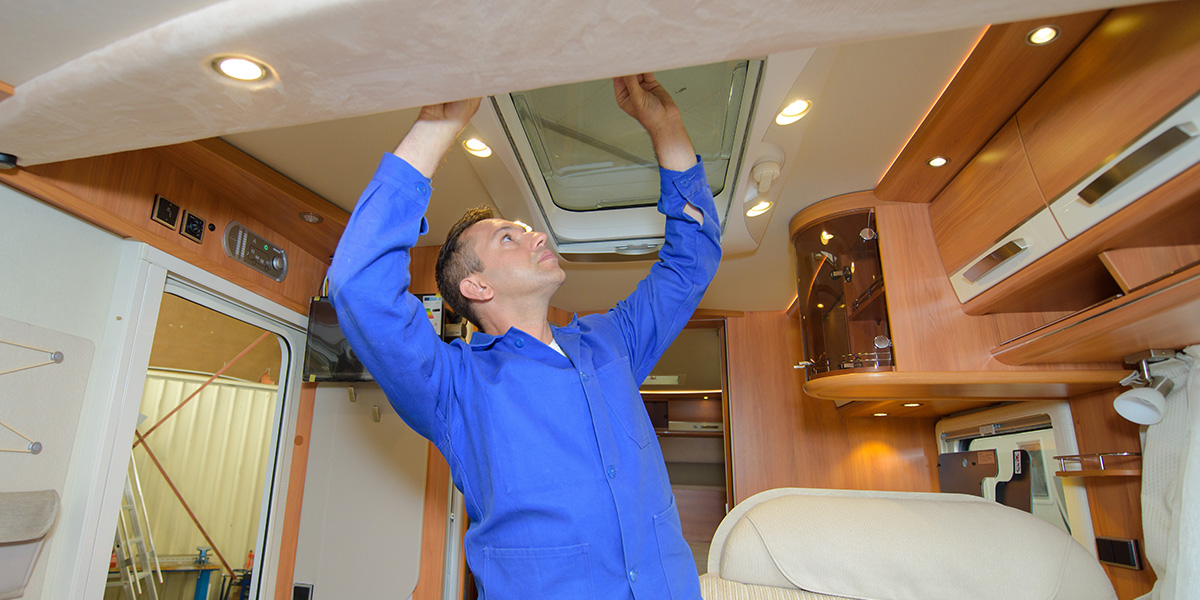
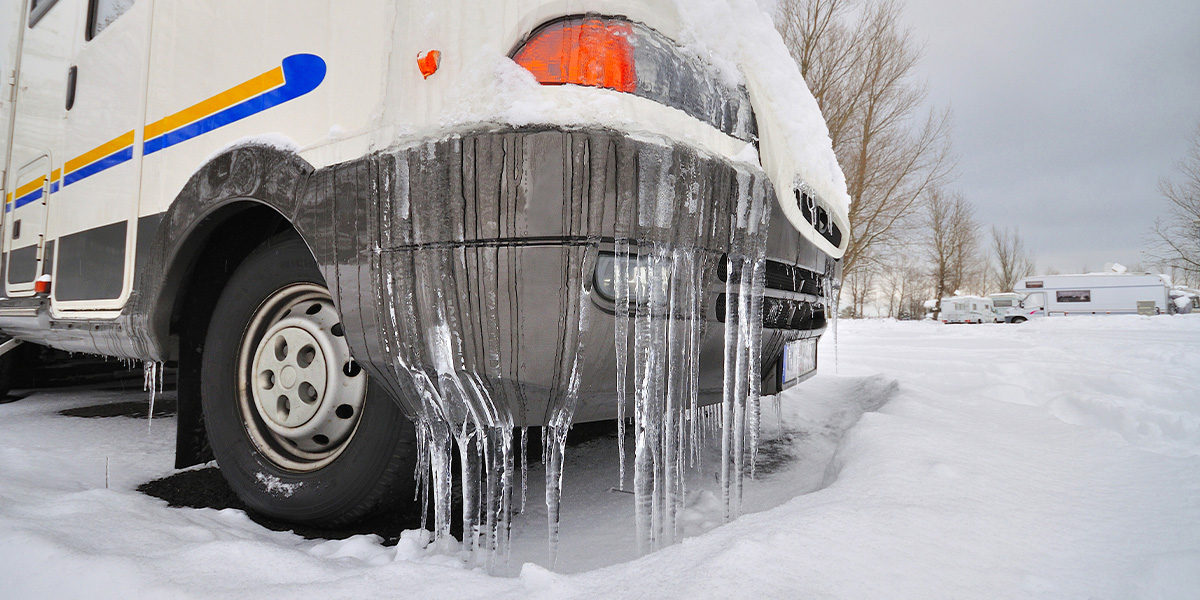
    One of the most common issues that RVers face is water intrusion. While it’s more of an issue with older RVs, the fact that RVs have a lot of “cut outs” by way of windows, generator ports, and other places where aftermarket accessories may have been added, creates the potential for water to seep in. This is especially true with the fact of wind-driven rain being swept by at 60 miles per hour or so, and that the bumps and bounces along the open road have a tendency to test even the best silicone sealants.
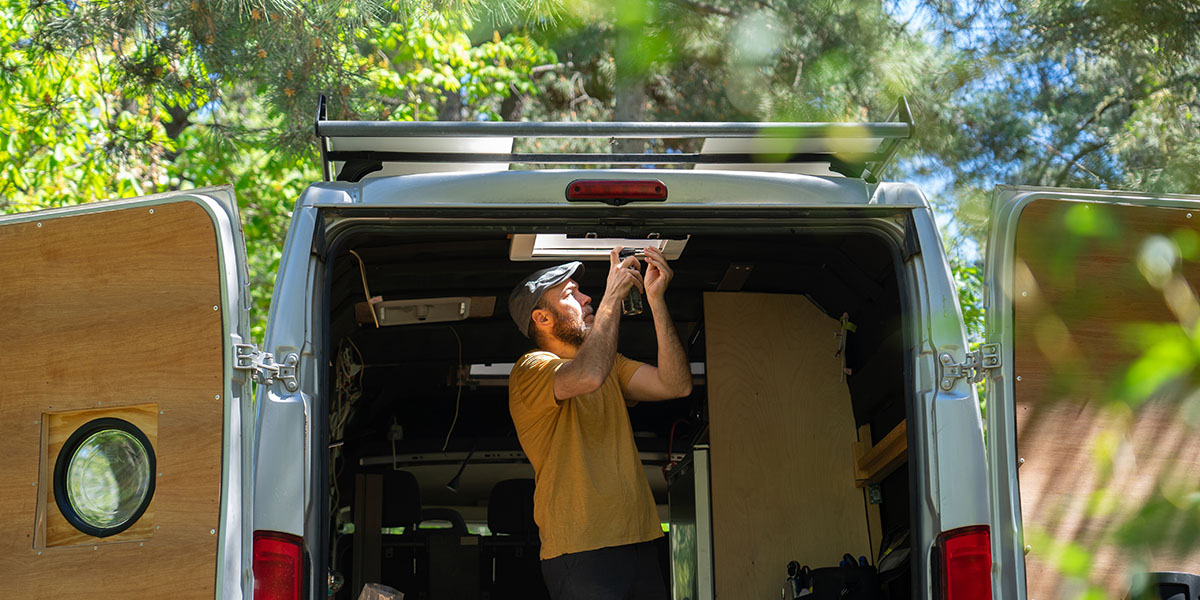
    Electrical Problems

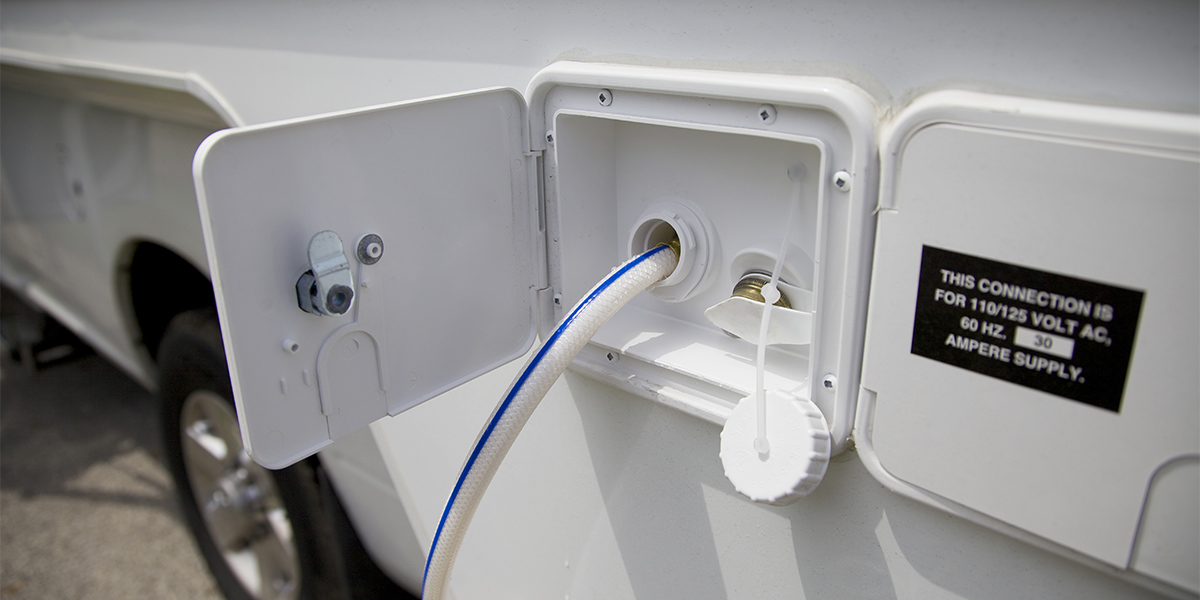
    Electrical issues tend to come up as the second biggest issue RVers face. It’s not surprising considering there are hundreds of feet of wiring in a rig, especially the bigger ones. Again, every pothole or bump that you hit has the potential to loosen a wiring connection that could cause intermittent problems with almost anything electric in your Class A or other RV, from the headlights and slide outs to the wall sockets and bathroom fans. While electrical problems are an inconvenience, they also present potential fire hazards. Unless you are a licensed electrician who specializes in vehicular wiring harnesses, seek expert assistance immediately.

    Tire Wear & Tear

    The third most common issue is tire wear. If your load isn’t balanced, or if there is an issue with the alignment of your RV’s frame, or just because RVers have a habit of driving on a variety of surfaces, issues with tread wear could appear on one tire, the tires on one side of your vehicle, or all tires. Examine the wear pattern(s) and consult with your dealership on what could be causing the problem. Tires aren’t cheap, so you want them to provide you with as much life as possible. You also don’t want to be stuck in the middle of nowhere trying to change a flat.

    Consult Your Local Dealer

    Whether it’s a fifth wheel trailer, a Class C motorhome, or other RV, they are built to take a bit of a beating on the road, but they are not infallible. If you have any problems with the issues mentioned above, you should stop by the nearest RV dealer for service. Be sure to explain your concern(s) and anything else pertinent to the issues you are experiencing. RV technicians are familiar with and trained to resolve just about any RV problem you can throw at them. Even if it’s just a matter of them recommending the right kind of silicone sealant you should use for water leaks for do-it-yourselfers, you can have peace of mind knowing that you have the right tool for the job.

    Connect with the RV Community

    So, what about if you experience something while you’re on the road or boondocking and you don’t have immediate access to an RV service professional? You might be able to find comfort and assistance from other RVers.

    “Join an RV group on your favorite social media platform,” offers Michelle McClure who has been RVing full time since April 2021 with her husband Kelly. “Facebook and Reddit have several, even some that are brand specific. I’ve learned so much from these groups. Seeing these posts may prompt you to check on the doodad or whatchamacallit before it becomes a problem.”

    McClure adds that when a problem does happen, search the groups to get help with troubleshooting. YouTube is also a great resource for do-it-yourself fixes. If you can’t find a solution that matches your situation, post a question on your social media sites with lots of details: the type of RV, your general location (for some issues, being in Texas versus North Dakota makes a difference), if the RV has been stored for a month before the issue happened or if you are a full-time RVer, etc. The details will help those responding to you, and the answers you receive could potentially help the next person searching for the same or similar problem.

    Making More Room

    However, not all issues have to do with the rig itself. Brenda Esdohr, still considers herself as a “newbie” to the RV lifestyle, but she has some good advice for how to avoid an emotional issue that many RVers face.

    “Downsizing is an emotional journey,” said Esdohr. “As full-time RVers begin the process, it’s always suggested to start with the easy things first, like the treadmill you haven’t used in three years, the clothes that don’t fit, and all the kitchen gadgets we thought would make our life easier but only take up space. But after we’ve done the easy stuff, then there are the boxes or totes full of precious memories and the larger heirloom furniture pieces.”

    Before just donating those items, giving them away, or putting them in a storage unit, Esdohr suggests digitizing them so even when you’re in your travel trailer or other RV, you can be surrounded digitally with all the memories of items you loved.

    In addition to being able to go where you want to go when you want to go, the RV lifestyle provides a unique opportunity to meet other like-minded people who share the same interests, passions—and yes, problems—you may encounter on the road.

    If you are looking for a new or used RV to join you on your next journey, take a look at the nationwide listings of RVs available on RV Trader.

    By Barrett Baker

  • How to Thaw a Frozen RV Tank

    How to Thaw a Frozen RV Tank

    If you’re a full-time RVer, or a snowbird who hasn’t yet migrated south for the winter season, you’re likely RVing in cold weather. Even if you take the time to winterize your RV and avoid using your rig’s water systems on the road, the chilly temperatures can still take their toll. RV Trader is breaking down how to thaw a frozen RV tank, along with ways to keep your tank from freezing in the first place.

    What You Need to Thaw an RV Water Tank

    To thaw an RV’s water tank, you’ll need the following items:

    • Flashlight

    • Hair dryer or heat gun

    3 Steps to Thaw an RV Water Tank

    In addition to this method, you can also let your water tank thaw naturally. However, if you need to use your water systems more quickly, try this:

    1. Locate Your RV’s Water Tanks

    All of your RV’s wanker tanks—fresh water and wastewater—are typically located under your RV. You’ll want to have direct access to the tanks themselves, using a flashlight to see beneath your camper’s dark underbelly.

    2. Inspect the Tanks

    Before you begin, you’ll want to inspect your water tanks, as well as the water pump, pipes, and fittings, for any damage. Pipes and plastic fittings can crack under the pressure of expanding ice. If you do see a cracked pipe or fitting, turn off the water system and water pump and place a container below the pipe to catch any water that drips when the ice eventually melts. More serious damage, such as a damaged water pump, might require a trip to an RV mechanic or a call to a plumber.

    3. Apply Heat to the Frozen Tank

    Using a standard hair dryer or a heat gun, apply heat a few inches away from the frozen tank(s). You should start from the top of the tank and work your way down to the bottom. To avoid damaging your tank, move the hair dryer/heat gun in a smooth, continuous motion.

    Once your tank starts to thaw, you should be able to open the termination valve. Do not try to force any valves open before they’re thawed to avoid breaking them.

    4 Ways to Prevent Your RV Water Tanks from Freezing

    By taking a few preventative measures, you can keep your RV water tanks from freezing in the first place.

    1. Holding Tank Heater/Heating Pad/Heating Blanket

    RV holding tank heaters, heating pads, and heating blankets attach directly to the tank with an adhesive and connect to your RV’s electrical system. These types of tank heaters have a built-in thermostat and turn on automatically when temperatures are close to freezing, then turn off when the temperatures warm up.

    2. RV Skirting

    RV skirting helps stop cold air from getting under your RV. You can order custom-fit RV skirting for your specific motorhome, fifth-wheel, or travel trailer. You can also make your own with insulated foam board to fit around your camper. RV skirting is a great option if you’re boondocking or camping without electric hookups.

    3. Antifreeze in Wastewater Tanks

    If you’ll be camping or traveling in freezing weather for a few days or more, consider adding RV antifreeze to your gray and black water tanks. This can be an inexpensive way to prevent your wastewater tanks from freezing. If you do this, you’ll want to add antifreeze often so it doesn’t become too diluted.

    Make sure you use antifreeze specifically for RVs. Propylene glycol-based antifreeze, or an ethanol/propylene blend, will not damage your holding tanks. You should also never add antifreeze to your fresh water tank if you’re drinking, cooking, or washing with this water.

    4. Drip Faucets Overnight

    While you can’t add antifreeze to your fresh water tank, you can apply the tried-and-true method of dripping your RV’s faucets overnight. Much like in a residential home, dripping the faucets and showerheads in your RV over a cold night can keep your fresh water holding tanks from freezing.

    Freezing temperatures don’t have to mean the end of your camping season and RV adventures. If you’re worried about your rig’s water tanks freezing while you’re on the road or at a campground, our preventative measures can help. If your tanks do freeze, you can safely unthaw them by following our steps above. And, if you’re shopping for used or new RVs for sale, browse the nationwide online marketplace at RVTrader.com.

  • Supplies You Need for Regular RV Maintenance

    Supplies You Need for Regular RV Maintenance

    You love hitting the road and traveling in your RV. What you might not like as much is the routine maintenance you have to perform on your camper. Instead of going to a mechanic for every type of regular and preventative maintenance, save that money to use on your next adventure by performing this upkeep yourself. To make sure you have everything you need, RV Trader has a list of the essential supplies you need for regular RV maintenance.

    Performing an Oil Change

    Regular oil changes are critical to the overall health of your RV. Here’s what you’ll need to change the oil in your RV:

    Oil and Oil Filter

    Make sure you have your RV manufacturer’s recommended oil and oil filter. Your owner’s manual will have details on what type of oil and filter to use.

    Drain Pan

    When it’s time to drain the old oil from your RV, keep a drain pan below the drain plug. If you have a larger RV, you’ll want to ensure your drain pan is big enough to handle the volume of oil that will come out to avoid a mess.

    Wrench

    You may also need a wrench to loosen your engine’s drain plug.

    Cleaning the Air Filter

    Keep your rig’s air conditioner running smoothly by cleaning the air filter with these supplies:

    Vacuum or Compressed Air

    Use a vacuum cleaner or a light blast of compressed air to suction or remove any debris from the filter. Be careful not to damage the screen in the process.

    Bucket and Mild Soap

    Fill a large bucket with warm water and mild detergent, then soak your air conditioner filter for 10 to 15 minutes. If your filter is especially dirty, you can also use a soft-bristle brush to remove any dirt and grime.

    Cleaning and Maintaining the Water Tanks

    Your RV’s water tanks are essential for drinking, bathing, cooking, cleaning, and flushing your toilet. We previously covered how to fill, empty, and clean your RV water tanks in a previous article, but here is a breakdown of the supplies you’ll need for this maintenance:

    Potable Water Hose

    You should only use a potable water hose to fill your camper’s fresh water tank. This hose is specifically designated for water that’s safe to drink and use for food preparation.

    Water Pressure Regulator

    A water pressure regulator can help prevent too much pressure from damaging your water system. Most RV manufacturers recommend maintaining a water pressure less than 45 psi.

    Bleach

    Use a mixture of bleach and water to clean your fresh water tank. Bleach can sanitize your tank and fight off any growing bacteria.

    Cleaning Solution for Black Water Tank

    Unlike the fresh water tank, bleach can ruin your RV’s sewage system. Find a cleaner that doesn’t contain harsh chemicals that also deodorizes to remove any unpleasant smells.

    Checking and Maintaining Tire Pressure

    Keep your rig safe during your local or cross country roadtrips by ensuring the tires are properly maintained. Be sure to follow your RV manufacturer’s recommendations for the proper tire PSI.

    Tire Pressure Gauge

    Use a tire pressure gauge to check your RV’s tire pressure when you’re on the road. Tire pressure gauges can be digital or manual. While digital is easier to read, a manual gauge is often less expensive and just as effective.

    Air Compressor

    A portable air compressor allows you to inflate your RV’s tires in just minutes. This is a helpful tool to have if you’re camping in an isolated area and don’t have access to a gas station air compressor.

    Washing Your RV

    Washing your RV isn’t as easy as washing a passenger vehicle. Your camper has more components that need individualized attention. 

    Garden Hose

    Since you usually can’t run your motorhome or fifth-wheel through a car wash, simply use a garden hose with a sprayer attachment to wash it down.

    Proper Cleaner

    Check your owner’s manual to ensure you’re using the proper cleaner for each part of your RV. A non-abrasive cleaner is always a good choice. 

    Painted metal surfaces can be cleaned with the same gentle cleaning solutions used for washing a car. Fiberglass requires a cleaning product that leaves a waxy coating behind. 

    Soft-Bristle Brush

    If you need to remove any stuck-on dirt from your RV, instead of a pressure washer, use a soft-bristle brush. This will protect all the surfaces and components of your camper, while getting it clean.

    Lubricant

    You’ll need to lubricate your RV slide outs, along with the gaskets and seals to keep them drying out. Many lubricants come as a spray, so you won’t need to wipe the surface after.

    Ladder

    You may need a ladder to clean your RV’s roof, especially if you park under large, sappy trees.

    Read our previous article for more tips on deep cleaning your RV

    Keeping up with RV maintenance doesn’t have to be a difficult process. As long as you keep these essential supplies on hand, you can perform a majority of your camper’s regular maintenance at home. And, if you’re searching for used and new RVs for sale, browse the nationwide online marketplace at RVTrader.com.

  • 4 Tips for Preventing RV Theft

    4 Tips for Preventing RV Theft

    As an RV owner, you love your vehicle and the lifestyle it offers: the open road, exploring nature, and meeting a community of fellow campers. To protect your vehicle, you should take precautions against thieves who seek to break into your vehicle, steal valuable belongings, and even take off with your RV or travel trailer. However, you can rest assured that there are ways you can keep your vehicle secure. RV Trader is sharing four tips for preventing RV theft.

    1. Secure Your RV

    There are a number of ways you can keep your RV, travel trailer, or fifth wheel secure with physical deterrents to prevent theft. Break-ins happen when you least expect them, and when there’s an opportunity that makes it easy for a thief to steal your belongings. Take these steps to secure your RV:

    • Keep your keys on you at all times 
    • Lock your doors and windows
    • Pull the shades down
    • Leave a light on at night
    • Keep your possessions out of sight and stowed away
    • Utilize RV alarms and door codes


    For more protection, install a steering wheel lock on your RV to prevent a thief from driving off by blocking their ability to make turns when attempting to steal your vehicle. You can also install a hitch lock, coupler lock, or kingpin lock on your hitch to prevent your camper from being hooked up to another vehicle.

    2. Park Your RV in a Secure Place

    If you’re worried about a thief breaking into your vehicle when it’s on the street or in your driveway, park your vehicle in a secure space; a locked home garage with a door code is a safe bet, especially if you have security lights or motion sensor alarms. At home, you can also keep your vehicle secure behind a locked gate in your backyard, or surrounded by other parked vehicles in your driveway or on the street.

    For a longer period of time, you can consider keeping your vehicle at a storage lot with security guards, cameras, fencing, and alarms. At the campsite, don’t park your vehicle out in the open; instead, keep it out of plain sight and turn the hitch away from the direction of the road so it makes it difficult for a thief to hook up and drive off.

    3. Know Your RV Neighbors

    Before you plan a trip with your RV, do some research on your destination to get a better idea of how secure it may be for leaving your vehicle unattended. When you arrive at a campsite, get to know your neighbors, build trust, and communicate with them to let them know who will be using your vehicle. If someone suspicious is hanging around your RV or campsite, a fellow RVer may be able to help you out and deter a thief. It’s also a good idea to camp around more people to prevent a thief from trespassing and breaking into your unattended vehicle. And if you’ve followed tips for making your RV pet friendly, “Fido” could actually help keep your RV secure and frighten off an intruder. You could always put up a “beware of dog” sign as one extra step for security.

    4. Track Your RV

    Make the most of today’s technology by utilizing mobile apps to keep your RV safe from theft. Use a GPS with a tracking sensor attached to your RV to stay on top of its location. If you install a security system with cameras mounted on your RV, it may offer a mobile app with a live feed so you can keep an eye on your vehicle when you’re away. And if someone does take off with your vehicle or trailer, or belongings inside your RV, always report the theft to the police and/or a park ranger. Mobile apps with tracking features may be able to help them in their investigation and track down your RV and possessions in the event that they’re stolen.

    Take precautions and follow these big four tips to help keep your RV and travel trailer secure. And before you purchase your RV, it’s a smart idea to stay alert and follow tips for avoiding scams when buying online. When you’re ready to buy your next recreational vehicle, be sure to see all the new and used nationwide listings online at RVTrader.com.

  • 14 Tips to Save Your RV from an Early Death

    14 Tips to Save Your RV from an Early Death

    Exploring the open road and venturing into nature is part of the fun of the RV lifestyle, but taking care of your vehicle is a big part of it too. From quick RV makeover tips that add personality to your RV to regular maintenance that helps you prevent vehicle problems and maximize your travel time, there is a lot for owners to monitor and maintain. To extend your vehicle’s life and keep it in its best condition, RV Trader is sharing 14 tips to save your RV from an early death.

    1. Maintain the Awning on Your RV

    Your RV’s roof may be damaged by the elements, such as the sun, wind, rain, and hail. To prevent degradation, you should frequently inspect your RV awning. Clean it a few times a year to keep it in its best condition by using a mild solvent and water solution to wash the roof. In the summer, it’s a good idea to keep the sun out of your vehicle to prevent damage from sunlight and excessive heat. Use a shade, sun deflector, or sun blinds on your vehicle’s windows to keep equipment from overheating and breaking down.

    2. Inspect Your RV Roof for Leaks

    Check the RV’s roof seams and seals every six months and look for leaks. You should also seal the roof of your RV in order to avoid long-term water damage, which may cost hundreds or even thousands of dollars in repairs if not addressed quickly. Metal RV covers may be used to help protect the roof of an RV from corrosion and damage from severe weather.

    3. Check Tire Pressure and Tighten the Wheel Lug Nuts on Your RV

    To stay safe, check your RV’s tire pressure and tighten the wheel lug nuts before you go on a trip to avoid on-the-road RV repairs. Inspect the lug nuts on your wheels on a regular basis to ensure you have control of your vehicle while rolling down the road. Under- or over-inflated tires can cause shuddering problems, vehicle damage, and loss of control. Proper tire maintenance will also improve your vehicle’s fuel economy and save you money when you fill up.

    4. Maintain and Care for Your RV’s Generator

    Leaving the RV generator running for lengthy periods of time might lead to an early replacement. Keep in mind that gasoline for generators typically has a shelf life of one month or less, and your generator can be damaged with internal gasoline decomposition. Use your generator for two hours at a 50% load once a month to keep it ready for use. And clean your generator’s carburetor regularly to prevent carburetor varnishing.

    5. Take Care of Your RV’s Sewage System

    RV owners need to take care of their vehicle’s sewage system, and during the off-season, you should follow steps for winterizing your RV. For each system, ensure the chemicals you utilize are compatible with your vehicle; make sure to read your owner’s manual for the correct chemicals and procedures for maintenance. Maintaining your RV’s water system can help prevent blockage, valve freezing, and overall system failure.

    6. Look After Your RV’s Brakes and Transmission

    Caring for your RV’s brakes should be at the top of your maintenance list. Not enough brake fluid may put you and other drivers in danger. Keep up with regular wheel bearing maintenance by keeping them well-lubricated. You should also inspect the brake lights regularly and test your brakes before you embark on a journey. When it comes to repairs, seal replacement and bearing repacking should often be included in the cost of a new set of brake pads. And after heavy use for years, look out for transmission issues, which can prevent the engine from reaching the rotational velocities needed for your vehicle to run properly on the road.

    7. Open the Vents on Your RV

    You can actually extend the life of your vehicle by allowing fresh air to circulate through the vents. Temperatures inside your RV can soar on scorching summer days, and swiftly degrade even the most robust materials, causing them to break down and fail before they should. Improve the ventilation in your RV by opening up the vents to keep the temperature lower, improve airflow, and prevent damage to individual parts of your vehicle.

    8. Treat and Clean Your RV’s Slide Outs

    If you’ve found a new or used conversion camper van for sale, then you know the seals on your vehicle’s skids must be cleaned regularly to eliminate debris. Without proper care, you will have issues with the seal of the camper. Clean the RV’s slide-outs, and lubricate all slider mechanisms. Apply lubricants to your window seals to keep them flexible and fresh to function effectively. This will also make it easier to open and close your windows.

    9. Replace and Replenish RV Fluids

    During summer days, make sure your vehicle’s fluids aren’t overheating from hot temperatures. And before you head out, check your fluid levels. As soon as you notice any issues with your braking, steering, windshield washer, or transmission fluid level, top them off immediately to prevent vehicle damage and ensure your safety while driving on the road.

    10. Check the Battery Life on Your RV

    Batteries are another crucial RV component that must be checked often. Batteries may live up to five years if they are cared for properly. Water levels may be found in specific models, while others are entirely maintenance-free. Keeping the battery charged at all times is a good idea to improve its longevity, and keep it clean and free of corrosion or debris.

    11. Change Your RV’s Oil

    Seasonal oil changes are recommended to keep everything lubricated and running smoothly. It is recommended to do an oil change on recreational vehicles at least once every 3,000 to 4,000 miles or once a year; spring is an ideal time to do an oil change before the summer RV season. If you don’t change your oil, your engine will soon deteriorate, leaving you with costly repairs and possible vehicle replacement.

    12. Replace Your RV’s Filters 

    Changing your RV’s fuel, coolant, air, and hydraulic filters every season is just as important as changing the RV’s oil. While you change the oil, inspect all the filters in your engine, and make replacements. Keep on top of this maintenance task with record-keeping to ensure your vehicle performs its best during RV season.

    13. Check Your RV Gauges

    Regularly checking the gauges on your RV should also be on your to-do list. A gauge with an improper reading can set you up for serious vehicle issues. Oil pressure, engine temperature, charging, and brake health indicators are just some of the things you need to keep an eye on throughout the year as your RV ages. 

    14. Properly Store Your RV

    Whether you own a small vehicle or a large toy hauler, when your RV’s not in use, it’s important to protect it with proper storage. Here’s a checklist of things to do before putting your RV in storage.

    • Reduce the mass of your RV by lowering the RV supports. This will help your tires last longer, and keep flat areas at bay.
    • Fuel stabilizers and oil changes are essential in preventing condensation and corrosion.
    • Get some tire covers or shields to protect your tires from the sun’s harmful rays.
    • Make sure to dry off your RV’s batteries before putting them away.
    • Run the engine to its operating temperature once a month during hot summer days.


    By following these tips, you can ensure your vehicle is running its best. With the right care, you extend its life and get more joy out of your vehicle for years to come. If you’re ready to purchase your next new or used RV, check out all the listings online at
    RVTrader.com.


    Isaac Hil is a writer for WeeklyMotor.com.

  • 4 Steps for Lubricating Your RV Slide Out

    4 Steps for Lubricating Your RV Slide Out

    An RV slide out is a popular feature that can easily enhance the square footage in your camper’s living area. Since the slide out extends and retracts, it’s important to keep these mechanical parts moving smoothly. To help you out with this DIY maintenance, RV Trader is breaking down the four steps for lubricating your RV slide out.

    1. Figure Out the Type of Slide-Out System

    The type of slide-out system equipped in your RV will vary by make, model, and year. By knowing what type of slide out you have, you can better identify the parts you’ll need to inspect and lubricate. Read your owner’s manual to help you determine the specific type of slide out you have. Here are a few common slide-out mechanisms:

    Cable Slides

    Cable slides are lightweight but do a great job of supporting heavy, deep slides. These are often used in smaller travel trailers and fifth wheels. This is the most reliable system and doesn’t often encounter corrosion issues.

    Rack and Pinion Slides

    Rack and pinion slides are one of the most common systems in RVs. Pinions spin over the racks, along the bottom of the slide, to extend and retract. Since this system is heavier, it requires periodic lubrication to function properly.

    Schwintek Slides

    Schwintek slides are best used to move lower loads and shallow slides, such as a sofa or closet, and can fail when carrying extra weight. This system uses worm gears and rails that are mounted to the top and bottom to roll the slide in and out.

    Hydraulic Slides

    Hydraulic Slides are used primarily in kitchens and living rooms. This system uses a motorized hydraulic pump, controlled by valves, and hydraulic fluid to move the slide in and out. While this system can move faster than electric slides, it can also be more complex and even fail due to excessive heat or wear on its parts.

    2. Inspect the Slide Components

    Before you begin, perform a quick inspection of your slide-out components. Keep a close eye out for the following:

    • Damaged parts
    • Loose fasteners
    • Loose or damaged electrical connections
    • Loose or damaged pulleys
    • Hydraulic leaks
    • Excessive wear on tracks
    • Shredded cables

    You can also operate the slide to make sure it’s extending and retracting evenly. Listen closely for grinding, squealing, or any other uncommon noises.

    3. Clean the Slide

    Slide components can be exposed to dirt and other grime while you’re on the road. Before you lubricate, clean these components, such as the cables, racks and any exposed gears, with a damp rag. Part of this cleaning may include sweeping the roof to remove any debris from the top of your slide.

    You’ll also want to inspect and clean the rubber seals around the slide that are important for weatherproofing your RV. These require a specific type of rubber seal cleaner.

    4. Lubricate the Slide

    Next, you’ll want to lubricate the components that you just cleaned, along with any other moving parts. You may have to extend your slide, depending on the system you have, to reach all the components necessary. Make sure you use a quality RV slide lubricant that will provide lubrication without attracting grime. 

    Be sure to spray a light, even coating of lubricant. Be careful not to use too much and drip the excess onto your RV’s surfaces. To prevent overspray, you can also spray the lubricant on a rag first then wipe down the slide components.

    Many manufacturers recommend cleaning and lubricating your slide out at least twice a year, or more depending on where and how often you use your RV. Be sure to check your owner’s manual to understand all the specific parts you’ll need to clean and lubricate, as well as how often, for your specific RV model.

    Maintaining your slide-out system should be part of your routine RV maintenance. While you don’t have to lubricate your slide as often as you handle your camper’s other maintenance, you should make a habit of routinely inspecting the slide-out system for damage or excessive wear. 

    If you love the extra space a slide out provides, be sure to follow these tips to keep your slide moving smoothly for all your travels. And, if you’re looking for a rig with one or more slide outs, browse the nationwide inventory of new and used RVs for sale on RVTrader.com.

  • 6 Tips to Get Your RV Ready for Camping

    6 Tips to Get Your RV Ready for Camping

    With warmer weather and plenty of sunshine, the great outdoors are calling—in other words, it’s time to take a camping trip with your RV! Make adventure happen during National Camping Month this June and get out in nature with your recreational vehicle. Just like the steps you take to winterize your RV, you should prepare your vehicle for summer camping. Here are RV Trader’s six tips to get your RV ready for camping.

    1. Clean Your RV Before Camping

    Remove the RV cover, take your fifth wheel or other camper out of storage, open up the windows, and get some fresh air in your vehicle. If your RV has been idle and sitting during the winter and early spring months, freshen it up. When you clean your vehicle, it’s also an opportunity to inspect for any damage. Inside the RV, clean furniture, dust upholstery, wipe down panels, change air filters, vacuum, and mop. Outside, check and clean your gutters and storage compartments, look over your roof for any cracks or leaks, and make repairs. Finally, give your vehicle a wash and wax with cleaning products designed for RVs.

    2. Check Your RV’s Battery Before Camping

    You’re not going to get far on the road with an old battery, so check and make sure it’s in working order. Always take safety precautions and check your owner’s manual for specific battery maintenance procedures. Disconnect the RV’s hook-up power and make sure all the power is off in your RV prior to inspecting or changing your battery. Look over your battery connections to make sure the terminals are clean and free of debris. Heavy corrosion often indicates that it’s time to make a battery replacement.

    3. Take Care of RV Tires Before Camping

    Temperatures fluctuate between the seasons and, as a result, so does your tire pressure. Grab your gauge and check your RV’s tire pressure. Look over your owner’s manual for the exact PSI, and inflate your tires. While you’re at it, look over your tire tread to see if it’s worn down and if the grooves are smooth and even, and clean and lubricate your wheel bearings. You may need to replace your tires or have them rotated if you’ve been putting heavy mileage on them. 

    4. Treat Your RV’s Water System Before Camping

    If your RV has a water system, then you may have done some water treatment to winterize your vehicle in the recent months. Now is the time to remove any traces of antifreeze by flushing out the water system with fresh water, ensuring there is no pink fluid in your RV. Take a further step and add some bleach through the tank and cleanse it with fresh water. Check your RV’s tap and faucets for any leaks and make repairs.

    5. Safety Precautions for RV Camping

    Camping and safety should always go hand-in-hand, even when camping in a comfy RV. Inspect and test your smoke and carbon monoxide detectors to ensure they’re working, and replace their batteries if needed. Make sure your fire extinguisher is ready and in working order, and keep your first-aid kit nearby. Look for any damage to your propane tanks, including hoses, regulators, and valves, keeping in mind that leaks may leave a smell. Make a replacement or have a professional make repairs.

    6. Make RV Camping Preparations

    Before your camping excursion, make sure your tags and vehicle inspection are up to date. Check your oil level and do an oil change, change your windshield wipers and fluids, and double check that all your lights are working, including your brake lights for towing your camping trailer. Make some space in your vehicle to pack all your gear, including your tent, sleeping bags, hiking packs, and other supplies. Make your campground reservations for your RV several months ahead of the time you plan to boondock or camp.

    National Camping Month is around the corner, with the right RV and pop-up camper maintenance, your vehicle will be ready for your next outdoor adventure. Give your vehicle a clean, check for damage, make repairs, take precautions, and get ready to camp! If you’re looking to purchase your next new or used RV for your camping trip, be sure to see the nation’s largest inventory online at RVTrader.com.

  • 6 Off-season RV Projects to Complete Before Spring

    6 Off-season RV Projects to Complete Before Spring

    For many adventuring RVers, wintertime is considered the offseason. But just because it’s colder and you’re not traveling as much doesn’t mean you have to spend less time with your RV. In fact, now is the time to make the most of these winter months by taking care of your vehicle and getting prepared for the fun year ahead! RV Trader is sharing six off-season RV projects to complete before spring.

    1. Maintenance

    Maintenance may not be something you’re looking forward to doing, but by giving your RV some TLC during these slow winter months, you can prevent any issues you may encounter further down the road this year. If you haven’t already, be certain to winterize your RV to protect it from harsh conditions. Clean it out, drain tanks, heaters, and lines, add some antifreeze, change the oil, and check your tire pressure and battery’s condition.

    2. Repairs

    You can always take your RV to a reliable repair shop, but making DIY repairs to your fifth wheel or other RV can help you save some money. If you take on a repair project yourself, make sure you have the right tools and equipment and follow instructions for repairs in your owner’s manual or from the manufacturer. Whether you need to replace your tires, fix a leaking roof, change out a faulty toilet, or mend an air conditioning unit, doing so now will put you in great shape when warmer weather comes around and you roll out on the road.

    3. Renovations

    Winter is the perfect time to renovate your RV. If you’ve just bought a fixer-upper and are starting from the ground up with renovations, or if you’ve had your RV for a while and are looking to transform a kitchen space or bedroom, you have an opportunity to put your energy into this project before spring. Get some help with RV renovation tips and figure out what you can take on—you may find that you would like to put your efforts into just one renovation project this off-season.

    4. Upgrades

    Now is the time to make improvements to travel trailers and other RVs with upgrades and add-ons. Go green with your RV and put in solar panels. Install a new WiFi hotspot or internet hookups. Make some kitchen upgrades to your cabinets, stove, or fridge. Add some style to your RV with new accessories, from decorative curtains to new dinnerware and cooking supplies. Buy new boondocking or camping gear for going outdoors. Consider what you may need for your RV based on how you may use it, whether that’s camping, roadtrips, or even for work.

    5. Planning Trips

    Set dates in your calendar for when you want to take off, whether that’s around holidays, over the summer, or during the shoulder seasons. You could enjoy stopping in at one of the year’s top RV events. For campgrounds and RV-friendly national parks, plan ahead and get reservations well in advance so you secure a spot—some popular destinations are fully booked months in advance. Set a budget for your trip, coordinate with family and friends to let them know about your travels, and plan fun activities you will look forward to.

    6. Shopping for RVs

    During these off-season months, you may find a great deal on a purchase for an RV! See what the market has to offer this season, as you may be surprised to find deals that aren’t there at busier times in the year when demand is higher. Whether it’s a new or used motorhome, or a towable RV, explore all of your options while you shop to find a lower price on a great vehicle. An RV purchase during the off-season will get you ready for a full year ahead of fun.

    Make the most of the winter off-season by fixing up your RV with maintenance, repair, renovations, and upgrades. Look ahead to the year ahead by planning exciting trips in your vehicle. And when you’re ready to find your next new or used RV, be sure to visit RVTrader.com for the nation’s largest inventory of vehicles!

  • How to Fill, Empty, and Clean Your RV Water Tanks

    How to Fill, Empty, and Clean Your RV Water Tanks

    RVing offers the wanderlust of camping with the comforts of home, including running water. However, upkeep for this convenience is different from being in your house. It’s important to know how to manage and maintain the fresh water, gray water, and black water tanks, whether you have a Class A motorhome or travel trailer. To get you started, RV Trader has broken down how to fill, empty, and clean your RV water tanks, as directed by most manufacturers.

    Filling Your Fresh Water Tank

    When filling the fresh water tank, remember to only use a potable water hose. This hose is designated for water that’s safe to drink and use for food preparation. Keep this hose separate to avoid contaminating your drinking water.

    Locate your RV’s intake valve and attach the potable hose to one end, with the other end connected to a water spigot. As water flows into the tank, keep an eye on the tank indicators inside the camper to gauge how full the tank is. Once the tank is full, remove the hose and place the cap back on.

    If water starts to spray from the hose while it’s connected, you could be overfilling your tank. You also want to make sure the water pressure isn’t too high. High pressure can damage your RV’s water systems and bust pipes or cause leaks. An RV water pressure regulator can help prevent this. Most manufacturers recommend maintaining a water pressure less than 45 psi.

    You should decide how much you want to fill your fresh water tank based on where you’re traveling and the hookups available. If you’re boondocking, you might not have access to fresh water, so a full tank makes sense. However, most campgrounds have fresh water fill stations, so you won’t need to travel with a full tank.

    Emptying Your Water Tanks

    After every trip, you should drain your fresh and wastewater tanks. 

    Draining the Fresh Water Tank

    Longtime RVers recommend not leaving water in your fresh water tank for more than two weeks. To empty the fresh water tank, start by turning off the hot water heater. Once the hot water heater has cooled, open all of the faucets. This includes the shower, toilet, and low point drain lines.

    Locate the fresh water tank drain, which is typically under the RV. Open the valve and let the water drain out. You can remove any remaining water by turning on the fresh water pump.

    Draining the Wastewater Tanks

    To empty the wastewater, locate the valves for the black and gray water tanks. You’ll want to start by emptying the black tank. By emptying the black water tank before the gray tank, you’re able to flush any leftover solids from the hose.

    Remember to only drain this water at the designated dump station. Hook your sewer hose up to the black water tank valve, pull the valve, and let the tank drain. When there’s no liquid coming through the hose, close the valve tightly.

    After the black water tank is drained, follow the same steps to drain the gray tank. Once the gray tank is empty, you can flush the tank to remove any stray bits leftover that could develop bacteria. Some RVs have a specialized flushing filter. To perform a manual flush, run the water in your shower, kitchen, and bathroom while you’re still connected to the dump station. 

    Cleaning Your Water Tanks

    If you notice any smells coming from the hoses and faucets, be sure to sanitize your water systems. Your RV’s water tanks can grow mold and odor-producing bacteria.

    Cleaning the Fresh Water Tank

    It’s especially important to clean your fresh water tank. A dirty tank can create an unpleasant smell and give your drinking water a bad taste. We recommend cleaning the tank at least every six months, or more if you’re a full-time RVer. By using a quarter cup of bleach for every 15 gallons of water your tank holds, you can sanitize your tank and fight off any growing bacteria. 

    Add the bleach to your tank then fill it with fresh water. Inside your camper, open all of the faucets until the tank is empty. Once the tank is empty, fill it again with fresh water and let it sit overnight. The next day, drain the tank through the faucets until the bleach smell is gone. You may need to repeat this process a few times. For more step-by-step instructions, watch this video on sanitizing an RV water system.

    Cleaning the Black Water Tank

    It’s a good idea to clean your black water tank at the end of your RV season to remove any buildup that may be inside.

    Start with an empty tank. Run a garden hose down through the toilet, which is typically located above the black water tank. Turn the hose on and move it around to spray throughout the tank. When the tank is full, drain it.

    There are products available to control the odors in wastewater tanks. If you have a bad odor in your tank, get an odor-control product and follow the directions to keep your tank smelling as clean as possible.

    Your camper’s water system can make your time on the road much more comfortable. By knowing how to properly fill, empty, and clean your RV’s water tanks, your water system will be perfectly managed and maintained so you can focus on the adventure ahead. For more specific instructions on filling your camper’s fresh water tank, including component locations and other recommendations, check your owner’s manual.

    If you’re ready to feel at home on the road, browse the new and used RVs available nationwide on RVTrader.com.

  • 13 Steps for Winterizing Your RV

    13 Steps for Winterizing Your RV

    Owning an RV can provide year-round adventures, but for many, the cold weather represents a hiatus from your travel trailer. Knowing how to properly store your RV can save you from a headache once warmer weather returns. Get your rig ready for the season with RV Trader’s 13 steps for winterizing your RV.

    Take our exclusive quiz to discover the autumn road trip destination that’s perfect for you!

    1. Clean the Interior

    Before storing your RV for the winter, perform a bit of housekeeping on the interior. Clean the main living area, kitchen and dining area, bedroom, and bathroom so your camper will be in pristine condition when you’re ready to ride when the weather warms up. Make sure you allow enough time to defrost the freezer compartment and wipe up any melted water. Avoid attracting pests by removing all food products from inside the RV.

    2. Drain the Wastewater Tanks

    Similar to how you drain your black and gray water tanks after a trip, you’ll want to do the same before you store your RV for the winter season. The water in these tanks can freeze when temperatures drop and develop gross bacteria. Drain both tanks, starting with the black water tank. Once the tanks are drained, clean the black water tank with a specialized cleaner that doesn’t contain harsh chemicals.

    3. Drain the Water Heater

    When you start your RV winterization process, turn off your water heater first. This gives the heater time to cool down and not be under pressure. You do not want to drain the water heater if it’s hot or has pressure built up. When it is safe to do so, use a socket wrench to remove the water heater drain plug and open the pressure relief valve to let the water drain out.

    4. Bypass the Water Heater

    When you bypass the water heater, you prevent antifreeze from getting inside. Start by opening the water heater’s screen on the outside of the RV. Remove the panel to access the valves and adjust them to bypass the water heater. To help you out, take a look at this video that shows how to operate the water heater bypass valves.

    5. Drain Other Water Lines

    The Family Motor Coach Association (FMCA) recommends taking several measures to prevent freeze damage to the plumbing system. In addition to your wastewater tanks and water heater, you should fully drain your entire water system by opening the hot and cold faucets, along with the toilet, shower and low point drain lines. Again, you’ll want to make sure that the water pressure is off before draining the freshwater tank.

    6. Empty the Water Lines

    To ensure the lines are clear, blow them out with compressed air. This step can begin after you drain the wastewater tanks and water heater, remove any inline water filters, and bypass the water heater.

    Connect an air compressor to one end of a blowout plug that’s in your water intake valve. Set the air pressure between 30 and 40 psi then blow the air into the lines, opening one line at a time. The air will push out most of the water from the lines.

    7. Add Antifreeze to the Water System

    Another technique for preventing potential plumbing issues is adding RV-specific antifreeze, made with propylene glycol, to your RV’s water system. Start by turning on the water pump and using a siphoning kit to flow antifreeze through your water system. To ensure that the antifreeze is getting into your entire system, you’ll want to see if the water is pink in the external faucets and valves, along with the internal faucets in the kitchen, bathroom and shower.

    Not sure which technique to choose? Read our previous article on winterizing your RV that discussed air vs. antifreeze.

    8. Add Stabilizer to the Fuel

    Just like antifreeze protects the plumbing system, fuel stabilizer can help avoid damage to your RV’s engine. Since fuel goes bad overtime, and can cause oxidation, add a stabilizer to prevent condensation. Once you add the stabilizer, let the engine run for a few minutes so it can make its way through the entire fuel system.

    9. Change the Oil

    After your last trip of the season, change the oil in your RV. The existing oil can become corrosive overtime, especially during your camper’s winter hiatus. Perform an oil change on your RV’s engine and generator before storage, or get it professionally serviced.

    10. Inspect the Exterior

    Give the exterior of your RV an inspection before you store it for the winter. You’ll want to check the condition of the roof, windows, doors, access panels, and sidewalls. Reseal or re-caulk any holes or cracks you find to keep your camper in good condition and prevent water, small animals, and pests from getting inside.

    11. Inflate the Tires

    Overtime, your RV’s tires will slowly deflate while parked. Fill the tires up with air before your rig sits idle to make sure they aren’t completely deflated in the spring. You can also use a lift or blocks to raise the unit and keep the tires from getting pressure damage.

    12. Charge and Maintain the Battery

    Disconnect your RV’s battery and store it in a cool, dry place. Freezing temperatures can cause damage and destroy the battery, so make sure the storage area isn’t too cold. You’ll want your battery to maintain a charge while you aren’t using it. Trickle chargers are designed to cycle off and on and maintain a charge without overheating the battery.

    13. Cover and Store Your RV

    The ideal location to store your camper would be a garage or under a covered car park or shelter. If that’s not possible, make sure your RV is parked on a paved/concrete surface. Protect your rig from potential snow, wind, and ice with a durable, breathable cover that won’t trap moisture.

    When freezing temperatures arrive, you know it’s time to winterize your RV. By following these 13 steps, you could be saving yourself from expensive damage to your rig. Be sure to review your owner’s manual before winterizing for important information about your particular RV and its parts.

    If you decide to set off on a winter getaway in your camper, read our previous article for 10 tips for winter RVing.

    Searching for a new Class A motorhome? Browse the nationwide inventory of new and used models on RVTrader.com.