Category: RV Advice

  • Tech Tip: Maintaining Your RV’s Exterior

    Tech Tip: Maintaining Your RV’s Exterior

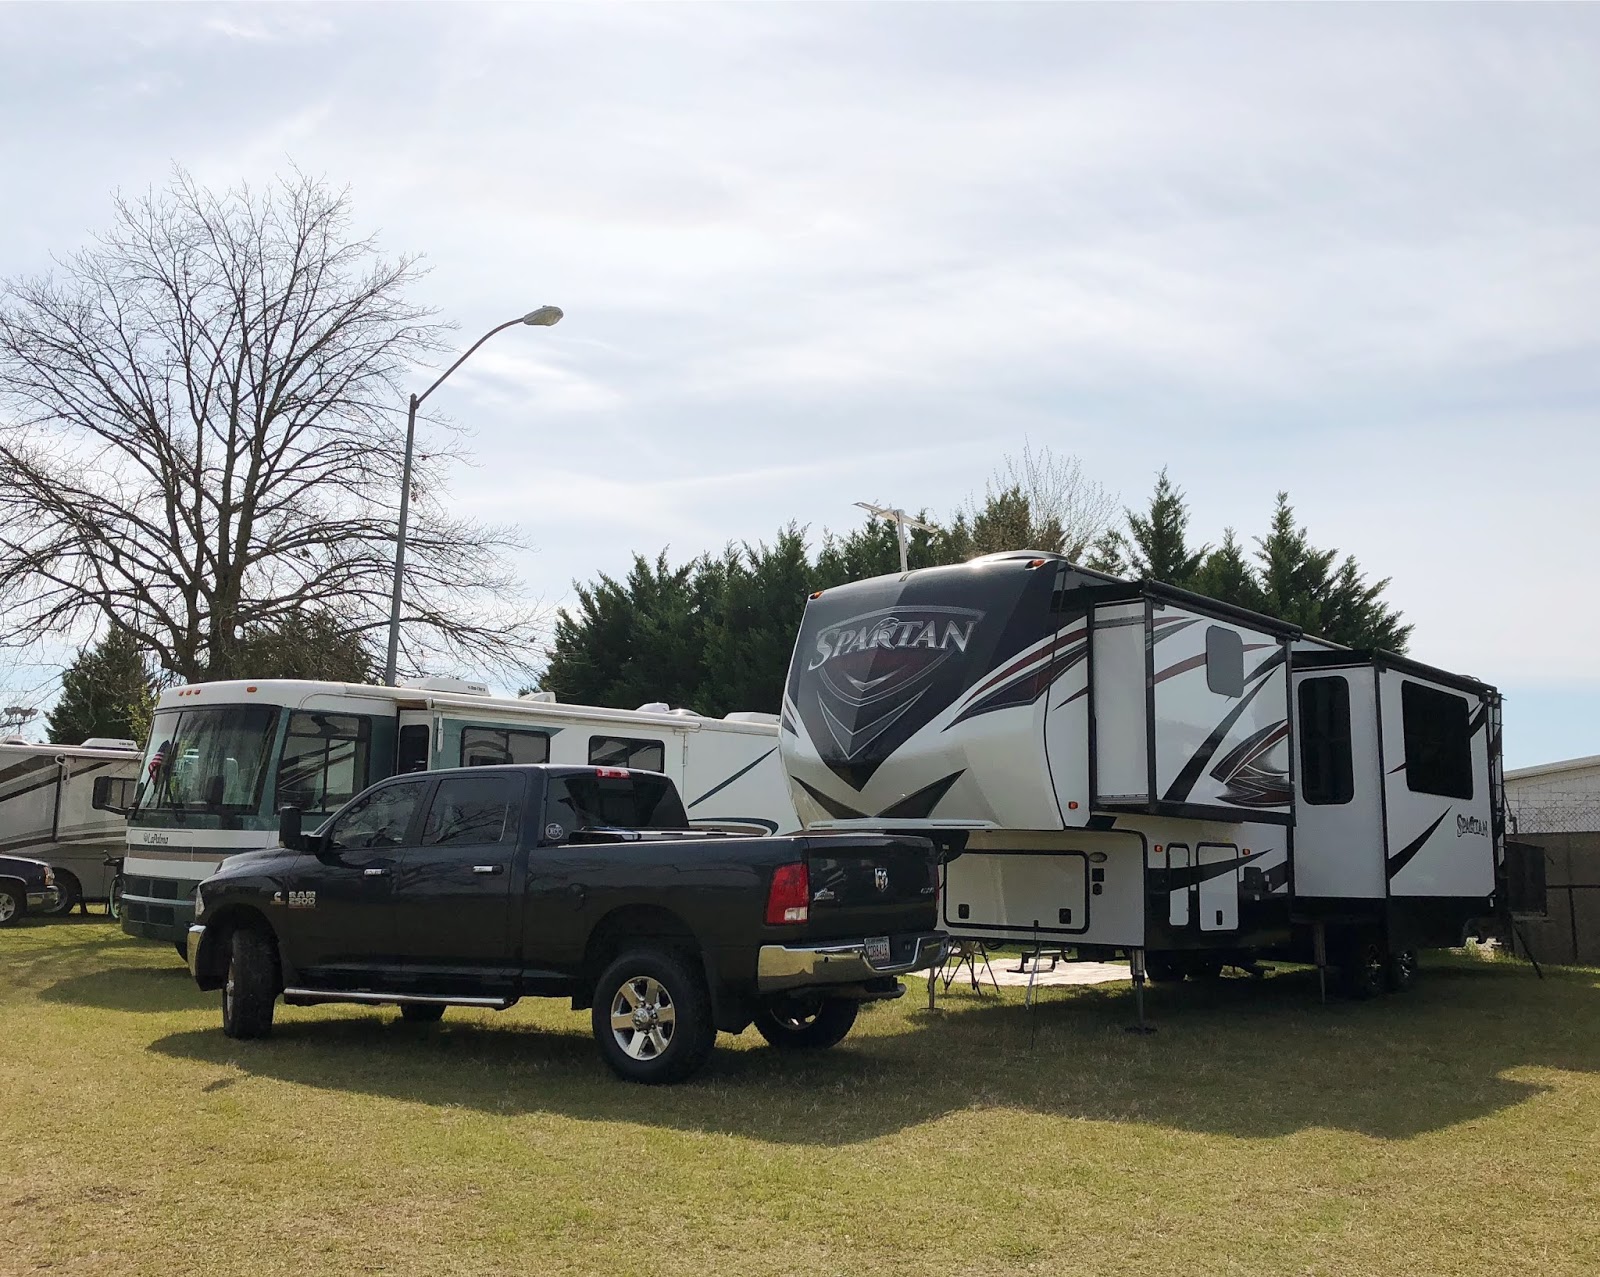
    Take pride in your home on wheels! Read these tips from FMCA and the “RV Doctor” Gary Bunzer to keep your RV’s exterior looking its best.

    The Roof

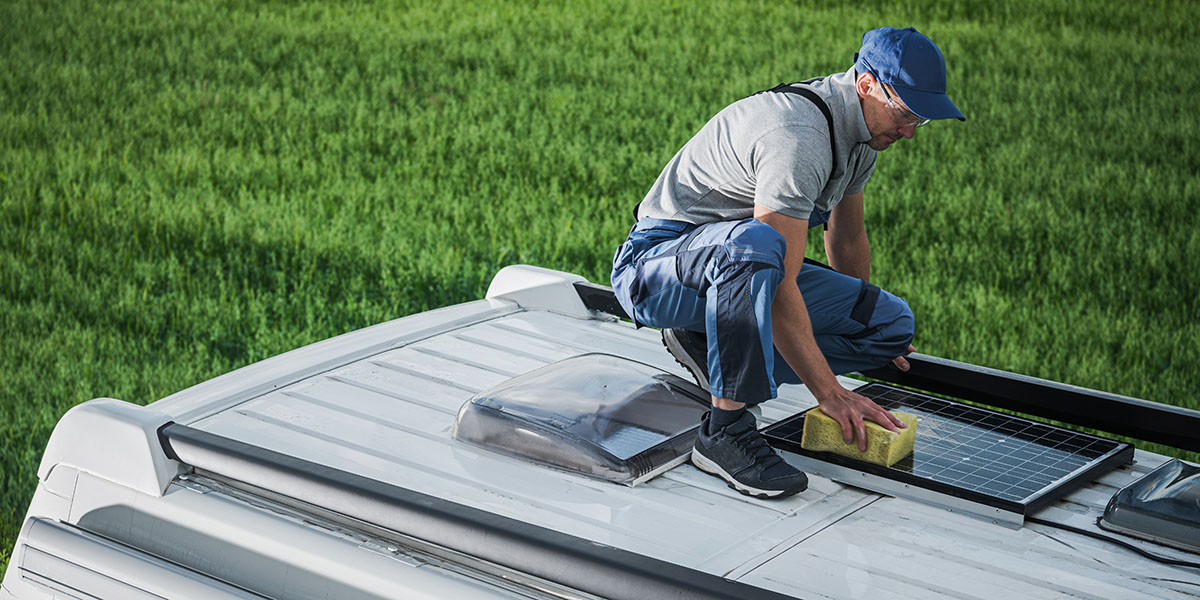
    Get into the habit of inspecting the roof often, preferably once a month. Pay special attention to the seams, edges, moldings, caps, and anything else attached to the roof. Realize that any screw or mounting method used on the roof can become an entry point for moisture. Water intrusion is the largest threat to the integrity of any RV.

    Keep the roof clean. Use a soft broom every couple of weeks to sweep away leaves, dirt, and road grime. Look closely for evidence of mold and mildew, especially on synthetic surfaces. Remove bird droppings or tree sap as soon as it is spotted. Small problems will not go away on their own. Left unaddressed, small problems will only worsen and quickly move (along with its associated cost) from the preventive maintenance stage. Wash the roof with the appropriate cleaning agent four or five times each year. A clean roof is simply easier to inspect!

    And, finally, know what material forms your RV’s roof. Be sure the products you employ are safe for that roof surface material.
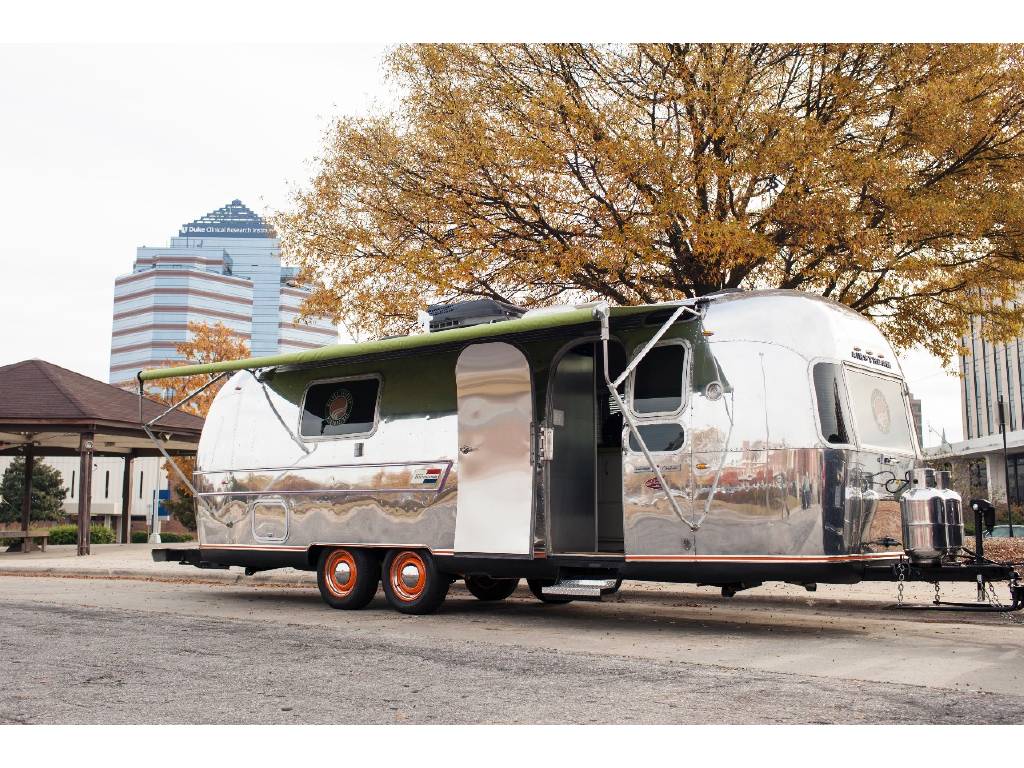
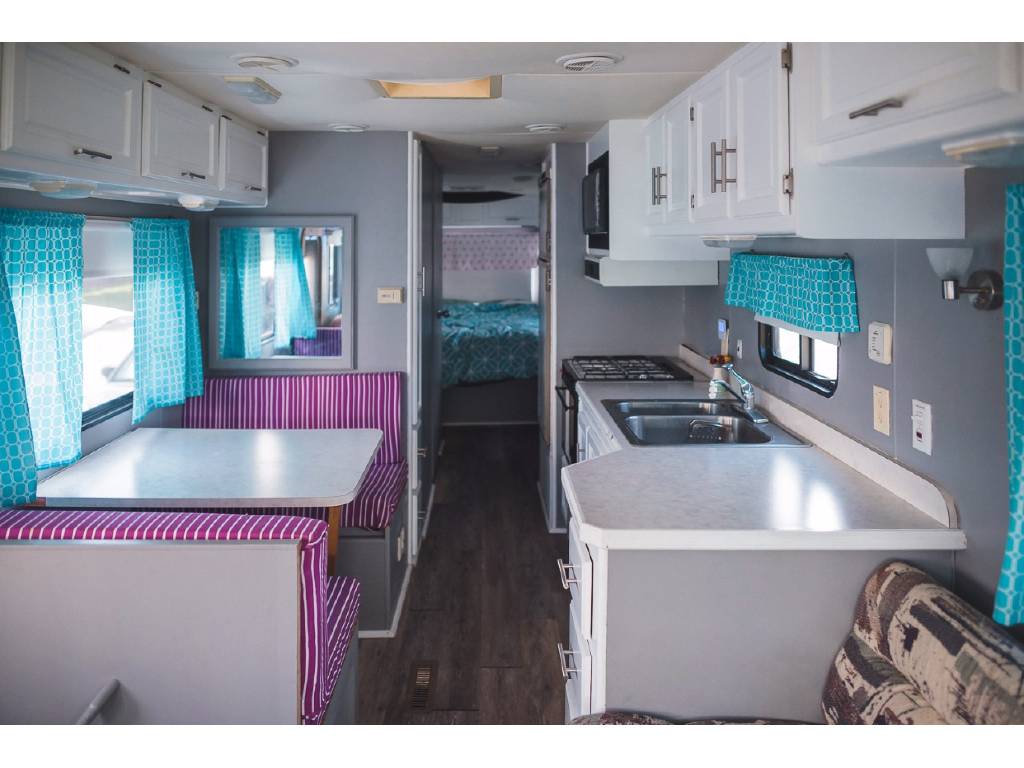
    Sidewalls

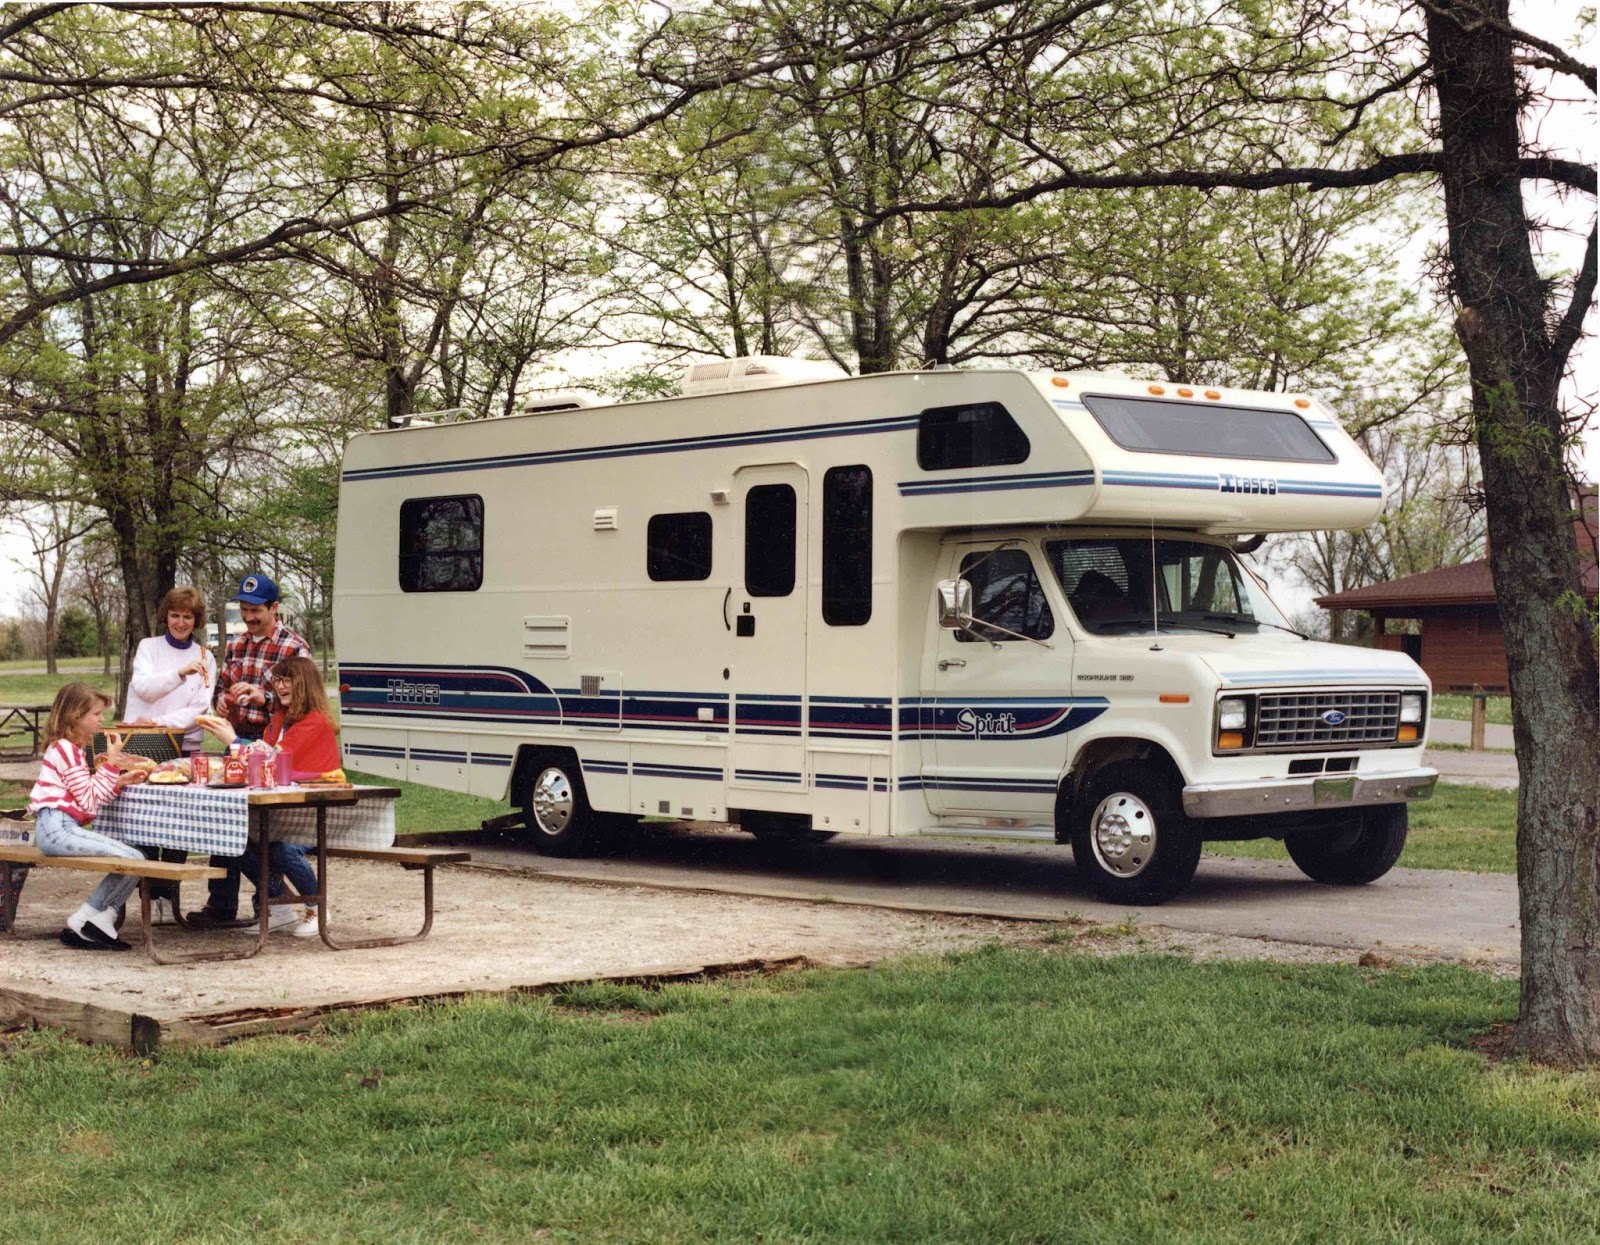
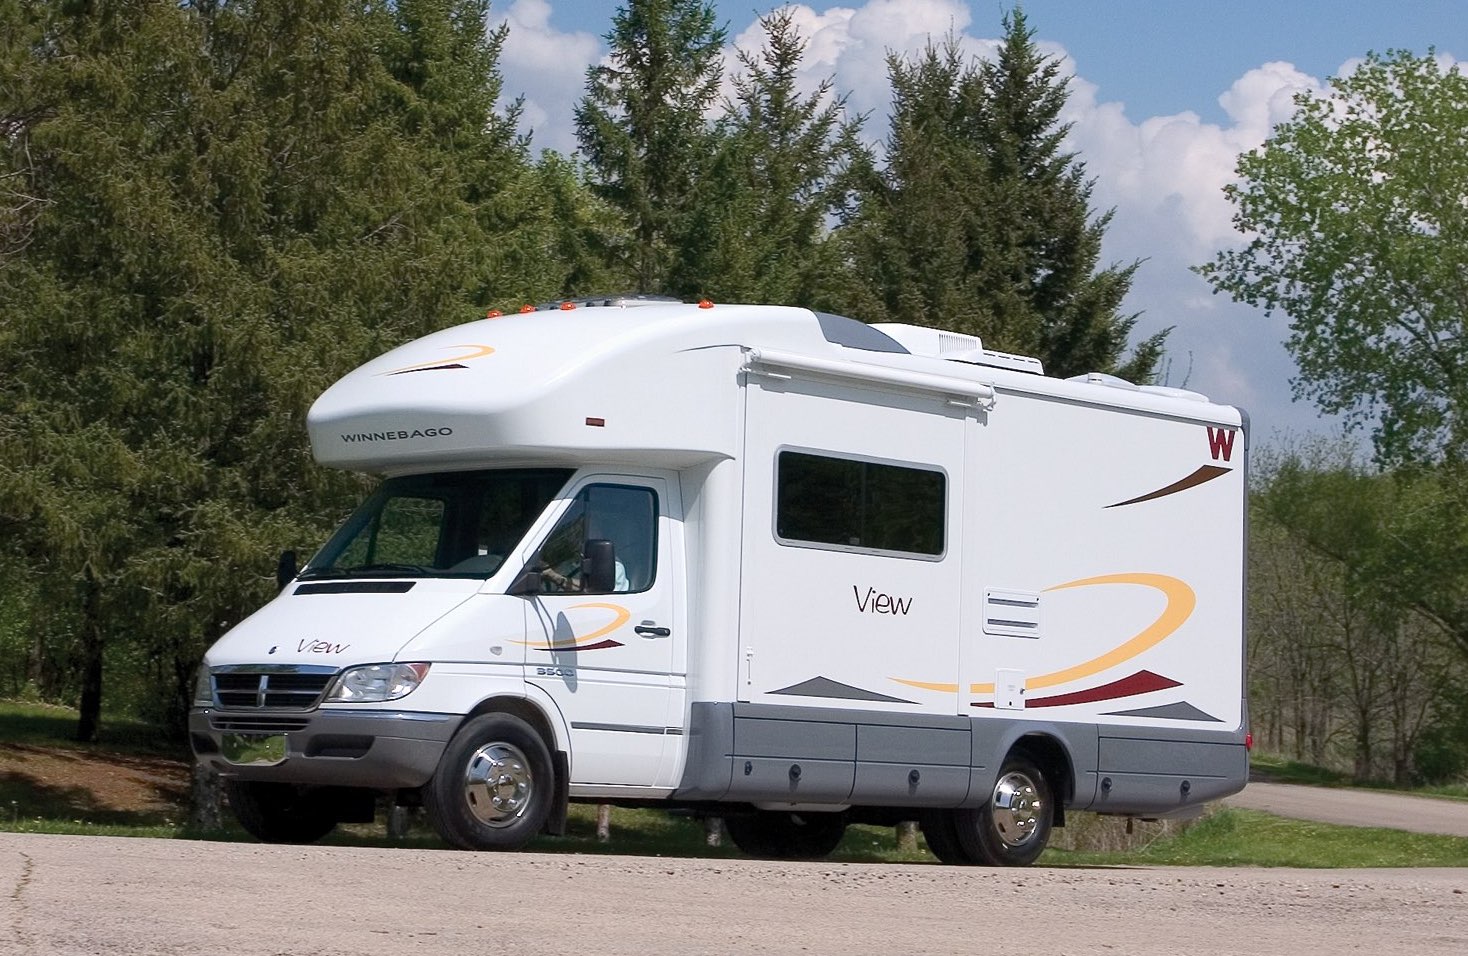
    Learn what material is used on the exterior of your RV’s sides. Is it painted aluminum? Fiberglass? Filon or another FRP derivative? ABS or PVC plastic? Are steel components used? If you own a Type C motorhome, don’t forget about the cab portion and its exterior surface.

    Scan the sides of your RV and start counting how many components are attached: storage bay doors, refrigerator vents, furnace vents, city water inlet, etc. Every attachment point is a potential source for a water leak.

    Inspect all seals around the sidewall openings. At the first sign of a deteriorating sealant, reseal! In severe cases, it may be necessary to completely remove the component and reinstall using fresh sealant. In other cases, a quick but correct application of a silicone sealant over the suspected gap may be all that is required.

    Next, check for black streaks. Unfortunately, every RV is susceptible to those nuisance black streaks caused by four elements: dirt, moisture, time, and neglect. This video explains how these streaks form

    When using any type of black streak remover, never apply the solution directly to the surface of the sidewall. Always moisten a clean, soft cloth with the remover and try to keep within the boundaries of the black streak. All black streak removers contain components that will remove existing wax, so areas treated with the remover will need to be re-waxed.

    Unless the black streak is deep-seated and has become oxidized, it eventually should come off or at least be minimized. If the black streak has oxidized into the finish, other products exist that can address this specific type of problem. But, remember, it’s crucial to use a product compatible with your RV’s exterior surface to prevent further damage – read those labels!
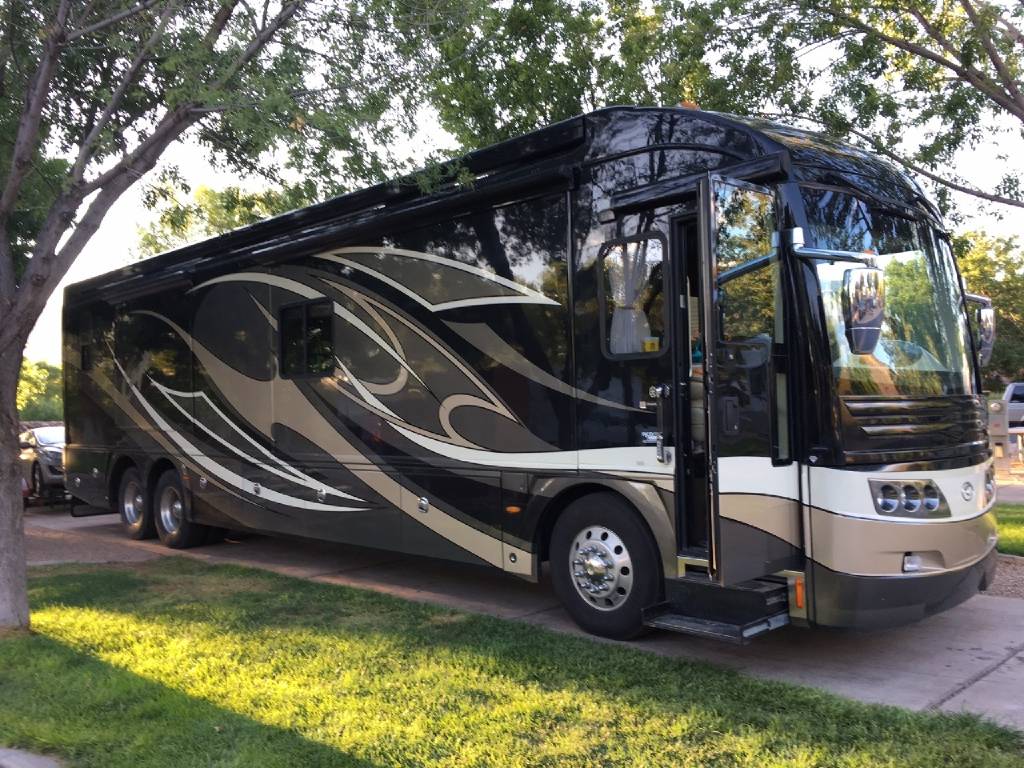
    Fiberglass Caps

    Many RVs have some form of plastic caps covering their front or rear ends. Over time and with exposure to UV rays and ozone, the appearance of these fiberglass caps can become dull or fade to a certain extent. This is the first degree of oxidation. Whenever sunlight, heat, and moisture collide, oxidation can be expected.

    The second level of oxidation results in a pronounced chalking of the finish. You’ve probably seen front and rear caps that display a distinct, blotch-like chalky residue that can be wiped away with a moist rag. Neglected further, the cap surface eventually can crack and deteriorate and, in the process, cross the line between restorative maintenance and damage repair. If individual fibers become visible in the fiberglass, it may require a repair out of the DIYer’s realm.

    It is imperative that fiberglass front and rear caps be protected with wax or polish. Plain old car wash soap is a good option because it does not remove wax as detergents do. Polish is similar to wax, but some polishes and polishing compounds actually contain trace amounts of abrasives.
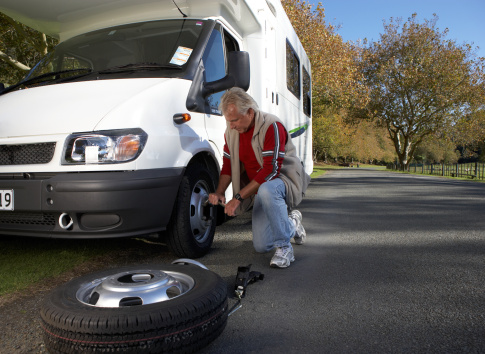
    Undercarriage

    The underneath surface of the RV is the “forgotten” exterior surface. The main concern is critter infestation. Look for large gaps around exposed plumbing that may pass through the floor and subfloor. It’s important to seal around all gaps that can trap moisture and road debris.

    Look for loose or damaged sections of the underbelly, regardless of the types of materials used under there. Some RVs have sealed underbellies, while other RVs may be open to the bottom of the subfloor. Others may have only a soft plastic wrap encasing the floor insulation. Look for anything that appears out of the norm. While you’re down there, check all chassis and suspension components for damage or irregularities, and look for evidence of water leaks. If you use the RV in winter conditions where salt is used on the roads, check for rust.

    Stay Tuned

    Next month we’ll cover the best products to use on your RV’s exterior. Stay tuned!

    FMCA RV Club brings you this monthly tech tip to Enhance Your RV Lifestyle. FMCA delivers RV know-how to its members. Learn more at FMCA.com.

    This information is for educational purposes. FMCA shall not be responsible nor retain liability for RVer’s use of the provided information. Exercise caution when working on the roof. Prior to making any RV service decision, including roof maintenance, you are advised to consult with an RV professional.

  • Do You Have the Updated RV Trader App?

    Do You Have the Updated RV Trader App?

    We have some exciting news – our app has been updated! If you haven’t downloaded the RV Trader app, what are you waiting for? The newly updated app features a completely redesigned home screen, allowing you to browse through hundreds of thousands of RV listings with ease. The modern design is faster than ever before and our app gives you the ability to access our content wherever you go.

    We’ve also added a new recommendations tab on the home screen of the app, which shows you similar models based on your previous searches. You can easily filter your listing searches based on type, location, year, make, price, mileage, and so much more – which makes finding your new RV a breeze. While in the app, you also have the option to search for your nearest dealer (including their current inventory), so you can pay them a visit to take a full tour and test drive of the unit you’re interested in.

    While you are navigating the app, you also have the opportunity to create your own personalized My Trader account. When you sign up for a My Trader account, you are able to quickly save the listings and dealers that you’re interested in – keeping them all in one place for future reference. The RV Trader app syncs with your desktop accounts once logged in, so you can easily access your saved listings on any device.

    We’re all about saving you money and getting you the best deal on your next RV. With price drop alerts from the RV Trader app, you’ll be notified via a push notification and email when a unit’s price has dropped.

    In the coming months, we’ll give you the opportunity to easily sell and take photos of your RV directly through our mobile app. This means you won’t have to access our website when you’re ready to put your RV on the market. We will also be adding a feature to pay directly through the app – stay tuned!

    The updated app is currently only available for iOS users, but will also be available for Android users coming soon. To download the updated RV Trader app, visit the iTunes App Store today.


  • Tech Tip: Keep Rolling! Tires 101

    Tech Tip: Keep Rolling! Tires 101

    Have questions about your RV’s tires? Wondering if other RVers have the same concerns? Hesitant to ask your tire dealer?

    FMCA and the “RV Doctor” Gary Bunzer are here to help with some WHEEL-y good advice! Read on for our round-up of popular tire questions.


    Is replacing my tires with the same brand and size really necessary?
    It’s important to stay with the same size and load range based on your RV manufacturer’s recommendations. We always recommend staying with a brand you are familiar with, but there is no reason one cannot change brands, just not the size.

    Remember: Before purchasing any tire, be sure to check the age code on the tire’s sidewall. It is important that new tires be truly “new.” It is the actual date of manufacture that is important, even though the warranty time typically begins at the time of installation.


    My tires seem to be wearing unevenly. What is causing this?
    It’s important to determine why your tires are wearing unevenly. Becoming aware of weight and balance issues is key to longer tire life.

    It is highly recommended to have your RV properly weighed using individual scales by an accredited RV entity such as the RV Safety and Education Foundation (RVSEF). RVSEF provides this weighing service at most FMCA RV Expos .

    By weighing each individual tire, you can determine if a side of the RV is exceeding a tire or axle rating. An RV can appear to be sitting level but can be out of balance in terms of weight. If this is the case, look for items that you can move to help distribute the weight. Every item packed in your RV adds up!

    Another cause for uneven tire wear could be what’s called “spring sag.” When vehicles remain loaded over a period of time, the springs can be affected. For instance, if a trailer has had a 500-pound higher load on one side for several years and many miles, it would lead to uneven tire wear. However, this is not a difficult or expensive issue to address; simply have new springs installed and adjust your RV’s load to prevent future issues.

    Can I swap LT tires with ST tires, or vice versa, on my travel trailer?

    LT stands for “Light Truck” and ST stands for “Special Trailer.” Although both tires are rated for trailer use, there are distinct differences. Most manufacturers use LT tires because they too are rated for trailer use and are simply cheaper than ST tires.

    For passenger tires (including LT tires), ride, traction, and handling are the key design elements and are achieved primarily by adding flex to the tire’s sidewall. This maximizes tread contact with the road, thus increasing traction and allowing the driver to maintain better control over the vehicle.

    However, sidewall flexing is not a desired effect because it can cause trailer sway. The stiffer sidewalls and higher operating pressures common with ST tires help control and reduce the occurrence of trailer sway.

    It is important to match the tires to the application and payload. Since ST tires are constructed with heavier materials, they are tougher and more bruise-resistant than typical passenger car tires. This is a plus because trailer suspension systems are generally stiffer and less sophisticated than automotive suspension systems. A tire designed to operate in the more demanding trailer environment will provide longer service life and be able to withstand added abuse.

    The bottom line: trailers are more stable and pull better on tires designed specifically for trailer use, so it recommended to switch to the ST type.

    Should something be used to separate my tires from the ground while parked to help extend tire life?
    Protecting your tires during periods of non-use will help preserve and protect the rubber. Though wooden blocking is commonly used, we also suggest placing a separation between the wooden blocks and the tires to avoid excessive moisture and/or heat build-up. Plastic, web-like blocks are readily available in the aftermarket. Look for a type that will drain and not trap moisture.

    I’ve heard the sun can damage my RV’s tires. Is that true? 

    The damage caused by ultraviolet (UV) radiation virtually effects all tires. RV tires, in general, are more susceptible to this type of damage since they are considered a slow-wearing tire, meaning they typically are not driven as far or as often as regular automobile tires.

    The effect of unprotected UV exposure on rubber includes cracking, discoloration, and lack of physical mechanical properties. Tire makers use a carbon substance to combat the effects of UV radiation. Contrary to what some suppliers may say, there is no such thing as a permanent UV protector. However, here are a few ideas to help extend tire life:

    Keep RV tires clean. Avoid heavy build-up of mud, sand, or dirt. Dirt on tires may act as an abrasive of sorts that could inhibit the natural wax protection achieved through normal tire flexing. Wash your tires regularly with mild, soapy water and a soft brush.

    Inspect the tires regularly.

    Inflate the tires to the exact requirement based on the actual weight of that tire position.

    During short periods of non-use, keep the tires completely covered. When possible, remove and store the tires completely out of the sun and temperature extremes.

    Regularly apply a non-petroleum-based preservative to all surface areas of each tire.

    Purchasing quality tires and, thus, maintaining your tires will lead to safer and more fun RV trips. Always take the time to do your tire research to keep your rig rolling!

    FMCA RV Club brings you this monthly tech tip to Enhance Your RV Lifestyle. FMCA delivers RV know-how to its members. Learn more at FMCA.com.

  • Tech Tip: 10 Steps for A/C Maintenance

    Tech Tip: 10 Steps for A/C Maintenance

    Summer is heating up! RVers, it’s time to perform routine maintenance on your roof-top air conditioner(s). Follow these steps from FMCA and the “RV Doctor” Gary Bunzer to keep cool and extend the life of your RV’s A/C system.

    Performing Annual RV A/C System Maintenance

    Overall, the average RV owner can perform this maintenance procedure in an afternoon. Prior to beginning, turn 120-volts AC power off at the breaker-box or unplug the RV from shore power.

    Step 1

    This is an easy first step; in fact, you are probably already familiar with this task. All A/C systems –home and RV – require filter cleaning; some as often as every three months. From inside the RV, access the A/C unit’s filter(s). On some units, the interior air delivery shroud will have to be removed. Consult the owner’s manual if in doubt. Remove and wash all the filters in warm water or simply vacuum them clean.

    Fresh Jet 3200
    Step 2

    Check the positioning of the thermostat sense probe. That’s the thin, pencil-like, copper-looking device attached to the tiny tubing leading to the thermostat. Be sure it is situated in the direct flow of return air to the unit. Look closely for grime or film that may have accumulated from cooking oils and/or smoke. Gently clean the sense probe if contaminants are found. Take special care not to kink the small capillary tubing leading to the probe.

    Step 3

    Check the visible electrical connections inside the A/C unit. To eliminate the possibility of road vibrations causing the wire nuts to loosen, always wrap them with electrician’s tape.
    Step 4
    With the interior shroud removed, check the condition of the mounting gasket located between the bottom of the roof-top unit and the roof. It will be visible from inside the RV by looking up into the roof opening. If the gasket looks compressed or if there is evidence of water leaks, it’s time to install a new gasket. Also, tighten the mounting bolts holding the roof-top unit to the inside unit if they are loose.
     
    Step 5
    From inside the RV, vacuum in and around all exposed portions of the unit to clear dust, cobwebs, etc.
    Step 6

    If the unit is equipped with a wall thermostat containing unenclosed contacts, clean them by simply sliding a business card between them and gently pulling the card through the closed contacts a few times. This effectively cleans them without causing damage. Never file or sand thermostat contacts.

    Steps #7 through #10 need to be serviced from the roof. Grab your ladder, and head on up!

    Step 7

    On the roof, remove the A/C unit’s outer shroud, exposing the motor and condenser. Look for a series of small drain holes in the mounting pan. These holes drain any moisture produced from the cooling cycle. Clean and verify that all condensate drain holes are open and able to drain.

    Step 8

    Inspect and clean the exposed condenser fins at the rear of the roof-top unit. Remove any debris that may have collected on or near the condenser. Check for mud dabber nests in this area. Straighten damaged fins carefully. It may be necessary to purchase an aftermarket fin “comb” to safely straighten severely damaged areas. Never use a screwdriver or other sharp object for this task.

    Fin Comb

    Step 9

    Clean the area in and around the fan motor and compressor. Check the motor mounts for damage and/or fatigue.

    Step 10

    Look closely at the exterior shroud itself. Do you see any damage caused by low hanging branches or gas station overheads? Some minor damage can be repaired; however, if the cover has severe cracks, it needs to be replaced. Replacement shrouds are typically available for purchase at camping goods stores or your local RV dealer. As an alternative to the plastic shroud, consider an upgrade to a sturdier metal or fiberglass cover.

    Remember that though the average RV owner can safely perform roof-top air conditioner maintenance, air conditioner repairs should be handled professionally. Stay cool this summer!

    FMCA RV Club brings you this monthly tech tip to Enhance Your RV Lifestyle. FMCA delivers RV know-how to its members. Learn more at FMCA.com.

  • Winnebago: Still Innovating at 60 Years Young

    Winnebago: Still Innovating at 60 Years Young

    The year 1958 brought some high-tech firsts: the first microchip, the first passenger jet to Europe, and the first satellite. It’s fitting that the RV brand known for engineering was born that year too. Called Modernistic Industries for its first three years, the company in Forest City, Iowa soon took a new name: Winnebago. Since producing its first $895 Aljo travel trailer in 1958, Winnebago has shaped America’s RV industry one game-changing model at a time. Here are some highlights:

    The 1960s
    During a decade of unrest, a young Winnebago forged ahead to make quality, affordable RVs. Owner John K. Hanson adopted an efficient assembly line modeled after Detroit automakers. Company engineers developed a strong, lightweight material called Thermo-Panel, and paired it with a safer SuperStructure® framework, featuring interlocking cab and body.
    Winnebago got into motorhomes—including the popular F-19, built on a Ford chassis, the famous D22, built on a Dodge chassis, the classic Brave, and the top-of-the-line Chieftain. The Chieftain made “luxuries” standard, including engine-connected hot water and padded interior walls.
    The 1970s
    Simon and Garfunkel’s “Bridge over Troubled Water” was an ironic theme for Watergate and an oil embargo. In the economic downturn, Winnebago’s optimistic Hanson said, “You can’t take weekends away from the American public.”
    The company produced models that delivered more for the money: Winnie Wagon, an RV that could fit into a garage (like today’s Class B and C vans); the Minnie Winnie, Indian and the Chieftain, a luxury Class A diesel. By the end of the ‘90s, Winnebago served the American traveler with 23 motorhomes.
    The 1980s
    In a weak economy, voters turned to Reaganomics. But gas prices continued to be top-of-mind with consumers. Winnebago launched fuel-efficient new RVs one after another: In 1982, the Winnebago Warrior and Itasca Spectrum, which doubled the fuel economy of conventional RVs. Then the even-smaller Trekker, a 4X4 SUV on a Toyota chassis that led to the Toyota 4Runner.

    In 1983, Winnebago rolled out three maneuverable models with fuel-efficient Renault diesel engines that delivered 22+ miles per gallon: LeSharo and Phasar motorhomes, and Centauri vans. The trio attracted many first-timers to RV ownership.


    The 1990s
    An end to the Cold War. The World Wide Web. The 1990s dawned with optimism. Micro-mini motorhomes were popular, led by the Winnebago Warrior and Itasca Spirit Micro Mini—both built on Toyota chassis.
    On the other end of the spectrum, Winnebago introduced the bus-size Vectra for extended travel, followed by the wide-body Winnebago Minnie Winnie and Itasca Sundancer. In 1995 came two cult classics for opposite market segments: the 21-foot Rialta, a front-wheel drive Class B on a Volkswagen chassis; and the Luxor, an elegant diesel pusher.
    In 1996, Winnebago mourned the death of its founder and Chairman of the Board, John K. Hanson, whose legacy of innovation lives on at Winnebago today.


    The 2000s
    The nation was stunned by 9/11, but business slowly recovered. By 2004, Winnebago was the top-seller in both Class As and Class Cs, and the “most admired RV manufacturer,” according to RVBusiness magazine. The company went on to expand every category with new models:
    • The Ultimate Freedom and Ultimate Advantage, two top-of-the-line diesel pushers;
    • The Vista and Sunstar, two affordable Class As that remain category leaders.
    • The View and Navion, two Class Cs, and the first North American motorhomes built on a Mercedes-Benz Sprinter chassis; and
    • The Era, a fuel-efficient Class B van also built on a Mercedes-Benz Sprinter chassis.

    Today, Winnebago is still the world’s largest builder of RVs on a Sprinter chassis. Closing out the decade, a market crash tested every industry.

    2010 to Now

    Winnebago emerged from the Great Recession determined to thrive. In the last eight years, it’s expanded Class A diesel production, and acquired two companies (Sunnybrook RV and Grand Design) to make a big return to towables.
    In 2014, the Winnebago Travato rolled out, based on a Dodge Ram ProMaster chassis. Together, the Era and Travato have catapulted Winnebago to the top of the B-van market.
    Winnebago enters its seventh decade with the introduction of four revolutionary models for a growing customer base — the rugged 4×4 Class B Revel, the contemporary Horizon diesel pusher, the user-friendly Class A Intent, and the lightweight Minnie Plus fifth wheel.

    As the next chapter dawns, RVs are certain to evolve, and based on its track record of 60 years, Winnebago will lead the way with new options for work, travel, live, and play.

  • Tech Tip – To DIY or Not: When Should I Call a Mechanic?

    Tech Tip – To DIY or Not: When Should I Call a Mechanic?


    Understanding when to choose the do-it-yourself (DIY) path or when to rely on the professionals is an important RVing lesson. Know your options with these tips from FMCA and the “RV Doctor” Gary Bunzer.

    Types of Service

    Simply put, there are two types of RV service – crisis repairs and preventive maintenance. RVers need to stay on top of preventive maintenance to lessen the chance of an emergency repair situation.

    Many RVers choose to take care of their RV’s preventive maintenance tasks on their own. These tasks are often seasonal to-dos, such as checking seals, checking fluid levels, cleaning air filters, and performing battery maintenance.

    However, before you take on anything yourself, know the details of your RV’s factory warranty period. Oftentimes, during this period, all repairs should be performed by a certified technician. In some cases, warranties may be voided if unauthorized tasks are performed.

    To DIY or Not?

    So should you even consider performing maintenance tasks on your RV yourself?

    An RV owner who performs routine service typically

    • is mechanically inclined or has past automotive experience.
    • has an impressive assortment of hand tools and testers.
    • has a keen interest in RV technology.
    • camps in remote areas far from RV service centers.
    • has a technical aptitude.
    • is or has been a full-time RVer.

    If you recognize yourself in these listed characteristics or are wondering whether or not you should attempt a maintenance task, here are a few points to consider. Keep in mind that this list is not all-inclusive and all items may not apply evenly across the board.


    Know your physical limitations.

    Ask yourself if you can physically perform a task. For some maintenance tasks, you will have to crawl under the RV or into a tight space.

     
    Review your mechanical and technical aptitude.
    Admit when the subject is beyond your knowledge base. There is no need to be a hero. You definitely do not want to risk converting a simple maintenance task into a costly crisis repair! It will cost substantially more to undo an error than to make an appointment with a service center.
    Have a willingness to learn.
    If you want to be able to perform routine maintenance items, be willing to do a little homework. Servicing propane-related appliances and components, for instance, mandates a basic understanding of the electronic and gas operation sequences. Learning requires reading and studying the literature that came with your RV. In cases where the owner’s manual has disappeared, check online or contact the manufacturer directly. Most manufacturers are more than willing to provide the manual you need.
     
    Be properly equipped.
    Some maintenance tasks require specialty tools, such as the long flue brush needed for cleaning and servicing an RV refrigerator. If you commit to performing tasks that need a specific tool, evaluate if the cost is really a savings in the long run. Also, can you easily purchase replacement parts? Even the most routine maintenance tasks can require purchasing new parts. An example: the replacement gaskets needed when performing RV furnace cleaning maintenance.
    Consider the time factor.
    Always plan your approach to any maintenance task appropriately. Realize that all maintenance requires time. Be sure to allot enough time to the task. You are more likely to omit a step or make a mistake if you are under pressure to complete a task hurriedly. Remember, the next time you perform that same task, the time element will be reduced.

    If you feel comfortable with the points above, you are probably a good candidate to tackle an RV maintenance project on your own.

    How to Succeed at DIY

    If you feel like you just may qualify as an RV DIY-er, the following suggestions will help you get started:

     
    Control your work area.
    Having a clean work area is vital in avoiding confusion and keeping the RV clean. When servicing the appliances, for example, it is best to perform the maintenance tasks with the appliances left in the installed positions. An exception would be the RV furnace. Sometimes better results are attained if the furnace is removed and the work performed outside of the RV. Proper preparation will make any task easier.


    Prepare your replacement parts.

    When you begin a task, have all replacement parts prepared and laid out for easy access. If the new parts need any type of pre-assembly, do it before you become engrossed in the task. If some pieces in a repair kit will not be needed, separate them prior to beginning. This will simplify your repair and avoid confusion later when you’re left with unused parts.

    Obtain the necessary support materials.

    Have all wiring diagrams, service notes, installation instructions, etc. before starting the job. If you feel you may need more support information, postpone the maintenance until you have all the resources. A prime example would be if you are performing maintenance on any electrical item. Have a wiring diagram or schematic available. Most diagrams are usually included in the owner’s literature, and many will accompany the replacement part kits.

    Have a back-up vehicle.

    This is especially important if you are servicing a motorhome and it’s your only mode of transportation. It’s always advisable to have another available vehicle just in case. Whether it’s a neighbor’s truck or a second vehicle of your own, always plan to have transportation available in case of an emergency or if you forgot a part.

     
    Establish a relationship with a local RV service facility.

    This step is vital. Even though you wish to perform RV maintenance yourself, always get to know a local dealer or service center in your area. Aside from being there to order parts for you, techs can be a good source of information. They should work with you and not feel threatened that you elect to perform some of your own maintenance tasks. Obviously, you will need to rely on them for any task you decide not to pursue. All major repairs and many items that require specialty equipment are best left to the professionals.

    A tip on RV generators.

    Never attempt to adjust your RV generator yourself. This is definitely better left to your service shop. Many specialty tools are required since the generator needs to be load-tested while making governor and carburetor adjustments. Load banks and specialty testers are beyond the scope of the DIY-er. With an RV generator, every mechanical adjustment that is made has an electrical result. You cannot tune a generator by ear.

    A tip on propane regulators.

    Never attempt to adjust the propane regulator without the use of a water column manometer. Changes in the delivery pressure, which is crucial to each appliance, cannot be determined by visually watching a burner flame. Too high gas pressure will damage many appliances, while too low of a delivery pressure will result in improper combustion and inefficient appliance operation.

    Be a Confident RV DIY-er!

    By carefully evaluating your technical expertise, gathering a resource library, acquiring the proper tools and parts, and having the right attitude, you may be a great candidate for RV DIY tasks. Many RVers find that performing their own RV maintenance is a source of pride, peace of mind, and enjoyment. Wishing you luck in your maintenance ventures and the ability to admit when you need to call a professional!

    FMCA RV Club brings you this monthly tech tip to Enhance Your RV Lifestyle. FMCA delivers RV know-how to its members. Learn more at FMCA.com.

    This information is for educational purposes. FMCA shall not be responsible nor retain liability for RVer’s use of the provided information. Prior to making any RV service decision, you are advised to consult with an RV professional.


  • RV of the Year: Affordable Coach with “Million-Dollar Vibe”

    RV of the Year: Affordable Coach with “Million-Dollar Vibe”

    Article By:

    If you think Class A motorhomes all look alike, you owe yourself a look at the surprising new Horizon. The ultra-contemporary 2018 diesel coach won this year’s “RV of the Year” award from RV Business magazine. Along with the small 4×4 capable Class B Winnebago Revel, the Horizon also won RV PRO magazine’s “Best of Show” award at the RV industry’s national trade show in Louisville.

    Handing Winnebago the trophy last November, RV Business editors praised the Horizon’s “authentically different modernistic interiors”—and predicted the Horizon would attract a new breed of first-time buyers into the RV lifestyle. In other words, the Horizon is not your grandparents’ coach.

    “We had this dream to create a million-dollar look in something much more affordable,” says Mike Happe, CEO of Winnebago. “It looks and feels more like a Manhattan condo than a traditional diesel RV.”

    Starting at $385,214, the Horizon is no small investment. But it sets a new bar for the high-end luxury category with a significantly lower price than other offerings.

    After you’re struck by the elegant, clean lines of the 41’ to 43’ exterior (without the traditional “swoops”), the Horizon’s light interior greets you with a sophisticated vibe. A lot of design touches create this impression of soft vibrancy:

    • High-gloss laminate built-ins with LED backlit translucent panels
    • Open floor plan with roomy meal prep, kitchen, and a dining area you can rearrange to fit the occasion
    • Plenty of stainless steel, porcelain tile, and luxurious Villa furnishings
    • Grooved countertop for self-drying dishes
    • 50” HD TV that pops up directly across from the couch for easier viewing
    • Full galley with residential French-door refrigerator and Induction cooktop
    • Double-sink master bath and roomy shower
    • 50” HDTV, satellite system ready, with soundbar and Blu-ray™ Home Theater System
    • Ample, creative storage areas that “disappear” into the walls
  • Vintage RVs We Love

    Vintage RVs We Love

    New RVs are great – they come with fabulous new technology, and I swear – some of them look like luxury mansions! But, you can’t deny that vintage RVs have a certain allure to them too – and when they’ve been remodeled to bring together their vintage style with a modern design – well, to be honest, we’re in love. We’ve found five vintage RVs (ok – ones from 2006, so maybe not super vintage) that combine the best of both worlds.
    Starting with the pop of green in the awning that carries through to the counters inside – the minimalist design in this unit feels like the design meant for the all-chrome Airstream. We are also impressed that they managed to get two twin beds in here – as well as a work space. Sleek and streamlined.
    The outside of this unit definitely leaves something to the imagination – but once you open that front door, the white walls and light blue accents give this unit a wonderfully light and airy feel. We love the full sized shower and ample seating space.
    The combination of black, red, and metallics in this unit make it feel like a luxury apartment. By using the same tiles in the kitchen and the bathroom – there’s a nice continuity throughout – and for those who might want to work on the road, this unit also has a great work area, complete with huge windows perfect for bringing the outside indoors.
    Full of warm colors and interesting fabrics – this unit has a fun and eclectic vibe to it. We love the shape of the kitchen – and can completely imagine having friends or family pull up a stool while we cook or enjoy a late afternoon cocktail. We don’t get to see the bedroom or bathroom in this one, but we have high hopes that they are just as nice as the main space.
    The back half of this RV is completely updated – with beautiful grey cabinets, light countertops, and funky accent colors – but the front half still needs a little work. But this could be the perfect first unit to try your hand at flipping – all you have to do is finish the great work that’s already been started.


    If you are looking to flip a vintage RV of your own from start to finish – we think this one would be perfect! The outside looks like it’s in great condition – and you could even paint the cabinets to keep costs down! Add in some nice new fabric and you’ll be well on your way.

    Some things, actually, most things, get better with age – and we certainly think these RVs did. We didn’t get to see them in their heyday – but we love where they’ve ended up.

    –>

  • The Growing Market for Off-Road-Capable RVs

    The Growing Market for Off-Road-Capable RVs

    The Growing Market for Off-Road-Capable RVs

    By

    When it comes to choosing a campsite, most RVers think of a public or private campground: full hookups, maybe a picnic table and a fire ring. Or in a pinch, boondocking at a Walmart.

    But there’s growing number of RVers who rarely set foot (or tire) in a traditional campground. They prefer the wide-open spaces and night skies of the back country — national forests, Bureau of Land Management lands, national monuments and other far-off-the-beaten-path destinations.

    These adventurers are driven partly by youth: According to KOA’s 2017 North American Camping Report, millennials make up 38 percent of active campers, and account for half of all new campers since 2016.

    “Not only are these younger campers highly social, but they’re also more physically active,” the KOA report says. “More physically active types of recreation are increasing in popularity, with mountain biking, hiking/backpacking, and canoeing/kayaking all gaining since 2014.”

    And because they favor remote places often accessible only with four-wheel drive vehicles, a mini-industry has grown up around converting suitable vans and trucks into campers. Depending on the design, specs, and who is doing the conversion, this “upfitting,” can run $50,000 or more—over and above the cost of the vehicle—with a wait time of up to six months, a year, or more.

    Now there’s another option, as one major RV manufacturer has taken notice of the growing movement. Winnebago has just announced the Revel, a new, full-function compact RV built on the Mercedes-Benz 4WD Sprinter chassis.

    With its high ground clearance, beefy stance and no-nonsense interior, it’s clear the Revel is not trying to appeal to the traditional RVer. For example, there’s no bed in the conventional sense. Rather, a platform bed lowers into the gear storage space once the rig is parked. And while it does have a shower, the Revel’s cassette-style toilet eliminates the need for a blackwater holding tank, allowing a larger freshwater tank. Solar panels further hint at the Revel’s off-the-grid capabilities.

    “Americans are hardwired to explore,” noted Russ Garfin, the Winnebago product manager responsible for the Revel. “And there’s so much of America waiting to be explored.

    “But to really get out there, you’ve got to change your priorities somewhat. Living space and, to some degree, comfort and convenience, have to take a bit of a back seat to capabilities. If something is not essential, it’s certainly going to be looked at very carefully. We even made the coach air conditioning system an option — some people don’t feel they need it, and would just as soon have a little more hauling capacity.”

    While Winnebago hasn’t divulged sales goals, it’s clear they’ve put a lot of thought into the rugged little Revel. According to Product Manager Garfin, “It’s the most off-road-capable RV we’ve ever built. We’re excited to see where it can go.”

    –>

  • The Camper’s Guide to Buying a New Home on Wheels:  5 Tips to Find the RV of Your Dreams on RV Trader

    The Camper’s Guide to Buying a New Home on Wheels: 5 Tips to Find the RV of Your Dreams on RV Trader


    Finding the RV of your dreams shouldn’t have to be difficult.


    Traveling in the 21st century can be described as rewarding, adventurous and fulfilling — but when it comes down to it, traveling can also be expensive, exhausting, and chaotic. Packing, airport hopping and moving between various hotels can be a hassle that takes away from your travel experience and lessens your ability to enjoy yourself on your trip.

    That’s why we, as RVers, are able to take back the travel experience.

    Whether you are planning to be a weekend warrior, a full-timer or just use your RV to check out the best tailgating events across the country — RVing in your own unit can redefine your travel experience, giving you the freedom to roam with your own personal hospitality suite right behind the wheel.

    But the idea of purchasing an RV can be overwhelming in and of itself — so RV Trader has put together the resources and tools you need to research, plan for, select and purchase the RV best fitted for your budget and lifestyle. No more running from dealership to dealership to figure out what will work — we’ve got you covered. And with all the extra time you’ll save, you can start dreaming about and planning your next big travel adventure.


    Step 1: Determine your budget.

    We can’t stress the importance of determining a budget before you begin browsing units. Just like when you plan for purchasing a home, you don’t want to tour a house, fall completely head over heels for it — only to find out it’s $75,000 over your budget.

    Whether you’re making the purchase on your own or need to discuss what you’re willing to spend with a partner or family member, take some time to sit down, research, and develop a plan for your target price range. That way, you’re as prepared as possible to compare features, amenities, and prices when the time comes.

    A few budgeting and planning tips we like to give our users:

    • Use our nifty Price Checker to determine an estimated price for the model you like — so you can be wary of whether dealers are overcharging for a model, or undercharging — in which case, there may be damage or production flaws in the unit.
    • Understand your payment options. One big advantage of buying a unit through a dealership, rather than a private seller, is access to financing. To understand what your payments would be, take advantage of our useful loan calculator to get a full understand of how this unit will fit into your budget.
    • Think about insurance early and often. When you come up with your budget, there’s nothing worse than finding out insurance costs put your dream vehicle out of reach.
    • Estimate shipping rates with our convenient shipping calculator. If you do decide to ship a unit from across the country, you don’t want to be caught off-guard with a $5k shipping fee.
    • Make sure you understand what warranties are available. Again, this is a reason to check out your local dealership for your next unit. Dealerships offer warranties that will protect you as you head out on your next adventure.


    Step 2: Decide which model is right for you.

    After you’ve decided on a budget, it’s time to choose what type of RV will best fit into your life considering how you plan to use your RV. We’ve outline the 11 primary types of RVs to help narrow down which models are best for you to consider.

    • Class A – Large living space with luxurious amenities
      • Sleeps: Up to 6
      • Average New Unit Cost: $58,000 – $400,000
    • Class B – Also known as “van campers” since they are driven like large vans
      • Sleeps: Up to 4
      • Average New Unit Cost: $41,000 – $74,000
    • Class C – Luxurious amenities with useful sleeping space over the cab
      • Sleeps: Up to 8
      • Average New Unit Cost: $48,000 – $140,000
    • Pop Up – Conveniently foldable for lightweight towing; comfy ‘outdoor camping’ feel
      • Sleeps: Up to 8
      • Average New Unit Cost: $4,000 – $13,000
    • Travel Trailer – Offers a healthy variety of size and floor plan options
      • Sleeps: Up to 10
      • Average New Unit Cost: $8,000 – $65,000
    • Fifth Wheel – A two-level floor plan that comes with plenty of room and is towed behind a pickup truck
      • Sleeps: Up to 6
      • Average New Unit Cost: $13,000 – $100,000
    • Toy Hauler – Incredibly useful and affordable considering the amount of extra space they provided for motorcycles, ATVs or other powersports vehicles
      • Sleeps: Up to 8
      • Average New Unit Cost: $21,000 – $58,000

    As you are searching RV Trader, check NADA Guides to see what their estimation tool says for the value of a used unit.

     Step 3: Save your Favorite Listings.


    With RV Trader’s handy star and save feature, you can easily bookmark your favorite listings for comparison later. No more opening 10 tabs at a time to compare campers!

    Once you save a listing, we can also send you a notification when the price drops on it and share other units that might work for your budget and lifestyle.


    Step 4: Decide on a Dealership. 


    Sometimes, multiple dealerships in your area may be offering the same models for similar prices. All of the dealers on RV Trader dealers provide a great buying experience — but check for the special ‘Trusted Partner’ badge next to their name. These dealers have been working with RV Trader for 5, 10 or even longer and have become known to us as trusted partners.


    Happy RVing, folks!
    Be sure to tag us on Facebook, Instagram and Twitter with the hashtag #rvtradernation when you are on the road. We can’t wait to see where your adventure takes you.