Category: RV 101

  • Replacing or Fixing an RV Toilet: A Step-by-Step Guide

    Replacing or Fixing an RV Toilet: A Step-by-Step Guide

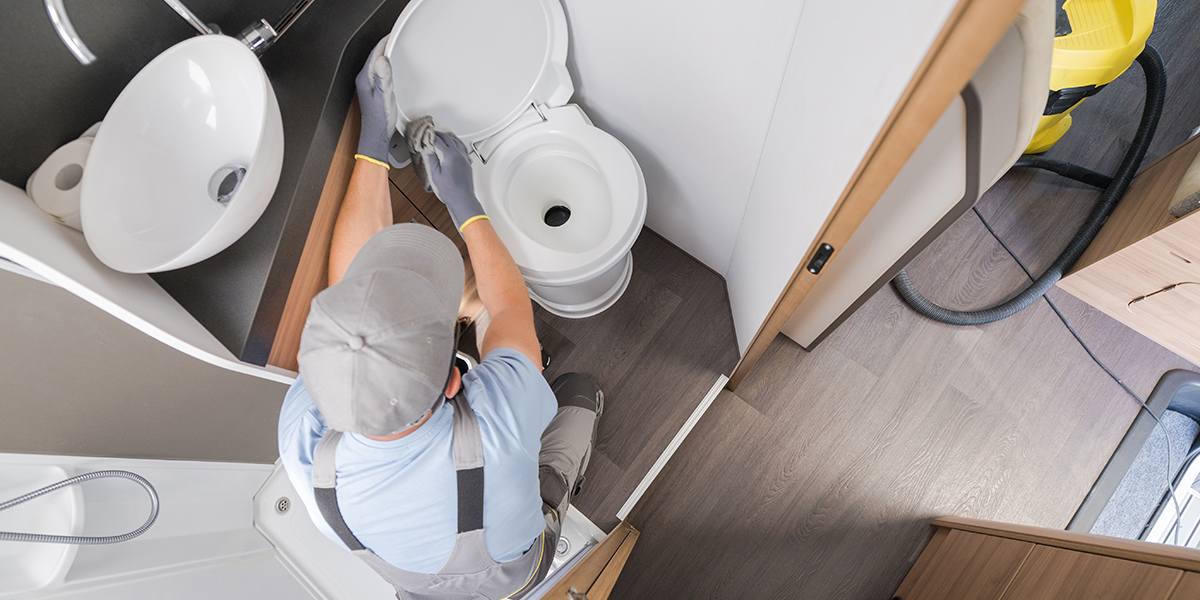
    Ah, the joys of RV life – the open road, the freedom to roam, the adventures waiting around every bend, and the occasional spray of toilet water to the face! Let’s be honest, not every part of RV living is glamorous. Take, for example, the humble RV toilet. It’s a crucial component of your home on wheels, but one that often gets overlooked until it’s too late.

    If you’ve found yourself in need of fixing or replacing your RV toilet, fear not! This guide will walk you through the process step-by-step, with a personal experience that even I had to laugh at – well, I laughed days later, not in the moment.


    My Frozen RV Toilet Fiasco

    This is my somewhat long story and is mostly for laughs, so if you wish to skip to the how-to section, click here.

    Let me set the scene: It’s Idaho in the winter, and before you ask who goes camping in Idaho in the winter, that would be us. We were working on a contract that had us stay at an RV resort with hotel rooms. The temperature was going to drop into the negatives with windchill, so we stayed in a cozy hotel room, thinking that we would be fine leaving the heat on overnight. That was my first mistake. The following is what transpired.

    My breath fogs in the air as I step outside my hotel room to slip and slide my way over the ice and snow in the parking lot towards my RV. I’m bundled up and look like the Michelin man as I waddle over and into the less-than-freezing inside of my home on wheels where I realize that I may have set the heat a little low trying to conserve power and gas. I turn on the water pump, the motor churns to life, and … sprinkler sounds come from the bathroom. Oops, I warmed the inside of the RV, but I left that bathroom in the back a little too exposed to the weather.

    I open the bathroom door, water is shooting out from behind our RV toilet, and I know it’s up to me to fix it. After I shut off the water pump and arm myself with tools, I venture into the belly of the beast. As I begin disconnecting the toilet, disaster strikes. A specific connector, apparently not built to withstand arctic conditions, snaps clean off. I spout a few four-letter words, waddle back to the hotel room, and inform my wife, “We have to find an RV parts store.”

    We spent the next 30 minutes looking for somewhere that would have our specific toilet and the specific part I needed. The closest place was a Camping World about an hour away. When we arrived, they had the part ready, I purchased it and immediately went to work in the parking lot. After about 30 or 40 minutes of uncomfortably working on the toilet, I smiled and said, “Wow, that wasn’t too bad.” Of course, that’s when the fun really started. I asked my wife to turn on the water pump, and after a few seconds of seemingly successful silence, I leaned in, only to catch a jet of freezing cold water sprayed directly into my face.

    Luckily the water was coming from the outside connection and not a backfire, if you catch my drift. It turns out that trying to lazily skip a few steps wasn’t the best idea. Instead of taking the toilet out completely to work on the problem, I tried to work directly on the issue that needed fixing. After a few more four letter words – which my wife said were pointless, but they definitely made me feel a little better at the time – I inspected everything further and thought that maybe some other connectors and washers would be a good idea. I was confident that a stop at the hardware store for a few items and proper installation would do the trick.

    Since we were trying to make it pretty far on our travel day, we drove another two hours south to a Home Depot, where I proceeded take out the whole toilet to try and do it right. I went into the store and purchased everything I thought I would need and started taking out the toilet. It took me about 45 minutes out in the cold to take out the toilet, replace some connections, and add a little insulation around the tubing for future protection. When I put everything back together, I turned on the water, and sure enough, I got sprayed right in the face again. It turns out that in my haste to finally finish this project, I didn’t properly connect the new piece I purchased in the first place.

    At that point the four-letter words were really flowing, but I set out to start from the beginning again. After getting the toilet out, I of course fumbled one of the unique screws that holds it in place right down the poop-chute, and I nearly lost my mind. My wife, somewhere between aggravation and laughter, calmed me down, and then set out to help me in my final attempt after I took about 20 minutes to find a screw that would actually fit our toilet. Together, we were finally able to properly install the toilet and the replacement part.

    It turns out that doing things slowly, thoroughly, and completely from the beginning, is always the best way to do things. It also shows that while I try to do things myself, getting help from others is good practice too. And finally, as much as I hate to admit it, sometimes my wife does know best. I won’t tell her it’s not more than Google, even though I feel like she may think so, but she is brilliant and super handy too. I love her, and she’s the best partner I can ever have for all of my crazy life adventures.

    Now, for those that want to do it right the first time around, below are the tools and steps you should take to properly fix or replace your RV toilet.


    Tools and Materials Needed

    Before diving into the replacement process, gather the following tools and materials:

    • adjustable wrench
    • screwdriver set
    • plumber’s tape (Teflon tape)
    • replacement part or new RV toilet
    • rubber gloves
    • towels or rags
    • bucket

    Having these items on hand will ensure you’re prepared for the job without unnecessary interruptions.


    Step-by-Step Instructions

    Before beginning the installation, the most important aspect of this project is comparing your toilet and the specs of your RV bathroom with a possible replacement part or new RV toilet. You don’t want to start the project only to realize that what you purchased is not compatible.


    Step 1: Turn Off the Water Supply

    Begin by turning off the water supply to your RV. This will prevent any unexpected sprays of water (trust me, you’ll want to avoid this). Locate the water pump switch and ensure it’s off, or turn off the main water supply if you’re hooked up to an external source.

    Step 2: Drain the Toilet

    Flush the toilet to drain as much water as possible. Use towels or rags to soak up any remaining water in the bowl. This will minimize spills and make the process cleaner.

    Step 3: Disconnect the Water Line

    Use a wrench to disconnect the water line from the back of the toilet. Be prepared for a small amount of water to spill out. Have your bucket and towels ready to catch any drips.

    Step 4: Remove the Old Toilet

    Unscrew the bolts at the base of the toilet using a wrench or screwdriver. These bolts can sometimes be a bit stubborn, so applying some WD-40 or other lubricant and letting it sit for a few minutes may help. Lift the old toilet off the flange and set it aside. You might need an extra hand to help maneuver it out of the tight space.

    Step 5: Prepare the Flange

    Clean the flange area thoroughly with a rag. Remove any old wax or gasket material to ensure a good seal with the new toilet. Ensure the surface is smooth and free of debris. If the flange is damaged, this is the time to replace it to avoid future leaks.

    Step 6: Install the New Toilet or Replacement Part

    Place the new toilet onto the flange, aligning the bolt holes. Secure it with the provided bolts, tightening them evenly to avoid cracking the base. It’s important to tighten the bolts just enough to secure the toilet without over-tightening, which can cause damage.

    Step 7: Reconnect the Water Line

    Attach the water line to the new toilet, ensuring it’s snug and secure. Use plumber’s tape (Teflon tape) on the threads to prevent leaks. Double-check that the connection is tight but not overly tight, to avoid damaging the fittings.

    Step 8: Turn On the Water Supply

    Turn the water supply back on and check for leaks. If everything looks good, flush the toilet a few times to ensure proper operation. Monitor for any slow leaks over the next few hours to catch any issues early.


    Common Challenges

    Replacing an RV toilet isn’t always smooth sailing, as you can picture if you read my story. Here are some common challenges you might face, along with tips to overcome them:

    Leaky Connections

    Double-check that all connections are tight and secure. Use plumber’s tape to seal threads. If you notice any leaks, tighten the connections slightly more and ensure the plumber’s tape is correctly applied.

    Stubborn Bolts

    If bolts are rusted or difficult to remove, apply a lubricant or penetrating oil and let it sit for a few minutes before attempting to loosen them. A little patience with your elbow grease can go a long way.

    Misaligned Flange

    Ensure the flange is clean and properly aligned before securing the new toilet. If it’s damaged, consider replacing the flange as well. This can prevent future leaks and ensure a secure fit.


    Maintenance Tips

    To keep your new RV toilet in top condition, follow these maintenance tips:

    Regular Cleaning

    Clean the toilet regularly with RV-friendly cleaners to prevent buildup and odors. Avoid harsh chemicals that can damage the seals and components.

    Check for Leaks

    Periodically inspect the water connections for leaks and tighten as needed. Early detection can prevent water damage and save you from more extensive repairs.

    Winterize Properly

    If you’ll be camping in cold weather, take steps to winterize your RV to prevent freeze damage. Drain the water lines, add antifreeze as necessary, and insulate exposed pipes and connectors. If you are RVing in cold weather, be sure that your pipes, tanks, and bathroom have proper ventilation and heating to prevent freezing.


    Conclusion

    Replacing an RV toilet might not be the most glamorous task, but with the right tools, materials, patience, and in some cases, a good sense of humor, it can be a manageable experience for most DIYers. Whether you’re dealing with a frozen water fiasco or just looking to upgrade, this guide has you covered. Happy RVing, and may your travels be filled with adventure and well-functioning toilets!
  • 10 Popular RV Renovation Ideas: Personalizing Your Home on Wheels

    10 Popular RV Renovation Ideas: Personalizing Your Home on Wheels

    So, you bought the RV you’ve been searching months for, but it’s missing those final touches to truly give it that unique feel. That “Now, I’m home!” feeling. Well, no worries. I’m here to help give you some tips and inspiration on how to give your RV a bit of a facelift to make it truly feel like your home on wheels. Whether you’re a weekend warrior or a full-time RVer, these 10 RV renovation ideas can significantly enhance your comfort and enjoyment on the road.

    From simple decor changes to more substantial upgrades, here’s a guide to some of the most common RV renovations that can turn your RV into a cozy and stylish retreat.


    1. Flooring Upgrades

    While many RV manufacturers have listened and improved the flooring on newer units, it can still be a sticking point — no pun intended — for many DIYers looking to make that initial upgrade. Many RVs come with basic linoleum or carpet. Both can wear out quickly and hold onto dirt, stains, and more. Consider replacing these with more durable and stylish options like vinyl planks or laminate flooring. These materials are not only easy to clean but also add a touch of homey elegance to your space.

    DIY Tip: Make sure to choose flooring that can withstand temperature fluctuations and moisture, as these are common in RVs.


    2. Kitchen Remodels

    If food is the key to your heart, like it is for me, then the kitchen is likely the heart of your home. And if that is true, then your RV should be no different. Simple changes like painting cabinets, adding a backsplash, or upgrading your countertops can make a big difference. For a more significant transformation, consider replacing your RV’s appliances with more modern and efficient models.

    DIY Tip: Peel-and-stick tiles are a budget-friendly way to add a stylish backsplash without the hassle of traditional tiling.


    3. Bathroom Upgrades

    Most RV bathrooms are smaller than their sticks-and-bricks counterparts, but that doesn’t mean you can’t make it stylish, cozy, and functional. Simple and inexpensive changes like replacing the showerhead with a high-pressure, water-efficient model go a long way towards looks and saving water when you are out boondocking.

    For looks, installing a new vanity, or even adding some decorative touches like new curtains and towels can create a spa-like feel. OK, maybe not a spa-like feel, but it is definitely cozier than a bare RV bathroom. Trust me when I say that a nice shower rug on your feet when it’s really cold outside can go a long way.

    DIY Tip: Use damage-free adhesive hooks and suction cup organizers to maximize storage and keep everything in place while on the move.


    4. Solar Power Installation

    One of the best RV renovation ideas for just about any RV is adding solar panels and better batteries. Not only does this eco-friendly solution reduce your reliance on campsite power hookups, but it also allows you to enjoy off-grid camping with ease. A basic solar setup can power essential appliances and keep your batteries charged, giving you more freedom to explore remote locations. 

    If DIY solar scares you, then a good solar power station with folding solar panels is a great plug-and-play solution. These tend to be a little cheaper than building your own solar setup, but they are easy and come with a warranty.

    DIY Tip: Start with a smaller solar kit to understand your energy needs before expanding your system. Installation usually involves mounting the panels, running wiring to a charge controller, and connecting to your battery bank.


    5. Painting and Wallpaper

    A fresh coat of paint or some stylish wallpaper can drastically change the look and feel of your RV. While this is admittedly my weak point — I let my wife and her eye for decor make these upgrades — this quick and inexpensive change truly gives your RV a welcoming feel. According to her, light colors can make a small space feel larger. Bold patterns, on the other hand, can add a touch of personality. Don’t forget about the cabinets and furniture. A little paint can go a long way in updating your RV’s interior.

    DIY Tip: Use lightweight materials and ensure proper ventilation when painting to avoid lingering fumes.


    6. Furniture Upgrades

    Swapping out old, uncomfortable RV furniture for more modern, multifunctional pieces can greatly enhance your comfort. Consider installing a convertible sofa bed, a fold-out dining table, or even custom-built storage solutions that maximize every inch of your space.

    DIY Tip: Look for furniture that can be securely fastened to prevent movement while driving, and always consider the weight of old vs new furniture, because WEIGHT MATTERS!


    7. Lighting Improvements

    Good lighting can transform your RV from a dark cave into a warm, inviting space. If you are like me and don’t mind the cave feel, then you can skip to the next idea. But if you are like my wife and need light at all times, then replacing outdated fixtures with energy-efficient LED lights and adding under-cabinet lighting in the kitchen are a game-changer. If you want to go the extra mile, then consider installing dimmers to create a cozy ambiance.

    DIY Tip: Battery-operated LED lights are a great option for adding illumination without complicated wiring.


    8. Exterior Enhancements

    Don’t forget about the outside of your RV! Adding an awning, upgrading your outdoor lighting, or even just giving your RV a good wash and wax can make a big difference. For those who love outdoor living, consider installing an outdoor kitchen or entertainment area, or having an easy and functional setup that you can pull out wherever you go.

    DIY Tip: Portable solar lights can enhance your outdoor space without needing electrical wiring.


    9. Storage Solutions

    Maximizing storage in an RV is always a challenge, but it is essential. With a bit of creativity, you can make the most of your available space. Install shelves, hooks, and organizers to keep everything in its place. Think vertically and use every nook and cranny for storage. For some fun ideas, here is a video of us in our Class B van, maximizing all of our space to be able to stay on the road for months.

    DIY Tip: Over-the-door organizers are perfect for adding extra storage without taking up floor space.


    10. Personalized Decor

    Finally, add some personal touches to make your RV feel like home. I give my wife all the credit in the world. Simply hanging some photos, adding some cozy throw pillows and blankets, and incorporating decor like fake plants have transformed the living space and made it more inviting.

    DIY Tip: Use removable adhesive strips and hooks to hang items without damaging the walls.


    For most of these RV renovation ideas, you can keep your costs fairly low and find some good bang-for-buck options if you do a little research. But regardless of how little (or how much) you spend, renovating your RV to make it feel like your own cozy sanctuary on the road truly changes the RV experience for the better. It has made a world of difference for us. So, whether you’re making small changes or undertaking a major overhaul, these common RV renovation ideas will help you create that comfortable, stylish, and functional home on wheels. Happy renovating, and may your travels be filled with adventure and beautiful memories!

  • The Art of Finding the RV-Friendly Gas Station

    The Art of Finding the RV-Friendly Gas Station

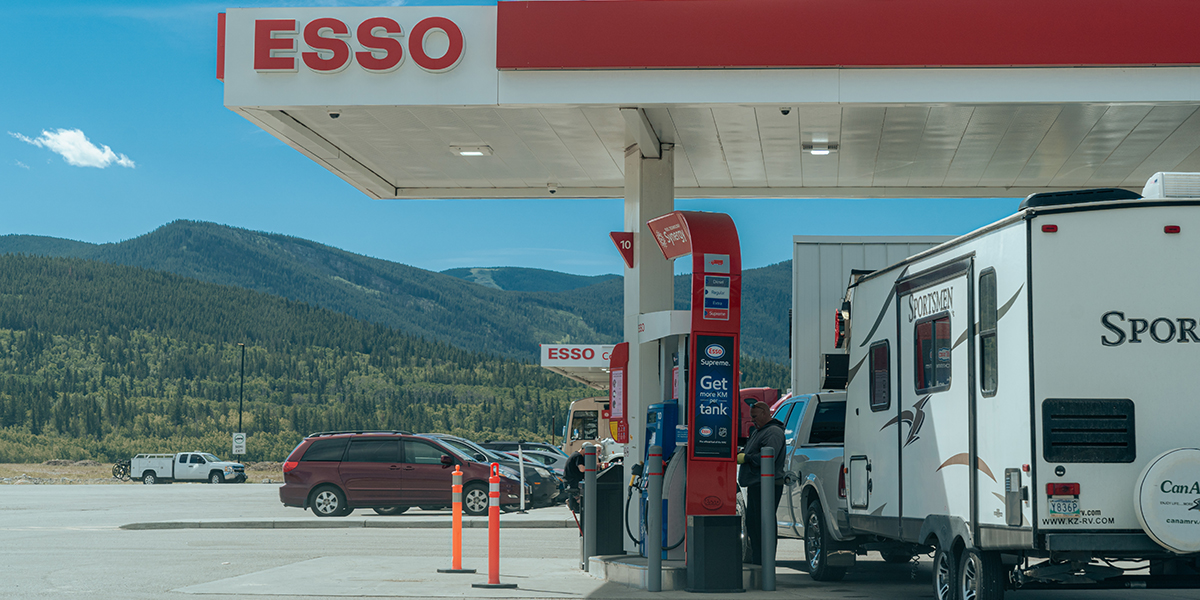
    Let’s face it: If the RV life were easy, everybody would do it. Living on the open road is undeniably freeing, with nearly unlimited options for adventure. But there are a few reasons it’s not for everybody. One is that you are inevitably subject to some … uncomfortable feelings. For example, every driver has stared at a fuel gauge and wondered, When do I actually run out of fuel? The front side of the E or the backside? But in a car, any old gas station will do. In an RV, however, it’s not so simple. Because not every gas station loves an RV’s dimensions. Like most RV-specific things, there is an art to finding an RV-friendly gas station.

    Without a doubt, whether you’re in the cockpit of a motorhome or towing a trailer behind your truck, fuel is a resource worth planning for. So, here are a few ways you can stay out of that panic zone and ensure your RV experience is as stress-free as possible.


    Plan ahead. 

    Planning ahead comes naturally to anyone who’s been an RVer for more than a weekend, but for newbies driving their new dream RV, it can be surprising how quickly things can go south without the right kind of prior preparation. Planning ahead takes all kinds of forms, and one of those is sitting down with a map and making a plan. It’s not hard, but missing this step is one of the easiest ways to find yourself in that gas panic. Plan conservatively, knowing that you might need some flexibility when the gas gauge is going down. In other words, don’t plan to roll into a gas station on E.


    Use one of these RV-focused mobile apps to plan out your trip.

    It feels like every week a new app comes out with new RV-specific features. Some of the most popular are from RV Life, Roadtrippers, GasBuddy, and iExit. Each of these apps, and the dozens of others like them, have specific strengths or weaknesses. But each of them helps you plan out your trip, complete with RV-friendly fuel stops. Each of them will let you do pre-planning but also use your mobile device to adjust on the fly (or on the drive, as it were). 


    Ask the RV park when you booking your site. 

    The internet is a great tool for your trip planning. But so is good old-fashioned person-to-person conversation. Each RV park knows its own neighborhood better than anybody else. And direct advice from an actual person is likely to be more current than stale internet content. Unless you’re booking online, you’re going to be making a call anyway, so don’t hesitate to solicit advice about a nearby RV-friendly gas station when you do.


    Go the trucker route. 

    One of the safest bets when picking a fuel stop is on truck stops. They’re built for big rigs, and the country’s entire logistics system relies on them facilitating truckers fueling. Unlike a smaller gas station that might overstate its RV-friendliness, you’re also guaranteed to get plenty of room to maneuver. A truck-friendly gas station is usually an RV-friendly gas station. Any truck stop is also likely to have solid amenities like fast food, a great selection of mini-market staples, and clean bathrooms. Many, like Pilot and Flying J, even have dump stations.


    Try The Next Exit Book.

    I remember when my father used to download paper maps of the entire route of a vacation. Believe it or not, old school books that use real life paper to produce something you can hold in your hand still exist. Here’s the sneaky benefit of The Next Exit book: It requires no cell phone signal. So whether you’re high in the mountains, deep in the jungle, or just rolling through a signal desert, The Next Exit book can give you reliable information on an RV-friendly gas station, even if it’s just one for truckers.


    Get an RV-specific GPS. 

    Companies like Garmin have been harnessing the RV boom by producing GPS systems specific to the needs of RVers, with many including support for fuel stop picking. The systems serve as a backup to cell phones, or can be used as primary fuel planning devices too. Most don’t require cell phone signal, meaning even in those badland boonies you’ll still get reliable data on where to find an RV-friendly gas station.


    Prioritize safe over sorry.

    It can be tempting for some to squeeze every minute of drive time out of each trip, which can lead to some ambitious fuel planning. Just remember that with their higher gross weights, and their higher total drag via large surface areas, RVs have a much wider range of fuel efficiency than cars. The wrong headwind can affect fuel efficiency, as can an incline in altitude. And you only have to be riding that E-line once while searching for a timely fuel stop to know that it’s no fun. So, play it safe and stop before you’re sorry.

  • RV Tornado Safety 101: What You Need to Know

    RV Tornado Safety 101: What You Need to Know

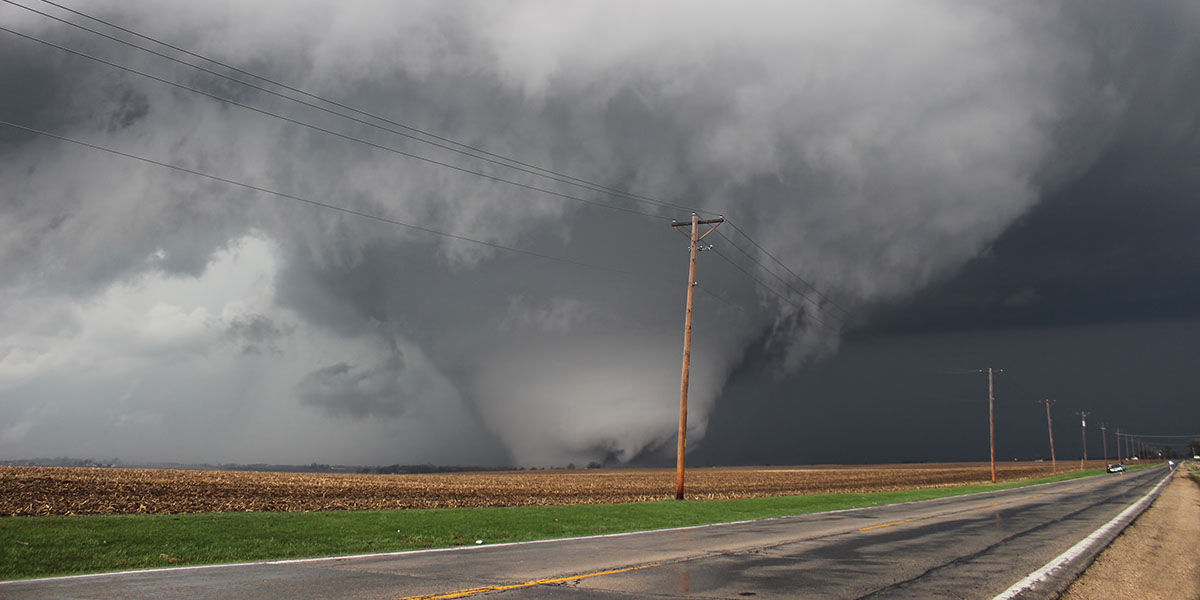
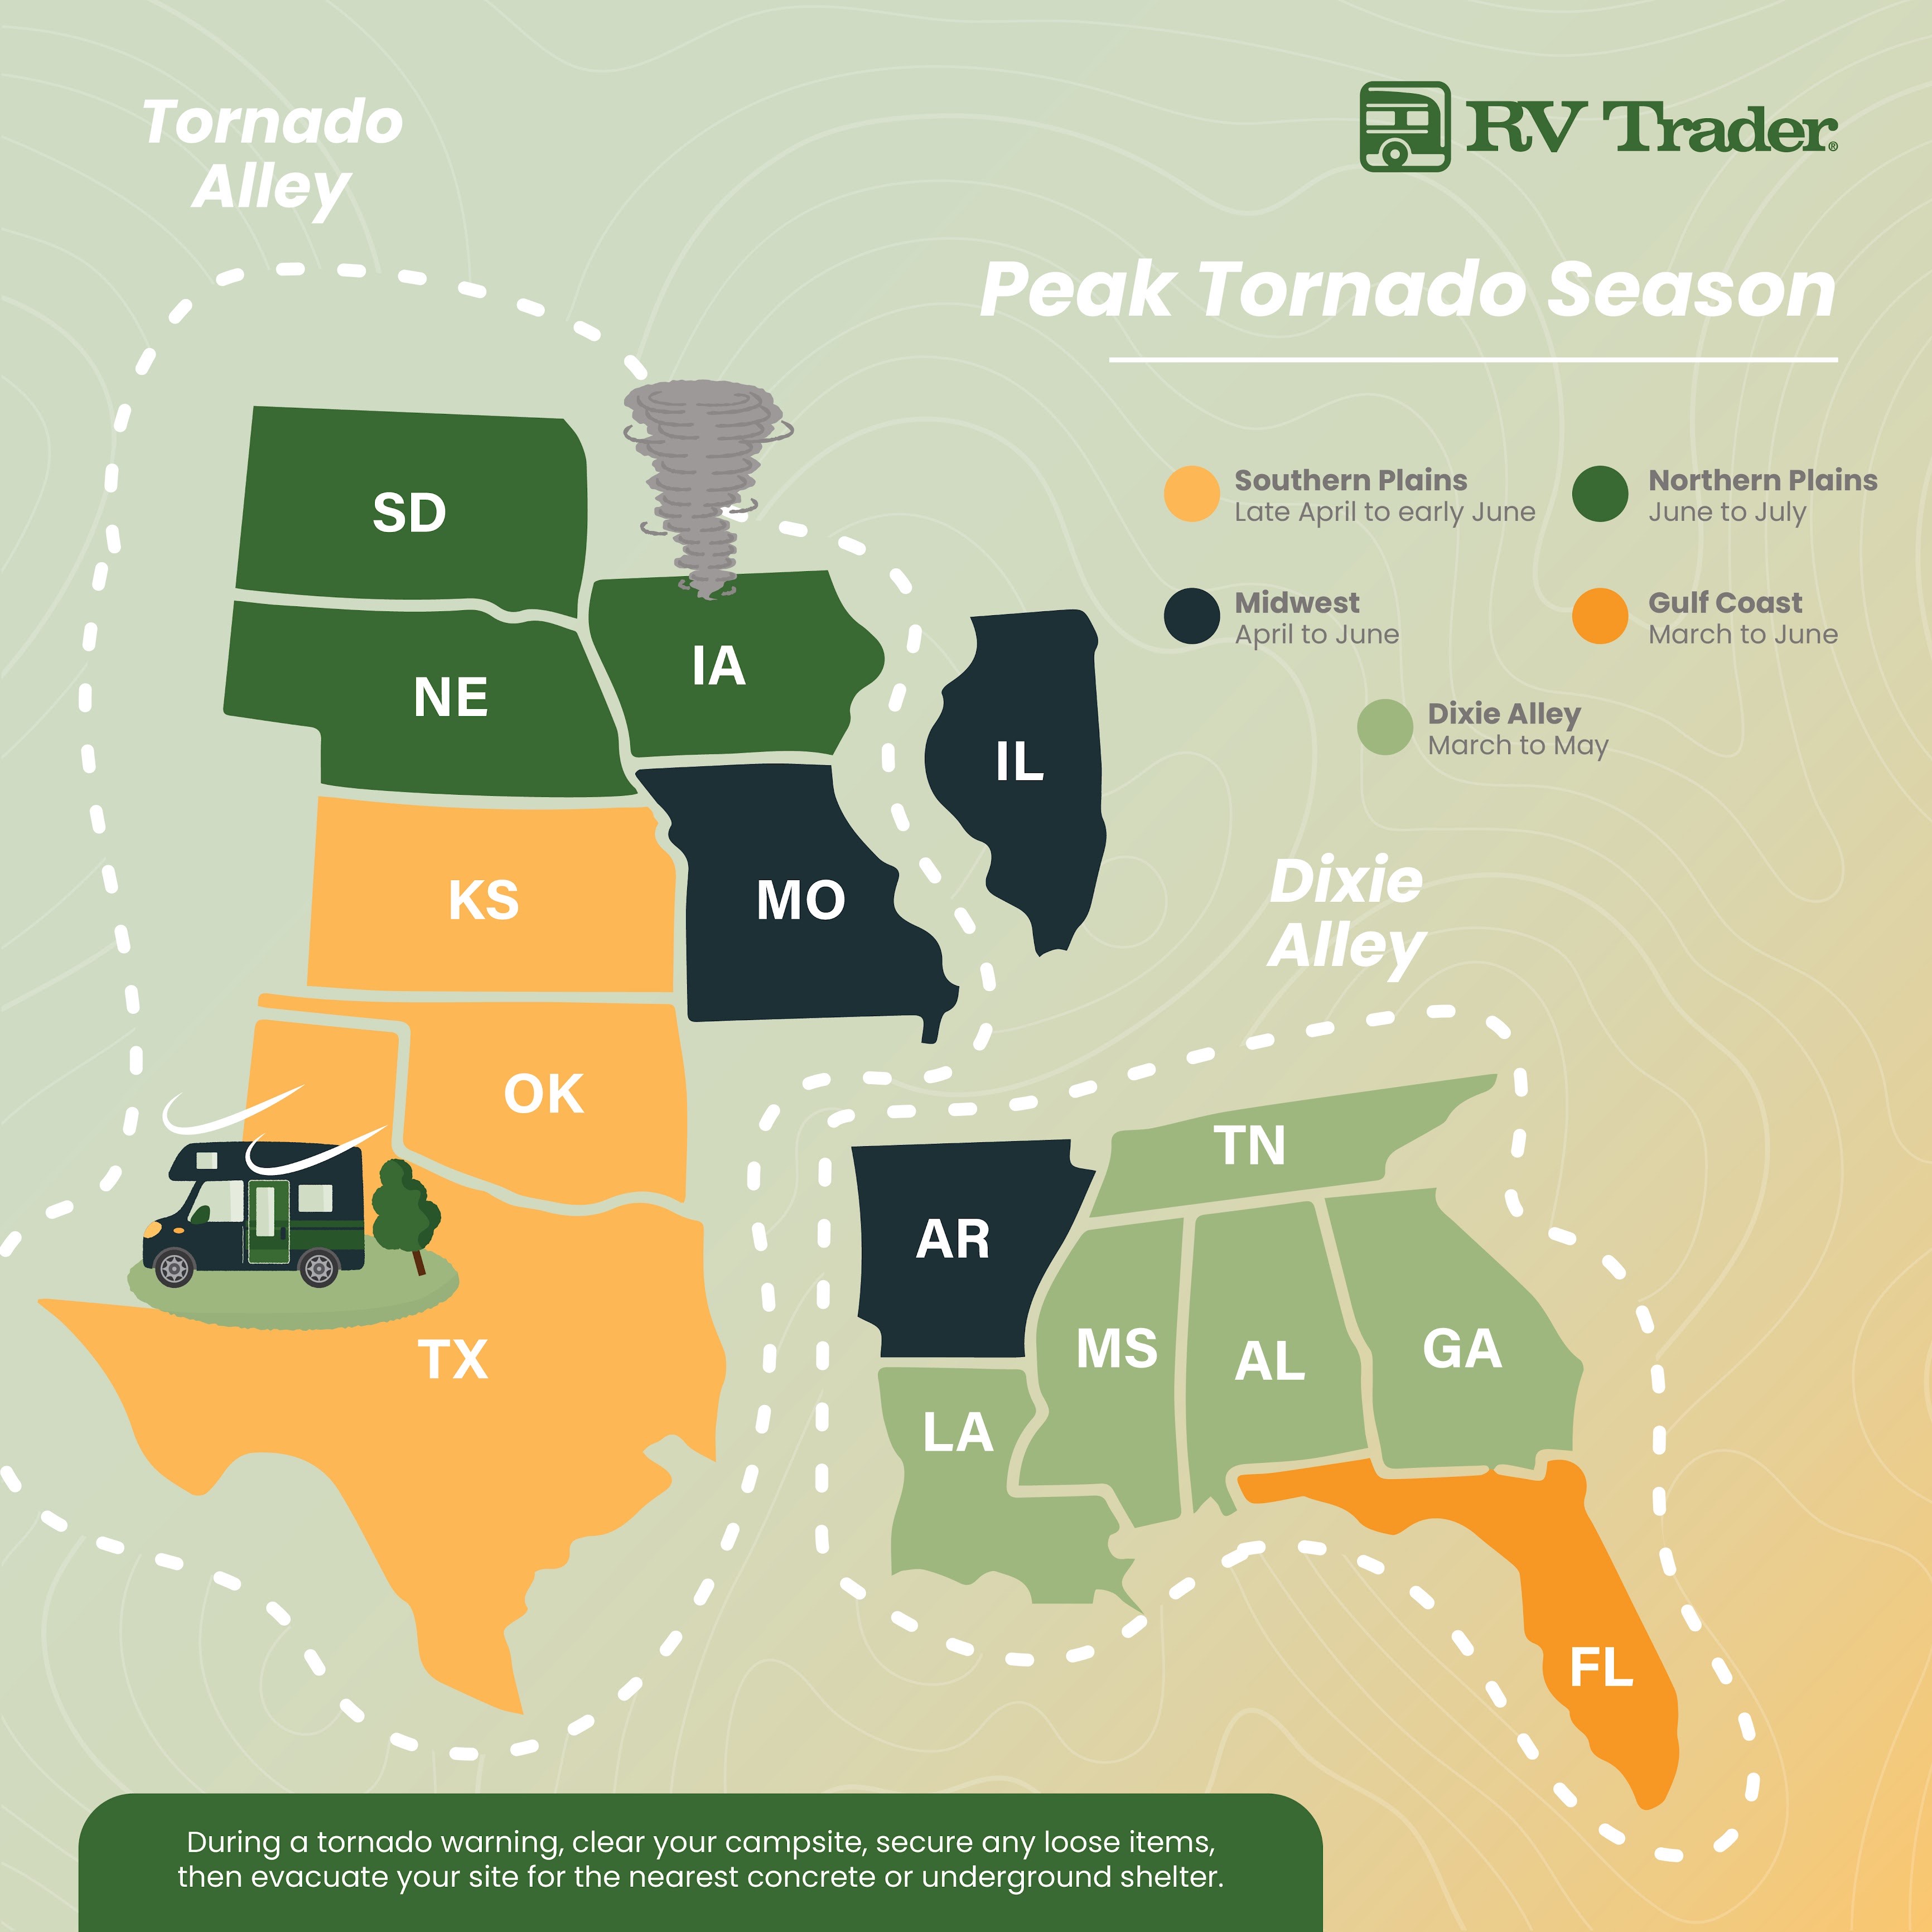
    There’s nothing more unsettling than feeling unsafe in your own home. That certainly goes for your RV if you’re caught in the midst of an extreme weather event. Your RV is your home base and safe place, but events like tornados can change that. In an instant. That’s why it’s paramount to take RV tornado safety seriously, both before extreme weather arrives and any time it might catch you in park. 

    From having the right safety products to performing maintenance checks and servicing, proper preparation can be the difference-maker between a mere inconvenience and a Significant Emotional Event — like the kind everyone seems to be experiencing in the new “Twisters” movie. Because when the stuff starts hitting the fan, some smart choices can make a life-or-death difference with RV tornado safety.


    First: Be Prepared

    Stock some supplies.

    You don’t have to be a doom-and-gloom prepper to be properly prepared for emergencies. Emergency food can last even up to three to five years.  And it is well worth the space it takes. Stow some away, along with enough water for at least a weekend. 

    Do your maintenance.

    One thing that heavy weather will do is to find your weak points. Tires, roofs, heaters, and fuel levels — each can be a major weak point if not appropriately monitored and maintained. Perform regular checks, and service as needed before problems arise at the worst possible time.

    Check weather as a part of every pretrip checklist.

    From stocking up on the right supplies to bringing the right clothing, it’s never a bad idea to be prepared for whatever Mother Earth is going to throw at you.

    Pack a go-bag.

    In addition to knowing where your emergency supplies are, you might feel more warm and fuzzy knowing that your most important survival items are all safe in one place. And when it’s time to go, whether during or after an emergency, you need it all in one easily grabbable place. This is the go-bag’s job. Store some emergency food, a light source, and a backup power source in your go-bag. 

    Have a backup power source.

    These days emergency battery solutions have gotten cheap enough that you should never be caught without a battery that can charge phones, communication devices like computers or tablets. Consider getting a power bank with 10,000 mAh (milliamp hours) for the rig, and a portable power source in case you need to charge phones on the go. 

    Store enough sustenance for your situation.

    Think about what would happen if your RV were catastrophically destroyed, but you survive. If you’re in the boonies, how long of a walk is it to the nearest source of safety? Store enough food and water for at least a few days. If not walkable, plan to survive a week or more.


    What to Do When a Major Storm Is Approaching 

    While we celebrate the idea of being phone-free in your RV, when weather is on its way you need to take another approach. Situational awareness is one of your most important assets, and your phone is key. Because — flat out — you don’t want to be caught in your RV in a tornado. Enable alerts and notifications for your favorite weather app to stay aware of any important changes in storm tracks, tornado watches or warnings, or other important alerts. 


    Depending on what kind of weather event is approaching, you’re never helpless. The easiest way to avoid tragedy is to reduce risk. If severe weather is on the horizon, the smartest way to avoid risk might be to let Mother Nature win the battle so you can win the war. In other words, don’t risk it. Pick another weekend to camp. As an old Army instructor of mine used to say before any dangerous training mission, “There’s always tomorrow… if you make it there!” Don’t be afraid to play it safe and live to camp another day.

    If you’re in a RV park, national park or campground, consider what fortified buildings might be around. In many cases, a bathroom facility, front desk, clubhouse or even a solid pool bathroom might be more suited to take gale-force winds or even tornados.


    When Emergency Weather Arrives

    If you know you’re going to be sticking it out through a serious storm, potential tornados, or other significant weather event, we have a few tips to help you batten down the RV hatches, but don’t miss this first one: Don’t be inside your RV in a tornado event. You need to get out, find shelter, or even lie in a ditch. That’s RV tornado safety 101. The risk is simply too great. No matter how well you well you prep an RV, it will be a death trap if a tornado hits and you’re inside.

    That being said, if you’re tracking the weather and know the storm is a few hours away, there are some smart things you can do to protect yourself and your RV.

    • Batten down the actual hatches.

      Remove any wind-catching awnings or slide-outs. Close vents and windows. Tie up or chain down anything that can be tied up or chained down.

    • Plan an escape route.

      Know what you’ll do to escalate your safety needs if things get worse than expected and staying put stops being an option.

    • Reduce the risk of wind.

      You can reduce the risk of damage in high-wind scenarios by positioning your RV, camper, or trailer into the wind. This reduces the drag your rig will feel, and also minimize your exposure to blowing debris. 

    • Hitch up to your tow vehicles.

      Your combined weight will keep you more wind-resistant and serve as an anchor in the storm. If your surroundings allow, be sure both vehicles are turned into the wind.

    • Communicate with loved ones.

      In any catastrophic weather event, communication can get sketchy. It’s important to keep loved ones (or someone at least) aware of your location and current situation. That way, if things really go south, someone at least knows where to look for you to send help.

    • Consider reparking for safety.

      If major heat is the issue, look for cover from large branches or trees. If wind and rain are the primary hazards, you may benefit from parking next to a hill or large building, but you should avoid overhanging branches. And consider moving away from any streams or rivers that might flood.

    • Share your location.

      Particularly when boondocking, make sure someone knows your exact location, how to get there, and when to expect you to check in if able.

    • Stay off the road.

      It may be tempting to run (or in this case, drive) for cover, but unless you have an acute emergency and need help, it’s not likely wise to drive your way out of a storm. If you’re caught on the road in the midst of an extreme weather event, even driving can be deadly dangerous. If there’s no shelter nearby, you need to get out of the vehicle and lie in a ditch.


    Let’s just be clear: Trying to wait out an emergency weather event like a severe storm or tornado in an RV is not safe. It’s not recommended. Ever. You should do everything you can to avoid it. Even if that means — here it is again —lying in a ditch.

    But there are plenty of steps you can take to make sure you’re prepared as best you can for RV tornado safety. RVing is full of adventure, and not for the faint of heart. But for the bravest adventurers it can be a route to a full life. Here’s hoping that your journeys are smooth — and that the only twisters you encounters are the ones hitting theaters! (Seriously, is that a firenado?!) Friends, stay safe out there.