There’s something about stepping into an RV that feels like you’ve opened the door to adventure – literally and figuratively – as that door, once secured behind you, can whisk you away to some of the most memorable experiences of your life. Trust me, I know. After six years of RVing, you would think that my wife and I would be ready to hand in our keys, but we know that the open road and RV travel will always be in our blood.
But what if your RV could be more than just a means to travel – what if it could be a showstopper and head turning event unto itself? How do you actually wow everyone who steps inside (or catches a glimpse from the outside)? Whether you’re looking to enhance the interior for your own comfort or want to turn heads at the campground, we’ve got five great ways to transform your RV into a jaw-dropping, wow-worthy home on wheels. Let’s get started!
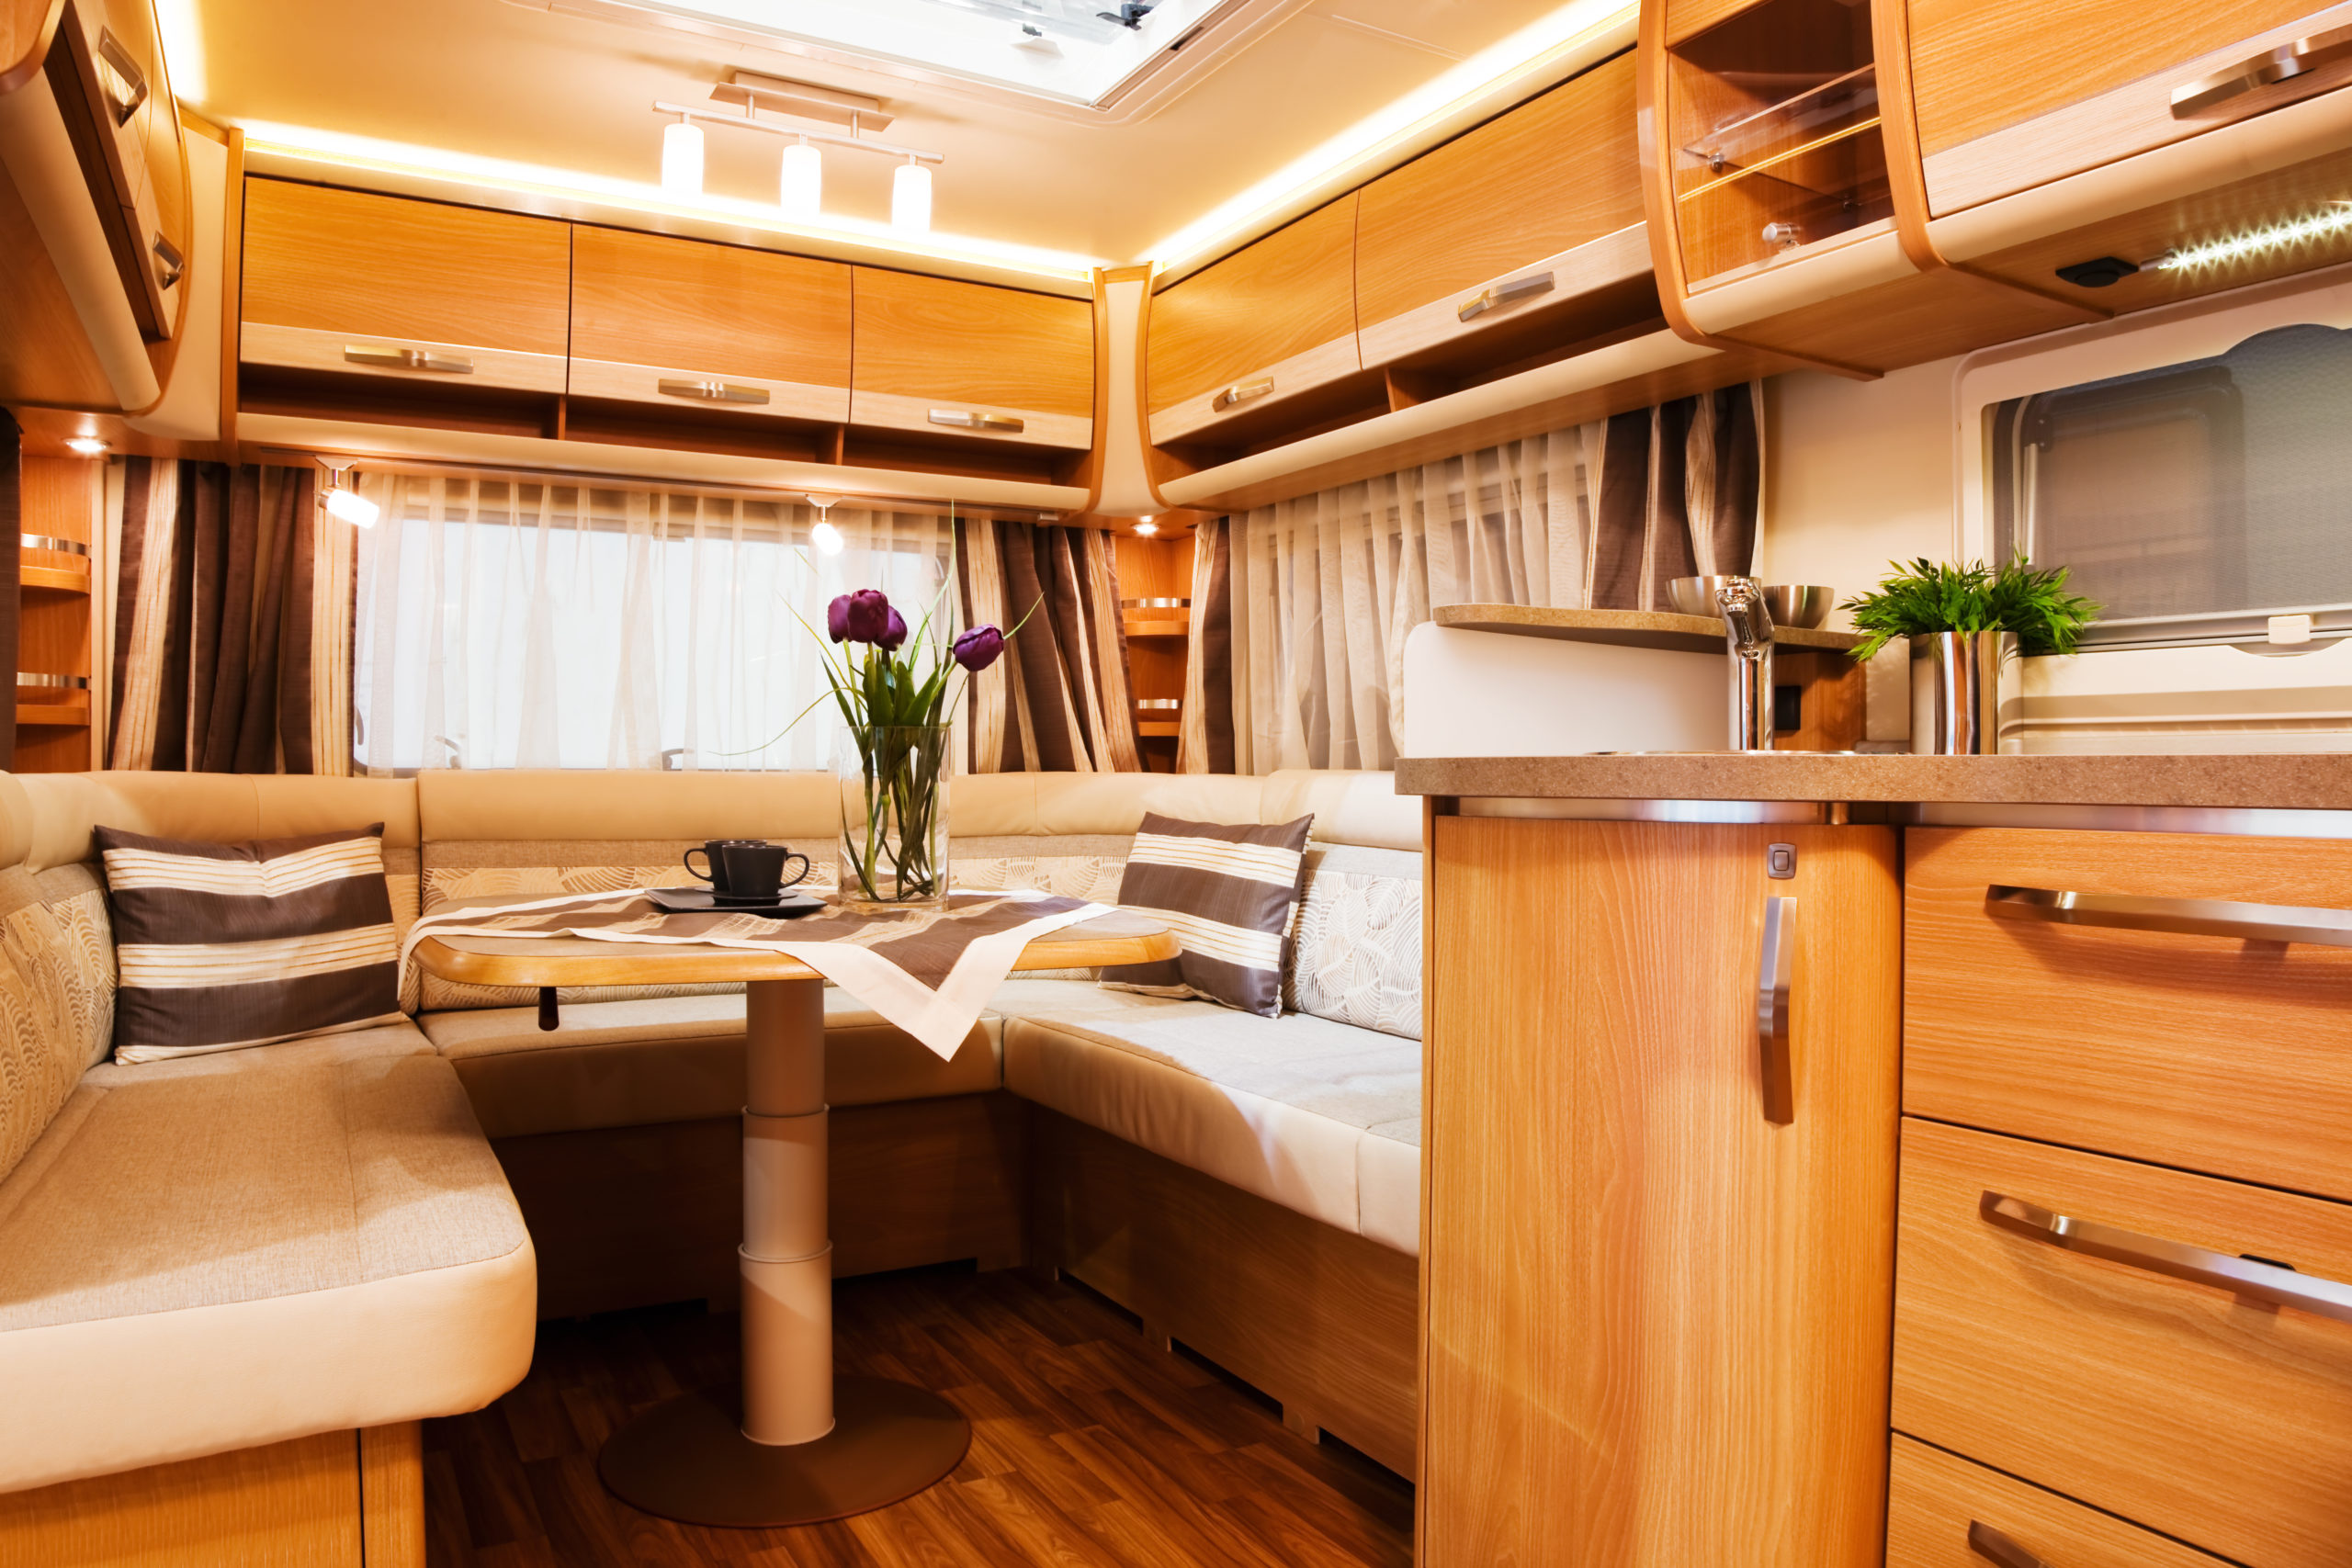
1. Upgrade Your Flooring

One of the easiest ways to give your RV an instant “wow” factor is by upgrading the flooring. While some manufacturers are listening to us long-time RVers about stepping their interior game up to feel more like a true home, many older RVs feel dated and come with basic linoleum or carpet that can wear down quickly and hold onto dirt, stains, and odors. Switching to something more durable and stylish like vinyl plank flooring or laminate can completely transform the space, making it feel more like a true home. Plus, these options are easy to clean and maintain, which is essential for life on the road.
Pro Tips
Make sure to calculate the weight difference between your old and new floors so that you know what your final weight capacity will be, and that you’re not going over your suggested weight with a new heavier material.
Also, choose a flooring material that can handle the temperature fluctuations and constant earthquake-like conditions inside your RV. You don’t want something that will warp or crack due to weather changes or washboard roads!
DIY Suggestion
Check out this video from The Flippin’ Tilbys about RV floor replacement by an expert DIY couple for good options and a detailed walkthrough.
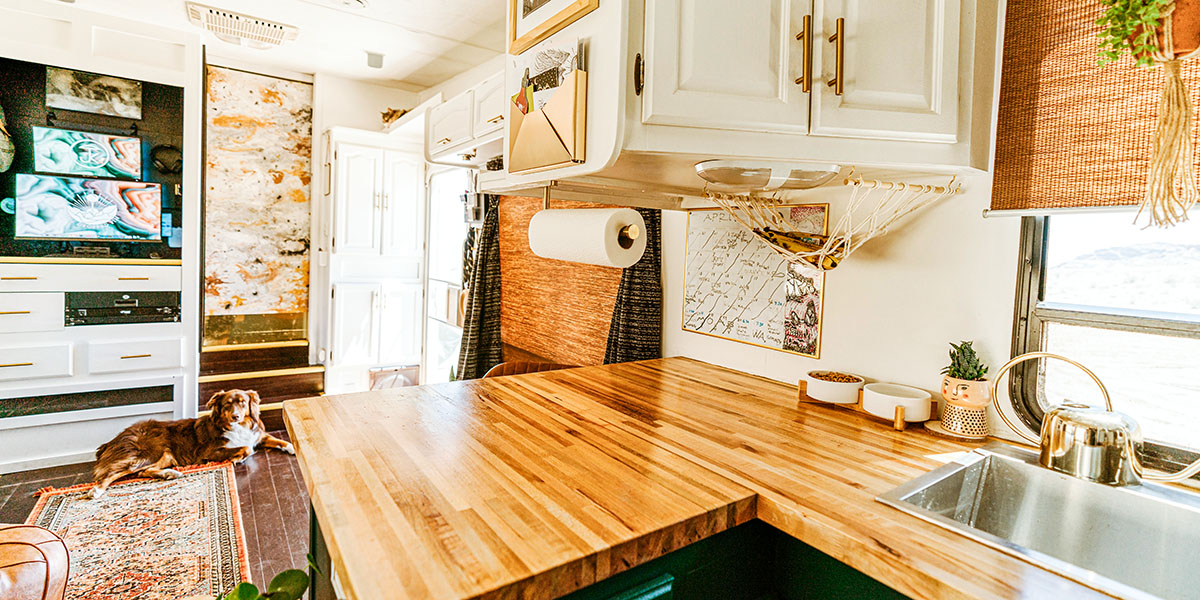
2. Revamp the Kitchen Space
Whether you have a huge fifth-wheel or a Class B van, your RV kitchen can make a big impression! To jumpstart a kitchen upgrade, begin with updating the cabinetry with a fresh coat of paint or new hardware to give it a modern feel. Consider adding a peel-and-stick backsplash for a quick and easy pop of color or texture. If you’re willing to invest a bit more, upgrading the countertops or installing more efficient appliances (think compact microwaves or induction cooktops) can make a world of difference.
Pro Tip
Opt for lightweight materials when doing any kitchen renovations to avoid adding unnecessary weight to your rig. You’ll see this as a common theme, because weight is always at a premium in RVs and can make the difference between safe and fun ride or a dangerous experience.
DIY Suggestion
Peel-and-stick backsplash tiles are not only affordable but also give your kitchen an updated, custom look without a major renovation effort. You can also swap out dated handles and knobs for a sleek new look.
3. Brighten It Up with Lighting
Nothing says “wow” like walking into a bright, well-lit space – or so my wife loves to tell me. If your RV feels a little dark and dingy, upgrading the lighting can make a huge impact. Replace old, dated fixtures with modern LED lighting, and consider adding battery-operated under-cabinet lights in the kitchen or reading lights in the bedroom area. For a more dramatic effect, install dimmable LED strip lights around the ceiling or furniture to create a cozy atmosphere at night. There are even some that come with colors and connect to apps on your phone. This is a fun mood changer that is easy to install and adds a little flair.
Pro Tip
Battery-operated LED lights are a great option for RVers who want to avoid complicated wiring and want to save power when boondocking. They’re easy to install and perfect for creating ambiance without using shore power.
DIY Suggestion
If you have a cabinet or pantry that you know you will be using during dark hours and don’t want to wake anyone up, then you can look into some smaller motion-sensor LED lights.
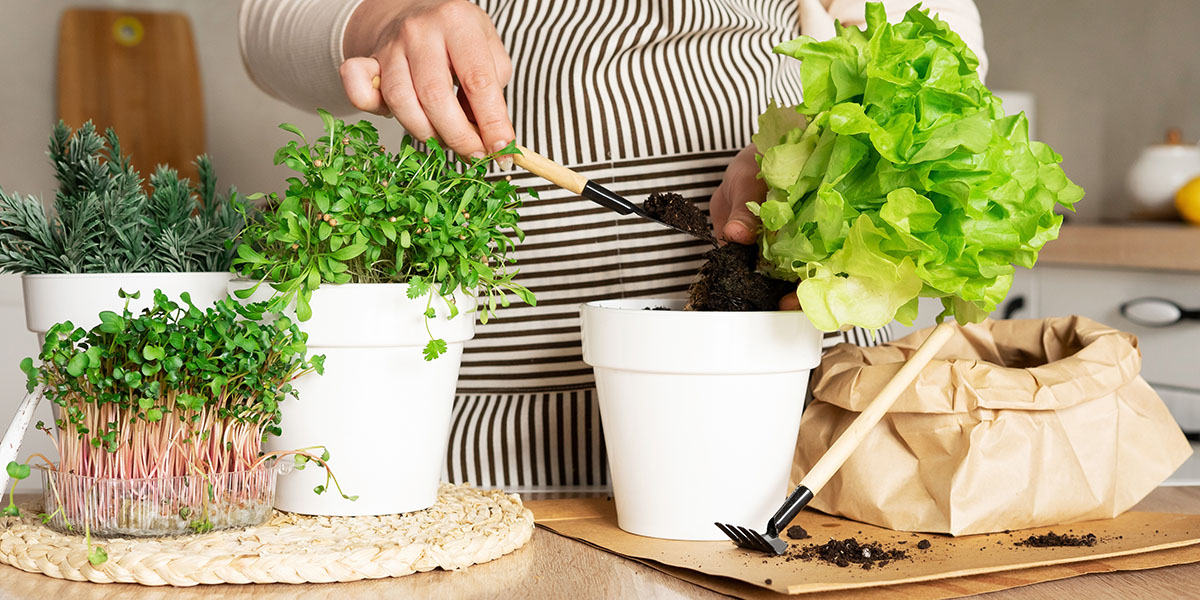
4. Add Personalized Decor
Your RV should reflect your personality, and adding personal touches can make it feel more like home. Think about adding things like throw pillows, cozy blankets, artwork, or even some greenery (faux plants work well if you don’t want to worry about maintenance). A few strategically placed decor items can really elevate your space and make it feel inviting and warm. My wife has done this in every RV we’ve had, and you can’t imagine what a welcome atmosphere just a few of these can create.
Pro Tip
Use removable hooks or adhesive strips like Command strips to hang your decor and avoid damaging your RV walls. It’s important to keep things lightweight and easily removable for when you’re rolling down the road.
DIY Suggestion
Consider framing some of your favorite travel photos or printing out a custom map of places you’ve visited to create a fun, travel-themed gallery wall. Check out my wife’s picture experience wall in our newest RV.
5. Upgrade the Exterior with an Awning or Outdoor Space
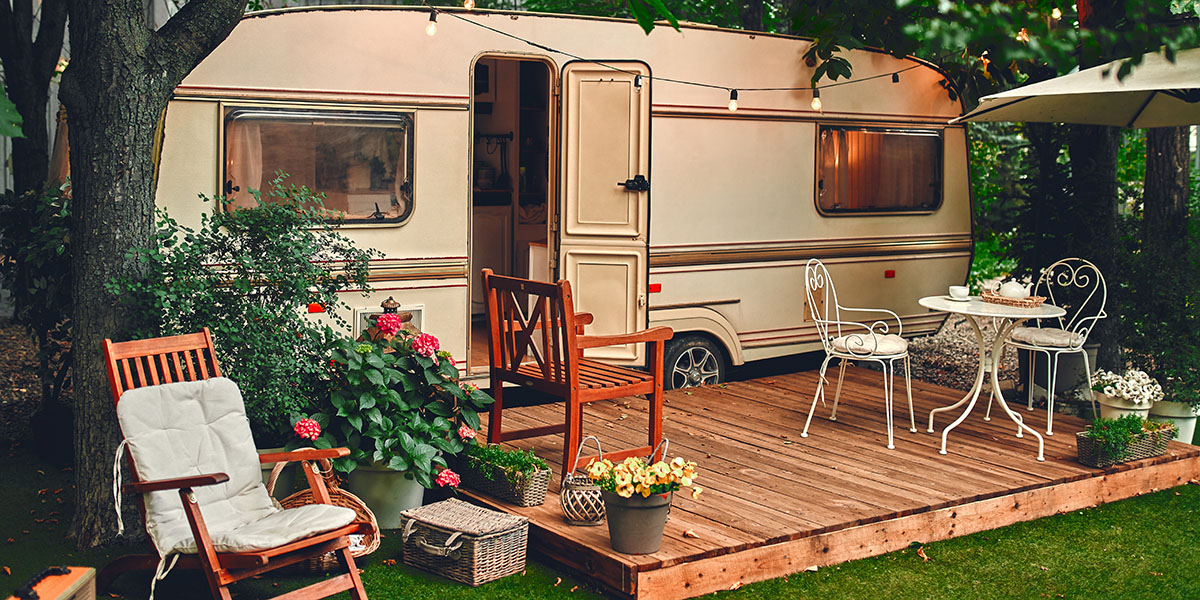
Let’s not forget the outside of your RV! Creating a functional and stylish outdoor space can take your RV setup from basic to amazing. If your RV doesn’t already have an awning, adding one can create a perfect shaded space for lounging, cooking, or hanging out with friends and family. You can also create an inviting outdoor area with outdoor furniture, string lights, a portable grill, and a few outdoor rugs. Let’s face it, when you are out RVing in the middle of nature with friends and family, the goal is to be outside, and if you make the outside that much more inviting, you’ll find yourself lounging around a campfire, sharing stories with your loved ones, late into the night.
Pro Tip
Opt for lightweight, foldable outdoor furniture to save space and reduce your RV’s weight. A portable fire pit is also a great addition for evenings spent under the stars.
DIY Suggestion
Check out this easy-to-install awning shade for an instant outdoor upgrade. Adding some solar string lights – make sure they are lightweight and plastic – for an RV safe and eco-friendly glow at night!
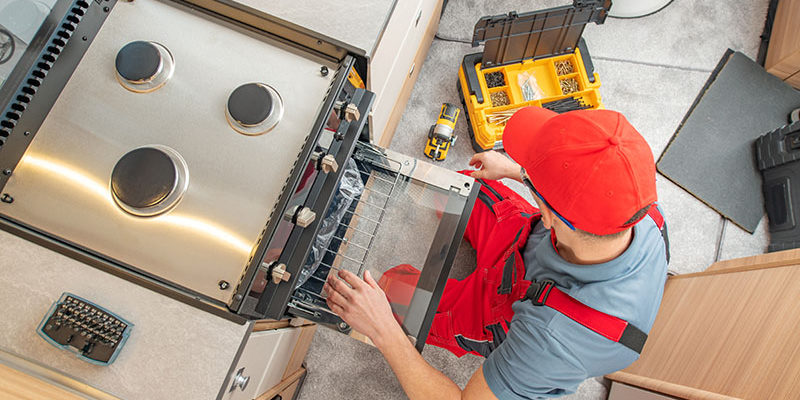
Bonus Tip: Regular Maintenance Goes a Long Way
While these upgrades will wow your guests, keeping your RV in top condition with regular maintenance is just as important to make sure your home on wheels is functioning smoothly while you’re adding all the bells and whistles.
Making your RV a wow-worthy space doesn’t have to break the bank. With a few key upgrades and some creativity, you can create an inviting, personalized home on wheels that will impress everyone at the campground – and make your travels even more enjoyable. Happy renovating, and may your RV adventures always be filled with great memories!