Tag: RV Maintenance

  • Tech Tip: 10 Steps for A/C Maintenance

    Tech Tip: 10 Steps for A/C Maintenance

    Summer is heating up! RVers, it’s time to perform routine maintenance on your roof-top air conditioner(s). Follow these steps from FMCA and the “RV Doctor” Gary Bunzer to keep cool and extend the life of your RV’s A/C system.

    Performing Annual RV A/C System Maintenance

    Overall, the average RV owner can perform this maintenance procedure in an afternoon. Prior to beginning, turn 120-volts AC power off at the breaker-box or unplug the RV from shore power.

    Step 1

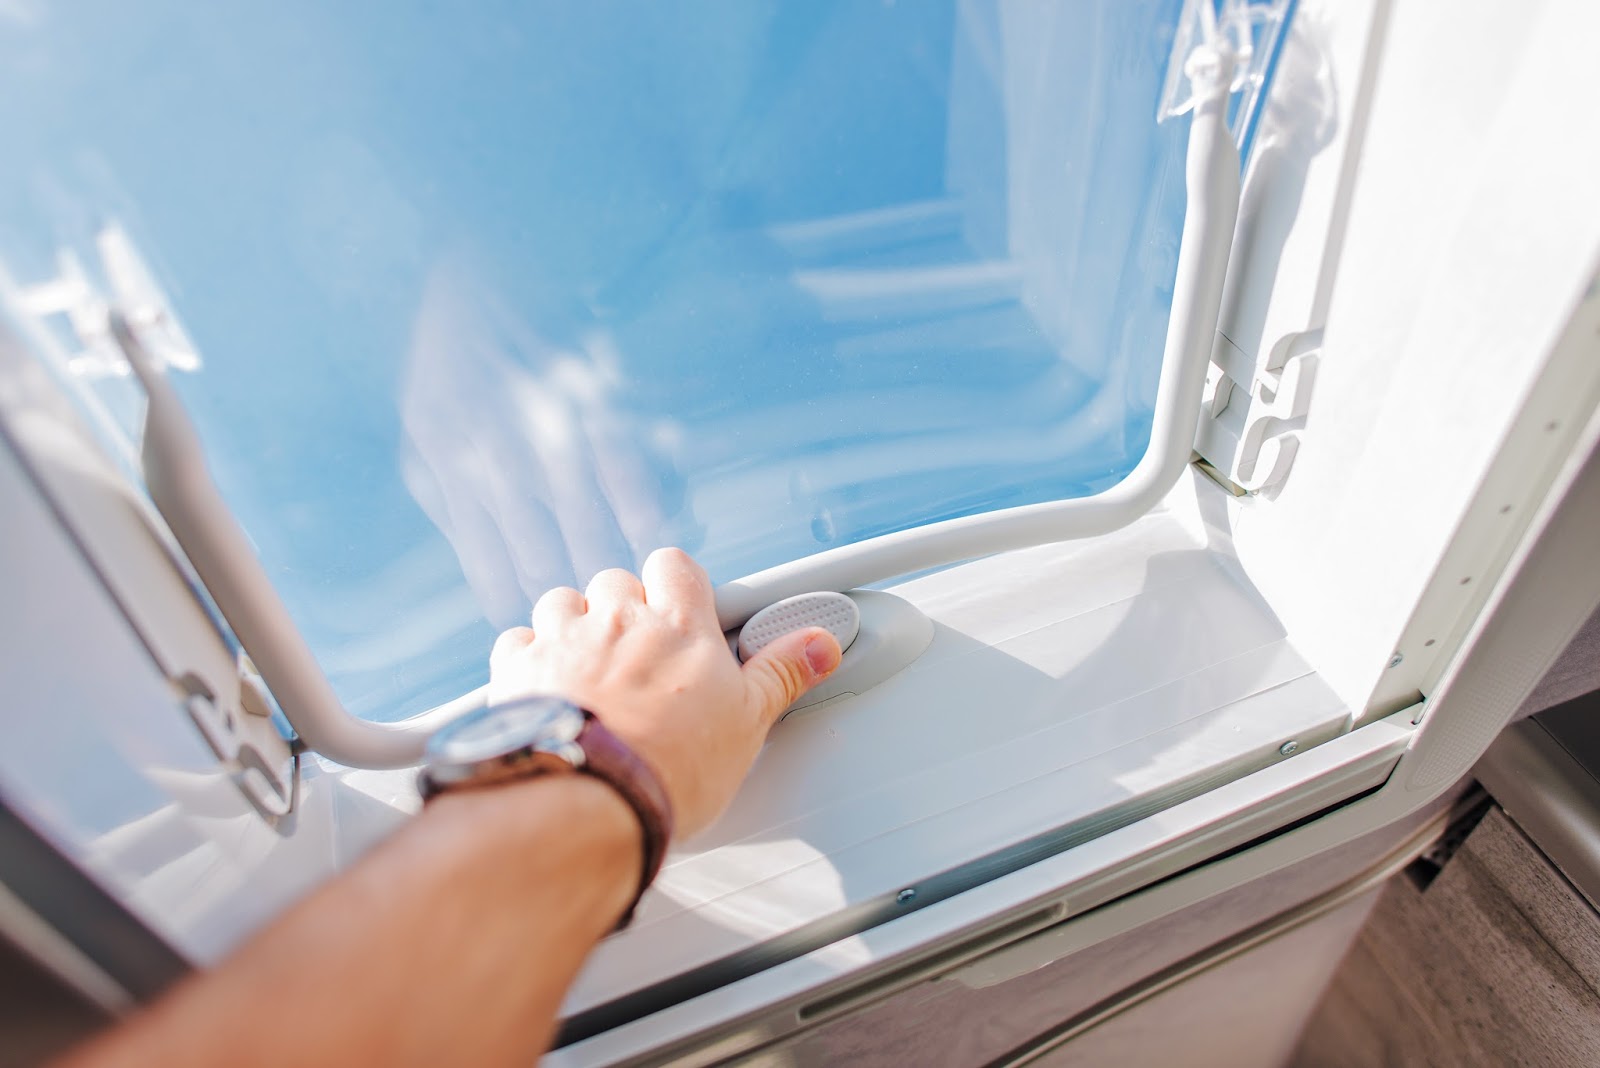
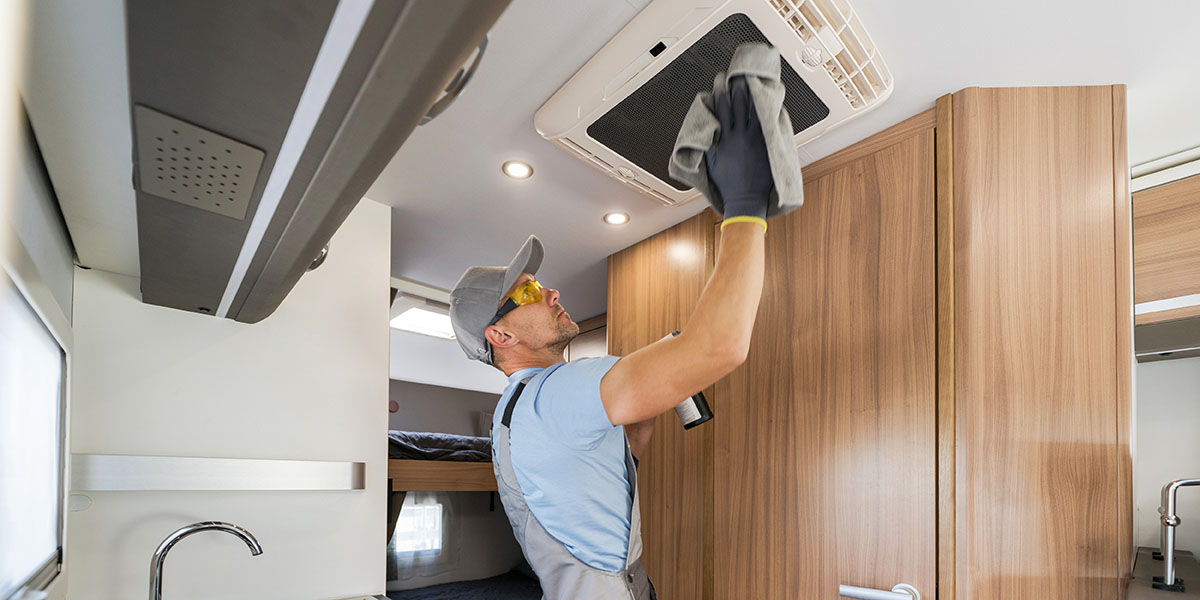
    This is an easy first step; in fact, you are probably already familiar with this task. All A/C systems –home and RV – require filter cleaning; some as often as every three months. From inside the RV, access the A/C unit’s filter(s). On some units, the interior air delivery shroud will have to be removed. Consult the owner’s manual if in doubt. Remove and wash all the filters in warm water or simply vacuum them clean.

    Fresh Jet 3200
    Step 2

    Check the positioning of the thermostat sense probe. That’s the thin, pencil-like, copper-looking device attached to the tiny tubing leading to the thermostat. Be sure it is situated in the direct flow of return air to the unit. Look closely for grime or film that may have accumulated from cooking oils and/or smoke. Gently clean the sense probe if contaminants are found. Take special care not to kink the small capillary tubing leading to the probe.

    Step 3

    Check the visible electrical connections inside the A/C unit. To eliminate the possibility of road vibrations causing the wire nuts to loosen, always wrap them with electrician’s tape.
    Step 4
    With the interior shroud removed, check the condition of the mounting gasket located between the bottom of the roof-top unit and the roof. It will be visible from inside the RV by looking up into the roof opening. If the gasket looks compressed or if there is evidence of water leaks, it’s time to install a new gasket. Also, tighten the mounting bolts holding the roof-top unit to the inside unit if they are loose.
     
    Step 5
    From inside the RV, vacuum in and around all exposed portions of the unit to clear dust, cobwebs, etc.
    Step 6

    If the unit is equipped with a wall thermostat containing unenclosed contacts, clean them by simply sliding a business card between them and gently pulling the card through the closed contacts a few times. This effectively cleans them without causing damage. Never file or sand thermostat contacts.

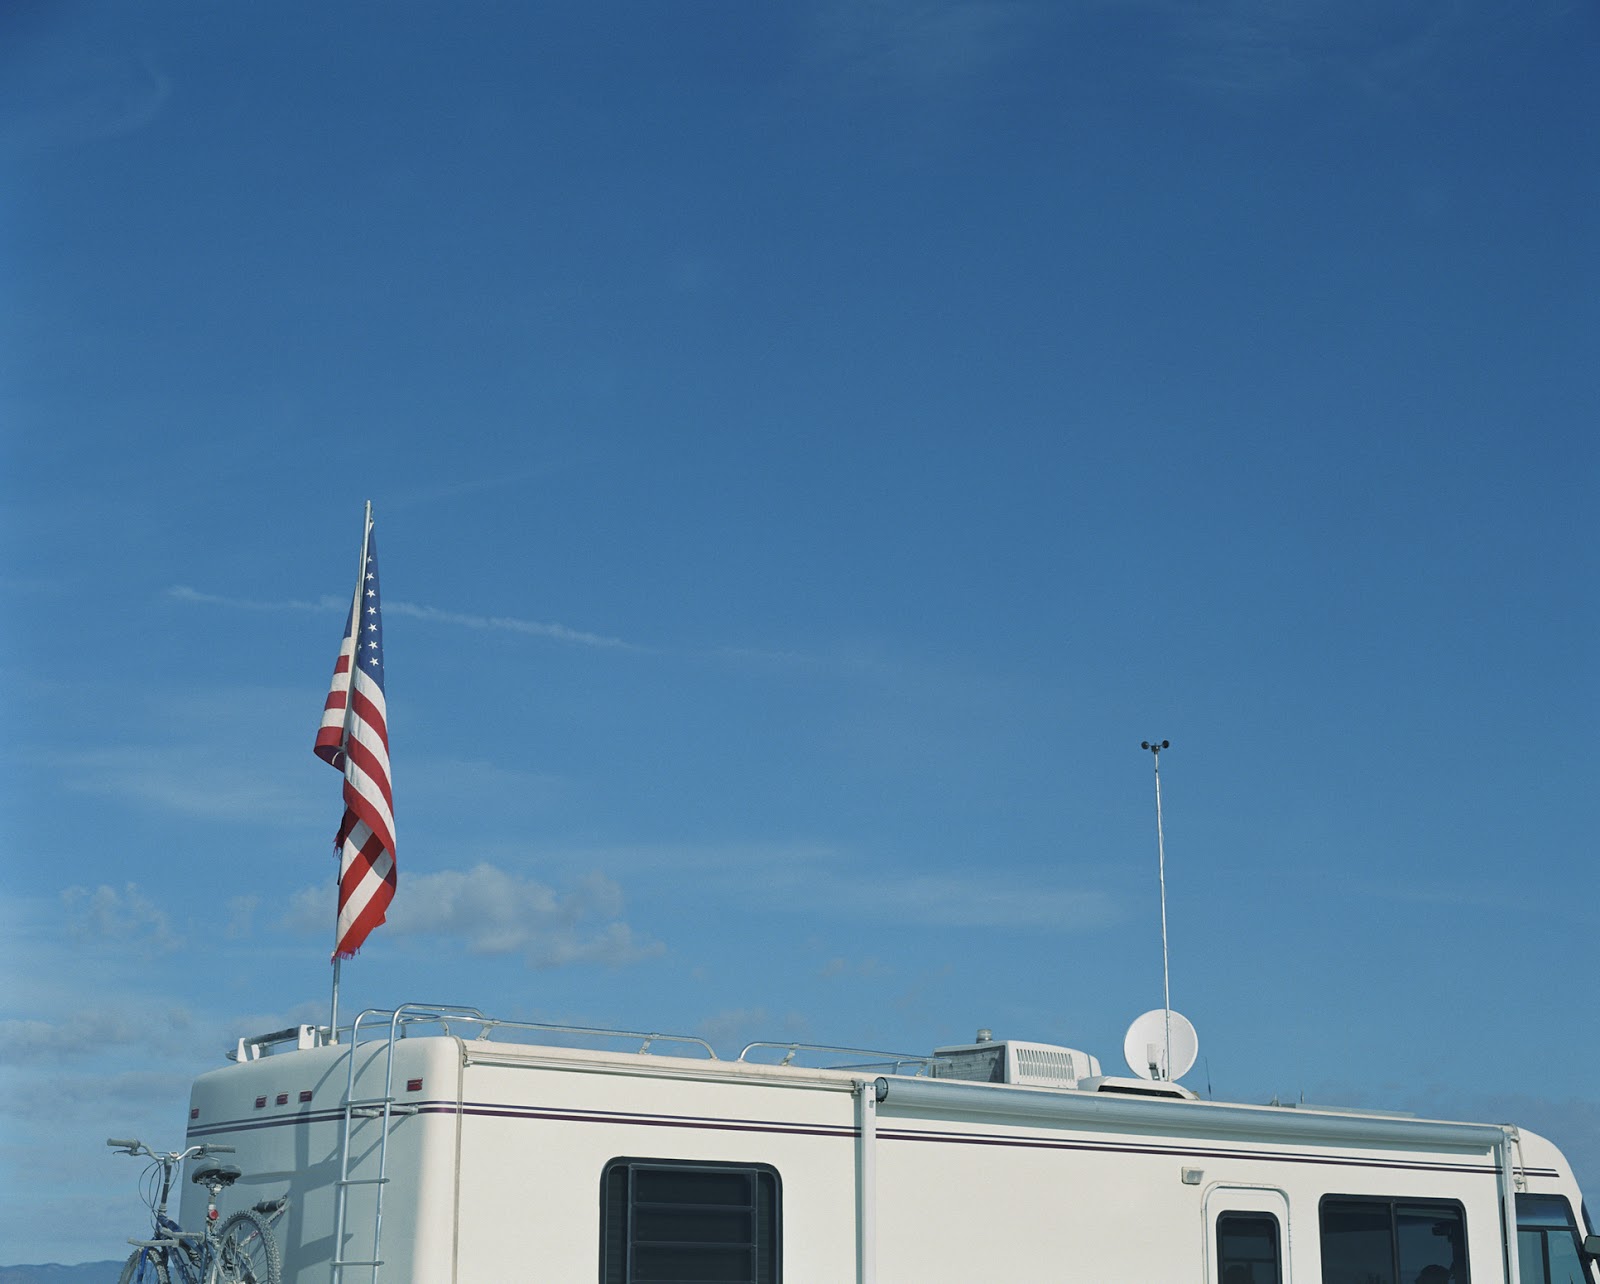
    Steps #7 through #10 need to be serviced from the roof. Grab your ladder, and head on up!

    Step 7

    On the roof, remove the A/C unit’s outer shroud, exposing the motor and condenser. Look for a series of small drain holes in the mounting pan. These holes drain any moisture produced from the cooling cycle. Clean and verify that all condensate drain holes are open and able to drain.

    Step 8

    Inspect and clean the exposed condenser fins at the rear of the roof-top unit. Remove any debris that may have collected on or near the condenser. Check for mud dabber nests in this area. Straighten damaged fins carefully. It may be necessary to purchase an aftermarket fin “comb” to safely straighten severely damaged areas. Never use a screwdriver or other sharp object for this task.

    Fin Comb

    Step 9

    Clean the area in and around the fan motor and compressor. Check the motor mounts for damage and/or fatigue.

    Step 10

    Look closely at the exterior shroud itself. Do you see any damage caused by low hanging branches or gas station overheads? Some minor damage can be repaired; however, if the cover has severe cracks, it needs to be replaced. Replacement shrouds are typically available for purchase at camping goods stores or your local RV dealer. As an alternative to the plastic shroud, consider an upgrade to a sturdier metal or fiberglass cover.

    Remember that though the average RV owner can safely perform roof-top air conditioner maintenance, air conditioner repairs should be handled professionally. Stay cool this summer!

    FMCA RV Club brings you this monthly tech tip to Enhance Your RV Lifestyle. FMCA delivers RV know-how to its members. Learn more at FMCA.com.

  • Tech Tip – To DIY or Not: When Should I Call a Mechanic?

    Tech Tip – To DIY or Not: When Should I Call a Mechanic?


    Understanding when to choose the do-it-yourself (DIY) path or when to rely on the professionals is an important RVing lesson. Know your options with these tips from FMCA and the “RV Doctor” Gary Bunzer.

    Types of Service

    Simply put, there are two types of RV service – crisis repairs and preventive maintenance. RVers need to stay on top of preventive maintenance to lessen the chance of an emergency repair situation.

    Many RVers choose to take care of their RV’s preventive maintenance tasks on their own. These tasks are often seasonal to-dos, such as checking seals, checking fluid levels, cleaning air filters, and performing battery maintenance.

    However, before you take on anything yourself, know the details of your RV’s factory warranty period. Oftentimes, during this period, all repairs should be performed by a certified technician. In some cases, warranties may be voided if unauthorized tasks are performed.

    To DIY or Not?

    So should you even consider performing maintenance tasks on your RV yourself?

    An RV owner who performs routine service typically

    • is mechanically inclined or has past automotive experience.
    • has an impressive assortment of hand tools and testers.
    • has a keen interest in RV technology.
    • camps in remote areas far from RV service centers.
    • has a technical aptitude.
    • is or has been a full-time RVer.

    If you recognize yourself in these listed characteristics or are wondering whether or not you should attempt a maintenance task, here are a few points to consider. Keep in mind that this list is not all-inclusive and all items may not apply evenly across the board.


    Know your physical limitations.

    Ask yourself if you can physically perform a task. For some maintenance tasks, you will have to crawl under the RV or into a tight space.

     
    Review your mechanical and technical aptitude.
    Admit when the subject is beyond your knowledge base. There is no need to be a hero. You definitely do not want to risk converting a simple maintenance task into a costly crisis repair! It will cost substantially more to undo an error than to make an appointment with a service center.
    Have a willingness to learn.
    If you want to be able to perform routine maintenance items, be willing to do a little homework. Servicing propane-related appliances and components, for instance, mandates a basic understanding of the electronic and gas operation sequences. Learning requires reading and studying the literature that came with your RV. In cases where the owner’s manual has disappeared, check online or contact the manufacturer directly. Most manufacturers are more than willing to provide the manual you need.
     
    Be properly equipped.
    Some maintenance tasks require specialty tools, such as the long flue brush needed for cleaning and servicing an RV refrigerator. If you commit to performing tasks that need a specific tool, evaluate if the cost is really a savings in the long run. Also, can you easily purchase replacement parts? Even the most routine maintenance tasks can require purchasing new parts. An example: the replacement gaskets needed when performing RV furnace cleaning maintenance.
    Consider the time factor.
    Always plan your approach to any maintenance task appropriately. Realize that all maintenance requires time. Be sure to allot enough time to the task. You are more likely to omit a step or make a mistake if you are under pressure to complete a task hurriedly. Remember, the next time you perform that same task, the time element will be reduced.

    If you feel comfortable with the points above, you are probably a good candidate to tackle an RV maintenance project on your own.

    How to Succeed at DIY

    If you feel like you just may qualify as an RV DIY-er, the following suggestions will help you get started:

     
    Control your work area.
    Having a clean work area is vital in avoiding confusion and keeping the RV clean. When servicing the appliances, for example, it is best to perform the maintenance tasks with the appliances left in the installed positions. An exception would be the RV furnace. Sometimes better results are attained if the furnace is removed and the work performed outside of the RV. Proper preparation will make any task easier.


    Prepare your replacement parts.

    When you begin a task, have all replacement parts prepared and laid out for easy access. If the new parts need any type of pre-assembly, do it before you become engrossed in the task. If some pieces in a repair kit will not be needed, separate them prior to beginning. This will simplify your repair and avoid confusion later when you’re left with unused parts.

    Obtain the necessary support materials.

    Have all wiring diagrams, service notes, installation instructions, etc. before starting the job. If you feel you may need more support information, postpone the maintenance until you have all the resources. A prime example would be if you are performing maintenance on any electrical item. Have a wiring diagram or schematic available. Most diagrams are usually included in the owner’s literature, and many will accompany the replacement part kits.

    Have a back-up vehicle.

    This is especially important if you are servicing a motorhome and it’s your only mode of transportation. It’s always advisable to have another available vehicle just in case. Whether it’s a neighbor’s truck or a second vehicle of your own, always plan to have transportation available in case of an emergency or if you forgot a part.

     
    Establish a relationship with a local RV service facility.

    This step is vital. Even though you wish to perform RV maintenance yourself, always get to know a local dealer or service center in your area. Aside from being there to order parts for you, techs can be a good source of information. They should work with you and not feel threatened that you elect to perform some of your own maintenance tasks. Obviously, you will need to rely on them for any task you decide not to pursue. All major repairs and many items that require specialty equipment are best left to the professionals.

    A tip on RV generators.

    Never attempt to adjust your RV generator yourself. This is definitely better left to your service shop. Many specialty tools are required since the generator needs to be load-tested while making governor and carburetor adjustments. Load banks and specialty testers are beyond the scope of the DIY-er. With an RV generator, every mechanical adjustment that is made has an electrical result. You cannot tune a generator by ear.

    A tip on propane regulators.

    Never attempt to adjust the propane regulator without the use of a water column manometer. Changes in the delivery pressure, which is crucial to each appliance, cannot be determined by visually watching a burner flame. Too high gas pressure will damage many appliances, while too low of a delivery pressure will result in improper combustion and inefficient appliance operation.

    Be a Confident RV DIY-er!

    By carefully evaluating your technical expertise, gathering a resource library, acquiring the proper tools and parts, and having the right attitude, you may be a great candidate for RV DIY tasks. Many RVers find that performing their own RV maintenance is a source of pride, peace of mind, and enjoyment. Wishing you luck in your maintenance ventures and the ability to admit when you need to call a professional!

    FMCA RV Club brings you this monthly tech tip to Enhance Your RV Lifestyle. FMCA delivers RV know-how to its members. Learn more at FMCA.com.

    This information is for educational purposes. FMCA shall not be responsible nor retain liability for RVer’s use of the provided information. Prior to making any RV service decision, you are advised to consult with an RV professional.


  • Tech Tip: Spring RV Exterior Prep

    Tech Tip: Spring RV Exterior Prep

    Are you itching to hit the road this spring? March is when many RVers dewinterize their RV, prepping it for the travel season. It’s important to not overlook your RV’s exterior. Here are a few reminders on behalf of FMCA and Gary Bunzer, the “RV Doctor.”

    With frigid winter temperatures, chances are you haven’t been venturing outside over the past several months to take a close look at your RV. Now is the time to conduct a thorough inspection before you hit the road. A clean RV will more clearly reveal potential problems than a dirty one. So, unless you used a heavy-duty RV cover during the winter, a detailed washing of the RV is necessary. Begin by removing the protective boxes used to cover the plastic roof vents. Also, remove any tape or foil you applied over exhaust vents, such as at the furnace assembly.

    After the coach exterior has been cleaned, begin airing out the unit. Remove the insulating foam inserts that were placed in the windows and roof vents and fully open each window and roof vent. While you are at each window, double-check the weather stripping and the exterior weep holes, ensuring they are still in good shape. If necessary, lubricate the slider tracks on any windows or screens that open.

    Perform a complete and detailed inspection of all the roof components, seams, and edges. Now is the time to seal any areas that need attention. Inspect the roof air conditioners for damage incurred during the winter months. Carefully straighten any bent or damaged fins that may be exposed on the condenser coil. Once you get inside the RV, clean or replace the return air filters.

    Inspect and operate all compartment bay doors, access doors, access panels, etc. Check the sealant around every window, as well as all components attached to the exterior sides of the RV. Lubricate all mechanical latches and keyed locks. Use a dry lubricant, such as Boeshield T-9. Many RVers use a product like WD-40 to lubricate latches and locks. Products like this should not be considered a lubricant; truly, they are water displacement products that prohibit rust and corrosion.

    Operate and lubricate the moving components of all the manually operated awnings. Be sure to consult your RV owner’s manual; awning manufacturer recommendations can vary widely. Use a mild detergent to remove any mold or mildew that may have developed on the awning material since last fall.

    Don’t forget to check under the RV and look for anything out of the ordinary, such as darkened areas on the ground that may indicate a leak. Inspect the areas that you made repairs to during the winterizing procedure last fall. You’ll want to make sure those repairs can withstand another season of travel.

    Lastly, inspect and lubricate all of your RV’s slide-out mechanisms. Again, be sure to use only a dry lubricant on these mechanisms.

    These exterior maintenance steps are a necessary part of readying your RV for the season. Inspecting the RV’s exterior is a step many RVers overlook, but it is an important part of the dewinterization process that should not be forgotten. Take the time now to help prevent potential problems down the road. Safe travels this spring!

    FMCA RV Club brings you this monthly tech tip to Enhance Your RV Lifestyle. FMCA delivers RV know-how to its members. Learn more at FMCA.com.

    This information is for educational purposes. FMCA shall not be responsible nor retain liability for RVer’s use of the provided information. Prior to making any RV service decision, you are advised to consult with a RV professional.

  • Genius RV Storage Ideas You’ve Got to See

    Genius RV Storage Ideas You’ve Got to See


    When we started hearing from members of our RV Trader family that they were curious about storage tips and tricks, we weren’t surprised. RVs are already relatively confined spaces so finding efficient ways to store and organize your belongings can be a challenge. To help you brainstorm, we compiled a Pinterest board with some of the most genius RV storage ideas we’ve ever seen! Click below to see them

    Storage Hacks