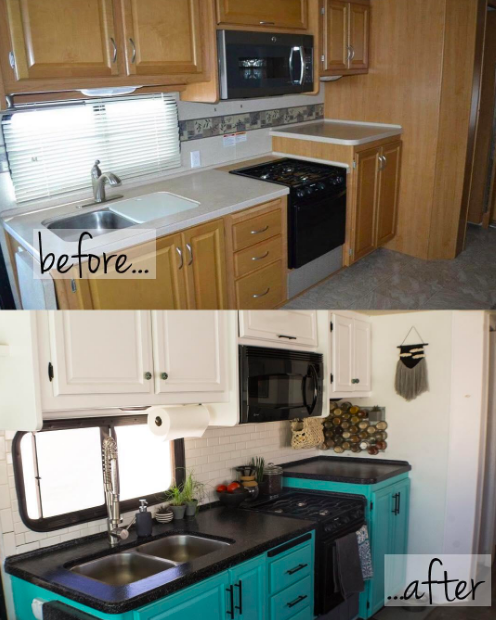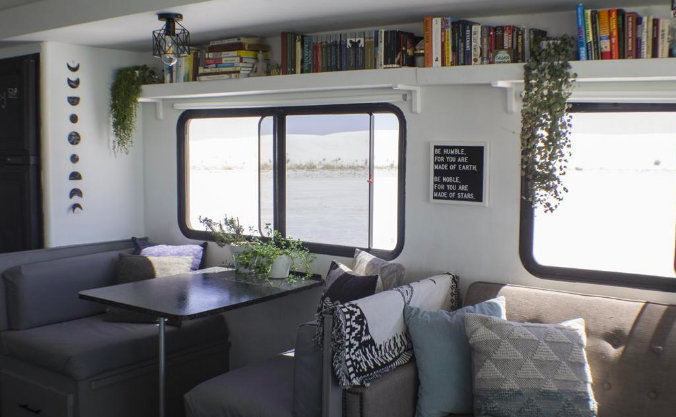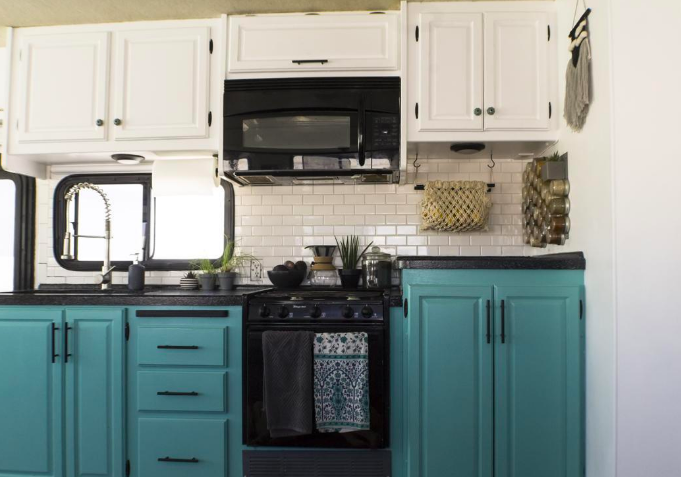
With the increasing popularity of RV ownership, many people choose to renovate their RV interiors. Renovating allows for individuality and personalization, and there are so many projects you can complete in the process of modernizing an RV. Painting your RV walls and cabinets is one such project that, arguably, yields the most results.
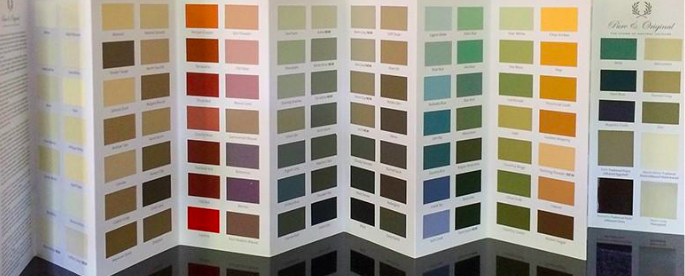
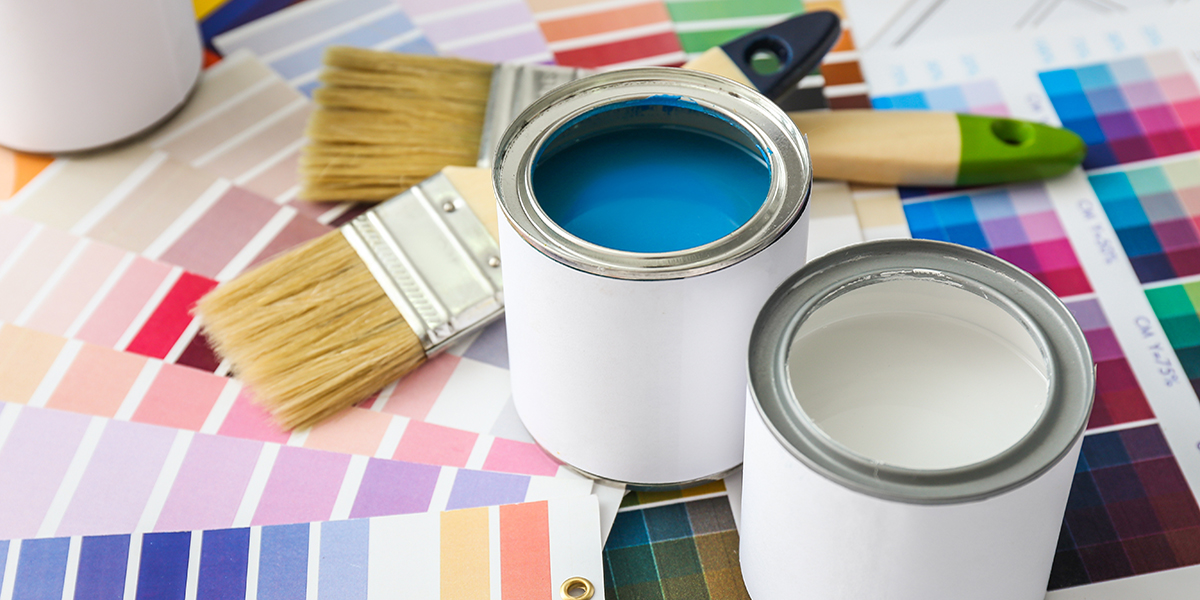
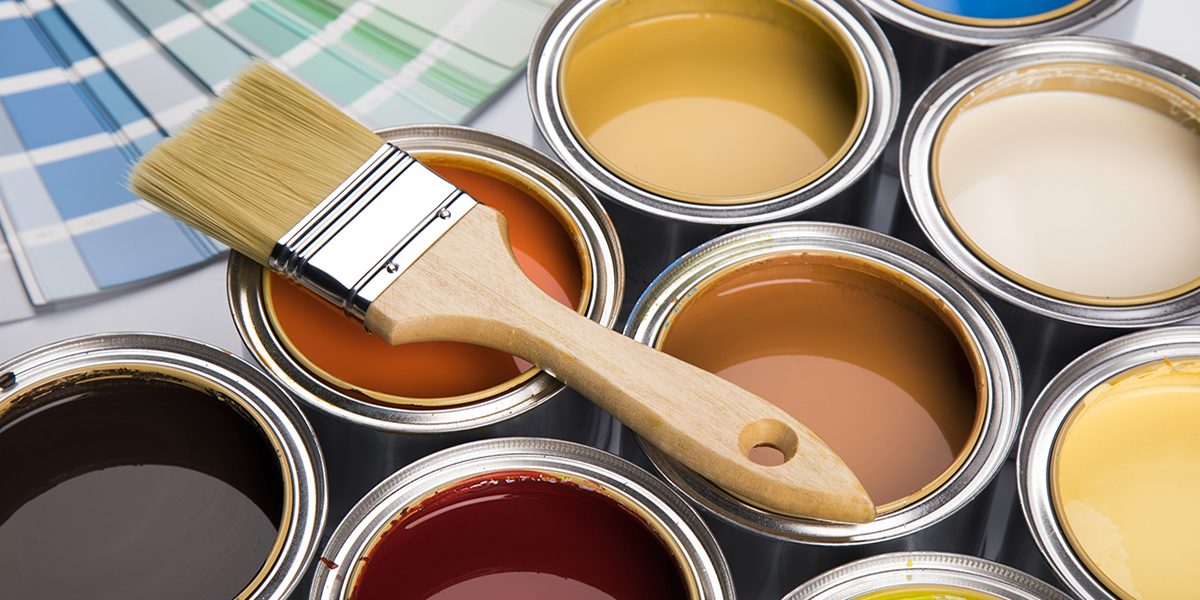
1. Choose your paint
This might just be the most important decision in your whole painting process. Paint colors should be chosen alongside the RV’s overall color palette. After all, in a space of less than five hundred square feet, it is even more important to select specific colors that match a cohesive theme. This will ensure that your finished product looks polished and classy.
Head to the hardware store and select your favorite color swatches from your preferred paint brands. Bring home a variety of swatches and hold them against your RV walls. Envision them filling your space, and ask friends and family for their opinions. Consider taking a few days to think about your choice before you begin. This is a big decision and you don’t want to rush it.
Paint colors are a personal preference but it is often recommended to stick to neutral tones in tiny spaces. For instance, white is great for opening up a space and making it look bigger – which is why it is a popular choice amongst RV renovators. However, many are wary of choosing white because it can also be a challenge to keep clean and fresh. Paler grays are also popular, as they are easier to keep clean and still brighten up the space while keeping it neutral.
Bright colors are fun, but they can also make a small space look tacky if used in excess. If you are wanting some color, you may want to consider painting just an accent wall here or there. If you choose to paint in all neutrals, you can always use decorations, furniture, blankets, throw pillows, rugs and more for pops of color.
Once you have chosen your colors, you will need to choose your desired paint finish. There are many different opinions and preferences, but most agree that cabinets should be painted with a gloss or semi-gloss finish. This makes them more durable and easier to clean. Walls, on the other hand, can be painted in whichever finish you prefer. Eggshell and satin tend to have a lower-gloss look and are easier to clean than matte paint.
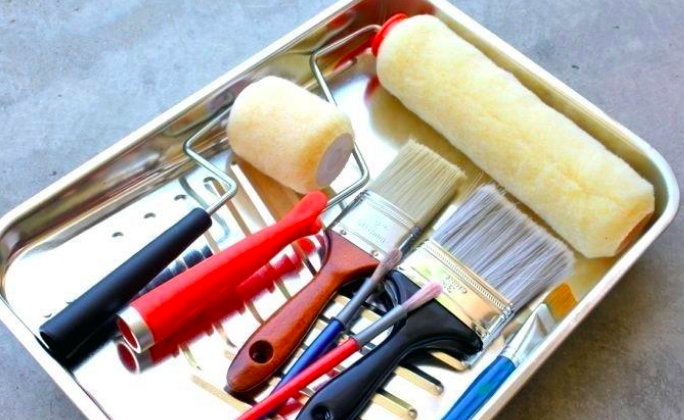
2. Gather your supplies
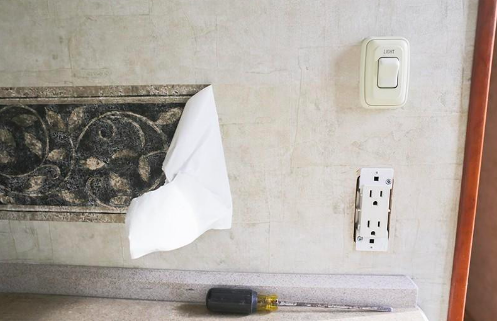
Once you have chosen your paint colors, head to the hardware store to gather your supplies. You will need painting trays, disposable paint tray liners, a paint roller handle, disposable rollers, paintbrushes, and, of course, paint and primer. Be sure to purchase a variety of roller sizes for all the different surfaces in your RV. Two and four-inch rollers are great for cabinets and smaller surfaces, while six and eight-inch rollers are excellent for walls and other larger spaces.
In addition, select the best quality paint brushes and rollers that you can find. This way, you will avoid leaving bristles and lint behind in your paint to ensure a smoother finish. Finally, consider buying more supplies than you need to avoid additional trips to the store. You can always return the extras when you are finished, and this will be less inconvenient than having to pause your project and head to the store multiple times.
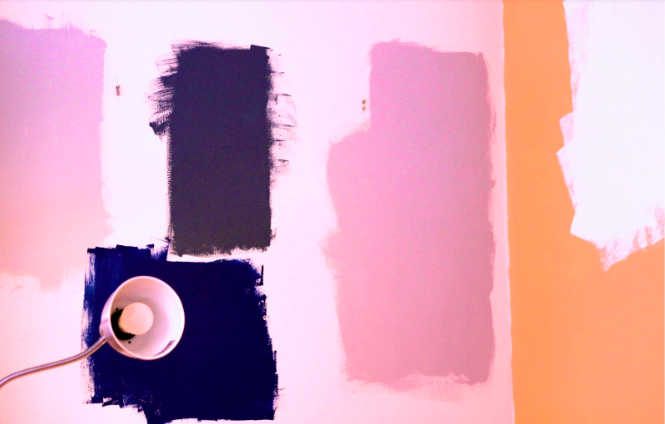
3. Test your colors
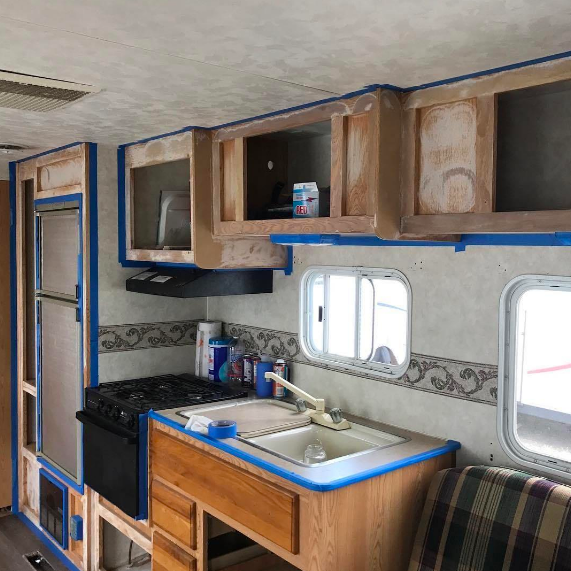
4. Apply primer
Although there are many paint and primer combination products, applying primer separately has many benefits. When covering darker walls or cabinets, you will need a few layers of paint for full coverage. This means that you will likely not paint a single coat of paint and be done with this project, so you might as well take the time to apply primer.
Primer will serve as a buffer between the walls and your final coat(s) of paint. It will also ensure better paint adherence and durability. For best results, be sure to choose a higher quality primer (such as Kilz or Zinsser Cover Stain) and paint one or two coats. Allow the primer to dry for a minimum of twenty-four hours between coats for the best and longest lasting results.

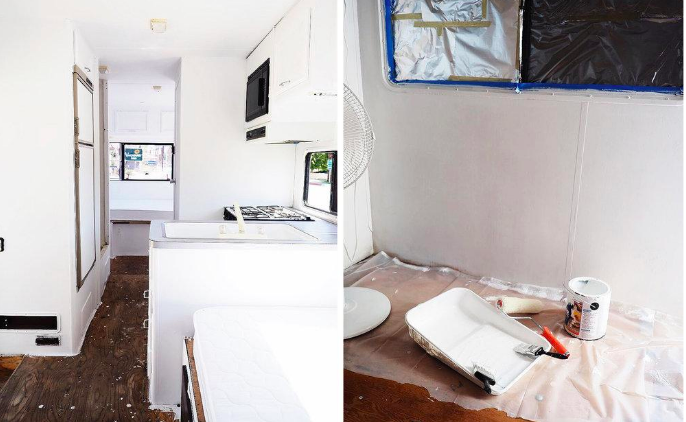
5. Paint!
Once you have completed steps one through four, you are finally ready for paint. To avoid drips and runs, paint during the day when the sun is out. For best visibility, open all windows and turn on all the lights in the RV. If the paint runs or drips, be sure to smooth over it before it dries.
If all goes well, you will only be painting your RV once. Go slow and take your time to minimize mistakes and imperfections. For full coverage, it is best to apply at least two coats of paint. As with the primer, allow the paint to dry at least twenty-four hours between coats for best results.
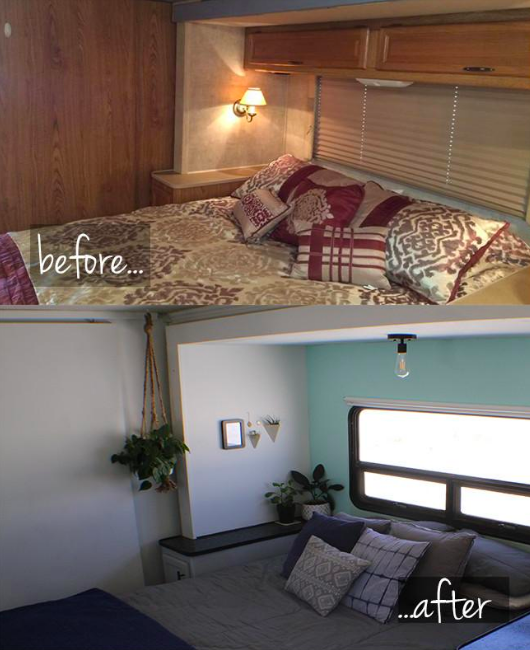
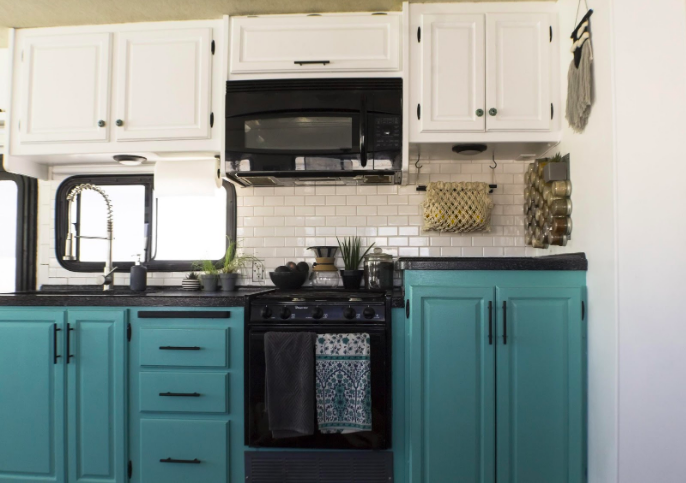
Although it is only the first step in the renovation process, painting yields big results. When you have finished painting, your RV will look like an entirely different space. This may leave you excited to move onto the next step in the process. Be sure to check out the other guides in this renovation series to learn how to replace your floors, install new lighting, and more.