Tag: RV Tips

  • How to Find the Perfect RV for You

    How to Find the Perfect RV for You

    When you buy an RV, you aren’t just purchasing a camper—you’re investing in a future full of open roads, scenic vistas, and crackling campfires. But choosing the wrong unit could turn those vacation dreams into more of a nightmare. With all of the options out there, how do you know which RV is right for you?

    To Tow or Not to Tow?

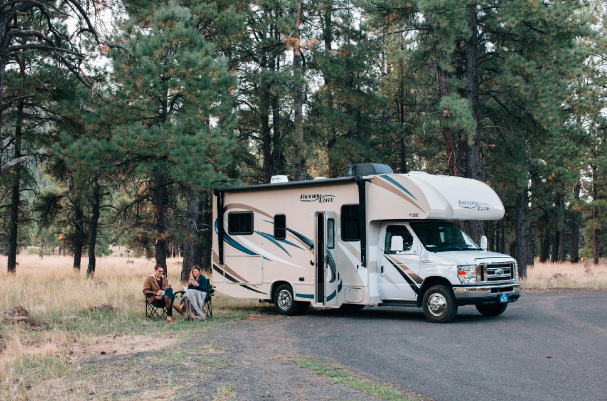
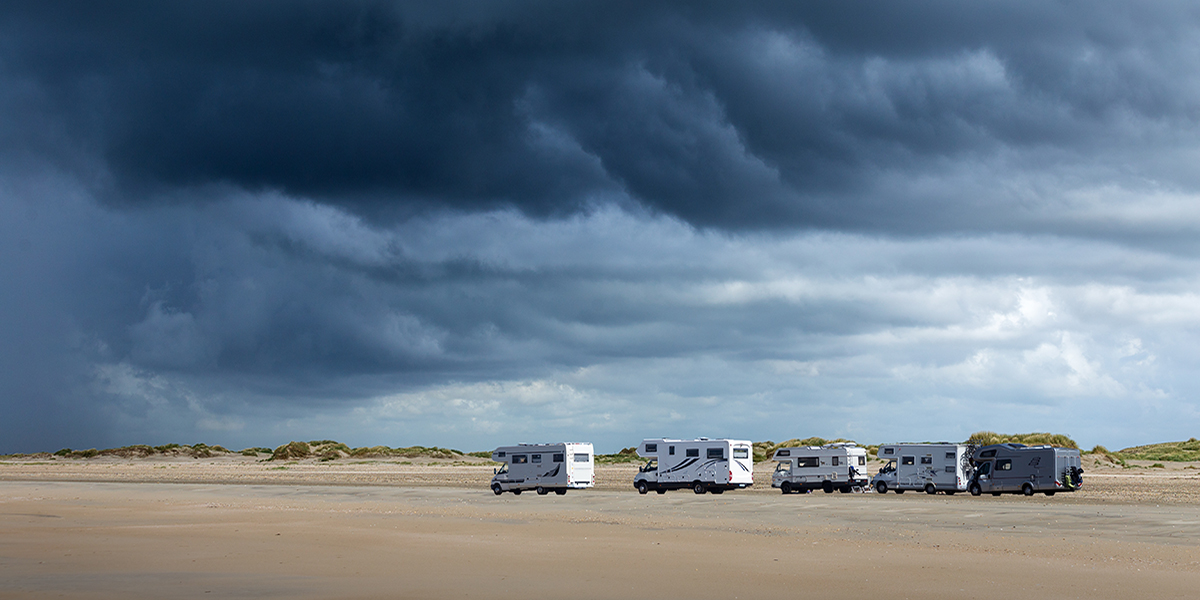
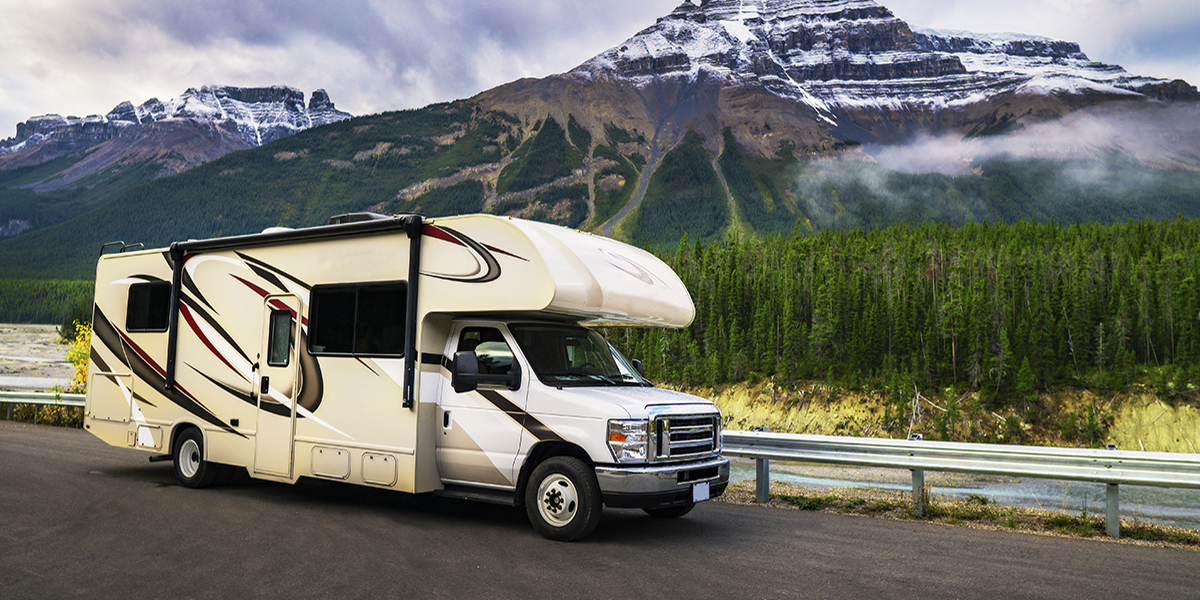
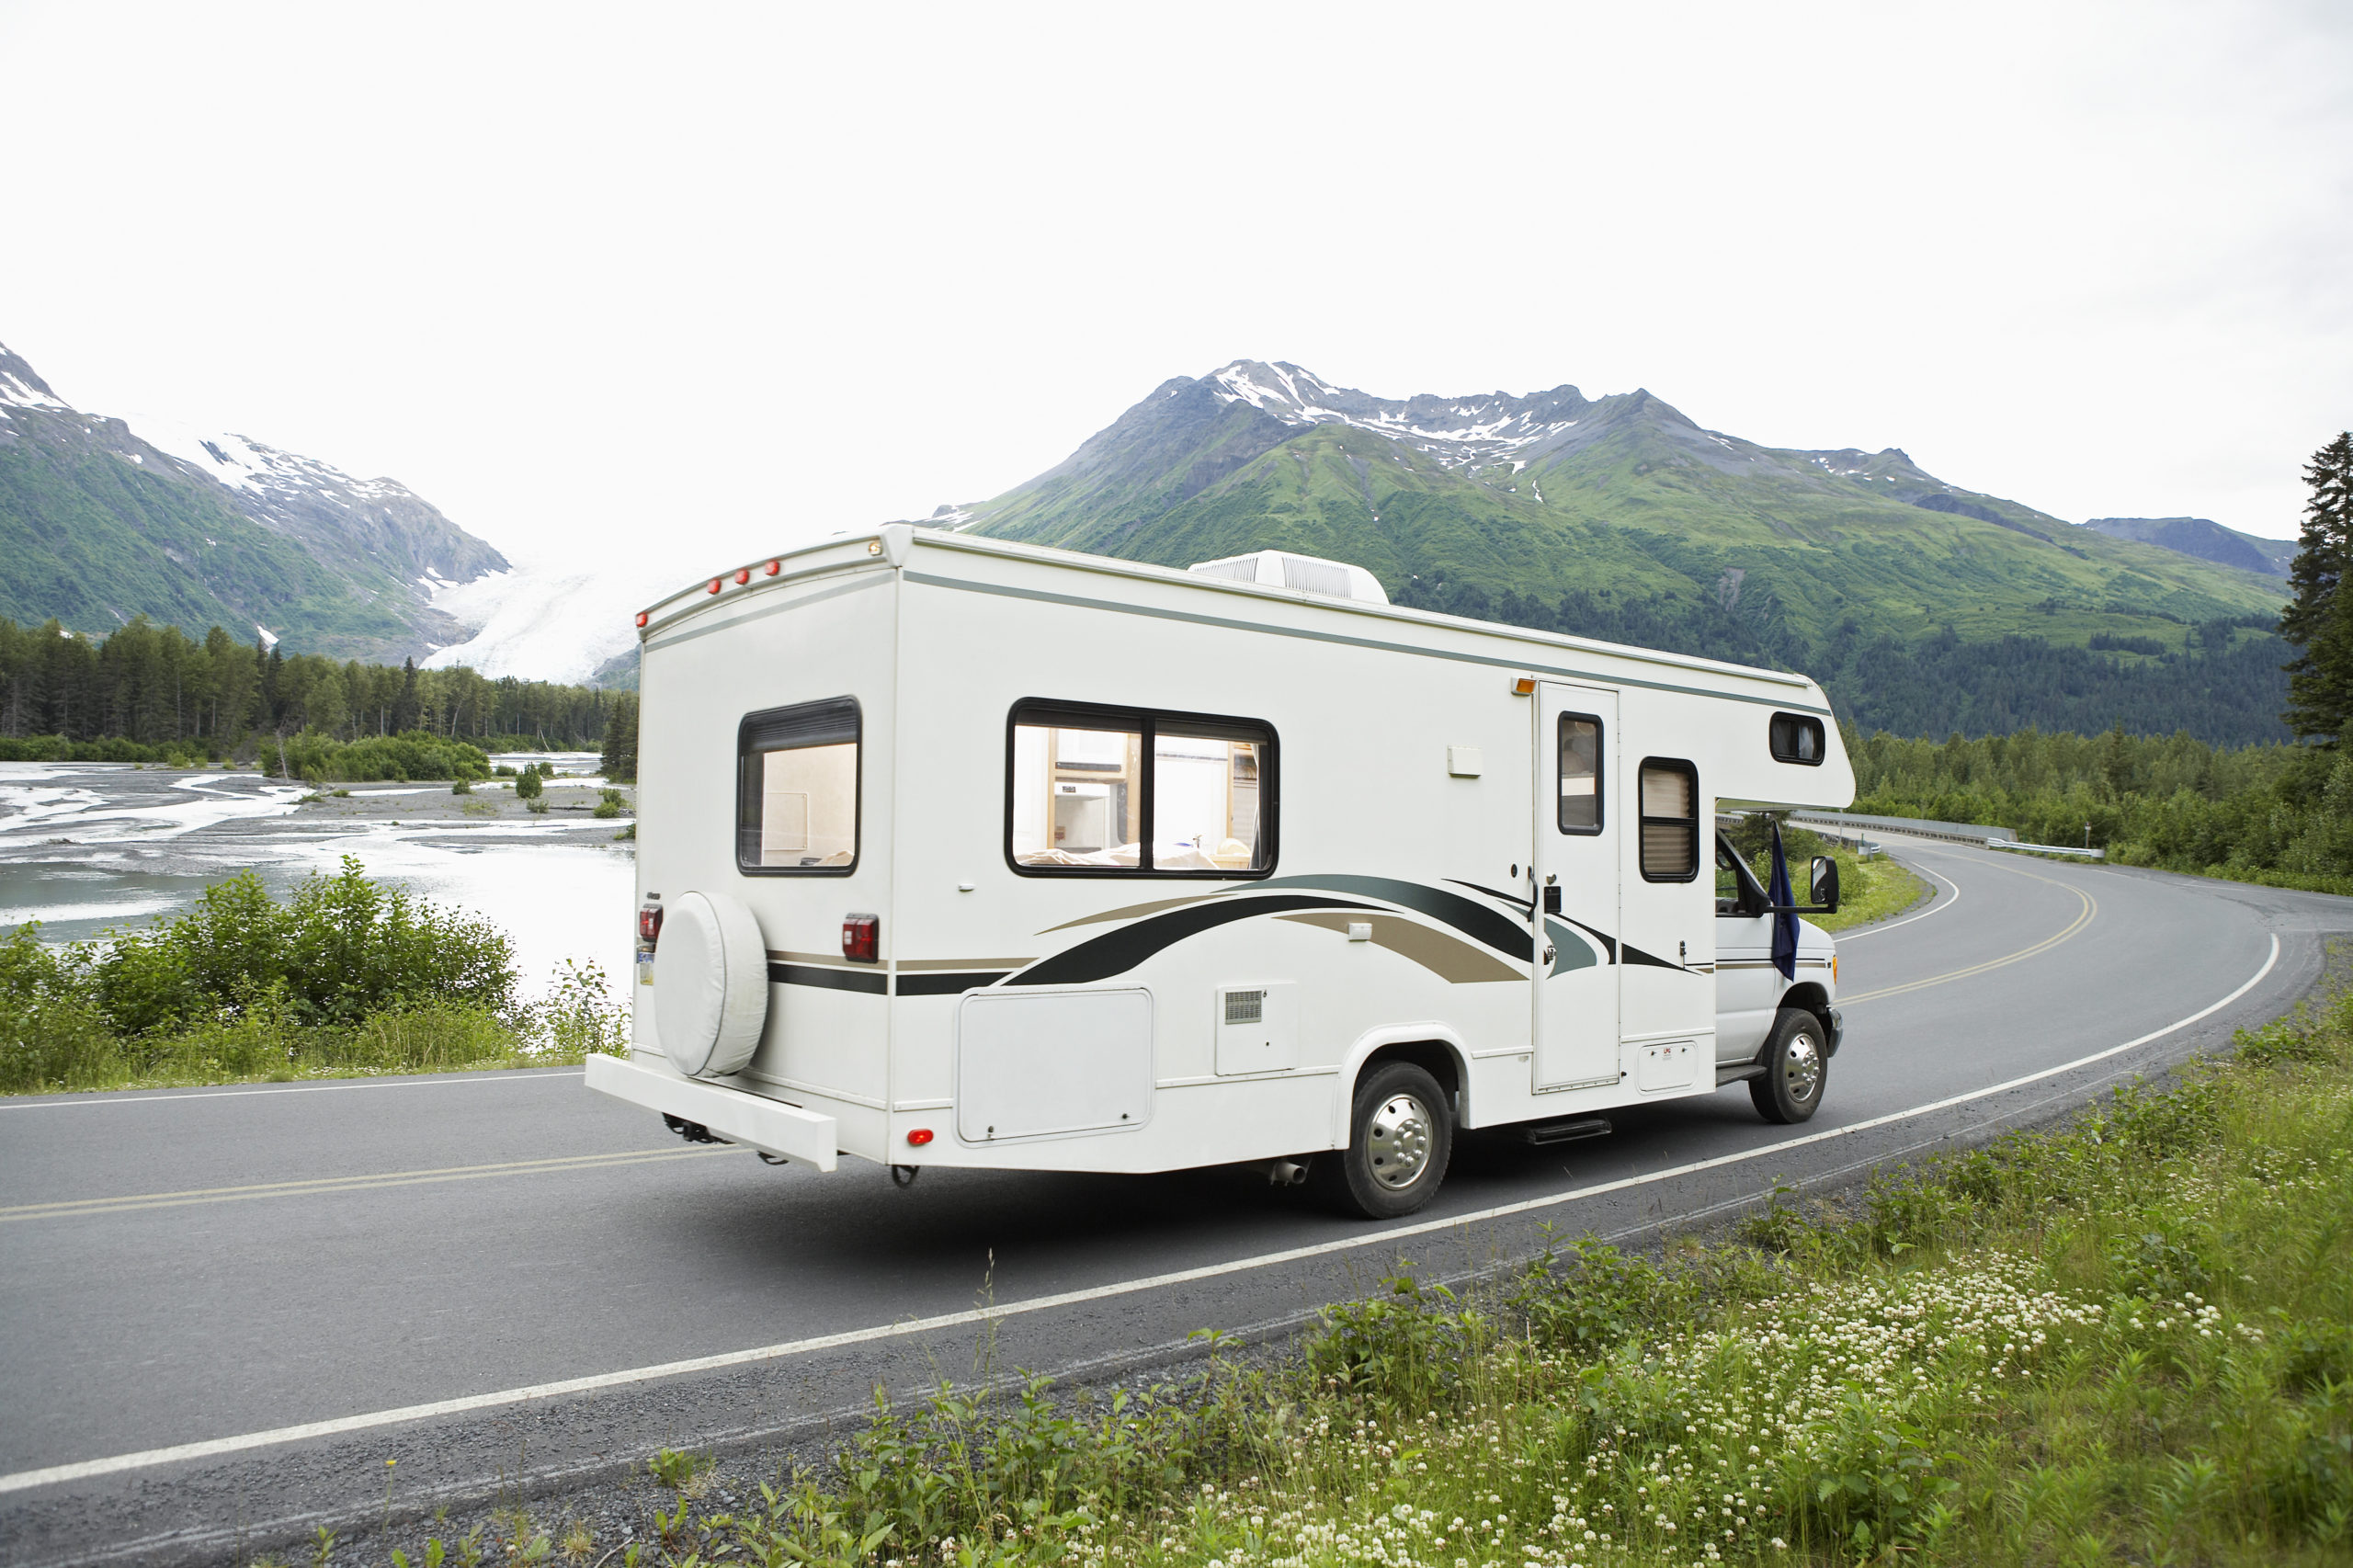
    RVs fall into two categories, motorhomes and towables. Motorhomes are self-contained units and come in three types: Class A (built on a commercial bus or truck chassis), B (a camper van), and C (built on a van chassis with an over-cab bunk). Their main advantage of motorhomes is the flexibility while traveling, since passengers can move around the cabin, prepare food, and even use the bathroom while in motion. Another benefit is ease of set-up—turn off the engine and just like that, you’re camping.

    But there can be cons to motorhomes, too. Because you’re paying for both a vehicle and a living space, motorhomes are more expensive than towables. Even mid-sized motorhomes are often too large or cumbersome to maneuver easily in small towns, so you may need to tow a separate vehicle for sight-seeing and shopping. If you already own (or need) a large SUV or truck, a towable is a more economical option, and you’ll have wheels to move around town or take day trips after you set up camp.

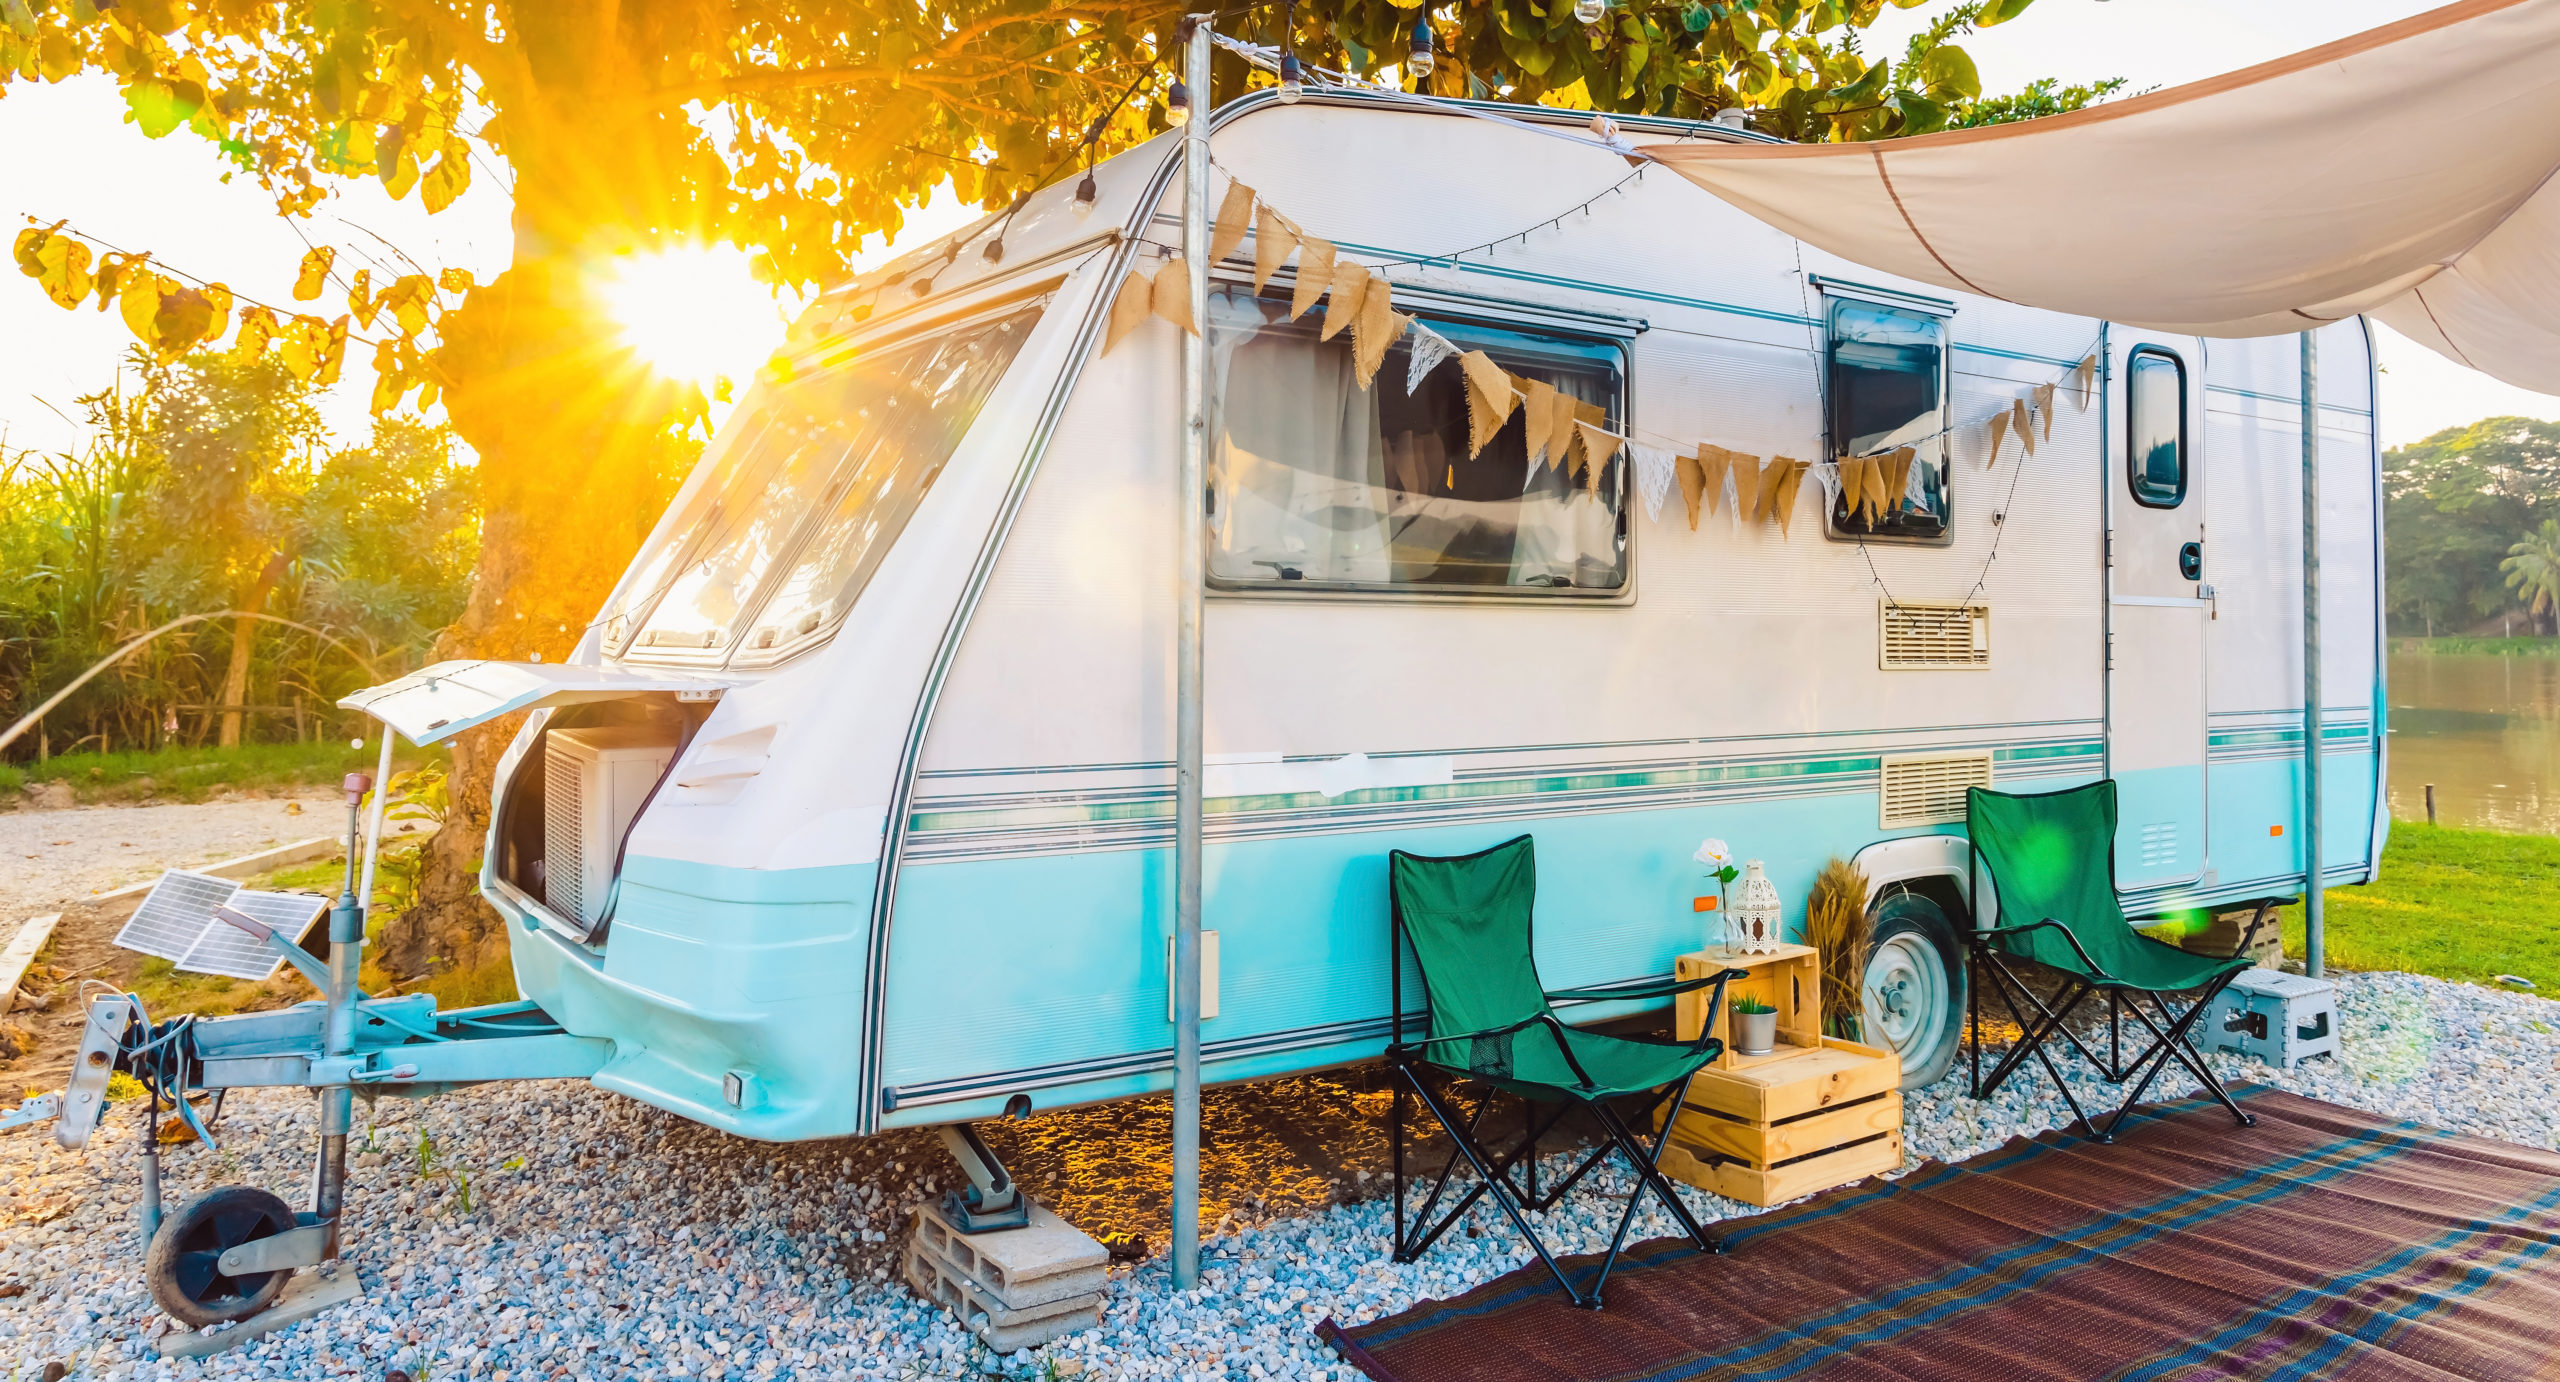
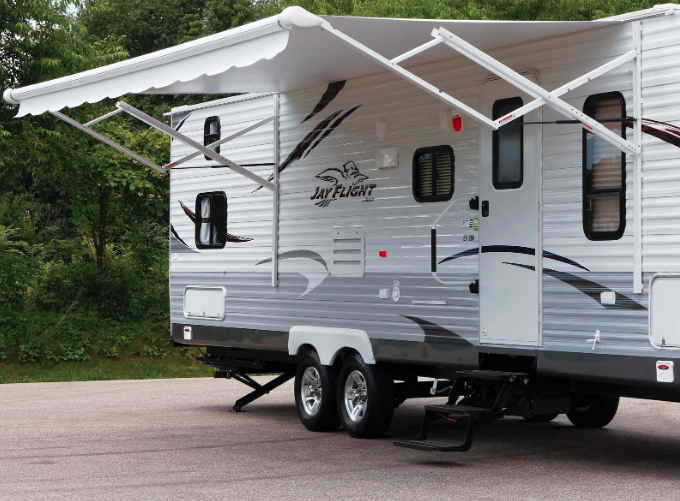
    Towables come in a wider variety of shapes and sizes, from compact teardrop and pop-up campers to travel trailers and fifth wheels. While many motorhomes can sleep six or eight, most still have only one rear bedroom. Most motorhomes rely on fold-out couches and convertible dinettes for extra beds, while many trailer layouts include separate bunkrooms, giving large families an added measure of private space.

    Bottom line: Motorhomes win for convenience and comfort while traveling, but trailers are designed with families—and their budgets–in mind.

    Camping or Glamping?

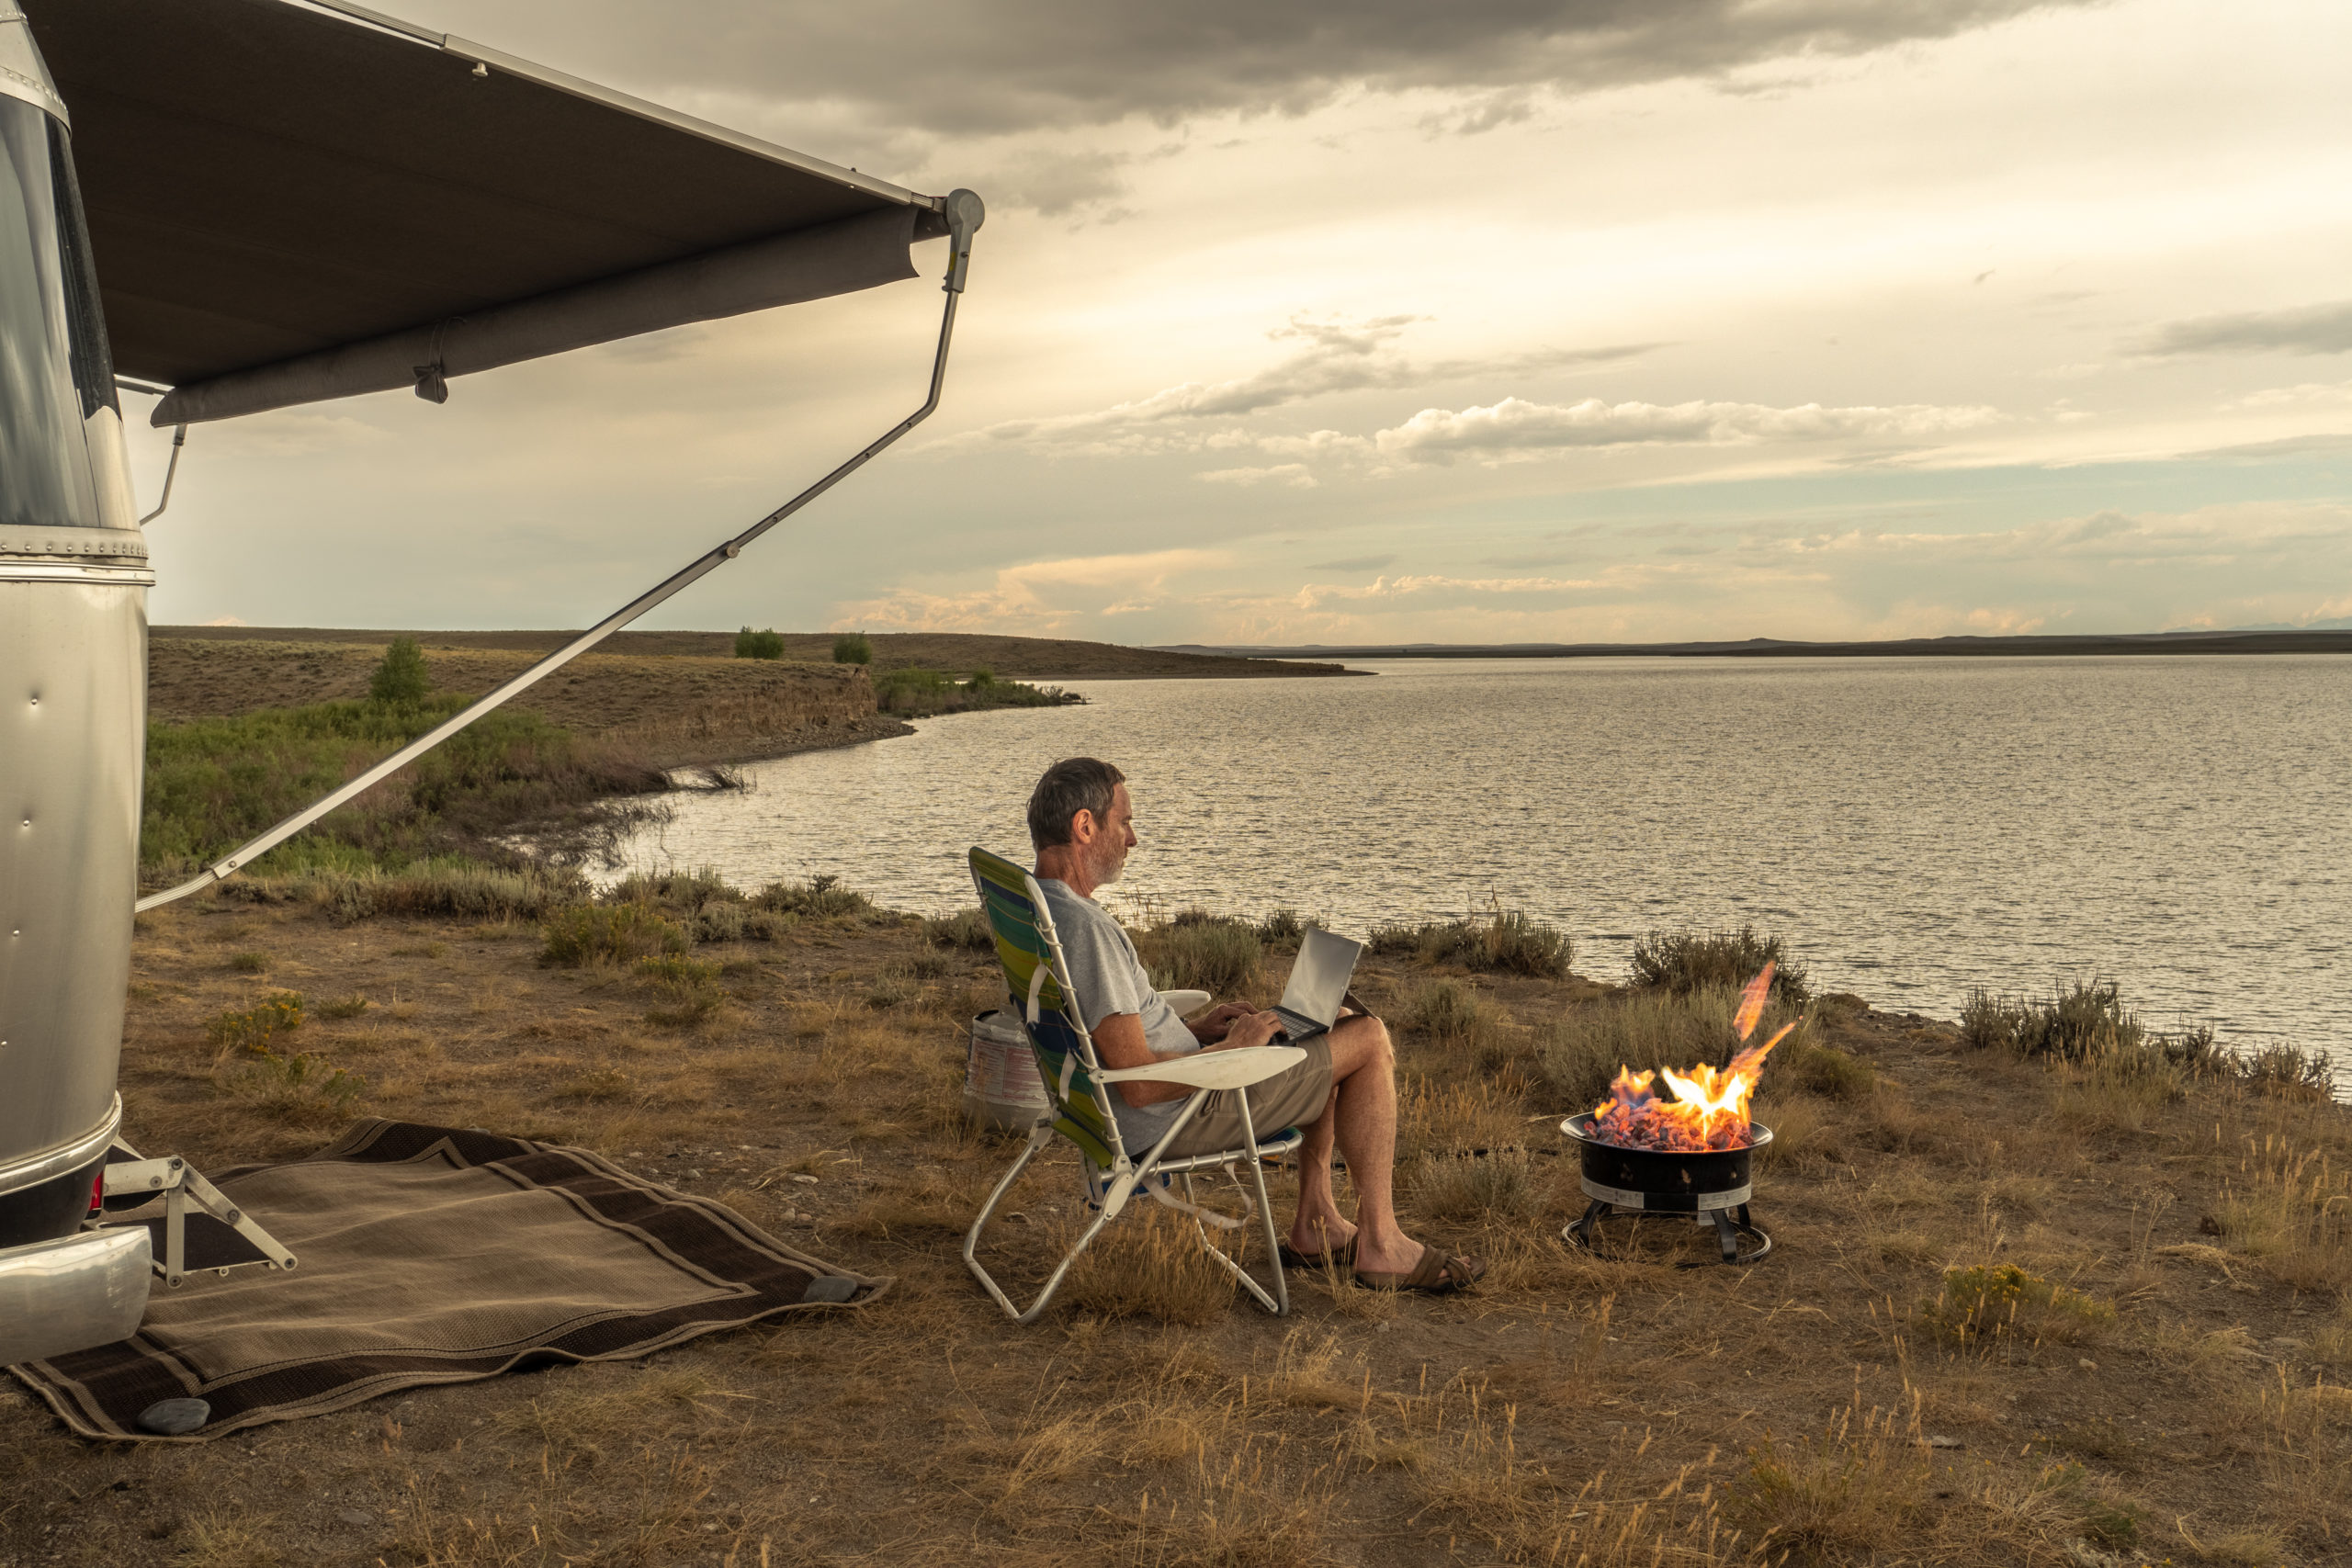
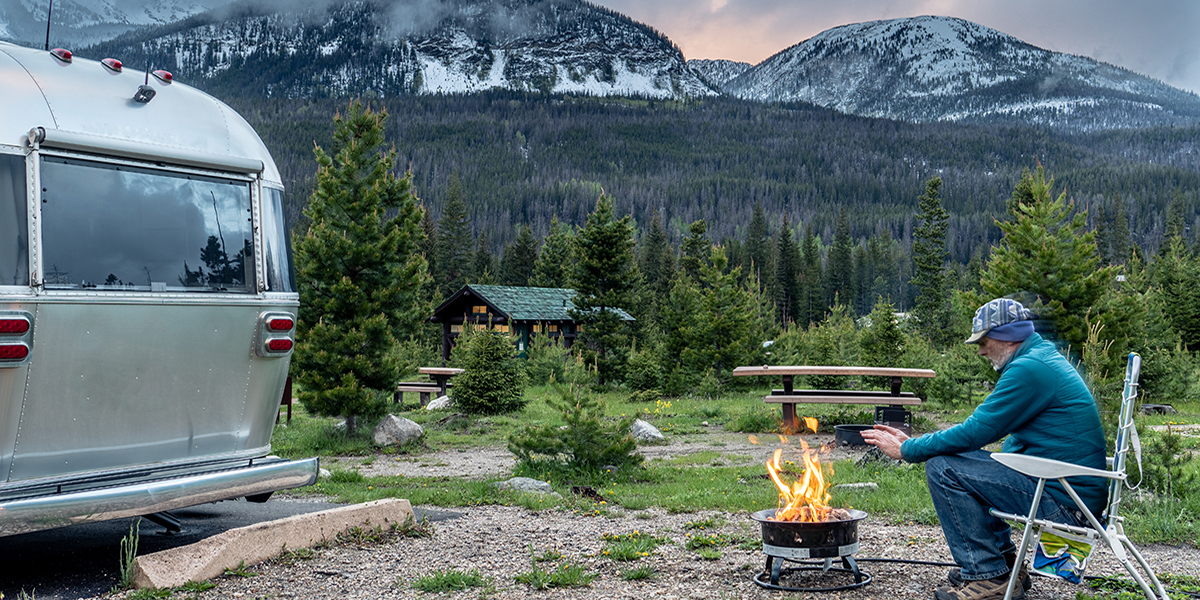
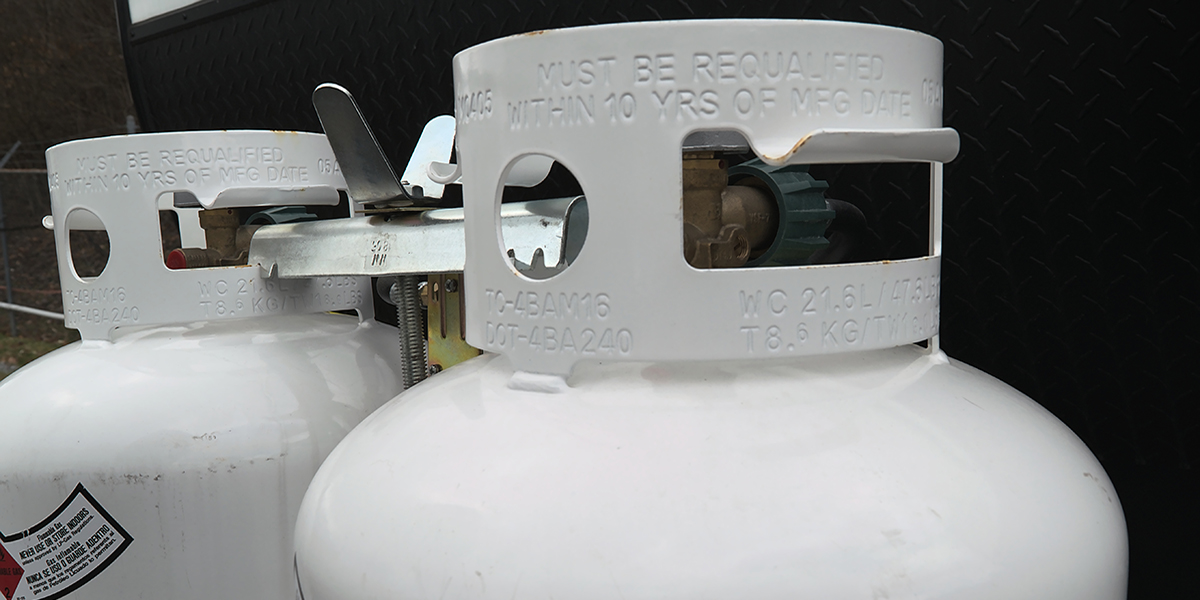
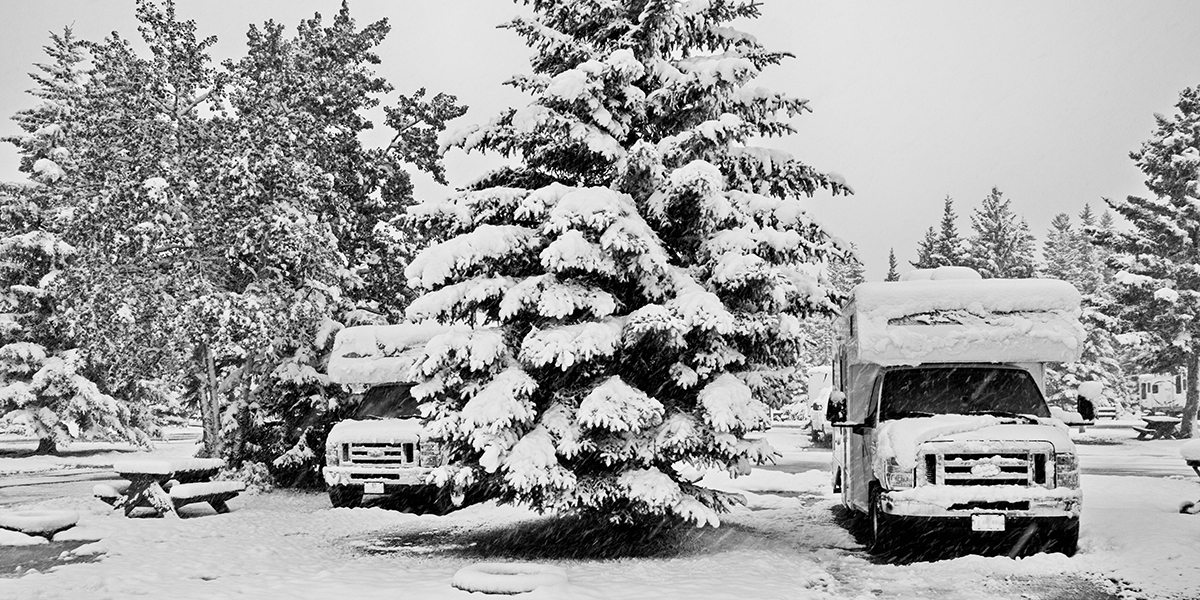
    Do you like the idea of “roughing it”? Do you plan to camp in areas where electricity won’t be available? For dry camping (also known as boondocking), you’ll want features like solar panels, an ample battery bank, a generator, and dual fuel/propane systems and appliances.

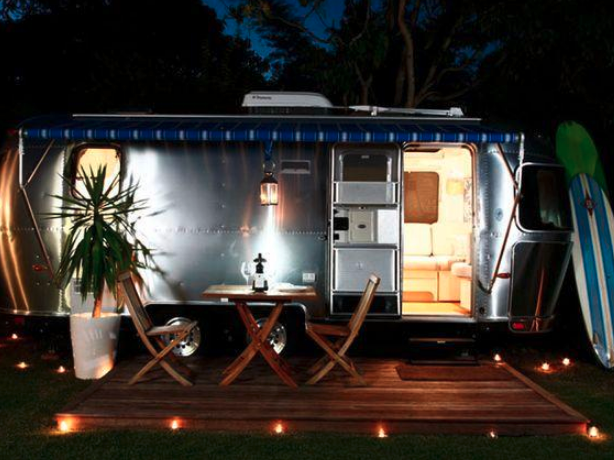
    If glamping is more your style, the only limits to your RV’s amenities are your budget and imagination. Modern units include options like extra baths, kitchen islands, electric fireplaces, outdoor kitchens and entertainment systems, and most are equipped with multiple slides for spacious indoor living.

    Does your idea of fun include getting out on the water or going off-road? If you have kayaks, a jet ski, an ATV, golf cart, or a motorcycle, consider a built in toy-hauler. Available in both motorhomes and towables, these RVs include a rear garage to store whatever you need to make your vacation complete.

    Bottom Line: The kind of camping experience you want should guide your choice of RV.

    Is Bigger Always Better?

    Not necessarily. There’s a cost that comes with size, both in a higher purchase price and in the expenses of use. Plus, driving a big rig isn’t for everyone, and the differences in turning radius, braking distance, and sway in a heavy travel trailer can make towing challenging. Accessibility is another problem. Many state and national parks were designed decades ago, when RVs were smaller. In fact, 27% of national parks don’t have sites for RVs over 35 feet, and only 7% of national parks can accommodate RVs longer than 40 feet. In many cases, even if you meet this criteria, you will also need available space to park your tow or towed vehicle in a separate lot.

    Bottom Line: Choose an RV you are comfortable handling, and one that can take you where you want to go. We highly recommend taking a test drive before you get too far down the path to purchase.

    New or Used?

    That depends on two things—your budget and your mechanical skill. Depreciation of recreational vehicles in the first year is estimated to be about 21% and increases to between 35 and 40% by year five. This makes purchasing a used RV an economical choice—if it was well-maintained. Otherwise, you could be looking at high repair costs unless you can do the work yourself. Before buying a used unit, go online, check reviews, and look on forums for any issues with the manufacturer or model. And consider hiring an expert to do a survey of the RV before you buy—it will be money well spent.

    Bottom Line: Used RVs make financial sense, but you have to do your homework.

    Ready to Shop?

    Before you buy:

    • Research different manufacturers and models.
    • Look for owner review on reliability, workmanship, customer service, and warranty coverage.
    • Go to an RV show.
    • Compare types and sizes of units. Sit inside, try out the kitchen, lie on the bed. Imagine living in that space for a week of rainy days.
    • Rent an RV. Nothing beats firsthand experience!
    • Make a wish list. Write down five features that are MUST-HAVES and five that are WANT TO HAVES. Use those as your guide. Don’t be talked into a unit that doesn’t fit your needs.

    Take the time to find the right unit for you and your family—and let the adventure begin!

  • Tips and Tricks For Working From Your RV

    Tips and Tricks For Working From Your RV

    When you imagine living in an RV, it might seem like an endlessly exciting adventure. Every day you get to meet new people, see unique parts of the country and work from wherever you want. However, living on the road can bring some challenges, especially if you’re trying to maintain a job or career. But you’re not alone.

    A 2022 RV Trader survey of 2,191 shoppers found that 30% purchased their RV with the intent of using it as a mobile home and 22% have used their RV as a home office. Among those who work out of their RV, 45% do so for more than 20 weeks out of the year. Another 18% work out of their RV between 11 to 20 weeks, 28% between 3 to 10 weeks, and 10% between 1 to 2 weeks.

    Clearly working and traveling don’t have to be competing goals. You just need to find a rhythm that works for you, your business and your schedule. And while everyone’s situation is different, we’ve tried to compile some of the most applicable and useful tips for working from an RV on the road—check them out below!

    Plan Travel for Weekends and Post-Business Hours

    In a world where being a working digital nomad is becoming more and more acceptable, some companies still expect employees and freelancers to be available during regular business hours.

    To avoid being offline during working hours, save your major driving times for weekends and evening hours. That way, you won’t have to worry about potentially losing service along the way and missing an important call. To help layout your route and make the most of your driving time, use a free trip planning app like Roadtrippers. Roadtrippers not only allows you to build and customize a trip, but it also provides useful information about places along the way (does it have WiFi, for example). And for extra long distances, or for times when you know you won’t have service, you can upgrade to Roadtrippers Plus—a paid version of the app that offers added benefits like offline mapping and live traffic updates.


    Set Clear Boundaries

    Time management becomes even more important when you’re balancing a full-time job and traveling. Even if you’re not tied to certain business hours, be mindful of the time you set aside to work and don’t get distracted.

    Try using the Pomodoro technique to stay focused. This strategy has people work for 25 minutes, take a five-minute break and then work for another 25-minute stretch. Even if you want to work for longer stretches of time, it’s always beneficial to take a short 15-minute break every few hours.


    Find Time for Self-Care

    Life in an RV can be exhilarating, but it also makes it easy to stay in your own bubble. Make time for activities like exercise and meditation, which can help keep your mind clear.

    These types of activities—especially when done outside—have been proven to help boost creativity and enhance creative thinking. So if the weather is nice, don’t forget to step outside and breathe for a few minutes. (And boost your Vitamin D levels.)

    Build a Community

    Solving problems in an office is easy—you can share and discuss with colleagues and come up with a solution in just a few minutes. But this type of brainstorming gets a bit harder when you’re on your own.

    If you’re a freelancer or self-employed business owner, find a community of like-minded people to bounce ideas off. You can also try searching various Facebook groups or free public forums such as reddit and TalkFreelance. These online groups are especially useful when you’re faced with urgent IT problems or need advice.

    Find Reliable WiFi

    One thing that nearly every employee can agree on, regardless of where you work, is the importance of strong, reliable internet. Relying on coffee shops or public libraries might be fine for a while, but you should still have WiFi with you in your RV. After all, a coffee shop might be a fine place to work most of the time, but it isn’t ideal when you need to have a private, one-on-one conversation.

    To ensure connectivity, products like Winegard ConnecT 2.0 or Togo Roadlink™ can provide fast, secure hotspots everywhere you go. A lot of cell phone carriers also offer mobile hotspot capabilities or roaming data plans, so you can share your phone’s signal with other devices. Getting a specific WiFi plan for your RV may be an added expense, but it’s worth the peace of mind knowing you won’t drop an important call.

    Build a Remote Office

    If you’re lucky, all you need to get your work done is reliable WiFi and a laptop. But even remote workers sometimes need services they’re not likely to find in the middle of nowhere––think printing, scanning and faxing.

    Try using a compact printer that you can easily store when you don’t need it and won’t pull a lot of power from your RV. You can also download various apps to your smartphone, like the Adobe Scan app, which allows you to scan a printed document and immediately convert it into an image or PDF that you can send digitally. Lastly, helpful websites like HelloSign.com let you sign and fill out documents digitally—an extremely useful tool if you find yourself sending a lot of contracts.

  • FMCA Tech Tip: 5 Tips to Make RV Service Less Stressful

    FMCA Tech Tip: 5 Tips to Make RV Service Less Stressful

    It’s time again for RV service. You explain your problem to the service writer, sign the repair order, grab a cup of coffee and wait. And wait, and wait and wait.

    Within the realm of RV repair facilities, time equates to dollars, especially for those non-warranty invoices. It stands to reason that if you can help speed up the diagnostic period, you, the RV owner, will save money and time in the long run. Here are five items that any RV owner can do to help save money and time while helping provide a roadmap for the service shop to follow.

    1. Record All Identifying Numbers

    Keep a list of your RV’s brand names, models numbers, serial numbers, and spec numbers. Your dealer or service center will be able to rapidly transfer the necessary numbers to service orders and avoid having to track down records located in hard to reach places. Additionally, the service writer will be able to identify appliances and devices that may be under recall.

    Here is a sample form to get started. Download now: RV Records Template 

    2. Organize a Repair History of Your RV

    Gather any receipts, warranty forms and repair invoices for work completed on your RV. If you are like most people, you’ve lost some, stuffed some in a storage compartment, or maybe put some in a box subconsciously thinking you might need them someday.

    Try to develop a plan for the safekeeping of these documents. At the very least, keep your paperwork in a three-ring binder arranged in chronological order. If a service writer can quickly scan your repair history and find a specific trend, it may help speed up the time spent in the shop.

    Besides, a detailed and chronological record of repairs and services shows you have taken care of your RV. This simple recordkeeping could possibly add to your RV’s resale value.

    3. List All Add-On Components

    Similar to the previous item, this one suggests you maintain a list of all after-market accessories that have been installed. Not only does it provide a detailed account of how you have increased the value of your rig, it could also save troubleshooting time.

    4. Look for the Obvious

    Once it’s apparent that something is not quite right with your RV, do yourself a favor and perform a little inspection. Look for obvious signs that something may be amiss:

    • Stains or discolorations
    • Water pooling or dripping
    • Burned wires
    • Broken hardware
    • Fuel dripping
    • Missing components
    • Disconnected or loose wires
    • Cracked fittings

    Your assertiveness to “look for the obvious” might save you money and put you back on the road that much quicker.

    5. Document the Exact Specifics

    This one takes a little more effort on your part. Whenever a symptom develops, begin to write down specific aspects that pertain to it. You know your RV best – pass that knowledge on to the service facility.

    Start with the basics:

    • Does the problem occur every time?
    • Only at night?
    • Or only after start-up?
    • Only after shut-down?
    • When you drive a certain speed?

    Note any geographical attributes at the time of the occurrence:

    • High elevation
    • Steep incline
    • Humid weather
    • Dusty conditions
    • Or maybe you only notice the problem on trips to a certain location – lake, desert, mountains, etc.

    Additionally, use your product knowledge to further pinpoint a possible cause. For instance, if you are experiencing a refrigerator problem, does the problem exist during both gas and electric operation? While driving or while parked? Only during the heat of the day or at night also? Document the specifics.

    Remember, these tips are for your best interest. The more information that can be provided to the technician, the better! When you follow these five tips, your RV’s visits to the service bay will be less stressful for everyone involved.

    This information is for educational purposes. FMCA shall not be responsible nor retain liability for RVer’s use of the provided information. Prior to making any RV service decision, you are advised to consult with an RV professional.


  • FMCA Tech Tip: Cold-Weather Camping Tips

    FMCA Tech Tip: Cold-Weather Camping Tips

    Not all RVers go into hibernation or head for warmer climates. Some embrace the winter weather and plan activities that involve RV trips. sledding, skiing, winter hiking… All of these are more pleasant when you know that you have a warm RV waiting for you at the end of the day’s adventure. However, some special preparations and precautions need to be taken. Here a few tips for winter RV trips.

    Water Tips

    Protecting the water system from freezing is of paramount importance. Most RVs aren’t designed for use in colder temperatures. Adding insulation or heat tape may be necessary. Another idea for short outings is to leave the RV water system winterized and then take along bottles of water for drinking and tooth brushing, and bring RV antifreeze for flushing the toilet.

    Cozy and Warm

    To ensure that things stay toasty inside the RV, make sure the furnace is operating properly before you leave home. Fill the propane tanks before you depart, and keep a close watch on tank levels during your outing. If you have a camping spot with electricity, bring along a thermostatically controlled ceramic heater to provide supplemental heat.

    If you’ll be using battery power to keep the furnace running, make sure the batteries are in good condition and stay fully charged. They will be less likely to freeze.

    Safety tips to help ensure a safe winter camping adventure:

    • Try to find a parking spot that is exposed to sunlight during the day and where some type of windbreak is available.
    • If it snows during your stay, make sure to keep the exhaust pipes for the generator or motorhome engine clear to allow gases to dissipate as they should.
    • Don’t allow too much snow to accumulate on the RV roof or allow it to cover vents, the satellite dish, etc.
    • Always test your carbon monoxide alarm before every outing. Carbon monoxide can be deadly, and the symptoms are similar to the flu.

    More Resources

    If your heart is set on cold-weather camping, check out this article for in-depth tips.

    FMCA RV Club brings you this monthly tip to Enhance Your RV Lifestyle. FMCA delivers RV know-how to its members. Join today and save $10 — a special offer for RV Trader readers. Learn more at https://join.fmca.com/trader18.

     
    This information is for educational purposes. FMCA shall not be responsible nor retain liability for RVer’s use of the provided information. Prior to making any RV service decision, you are advised to consult with an RV professional. 
  • FMCA Tech Tip: Purging RV Propane Containers

    FMCA Tech Tip: Purging RV Propane Containers

    When one or more of a motorhome’s gas-burning appliances exhibit strange, random, or difficult-to-diagnose problems, it may signal the need to purge the propane container. Brand-new propane containers also must be purged properly before being filled for the first time. So what is purging? Does it apply to all RV propane containers? How do you know if your container needs such a service? And who can do it?

    For answers, read this how-to guide from FMCA and the “RV Doctor” Gary Bunzer:

    About Propane Containers

    Before answering those questions, let’s define the term “propane container.” Most motorhomes are equipped with horizontal propane containers bolted to the frame of the coach. Typical motorhome propane containers are regulated by the American Society of Mechanical Engineers (ASME), as documented in its Boiler and Pressure Vessel Code. A horizontal ASME container is called a tank. The capacity of an ASME tank usually is expressed in gallons.

    Some smaller Type C coaches and older motorhomes may be outfitted with upright propane containers installed in a side compartment; it’s the same type of container usually found on towable RVs or in home gas barbecue grills. Such containers (which can be vertical or horizontal) are called cylinders, and are governed by the U.S. Department of Transportation (DOT) within the agency’s Hazardous Materials Regulations. Cylinders destined for Canadian provinces are regulated by Transport Canada (TC). The capacity of a DOT/TC cylinder typically is measured in liquid pounds.

    So, generally speaking, an ASME tank is bolted to the coach, while a DOT cylinder is portable and replaceable. Both types of containers require purging at some point.

    Why Purge?

    New propane containers are hydrostatically tested for leaks before shipment. A container that is destined for an RV, whether it’s a tank or a cylinder, usually is filled with compressed air (or sometimes another inert gas) when it is shipped from the supplier. Air contains moisture and other contaminants. Purging removes the air, moisture, and contaminants; if the purge process is not performed before the container is filled with propane the first time, combustion problems or delivery line pressure irregularities may develop later.

    Unfortunately, most new motorhome buyers don’t know whether their propane container was properly purged prior to that first filling, since a new motorhome usually is delivered to the owner with a full (or nearly full) container of fuel. I suggest asking that question during the walk-through or before officially taking delivery. Ask to see the pre-delivery inspection (PDI) form for validation. It’s in the best interest of both the RV dealer and the buyer to have a proper purging verified in writing before the retail delivery of an RV.

    Purging applies to older propane containers as well. In fact, any time a container has been opened to the atmosphere, for any reason, a new purging must take place before refilling with fresh fuel. Say, for instance, the internal float assembly fails, or the shut-off valve leaks and that component needs to be replaced; the tank must be purged after the replacement, since air has been allowed to enter. And that air contains moisture and perhaps other contaminants.

    The Moisture Problem

    Even a little water lying at the bottom of a propane container can be a problem. Any moisture present from the container to the inlet of the pressure regulator can cause the regulator to freeze up. There are two types of regulator freeze-up, both with negative outcomes.

    One type of regulator freeze-up occurs as the fuel in the container becomes vaporized on its pressurized path to the regulator inlet. The pressure regulator has individual sections where the fluctuating container pressure is reduced in two steps to the delivery line pressure required by the appliances. The propane vapor must pass through small orifices in these two stages in order for the pressure to be reduced sequentially and smoothly. Propane’s “boiling point” is minus 44 degrees Fahrenheit. Below that, it exists in liquid form; above that, it vaporizes. So, any remnant of water will freeze in those small internal orifices and block the flow of propane vapor through the regulator.

    The second type of regulator freeze-up happens externally during the winter months when mud or water or slush splashes up from the roadway, freezes, and blocks the second-stage atmospheric vent opening on the regulator. If the diaphragm inside the regulator cannot breathe, it cannot regulate, and it simply locks up. That’s why it’s important for the vent portion to be positioned downward and the regulator to be covered at all times during operation.

    The result of either type of regulator freeze-up is no propane flow, and the appliances will shut down just as though the container were out of fuel.

    When To Purge

    A container that has been in use for a while may need to be purged if more than one appliance has operational issues. For instance, the furnace doesn’t ignite right away; the water heater burner sputters; the cooktop burner flame lifts off the burner; or a burner flame is abnormally large or small, or more orange than blue in color. Any operational issue with an appliance is a cause for concern and should be investigated. It simply may be an out-of-adjustment regulator or an appliance in need of cleaning, but it could also be caused by moisture inside the container.

    Who To Call

    Certified and master certified RV service technicians are trained to properly purge a propane container. As an alternative, most propane retailers also can do the procedure.

    As mentioned, new tanks and cylinders typically are filled with air when shipped, but containers already in service will contain propane. In the case of the latter, before purging, it will be necessary to remove or burn off the container’s remaining propane.

    What Owners Can Do

    Since safety is paramount, FMCA recommends an annual test of the pressure regulator, as well as the entire propane gas distribution system, by a certified RV service technician. The condition of the container also should be checked. In addition, the RV owner should test the propane leak detector periodically.

    If the propane’s odorant is ever detected, immediately turn off the container’s service valve and schedule the RV for tests.

    And RVers should always keep a close eye on how well the RV’s appliances are operating. This can be your first sign of a problem.

    FMCA RV Club brings you this monthly tip to Enhance Your RV Lifestyle. FMCA delivers RV know-how to its members. Join today and save $10 — a special offer for RV Trader readers. Learn more at https://join.fmca.com/trader18/.

    This information is for educational purposes. FMCA shall not be responsible nor retain liability for RVer’s use of the provided information. Prior to making any RV service decision, you are advised to consult with an RV professional.

  • Styling an Outdoor RV Space

    Styling an Outdoor RV Space

    When camping in their RVs, many people opt to decorate their interior spaces. In many ways, this simple task can help your home away from home to feel more personalized while you are away on vacation. However, many people forget that when decorating an RV, you can also decorate your outdoor space to add to the overall homeyness.

    Since your outdoor space can be treated like a front porch, decorating this area can make your RV feel more like home, as well as making it appear more welcoming to guests who stop by. So next time you go camping, instead of just setting up two camp chairs outside, consider the following tips for setting up an outdoor space where you will love to spend time relaxing and recharging.

    Image: RV Select


    1. Roll out your awning

    Image: RV Share

    Extending your awning is one of the easiest things you can do to set up your outdoor space. This involves no additional purchases or packing, since your RV should already come with an attached awning. Just simply set up your awning by extending it manually or electrically, depending on the type of awning you have.

    Your awning essentially sets the parameters for the space where you will be adding furniture and decorating. Establishing the exact location of your porch is important because it gives you an idea of what will fit into your porch area and what won’t. Your awning will also provide you with some shade while you are enjoying your outdoor space, so once it is all set up, you are ready to move onto the next step.

    2. Invest in some comfy and cute camp chairs

    Image: RV Select 

    Camp chairs are essential to any outdoor RV set-up. They are used around the firepit, at outdoor tables, and even just to sit outside and enjoy coffee. While there are a multitude of camp chairs on the market, it is best to invest in some that are both comfortable and aesthetically pleasing. This will help your front porch to look clean and polished. Be sure to find chairs that do not clash with your awning or exterior RV color, as this will give you a cohesive space to add to.

    3. Add a table with a tablecloth and clamps

    One of the best things about having a cozy outdoor space is the ability to eat outside. Most people prefer to eat at a table, so this is a must when styling your outdoor area. Choose a table large enough for your family as well as any friends who may periodically join you for dinner. Be sure to find a table that can collapse and stow easily for travel. Many people end up selecting six or eight-foot banquet tables that fold in half. This offers plenty of space and durability, while also while packing up easily.
    Once you have selected a table, be sure to pick out a couple of table cloths that match your outdoor colors. These will help to minimize mess, while also adding to the overall homey vibes of your front porch space. Don’t forget clamps to make sure your table cloth doesn’t blow away.

    4. Select an outdoor rug

    Image: RV Web

    Once your camp chairs and table are in place, you should add a rug to tie the whole space together. If you have chosen simple chairs and table cloths, you can select a rug with a bolder pattern or color. However, if your chairs and tablecloth are already bright and colorful, consider choosing a more subtle rug to avoid clashing. Be sure to select a rug that is optimized for outdoor use, and ensure that you find one large enough to cover a majority of the space under your awning. This will ensure overall cohesiveness and matching in your outdoor area.

    5. Hang some string lighting

    Image: Smart RVing
    While fairly inexpensive and simple, there is just something about string lighting that really adds to a space. Basic strands of edison bulbs or globe lights pulls everything together under a glowy aura that feels magical and even a bit upscale. Grab a couple of packs of your favorite outdoor string lights, and hang them on your awning in whichever way you think looks best. Some folks hang them around the edges of the awning, while others criss-cross them across the center. Whichever way you choose is sure to look beautiful and really pull everything together.

    6. Add additional decorative accents

    Image: Camp Addict

    Finally, be sure to add in some fun decor to really spruce things up. This could include anything from a wreath on your front door, to hanging outdoor plants, seasonal flags, a doorstep rug, garden decor, citronella candles (which double as bug repellant), or anything else that matches your space and makes you happy. If you have a hammock or a grill, these also add to the beauty and functionality of your porch area. Remember that less is often more, and a few simple pieces can really go a long way.

    RV camping is an excellent way to vacation, and it’s even more enjoyable when your RV truly feels like a home. We hope these easy tips have inspired you to start decorating your patio soon!

    Have you decorated your outdoor space? What items and pieces did you use? Feel free to share in the comments below!

  • FMCA Tech Tip: Winterizing Your RV: Air vs. Antifreeze

    FMCA Tech Tip: Winterizing Your RV: Air vs. Antifreeze

    Unless you’re one of the lucky RVers heading south this time of year, fall’s cooler weather means it’s almost time to winterize your RV. The how-to of winterizing can be a hot debate (pun intended). FMCA has tips to help you decide the right option for your RV.

    About Winterizing

    Winterizing deals primarily with the plumbing system and protecting your RV from freeze damage. All water must be removed from holding tanks, water lines, and plumbing fixtures. Two methods are performed to winterize RV plumbing: using air pressure to blow moisture out of the system or pumping antifreeze through the water lines.

    Which should you use? The answer depends on where you live and the complexity of your RV’s plumbing system.

    Air

    Air is easy to use; just connect an air compressor to the water hose and blow everything out. In theory, the system will be dry. Plus, air is free, so it eliminates the need to buy bottles of antifreeze. Air pushes most of the water out, but residual water can remain in water lines’ low spots where it can freeze, expand, and cause damage.

    In a simple RV with minimal plumbing lines, using only air may not be an issue. But if you live in a place with long, cold winters, using air may not be enough to protect your RV from freeze damage.

    Antifreeze

    RV professionals consider antifreeze to be the best method for preventing freeze damage. Keep in mind that it differs from automotive antifreeze. RV antifreeze is nontoxic and is safe to use in fresh-water systems. It freezes but does not solidify. Instead, it turns to slush, which will not expand to crack fittings or water lines.

    One drawback to antifreeze is that it can be messy and requires buying a few gallons every season. It also can cause water from treated lines to taste bitter.

    More Resources

    For detailed, step-by-step instructions on the winterizing process, click here.

    Join the air vs. antifreeze debate. Check out this video from “RV Doctor” Gary Bunzer.

    FMCA RV Club brings you this monthly tip to Enhance Your RV Lifestyle. FMCA delivers RV know-how to its members. Join today and save $10 — a special offer for RV Trader readers. Learn more at https://join.fmca.com/trader18/.

    This information is for educational purposes. FMCA shall not be responsible nor retain liability for RVer’s use of the provided information. Prior to making any RV service decision, you are advised to consult with an RV professional.

  • FMCA Tech Tip: Disaster-Proof Your RV for Hurricane Season and Beyond

    FMCA Tech Tip: Disaster-Proof Your RV for Hurricane Season and Beyond

    Are you prepared for an emergency while RVing? Unfortunately, September’s history as an active month for hurricanes reminds RVers of the importance of being prepared. Read FMCA’s tips to prepare yourself for emergencies and natural disasters while RVing.

    Evacuation Safety

    Prepare two escape plans. One is for abandoning the RV when you need to get yourself and occupants out safely. The other is a plan for packing/driving the RV away when time allows you to evacuate ahead of a wildfire, hurricane, or other threatening situation.

    Pro-Tip: FMCA’s blog offers resources for evacuating from a wildfire.

    Escape Plan #1

    In the first instance, have a plan for escaping the RV in a variety of scenarios (galley fire, engine fire, RV lying on its side or roof). What is the quickest way to escape? How will you make sure all occupants are accounted for? Will one specific person be in charge of helping pets get to safety?

    In boating, a “ditch bag” is kept handy to grab just before one abandons ship into the water or a life raft. Prep your own “ditch bag” to grab in case of RV disaster.

    Pro-Tip: In your grab-and-go bag, consider including copies of important documents such as insurance policies, driver’s licenses, phone numbers, and credit cards.

    Escape Plan #2

    In the second instance, consider how you would need to evacuate the RV from a location.

    • A few points to think about as you form your plan:
    • How would you handle removing the electric, water, and sewer hookups?
    • If you drive a motorhome, consider if you’d have time to connect the towed vehicle.
    • How long does it take you to retract the awning(s), slide-out(s), and leveling jacks for a quick getaway?
    • If you or your driving partner is incapacitated, can the other person safely pack up the RV and drive you to safety?
    • Do you have a reliable AM/FM radio or weather radio to stay informed of the latest weather or road condition updates? Remember that you may lose internet connectivity in an emergency or extreme weather situation.
    • Do you have a Plan B for dealing with unexpected delays such as a stuck slide-out or sticky awning?

    Consider making an “evacuation checklist.” Decide what items absolutely must be taken care of before you can safely move the RV and what can be eliminated, sped up, or modified.

    Pro-Tip: On your evacuation checklist, list a family member or friend that you could call to let them know your emergency evacuation plans. This person can then alert other loved ones that you have safely evacuated.

    We hope you never find yourself in an emergency situation while RVing. You can’t predict the future, but you can help prepare yourself and your family by thinking about “What if?” scenarios.

    FMCA RV Club brings you this monthly tip to Enhance Your RV Lifestyle. FMCA delivers RV know-how to its members. Join today and save $10 — a special offer for RV Trader readers. Learn more at https://join.fmca.com/trader18.

    This information is for educational purposes. FMCA shall not be responsible nor retain liability for RVer’s use of the provided information. Prior to making any RV service decision, you are advised to consult with an RV professional.

  • FMCA Tech Tip: Replacing Your RV’s Air Conditioner

    FMCA Tech Tip: Replacing Your RV’s Air Conditioner

    Your RV’s air conditioner(s) lead a tough life. On the roof, they are subjected to the hottest heat that the sun can dish out. They also can be damaged by tree branches when the RV is maneuvered into a tight campsite, and they just love to pick up moisture that can lead to rust. Then add in the constant vibration and pounding from the road…eek!

    Like any component in an RV, especially those with movable parts, air conditioners don’t live forever. Eventually, you will have a failure. Minor items, such as starting capacitors, can be replaced, but the A/C unit itself is generally not serviceable.

    Fortunately, air conditioners aren’t all that hard to replace. You’ll need a few basic tools, some reflective foil tape, and some caulk. The hardest part is getting the new unit up on the roof.

    Background

    Air conditioners are designed to fit a 14-inch-square hole in the roof. That is the industry’s standard roof vent size, which makes replacement easy. Some units drop the air straight through the roof and ceiling directly into the RV’s interior; in others, air passes through ducts before entering the RV’s living areas.

    However the air is ducted, both system types use the same 14-inch-square hole in the roof, and the air conditioner is secured with four mounting screws. Power generally is run through the ceiling to the opening.

    Removing the Old RV A/C Unit

    • First, switch off the circuit breaker that supplies the 120-volt-AC power to the air conditioner so that it is safe to perform work. Set the thermostat to the “off” position, too.
    • Next, remove the existing unit, starting with the fiberglass cover. Remove the four screws that hold the cover in place.
    • In most RV air conditioners, electrical connections and components are inside the cool air plenum to help keep them cool as well. To disconnect these, remove the sheet-metal cover from the plenum. The plenum joints may be taped; if so, use a utility knife to cut the tape at the joints.
    • Disconnect the 120-volt-AC wires. Most likely, you will see the entire control box connected to the thermostat using two wing nuts. Remove the two wing nuts, and put the control box down into the plenum to get it out of the way. There may also be a temperature sensor probe inserted into the evaporator coil that can be removed.
    • Some units have a diffuser in the ceiling. The diffuser must be removed from the interior ceiling, and then the four bolts that hold the air conditioner to the roof must be removed. If there is no diffuser and your RV has a ducted ceiling instead, you will likely see screws installed from the A/C unit and tapped into the steel tube roof trusses.
    • Scrape off any old caulk from the screws, remove the screws, and slide the old A/C unit out of the way.
    • Once the old unit is removed, thoroughly clean the rooftop area.

    Installing the New RV A/C Unit

    • Once the new unit is up on the roof, maneuver it into position. This may require two people to ensure proper placement of the unit on the gasket.
    • Next, cut the foil tape and remove the screws from the new unit. This allows the sheet-metal cover to be removed to provide access to the front mounting holes, as well as the wiring.
    • On most new units, there is a foam gasket designed to compress and seal the area around the access hole so that water cannot enter the RV’s interior. Set the new unit in place and mark the location of the existing mounting holes; to match them, drill into the new air conditioner’s baseplate. (On a design without ducts, that would not be necessary, because the four bolts run right through the access hole in the roof.)
    • To finish the mount, install the four screws, taking care not to overtighten and distort the base. (Overtightening can lead to warping, which can cause leaking, excessive vibration, and fan and/or compressor noise.)
    • Apply a dab of caulk over each of the four mounting screw heads.
    • Retrieve the control box from the access hole in the roof plenum, reconnect the wiring, and place the temperature probe into the evaporator core.
    • Attach the control box to the sheet-metal cover with the two wing nuts, and reinstall the cover. After all of the sheet-metal screws are in place, cover the seams with a new roll of foil tape.
    • Before reinstalling the cover, switch the circuit breaker back on and test the unit.

    FMCA RV Club brings you this monthly tip to Enhance Your RV Lifestyle. FMCA delivers RV know-how to its members. Join today for just $50 — a savings of $10 just for RV Trader readers. Learn more at https://join.fmca.com/trader18.

    This information is for educational purposes. FMCA shall not be responsible nor retain liability for RVer’s use of the provided information. Prior to making any RV service decision, you are advised to consult with an RV professional.

  • FMCA Tech Tip: Guide to Motorhome Lubricants

    FMCA Tech Tip: Guide to Motorhome Lubricants

    Motorhomes require periodic maintenance to stay in good working order. Engine oil changes are the most common procedure, but axles, the transmission, wheel bearings, and other components also must be serviced. No oil or lubricant is one-size-fits-all, so it’s important to make the right choice for each component according to the chassis manufacturer’s specifications.

    Lubricants are designated with American Petroleum Institute (API) or military (MIL) category numbers that identify their suitability for various applications. To choose the proper lubricant, consult your motorhome’s owners manual for the prescribed API service level, and then match the lubricant’s viscosity and rating to your vehicle’s operating environment.

    Ratings

    Two ratings apply to lubricants — viscosity and quality.

    Viscosity

    Viscosity is another term for thickness. An engine is designed to utilize a specific viscosity oil for a given set of operating conditions. That’s why the Society of Automotive Engineers (SAE) determines viscosity grades according to a standardized numerical rating. Always check the owners manual to determine the proper engine oil viscosity for your vehicle. The larger the number, the heavier the oil. For example, an SAE 40 oil is heavier than an SAE 30 oil.

    Viscosity also denotes the ability of the oil to flow at a given temperature. As oil heats up, it thins, flows faster, and doesn’t provide the same level of lubrication as a thicker oil. If the oil is too thick, it won’t flow fast enough to lubricate critical components. SAE ratings reflect the ability of oil to flow at 210 degrees Fahrenheit. The ratings can be useful for determining how an oil will perform in summer, but they don’t take into account the low-temperature performance of the oil in winter. So, a second test is performed at 0 degrees Fahrenheit to assess oils designed for winter use and to designate a “W” rating. For example, 10W oil is thinner than 20W oil, but both are designed for winter use. The thinner 10W oil will flow better in colder temperatures.

    Most engine wear and tear occurs during startup when the motor is turning over but everything is cold and the pistons haven’t yet expanded to their operating tolerances. Oil begins to flow, but by the time it reaches all critical areas, the engine has been running for a few seconds. A lighter-weight oil brings the oil pressure up much faster than a thicker oil. But, once the engine is working under a heavy load, the oil becomes too thin to provide adequate lubrication. So, in the case of a single-viscosity oil, it is better to opt for a heavy oil and live with the startup wear than to use a lighter oil and pay the penalty when the engine is working really hard.

    Multiviscosity oils eliminate that dilemma. A multiviscosity oil has two ratings. For example, a 10W-30 oil provides the cold-temperature performance of a 10W winter oil, yet it retains the high-temperature performance of an SAE 30 summer oil once the engine reaches its operating temperature. This offers the best of both worlds and does a better job of protecting your engine at both startup and when under load.

    Quality

    Oil quality is determined by its chemical makeup and its imbedded additives. Base oils account for about 85 to 90 percent of the formulation. The remainder consists of additives that provide full protection, including antioxidants, viscosity modifiers, dispersants, detergents, antiwear agents, rust and corrosion inhibitors, antifoam agents, and a host of others. API established its rating system to identify the quality of every oil.

    Both API and SAE ratings are marked on every container. Consult the vehicle’s owners manual for the minimum API rating specified for your engine. You always can exceed the API ratings and use a better grade oil, but never drop below the minimum API rating.

    Check The Manual

    A proper maintenance cycle for your motorhome revolves around following the recommended service schedule and matching every component with the correct lubricant. The owners manual specifies the minimum requirements, but keep in mind that exceeding those specs with a higher-quality lubricant generally will yield greater longevity. Taking proper care of your coach will save you money in the long run and greatly improve the odds of trouble-free operation.

    FMCA RV Club brings you this monthly tip to Enhance Your RV Lifestyle. FMCA delivers RV know-how to its members. Join today for just $50 — a savings of $10 just for RV Trader readers. Learn more at https://join.fmca.com/trader18.

    This information is for educational purposes. FMCA shall not be responsible nor retain liability for RVer’s use of the provided information. Prior to making any RV service decision, you are advised to consult with an RV professional.