Tag: RV Tips

  • FMCA Tech Tip: Should I Perform Preventive Maintenance On My RV?

    FMCA Tech Tip: Should I Perform Preventive Maintenance On My RV?

    There’s a choice every RV owner must face – preventive maintenance or crisis repairs. There is no third option. To help cut costs, many RVers attempt to perform preventive maintenance on their RVs themselves.

    Know your options with these tips from FMCA and the “RV Doctor” Gary Bunzer.
     
    $$$ 

    Consider this: A typical RV with a generator, two roof air conditioners, and a slide-out or two has a minimum of 18 to 22 retail hours of mandated maintenance that needs to be performed each and every year! At an average retail labor rate of $120 per hour, that’s more than $2,600 spent per year just trying to avoid a major problem.

    Alas, it’s important to note that not all components on your RV will automatically self-destruct if these hours of maintenance are not performed, but it is highly recommended. If systems are maintained and checked periodically, you will gain additional life from these products.

    DIY Preventive Maintenance


    There are several seasonal maintenance tasks that you may want to consider doing yourself to cut costs.

    Some of these DIY maintenance tasks include:

    Is there a task that definitely requires a trip to the service center? Read this before scheduling your appointment.

    A little time and effort now can prevent major expenses down the road. Happy RVing!
    FMCA RV Club brings you this monthly tech tip to Enhance Your RV Lifestyle. FMCA delivers RV know-how to its members. Join today for just $50 — a savings of $10 just for RV Trader readers. Learn more at https://join.fmca.com/trader18.
    This information is for educational purposes. FMCA shall not be responsible nor retain liability for RVer’s use of the provided information. Prior to making any RV service decision, you are advised to consult with an RV professional.
  • Tech Tip: Choosing the Best RV Exterior Care Products

    Tech Tip: Choosing the Best RV Exterior Care Products

    Did you catch our article last month about maintaining your RV’s exterior? FMCA and the “RV Doctor” Gary Bunzer are here to help you find the perfect products for your RV.

    Five Conditions That Affect Product Performance

    Did that polish work great for you, living in a colder climate, but not so great for your friend who lives on the beach? Simply put, some exterior products simply work better in different conditions.

    There are five factors to consider when choosing a product to maintain your RV’s exterior:

    Climate

    Variations in temperature, relative humidity, rainfall, and even the proximity of the sun can have an effect on how well a certain product will perform.

    Location

    Whether the RV spends an abundance of time parked in an industrial area, a wilderness area, the city, or out in the country can have a significant impact.

    Environment

    Air quality, in particular, can have an impact. How much smog or airborne pollutants are present in the air?

    Age of the RV

    Certainly, the older the RV, the more chance of it sustaining a deeper level of oxidation.

    Amount of effort exerted during the cleaning process

    The elbow grease you employ when using a particular product may be directly proportional to your success.

    Five Steps to Choose the Perfect Product for Your RV

    Know Your Material 

    First of all, be sure you know the type of material you are attempting to protect or restore. Some products, when applied to an incompatible surface, may actually cause more damage than any pre-existing condition. For instance, never use petroleum products or wax on vinyl stripes or design elements.

    Read the Label

    Second, read the label carefully and follow the directions explicitly before applying the product. Understand the supplier probably knows more about its product than you do. It can be difficult to succumb to “reading the directions,” but in this case, it is the best advice.
    Test!

    Try the product on an inconspicuous location first. See whether you can obtain a small sample of the surface you wish to clean, polish, wax, or otherwise protect or restore and test the product on that piece. If that’s not possible, try the product in an area that is hidden or not readily visible, such as inside a wheel well, behind a bumper, etc. Better to discover its effectiveness, or lack of, prior to slathering it on the entire sidewall.

    Pick a Reputable Brand

    Stick with a reputable brand name. Check for contact information printed on the label or container. Notable product suppliers will have their address, phone number, and website info prominently placed on the product. The good companies will have a toll-free phone number. Any reputable firm will welcome feedback, whether pro or con.
    Don’t mix!

    This is your RV, not a cocktail. DO NOT MIX PRODUCTS! Find the preventive maintenance products that work best for you and stick with them. Avoid switching products every time you hear of something new. If your travel habits or home base changes, then it may be necessary to switch to a different product; however, until one no longer works for you, staying loyal will have a positive outcome most of the time.

    Take it from the experts – maintaining your RV’s exterior surfaces can be a challenge if the products you choose don’t have the intended results. Hopefully these tips will help you maintain that showroom look for many years or at least reap the return on your investment come trade-in time.

    FMCA RV Club brings you this monthly tech tip to Enhance Your RV Lifestyle. FMCA delivers RV know-how to its members. Learn more at https://join.fmca.com/trader18


    This information is for educational purposes. FMCA shall not be responsible nor retain liability for RVer’s use of the provided information. Prior to making any RV service decision, you are advised to consult with an RV professional.
  • Tech Tip: Maintaining Your RV’s Exterior

    Tech Tip: Maintaining Your RV’s Exterior

    Take pride in your home on wheels! Read these tips from FMCA and the “RV Doctor” Gary Bunzer to keep your RV’s exterior looking its best.

    The Roof

    Get into the habit of inspecting the roof often, preferably once a month. Pay special attention to the seams, edges, moldings, caps, and anything else attached to the roof. Realize that any screw or mounting method used on the roof can become an entry point for moisture. Water intrusion is the largest threat to the integrity of any RV.

    Keep the roof clean. Use a soft broom every couple of weeks to sweep away leaves, dirt, and road grime. Look closely for evidence of mold and mildew, especially on synthetic surfaces. Remove bird droppings or tree sap as soon as it is spotted. Small problems will not go away on their own. Left unaddressed, small problems will only worsen and quickly move (along with its associated cost) from the preventive maintenance stage. Wash the roof with the appropriate cleaning agent four or five times each year. A clean roof is simply easier to inspect!

    And, finally, know what material forms your RV’s roof. Be sure the products you employ are safe for that roof surface material.

    Sidewalls

    Learn what material is used on the exterior of your RV’s sides. Is it painted aluminum? Fiberglass? Filon or another FRP derivative? ABS or PVC plastic? Are steel components used? If you own a Type C motorhome, don’t forget about the cab portion and its exterior surface.

    Scan the sides of your RV and start counting how many components are attached: storage bay doors, refrigerator vents, furnace vents, city water inlet, etc. Every attachment point is a potential source for a water leak.

    Inspect all seals around the sidewall openings. At the first sign of a deteriorating sealant, reseal! In severe cases, it may be necessary to completely remove the component and reinstall using fresh sealant. In other cases, a quick but correct application of a silicone sealant over the suspected gap may be all that is required.

    Next, check for black streaks. Unfortunately, every RV is susceptible to those nuisance black streaks caused by four elements: dirt, moisture, time, and neglect. This video explains how these streaks form

    When using any type of black streak remover, never apply the solution directly to the surface of the sidewall. Always moisten a clean, soft cloth with the remover and try to keep within the boundaries of the black streak. All black streak removers contain components that will remove existing wax, so areas treated with the remover will need to be re-waxed.

    Unless the black streak is deep-seated and has become oxidized, it eventually should come off or at least be minimized. If the black streak has oxidized into the finish, other products exist that can address this specific type of problem. But, remember, it’s crucial to use a product compatible with your RV’s exterior surface to prevent further damage – read those labels!

    Fiberglass Caps

    Many RVs have some form of plastic caps covering their front or rear ends. Over time and with exposure to UV rays and ozone, the appearance of these fiberglass caps can become dull or fade to a certain extent. This is the first degree of oxidation. Whenever sunlight, heat, and moisture collide, oxidation can be expected.

    The second level of oxidation results in a pronounced chalking of the finish. You’ve probably seen front and rear caps that display a distinct, blotch-like chalky residue that can be wiped away with a moist rag. Neglected further, the cap surface eventually can crack and deteriorate and, in the process, cross the line between restorative maintenance and damage repair. If individual fibers become visible in the fiberglass, it may require a repair out of the DIYer’s realm.

    It is imperative that fiberglass front and rear caps be protected with wax or polish. Plain old car wash soap is a good option because it does not remove wax as detergents do. Polish is similar to wax, but some polishes and polishing compounds actually contain trace amounts of abrasives.

    Undercarriage

    The underneath surface of the RV is the “forgotten” exterior surface. The main concern is critter infestation. Look for large gaps around exposed plumbing that may pass through the floor and subfloor. It’s important to seal around all gaps that can trap moisture and road debris.

    Look for loose or damaged sections of the underbelly, regardless of the types of materials used under there. Some RVs have sealed underbellies, while other RVs may be open to the bottom of the subfloor. Others may have only a soft plastic wrap encasing the floor insulation. Look for anything that appears out of the norm. While you’re down there, check all chassis and suspension components for damage or irregularities, and look for evidence of water leaks. If you use the RV in winter conditions where salt is used on the roads, check for rust.

    Stay Tuned

    Next month we’ll cover the best products to use on your RV’s exterior. Stay tuned!

    FMCA RV Club brings you this monthly tech tip to Enhance Your RV Lifestyle. FMCA delivers RV know-how to its members. Learn more at FMCA.com.

    This information is for educational purposes. FMCA shall not be responsible nor retain liability for RVer’s use of the provided information. Exercise caution when working on the roof. Prior to making any RV service decision, including roof maintenance, you are advised to consult with an RV professional.

  • Tech Tip: Keep Rolling! Tires 101

    Tech Tip: Keep Rolling! Tires 101

    Have questions about your RV’s tires? Wondering if other RVers have the same concerns? Hesitant to ask your tire dealer?

    FMCA and the “RV Doctor” Gary Bunzer are here to help with some WHEEL-y good advice! Read on for our round-up of popular tire questions.


    Is replacing my tires with the same brand and size really necessary?
    It’s important to stay with the same size and load range based on your RV manufacturer’s recommendations. We always recommend staying with a brand you are familiar with, but there is no reason one cannot change brands, just not the size.

    Remember: Before purchasing any tire, be sure to check the age code on the tire’s sidewall. It is important that new tires be truly “new.” It is the actual date of manufacture that is important, even though the warranty time typically begins at the time of installation.


    My tires seem to be wearing unevenly. What is causing this?
    It’s important to determine why your tires are wearing unevenly. Becoming aware of weight and balance issues is key to longer tire life.

    It is highly recommended to have your RV properly weighed using individual scales by an accredited RV entity such as the RV Safety and Education Foundation (RVSEF). RVSEF provides this weighing service at most FMCA RV Expos .

    By weighing each individual tire, you can determine if a side of the RV is exceeding a tire or axle rating. An RV can appear to be sitting level but can be out of balance in terms of weight. If this is the case, look for items that you can move to help distribute the weight. Every item packed in your RV adds up!

    Another cause for uneven tire wear could be what’s called “spring sag.” When vehicles remain loaded over a period of time, the springs can be affected. For instance, if a trailer has had a 500-pound higher load on one side for several years and many miles, it would lead to uneven tire wear. However, this is not a difficult or expensive issue to address; simply have new springs installed and adjust your RV’s load to prevent future issues.

    Can I swap LT tires with ST tires, or vice versa, on my travel trailer?

    LT stands for “Light Truck” and ST stands for “Special Trailer.” Although both tires are rated for trailer use, there are distinct differences. Most manufacturers use LT tires because they too are rated for trailer use and are simply cheaper than ST tires.

    For passenger tires (including LT tires), ride, traction, and handling are the key design elements and are achieved primarily by adding flex to the tire’s sidewall. This maximizes tread contact with the road, thus increasing traction and allowing the driver to maintain better control over the vehicle.

    However, sidewall flexing is not a desired effect because it can cause trailer sway. The stiffer sidewalls and higher operating pressures common with ST tires help control and reduce the occurrence of trailer sway.

    It is important to match the tires to the application and payload. Since ST tires are constructed with heavier materials, they are tougher and more bruise-resistant than typical passenger car tires. This is a plus because trailer suspension systems are generally stiffer and less sophisticated than automotive suspension systems. A tire designed to operate in the more demanding trailer environment will provide longer service life and be able to withstand added abuse.

    The bottom line: trailers are more stable and pull better on tires designed specifically for trailer use, so it recommended to switch to the ST type.

    Should something be used to separate my tires from the ground while parked to help extend tire life?
    Protecting your tires during periods of non-use will help preserve and protect the rubber. Though wooden blocking is commonly used, we also suggest placing a separation between the wooden blocks and the tires to avoid excessive moisture and/or heat build-up. Plastic, web-like blocks are readily available in the aftermarket. Look for a type that will drain and not trap moisture.

    I’ve heard the sun can damage my RV’s tires. Is that true? 

    The damage caused by ultraviolet (UV) radiation virtually effects all tires. RV tires, in general, are more susceptible to this type of damage since they are considered a slow-wearing tire, meaning they typically are not driven as far or as often as regular automobile tires.

    The effect of unprotected UV exposure on rubber includes cracking, discoloration, and lack of physical mechanical properties. Tire makers use a carbon substance to combat the effects of UV radiation. Contrary to what some suppliers may say, there is no such thing as a permanent UV protector. However, here are a few ideas to help extend tire life:

    Keep RV tires clean. Avoid heavy build-up of mud, sand, or dirt. Dirt on tires may act as an abrasive of sorts that could inhibit the natural wax protection achieved through normal tire flexing. Wash your tires regularly with mild, soapy water and a soft brush.

    Inspect the tires regularly.

    Inflate the tires to the exact requirement based on the actual weight of that tire position.

    During short periods of non-use, keep the tires completely covered. When possible, remove and store the tires completely out of the sun and temperature extremes.

    Regularly apply a non-petroleum-based preservative to all surface areas of each tire.

    Purchasing quality tires and, thus, maintaining your tires will lead to safer and more fun RV trips. Always take the time to do your tire research to keep your rig rolling!

    FMCA RV Club brings you this monthly tech tip to Enhance Your RV Lifestyle. FMCA delivers RV know-how to its members. Learn more at FMCA.com.

  • Tech Tip: 4 Keys to Saving Fuel on Summer Trips

    Tech Tip: 4 Keys to Saving Fuel on Summer Trips

    Rising fuel prices may leave you wondering if you should still hit the road this summer. FMCA and the “RV Doctor” Gary Bunzer have compiled four steps for all RV owners – gas or diesel, motorized or towable – to combat higher fuel prices.

    #1 – Slow Down
    It’s a matter of science: increased speed uses more energy and, therefore, more fuel to overcome increasing air resistance. The relationship is approximately a 3:1 ratio. What this translates to is that for every 5 miles you drive over 60 MPH, fuel economy drops roughly 8% for the average passenger vehicle. This drop is even greater for a motorhome or vehicle pulling a large travel trailer or fifth wheel.

    It is believed by many that 55 MPH is the appropriate speed to maximize fuel efficiency. This, of course, depends on your specific vehicle, but slowing down is one sure way to improve fuel economy. RVers are encouraged to slow down anyway, if just to enjoy the scenery!

    #2 – Drive Shorter Distances
    Another way to get the most out of each fuel fill-up is to drive shorter distances and spend more time at a single location. Why not experience the lifestyle closer to home rather than heading out of state? Search for a nearby campground and make it your “go to.” In fact, the Recreation Vehicle Industry Association (RVIA), reports that 21% of RVers will reserve a seasonal site at a campground this summer and visit it on weekends.

    #3 – Inflate Tires Accurately
    A lesser known means of saving fuel, as well as maintenance costs, is to be sure all RV tires are inflated to the correct air pressure. This is only achievable by knowing exactly how much weight each tire position is supporting. Tire manufacturers publish recommended maximum inflation charts for every tire size.

    It is important to note that the pressure indicated on the tire’s sidewall is the maximum inflation pressure for that tire and NOT the recommended pressure. Furthermore, the RV maker or your RV dealer will not publish a suggested pressure either. Simply put, manufacturers cannot predict how much gear you will load into your RV; each RV’s weight is unique.

    It is highly recommended to have your RV properly weighed using individual scales by an accredited RV entity such as the RV Safety and Education Foundation (RVSEF). RVSEF provides this weighing service at most FMCA RV Expos.

    Watch this video to learn more about proper RV tire pressure.

    #4 – Minimize Idling
    Idling results in wasted fuel. When idling, the fuel consumed results in 0 MPH. Plus it’s not beneficial to the environment. Turn off the engine when stopped or parked for any lengthy period of time.

    RVing = Still Saving You Money While rising fuel prices are a hot topic, RVing continues to be one of the most cost-effective and enjoyable forms of travel for many. According to survey results collected by the RVIA, RV travel saves a family of four 27% to 62% compared to the cost of other types of travel.

    So don’t let high fuel prices minimize your excitement about summer RV trips. Remember, RVing is more than a hobby; it’s a lifestyle. Enjoy the ride!

    FMCA RV Club brings you this monthly tech tip to Enhance Your RV Lifestyle. FMCA delivers RV know-how to its members. Learn more at FMCA.com.

  • Tech Tip: 10 Steps for A/C Maintenance

    Tech Tip: 10 Steps for A/C Maintenance

    Summer is heating up! RVers, it’s time to perform routine maintenance on your roof-top air conditioner(s). Follow these steps from FMCA and the “RV Doctor” Gary Bunzer to keep cool and extend the life of your RV’s A/C system.

    Performing Annual RV A/C System Maintenance

    Overall, the average RV owner can perform this maintenance procedure in an afternoon. Prior to beginning, turn 120-volts AC power off at the breaker-box or unplug the RV from shore power.

    Step 1

    This is an easy first step; in fact, you are probably already familiar with this task. All A/C systems –home and RV – require filter cleaning; some as often as every three months. From inside the RV, access the A/C unit’s filter(s). On some units, the interior air delivery shroud will have to be removed. Consult the owner’s manual if in doubt. Remove and wash all the filters in warm water or simply vacuum them clean.

    Fresh Jet 3200
    Step 2

    Check the positioning of the thermostat sense probe. That’s the thin, pencil-like, copper-looking device attached to the tiny tubing leading to the thermostat. Be sure it is situated in the direct flow of return air to the unit. Look closely for grime or film that may have accumulated from cooking oils and/or smoke. Gently clean the sense probe if contaminants are found. Take special care not to kink the small capillary tubing leading to the probe.

    Step 3

    Check the visible electrical connections inside the A/C unit. To eliminate the possibility of road vibrations causing the wire nuts to loosen, always wrap them with electrician’s tape.
    Step 4
    With the interior shroud removed, check the condition of the mounting gasket located between the bottom of the roof-top unit and the roof. It will be visible from inside the RV by looking up into the roof opening. If the gasket looks compressed or if there is evidence of water leaks, it’s time to install a new gasket. Also, tighten the mounting bolts holding the roof-top unit to the inside unit if they are loose.
     
    Step 5
    From inside the RV, vacuum in and around all exposed portions of the unit to clear dust, cobwebs, etc.
    Step 6

    If the unit is equipped with a wall thermostat containing unenclosed contacts, clean them by simply sliding a business card between them and gently pulling the card through the closed contacts a few times. This effectively cleans them without causing damage. Never file or sand thermostat contacts.

    Steps #7 through #10 need to be serviced from the roof. Grab your ladder, and head on up!

    Step 7

    On the roof, remove the A/C unit’s outer shroud, exposing the motor and condenser. Look for a series of small drain holes in the mounting pan. These holes drain any moisture produced from the cooling cycle. Clean and verify that all condensate drain holes are open and able to drain.

    Step 8

    Inspect and clean the exposed condenser fins at the rear of the roof-top unit. Remove any debris that may have collected on or near the condenser. Check for mud dabber nests in this area. Straighten damaged fins carefully. It may be necessary to purchase an aftermarket fin “comb” to safely straighten severely damaged areas. Never use a screwdriver or other sharp object for this task.

    Fin Comb

    Step 9

    Clean the area in and around the fan motor and compressor. Check the motor mounts for damage and/or fatigue.

    Step 10

    Look closely at the exterior shroud itself. Do you see any damage caused by low hanging branches or gas station overheads? Some minor damage can be repaired; however, if the cover has severe cracks, it needs to be replaced. Replacement shrouds are typically available for purchase at camping goods stores or your local RV dealer. As an alternative to the plastic shroud, consider an upgrade to a sturdier metal or fiberglass cover.

    Remember that though the average RV owner can safely perform roof-top air conditioner maintenance, air conditioner repairs should be handled professionally. Stay cool this summer!

    FMCA RV Club brings you this monthly tech tip to Enhance Your RV Lifestyle. FMCA delivers RV know-how to its members. Learn more at FMCA.com.

  • Eating Healthy on the Road

    Eating Healthy on the Road

    As RVers we are constantly on the go, and a lot of the time, grabbing fast food seems like the easiest option while traveling. But contrary to popular belief, eating healthy while on the road is actually possible and isn’t as hard as you might think! Check out our top tips on how to eat healthy while RVing.

    • Meal prep – Meal prepping is one of the top ways to save time and money in the kitchen – but it’s also a great way to eat healthy. Planning and prepping your meals ahead of time gives you no excuse to choose unhealthy options while on the go. We suggest picking one day a week where you plan out your (healthy) meals and begin prepping. It’s important to keep meals simple since you have limited space to cook in your kitchen on wheels. It’s also important to try to keep any perishable foods in airtight containers to preserve their shelf life. Check out some of these great tips for easy/healthy meal prepping.
    • Keep your RV stocked with healthy snacks – When you’re traveling from point A to point B someone in your RV is bound to get hungry. So, take away the temptation of those gas station treats and rest stop vending machines by having an RV that’s fully stocked with healthy snacks. Protein bars and trail mix are great, filling snacks that can be stored for long periods of time. Having fresh fruit on board is also a great option that requires virtually no prep time. Some other healthy snacks perfect for road trips include: Beef/turkey jerky, dried fruits, peanut butter, oatmeal, popcorn, string cheese, etc.
    • Eat local – One of the many beauties of being RVers is that we have the luxury of traveling to new places and experiencing new things – food included! There’s amazing, healthy food all over the country and we encourage you to check out the local cuisine on your next adventure. A great way to do this is to check out a local farmer’s market. You’ll be able to find the best seasonal, healthy options that all of the locals are eating. To make it even easier, you can check out Local Harvest, a website dedicated to finding you the nearest family farms, farmers markets, and restaurants that all feature local foods.
    We hope these three tips have you thinking about how you’ll choose healthier options on your next trip. Food is the fuel that keeps us going, so it’s crucial to pick healthy options that will give you the energy you need to take on the day. What are some of your tips on eating healthy while on the road?
  • Tech Tip – To DIY or Not: When Should I Call a Mechanic?

    Tech Tip – To DIY or Not: When Should I Call a Mechanic?


    Understanding when to choose the do-it-yourself (DIY) path or when to rely on the professionals is an important RVing lesson. Know your options with these tips from FMCA and the “RV Doctor” Gary Bunzer.

    Types of Service

    Simply put, there are two types of RV service – crisis repairs and preventive maintenance. RVers need to stay on top of preventive maintenance to lessen the chance of an emergency repair situation.

    Many RVers choose to take care of their RV’s preventive maintenance tasks on their own. These tasks are often seasonal to-dos, such as checking seals, checking fluid levels, cleaning air filters, and performing battery maintenance.

    However, before you take on anything yourself, know the details of your RV’s factory warranty period. Oftentimes, during this period, all repairs should be performed by a certified technician. In some cases, warranties may be voided if unauthorized tasks are performed.

    To DIY or Not?

    So should you even consider performing maintenance tasks on your RV yourself?

    An RV owner who performs routine service typically

    • is mechanically inclined or has past automotive experience.
    • has an impressive assortment of hand tools and testers.
    • has a keen interest in RV technology.
    • camps in remote areas far from RV service centers.
    • has a technical aptitude.
    • is or has been a full-time RVer.

    If you recognize yourself in these listed characteristics or are wondering whether or not you should attempt a maintenance task, here are a few points to consider. Keep in mind that this list is not all-inclusive and all items may not apply evenly across the board.


    Know your physical limitations.

    Ask yourself if you can physically perform a task. For some maintenance tasks, you will have to crawl under the RV or into a tight space.

     
    Review your mechanical and technical aptitude.
    Admit when the subject is beyond your knowledge base. There is no need to be a hero. You definitely do not want to risk converting a simple maintenance task into a costly crisis repair! It will cost substantially more to undo an error than to make an appointment with a service center.
    Have a willingness to learn.
    If you want to be able to perform routine maintenance items, be willing to do a little homework. Servicing propane-related appliances and components, for instance, mandates a basic understanding of the electronic and gas operation sequences. Learning requires reading and studying the literature that came with your RV. In cases where the owner’s manual has disappeared, check online or contact the manufacturer directly. Most manufacturers are more than willing to provide the manual you need.
     
    Be properly equipped.
    Some maintenance tasks require specialty tools, such as the long flue brush needed for cleaning and servicing an RV refrigerator. If you commit to performing tasks that need a specific tool, evaluate if the cost is really a savings in the long run. Also, can you easily purchase replacement parts? Even the most routine maintenance tasks can require purchasing new parts. An example: the replacement gaskets needed when performing RV furnace cleaning maintenance.
    Consider the time factor.
    Always plan your approach to any maintenance task appropriately. Realize that all maintenance requires time. Be sure to allot enough time to the task. You are more likely to omit a step or make a mistake if you are under pressure to complete a task hurriedly. Remember, the next time you perform that same task, the time element will be reduced.

    If you feel comfortable with the points above, you are probably a good candidate to tackle an RV maintenance project on your own.

    How to Succeed at DIY

    If you feel like you just may qualify as an RV DIY-er, the following suggestions will help you get started:

     
    Control your work area.
    Having a clean work area is vital in avoiding confusion and keeping the RV clean. When servicing the appliances, for example, it is best to perform the maintenance tasks with the appliances left in the installed positions. An exception would be the RV furnace. Sometimes better results are attained if the furnace is removed and the work performed outside of the RV. Proper preparation will make any task easier.


    Prepare your replacement parts.

    When you begin a task, have all replacement parts prepared and laid out for easy access. If the new parts need any type of pre-assembly, do it before you become engrossed in the task. If some pieces in a repair kit will not be needed, separate them prior to beginning. This will simplify your repair and avoid confusion later when you’re left with unused parts.

    Obtain the necessary support materials.

    Have all wiring diagrams, service notes, installation instructions, etc. before starting the job. If you feel you may need more support information, postpone the maintenance until you have all the resources. A prime example would be if you are performing maintenance on any electrical item. Have a wiring diagram or schematic available. Most diagrams are usually included in the owner’s literature, and many will accompany the replacement part kits.

    Have a back-up vehicle.

    This is especially important if you are servicing a motorhome and it’s your only mode of transportation. It’s always advisable to have another available vehicle just in case. Whether it’s a neighbor’s truck or a second vehicle of your own, always plan to have transportation available in case of an emergency or if you forgot a part.

     
    Establish a relationship with a local RV service facility.

    This step is vital. Even though you wish to perform RV maintenance yourself, always get to know a local dealer or service center in your area. Aside from being there to order parts for you, techs can be a good source of information. They should work with you and not feel threatened that you elect to perform some of your own maintenance tasks. Obviously, you will need to rely on them for any task you decide not to pursue. All major repairs and many items that require specialty equipment are best left to the professionals.

    A tip on RV generators.

    Never attempt to adjust your RV generator yourself. This is definitely better left to your service shop. Many specialty tools are required since the generator needs to be load-tested while making governor and carburetor adjustments. Load banks and specialty testers are beyond the scope of the DIY-er. With an RV generator, every mechanical adjustment that is made has an electrical result. You cannot tune a generator by ear.

    A tip on propane regulators.

    Never attempt to adjust the propane regulator without the use of a water column manometer. Changes in the delivery pressure, which is crucial to each appliance, cannot be determined by visually watching a burner flame. Too high gas pressure will damage many appliances, while too low of a delivery pressure will result in improper combustion and inefficient appliance operation.

    Be a Confident RV DIY-er!

    By carefully evaluating your technical expertise, gathering a resource library, acquiring the proper tools and parts, and having the right attitude, you may be a great candidate for RV DIY tasks. Many RVers find that performing their own RV maintenance is a source of pride, peace of mind, and enjoyment. Wishing you luck in your maintenance ventures and the ability to admit when you need to call a professional!

    FMCA RV Club brings you this monthly tech tip to Enhance Your RV Lifestyle. FMCA delivers RV know-how to its members. Learn more at FMCA.com.

    This information is for educational purposes. FMCA shall not be responsible nor retain liability for RVer’s use of the provided information. Prior to making any RV service decision, you are advised to consult with an RV professional.


  • Tech Tip: Spring RV Exterior Prep

    Tech Tip: Spring RV Exterior Prep

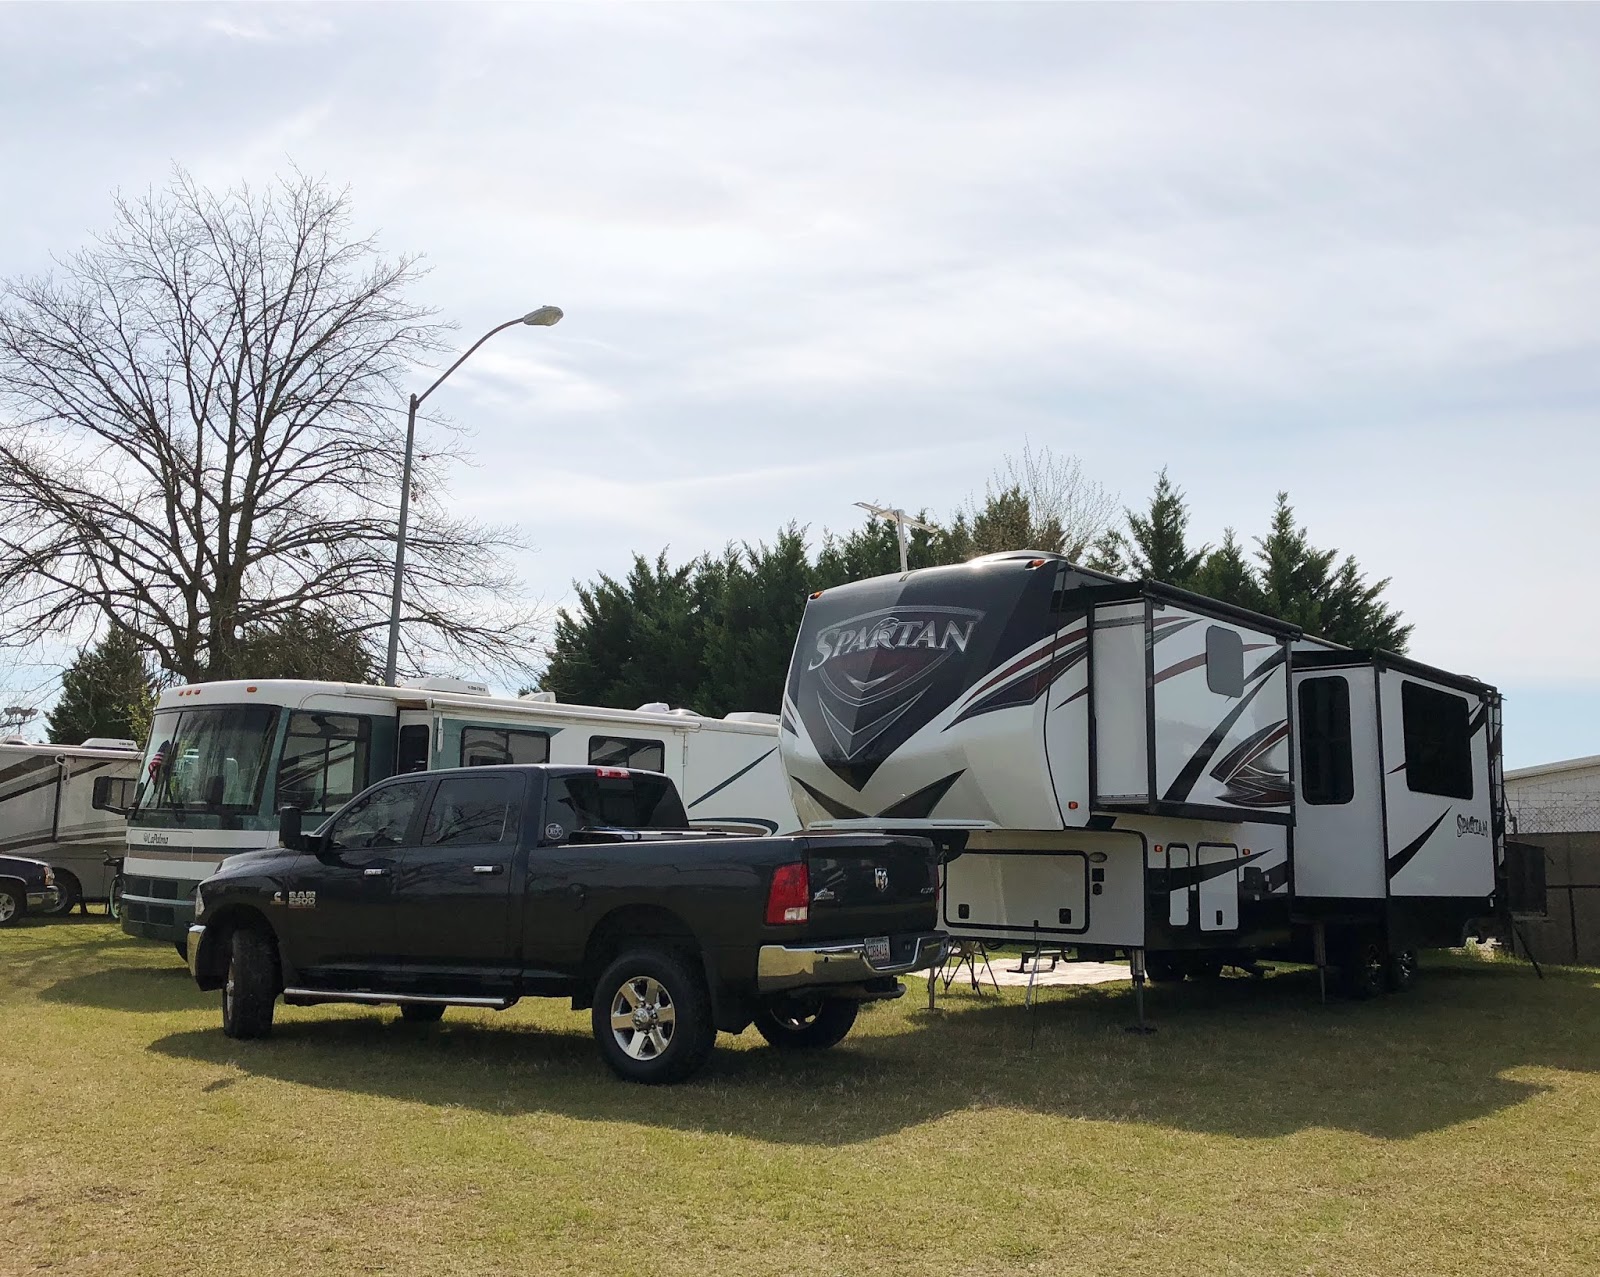
    Are you itching to hit the road this spring? March is when many RVers dewinterize their RV, prepping it for the travel season. It’s important to not overlook your RV’s exterior. Here are a few reminders on behalf of FMCA and Gary Bunzer, the “RV Doctor.”

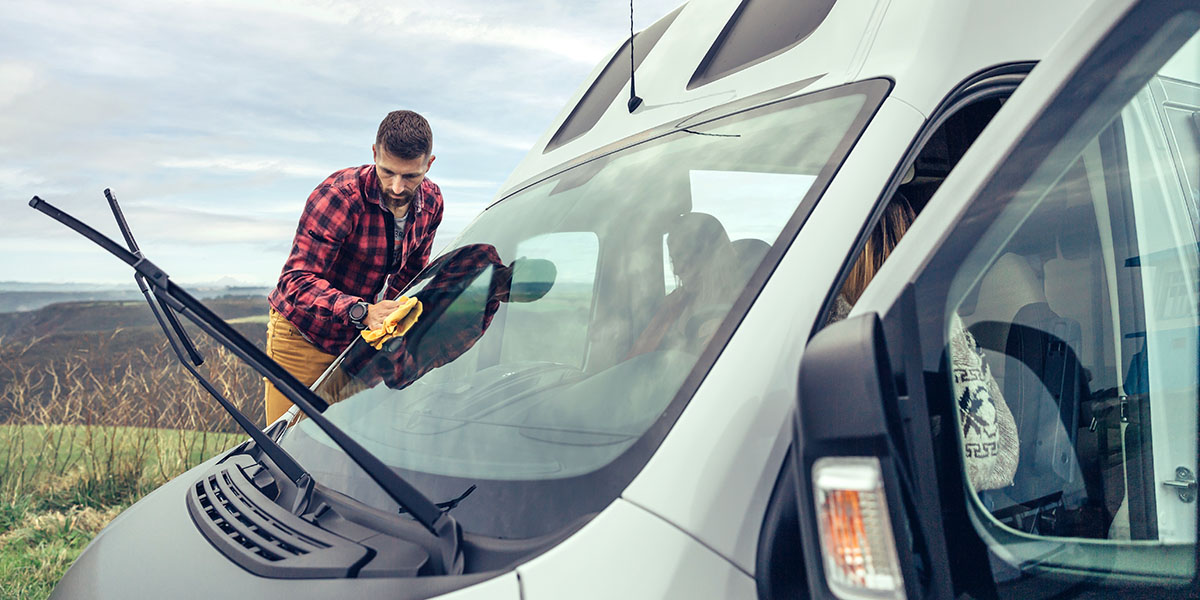
    With frigid winter temperatures, chances are you haven’t been venturing outside over the past several months to take a close look at your RV. Now is the time to conduct a thorough inspection before you hit the road. A clean RV will more clearly reveal potential problems than a dirty one. So, unless you used a heavy-duty RV cover during the winter, a detailed washing of the RV is necessary. Begin by removing the protective boxes used to cover the plastic roof vents. Also, remove any tape or foil you applied over exhaust vents, such as at the furnace assembly.

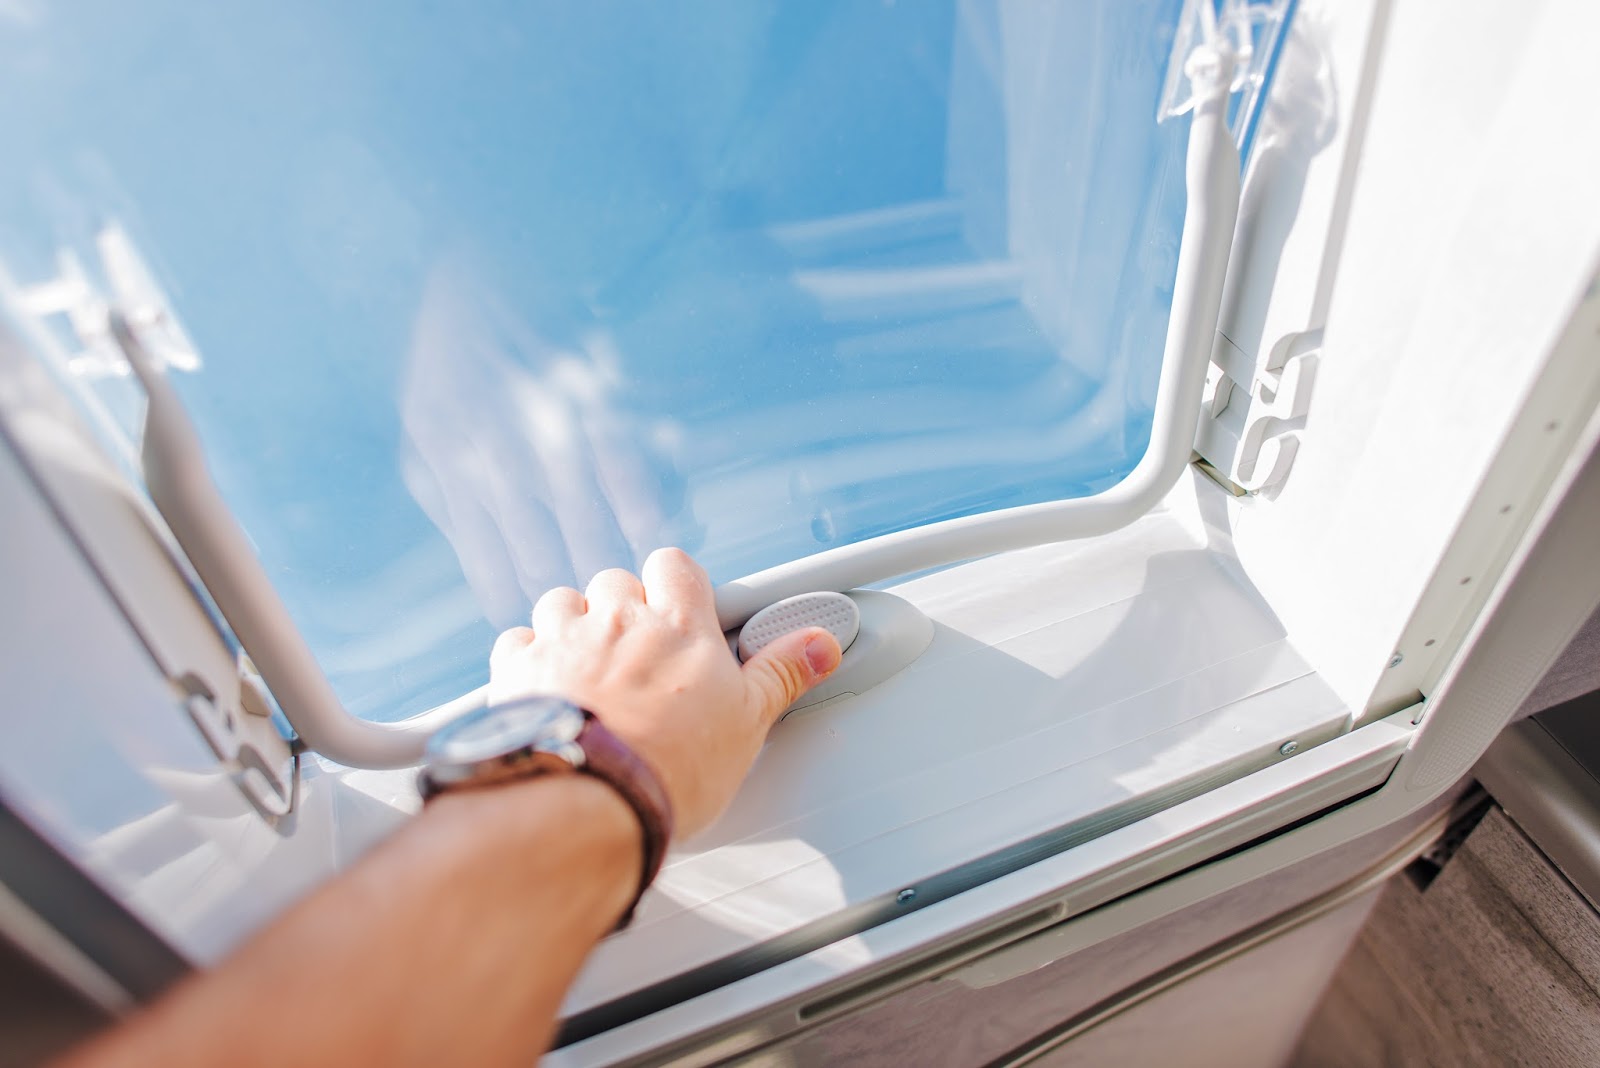
    After the coach exterior has been cleaned, begin airing out the unit. Remove the insulating foam inserts that were placed in the windows and roof vents and fully open each window and roof vent. While you are at each window, double-check the weather stripping and the exterior weep holes, ensuring they are still in good shape. If necessary, lubricate the slider tracks on any windows or screens that open.

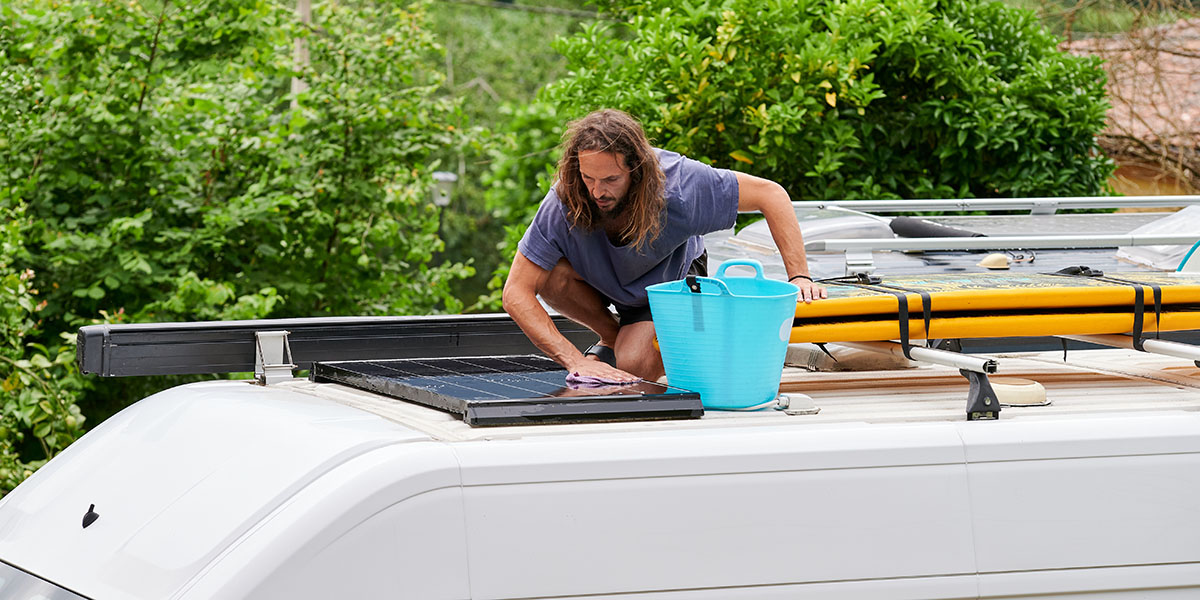
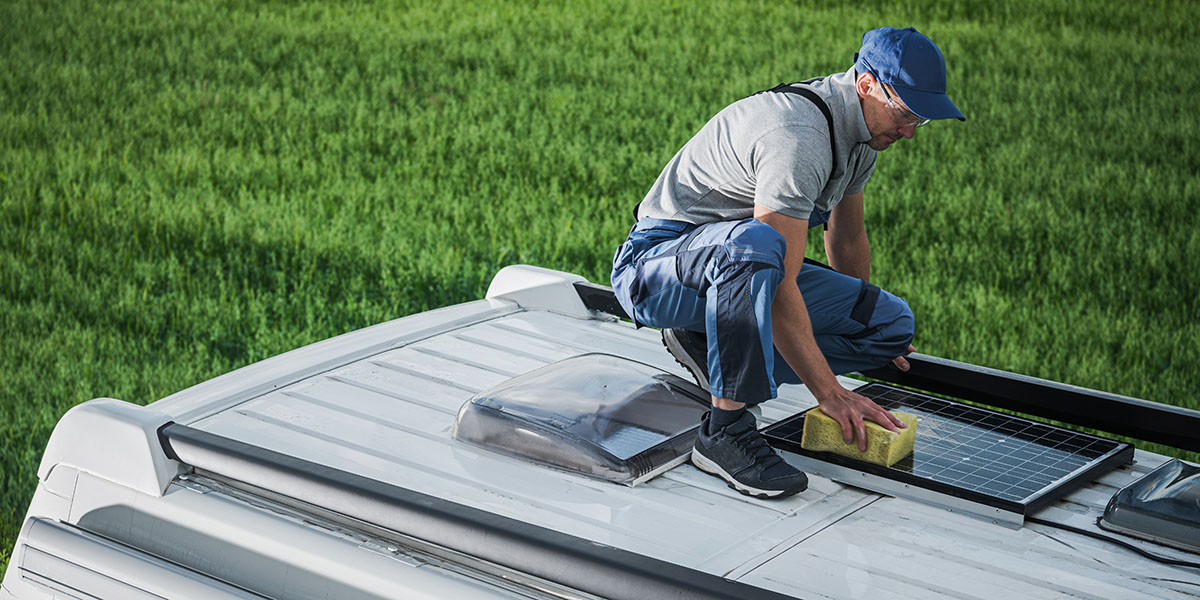
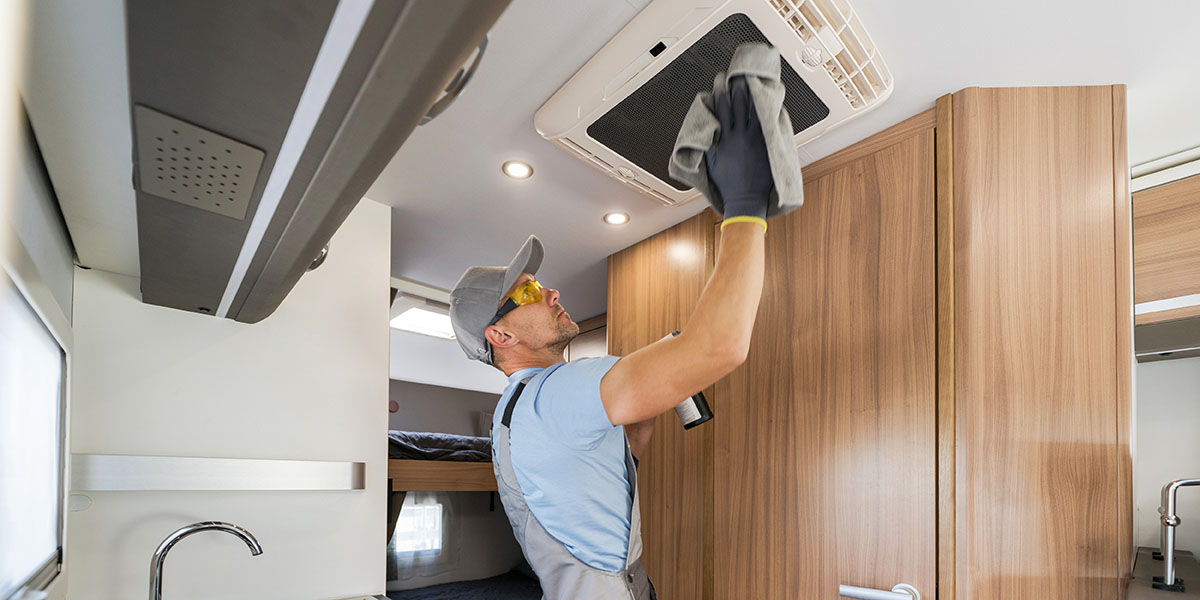
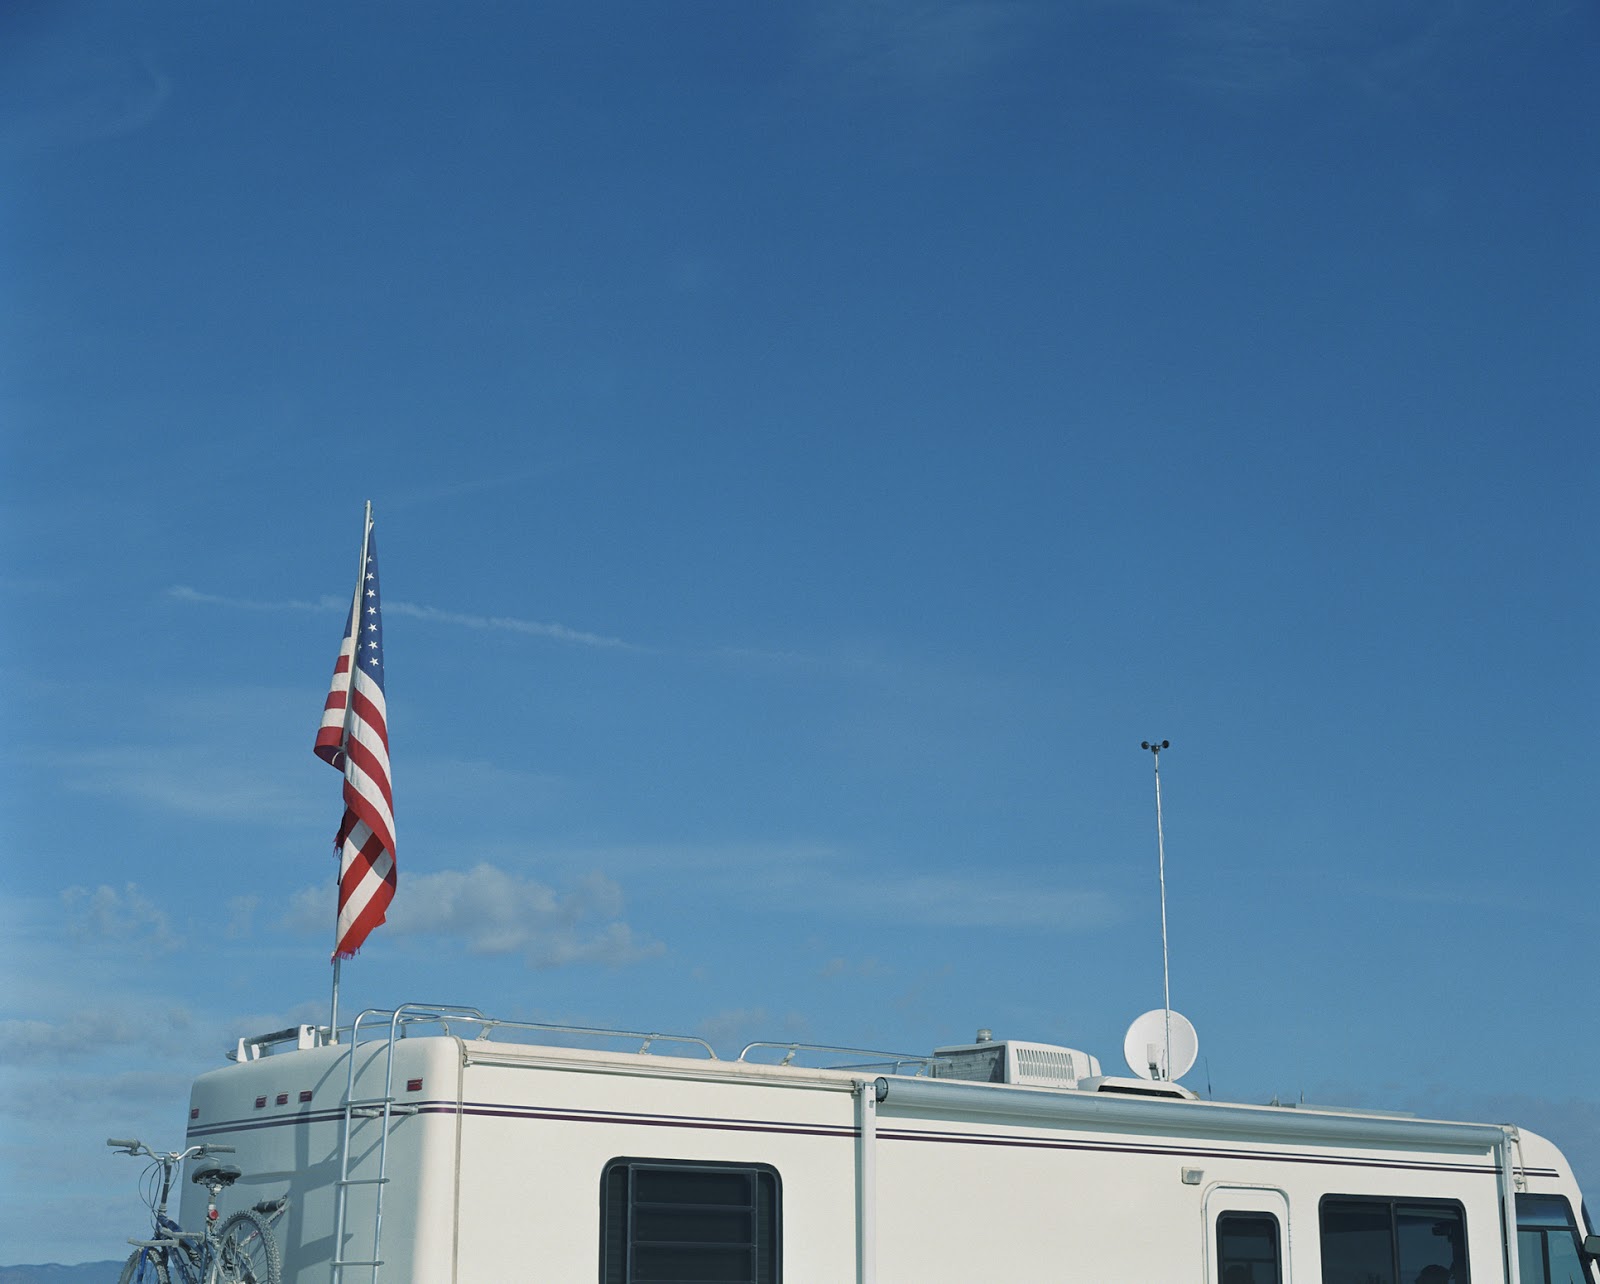
    Perform a complete and detailed inspection of all the roof components, seams, and edges. Now is the time to seal any areas that need attention. Inspect the roof air conditioners for damage incurred during the winter months. Carefully straighten any bent or damaged fins that may be exposed on the condenser coil. Once you get inside the RV, clean or replace the return air filters.

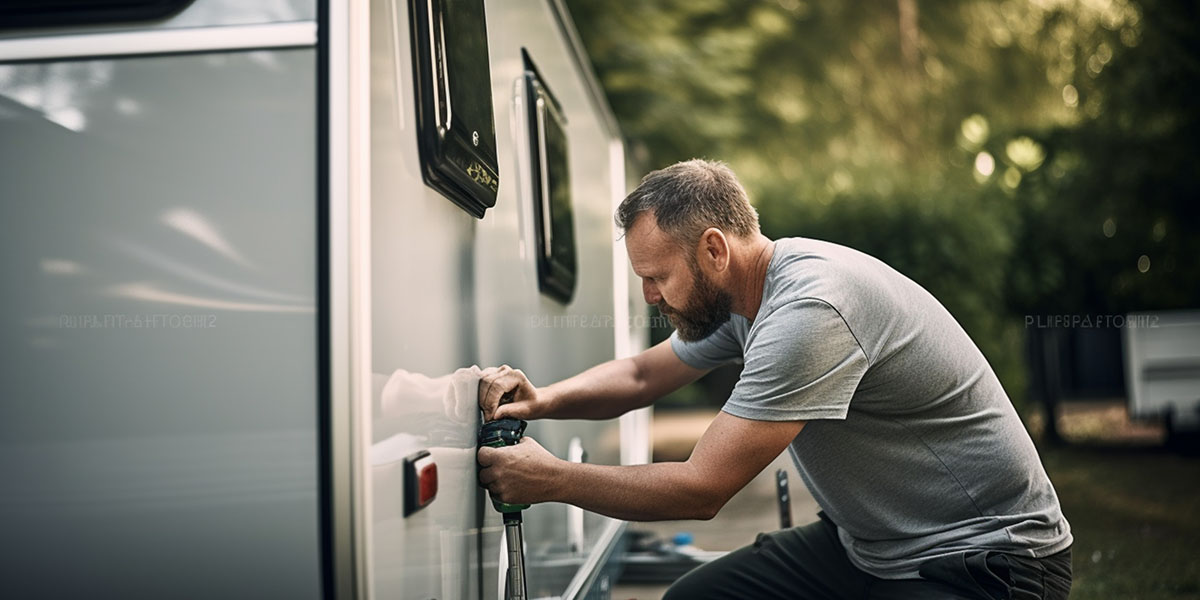
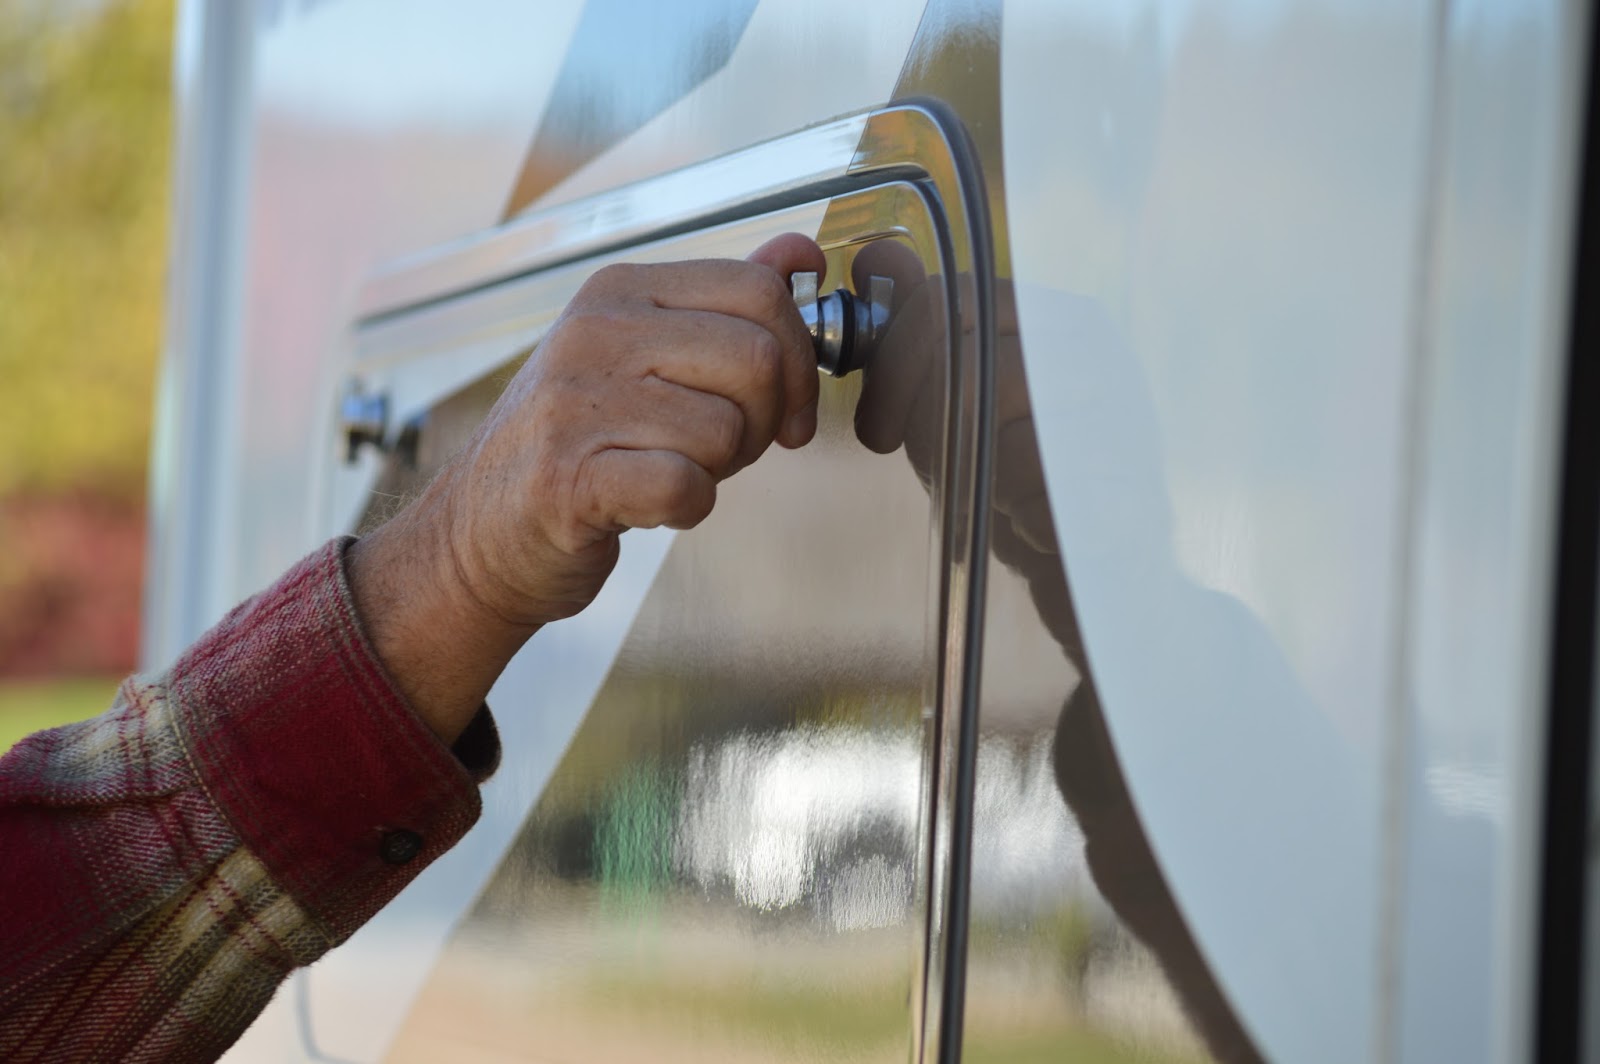
    Inspect and operate all compartment bay doors, access doors, access panels, etc. Check the sealant around every window, as well as all components attached to the exterior sides of the RV. Lubricate all mechanical latches and keyed locks. Use a dry lubricant, such as Boeshield T-9. Many RVers use a product like WD-40 to lubricate latches and locks. Products like this should not be considered a lubricant; truly, they are water displacement products that prohibit rust and corrosion.

    Operate and lubricate the moving components of all the manually operated awnings. Be sure to consult your RV owner’s manual; awning manufacturer recommendations can vary widely. Use a mild detergent to remove any mold or mildew that may have developed on the awning material since last fall.

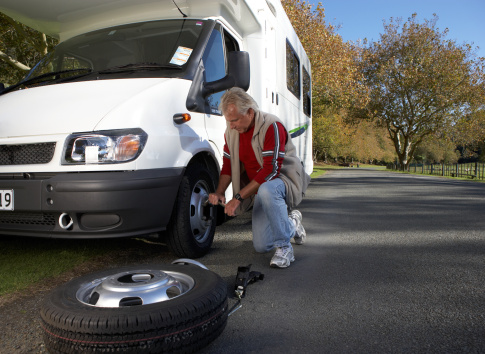
    Don’t forget to check under the RV and look for anything out of the ordinary, such as darkened areas on the ground that may indicate a leak. Inspect the areas that you made repairs to during the winterizing procedure last fall. You’ll want to make sure those repairs can withstand another season of travel.

    Lastly, inspect and lubricate all of your RV’s slide-out mechanisms. Again, be sure to use only a dry lubricant on these mechanisms.

    These exterior maintenance steps are a necessary part of readying your RV for the season. Inspecting the RV’s exterior is a step many RVers overlook, but it is an important part of the dewinterization process that should not be forgotten. Take the time now to help prevent potential problems down the road. Safe travels this spring!

    FMCA RV Club brings you this monthly tech tip to Enhance Your RV Lifestyle. FMCA delivers RV know-how to its members. Learn more at FMCA.com.

    This information is for educational purposes. FMCA shall not be responsible nor retain liability for RVer’s use of the provided information. Prior to making any RV service decision, you are advised to consult with a RV professional.

  • RV Safety Resources You Need to Know About

    RV Safety Resources You Need to Know About

    Isn’t it interesting that you need a specific license to drive a bus and certain kinds of trucks, but you can drive RVs right off the lot of the dealership? Isn’t it curious that the biggest RV fires can be caused by the improper maintenance of the tiniest wire?

    RV emergency preparedness and overall safety can be a little overwhelming and downright confusing at times. But with the proper resources, it is possible for you to feel like you have it all together… After all, the more prepared you are for incidents before they occur and the more trained you are to deal with potential issues, the less likely you are to be sidelined by mishaps on your vacation.

    Check out this list of some of our top-ranked resources, and your friends and family will call you the RV safety guru in no time.


    Escapees RV Club

    Image: TripSavvy

    Full access to safety and education resources, including weight and load management, driving tips, towing safety, tire and accessory resources, and more. They also provide updates on recent RV model recalls, and give you access to a collection of valuable safety websites.


    Image: FEMA Life Safety 

    It’s been said that the hardest part about operating a fire extinguisher, for many people, is knowing how to maneuver it the first time you use it. But did you know there are 8 different types of extinguishers, all with specific, targeted purposes and functions? Don’t be left wondering if you bought the right one… you don’t want to find out when it’s too late. Use this guide to choose the right one, or even buy more than one to further prepare yourself for worst case scenarios before they appear.


    Good Sam RV Roadside Assistance

    Image: Gold Dust West 

    There’s a reason why so many RVers (and automobile drivers in general) use Good Sam’s services. Their Roadside Assistance program is ranked #1 on TopConsumerReviews.com, and the way they combine affordability with a thorough provision of resources is honestly incomparable. With towing and tire services, family and vehicle coverage, and on-staff techs available for dispatch, they’ve got everything you need to ensure you’re always taken care of during an emergency. And you won’t believe the price until you see it… talk about a great deal. Find out more about this top-ranked program now.


    DIY RV’s RV Technician Finder

    Image: DIY RV 


    Trouble figuring out where to look for the best technician for your RV? No problem. In this handy guide, DIY RV walks you through the best way to find a trusted and successful technician, no matter where in the country you are or what kind of issue you’re having.


    Roadtrip America’s RV Fire Safety Questionnaire

    In this insightful article, you’ll find a list of some of the top questions to ask yourself if you really want to know whether your RV is truly ‘fire safe’ while on the road. They also provide you with an interesting guide to the most common causes of fires for different types of RVs – some of which may be surprising.


    Motorhome Magazine’s Open Roads Forum

    There will come a point in time where, just like with everything else in life, you will have a question that websites and resources just don’t seem to have the answer for. Why not ask the larger community of RVers instead? On Motorhome Mag’s Open Roads forum, you can ask any question you’d like, broken out into tons of different categories. You’ll get honest answers from a caring and thoughtful community of RV owners, and will likely get the answers you need in no time.


    Recreation Vehicle Safety and Education Federation


    Image: Larry and Lu’s Travels 

    The purpose of RVSEF is to provide the RV community with professional advice and training resources so that RVers can enjoy their experience to the fullest. The group is endorsed by the Recreational Vehicle Industry Association (RVIA), with emphasis on “its unbiased focus solely on safety advocacy.” Countless resources can be found on the RVSEF website, but a few of our favorites are their printable list of emergency numbers, Driving Safety program (available both online and at some rallies), and their RV Weight and Tire Glossary.


    RV Education 101RV University


    If you’re looking for the full package when it comes to RV safety training and preparation, look no further than RV Education 101. Just as their name claims, they are all about one thing: teaching RVers like you exactly what you need to know before you hit the road. The big winner here: they provide a full program called “RV University,” where educational videos, books, and more will give you all the information you’d ever need to RV safely. One of our top picks when it comes to their resources would be the “Learning RVs the Easy Way” program, which comes in both eBook and DVD format. It’s simple, to-the-point, and will still give you all the info you need to become a pro RVer in no time.