Blog

  • 6 Signs It’s Time to Sell Your RV

    6 Signs It’s Time to Sell Your RV

    On the fence about selling your used RV? You’ve come to the right place! Before you put up a listing on RV Trader, where it’ll be available to millions of shoppers, you’ll want to feel confident knowing that the time is right to sell. Read through our top tips to sell your used RV, and check out the signs below that indicate it’s time to list your RV on the market. 

    Here are a few signs that it might be time to sell your RV.

    You’re Ready for an Upgrade

    Do you love your RV, but notice it’s getting a little rough around the edges? It might be time to upgrade the unit you currently own. New and improved models are coming out yearly, so you can still have the same type of RV you know and love but with modern upgrades and advanced features. 

    It’s Time to Change RV Type

    Changing RV type is more common than you might think. For example, you might start off your RV journey with a pop-up camper and want to upgrade to a full travel trailer in the future. There are a variety of reasons to change RV types: your family grows, you need more or less space, you want more amenities, etc. Take a good look at the RV you currently have to see if it’s meeting all of your needs or if it’s time to make a switch.

    Old Age & Costly Repairs

    We become emotionally attached to our RVs. It makes sense – we create lasting memories in them, and it’s difficult to let our trusty unit go. But the reality is, if your RV has many broken components and outdated features, or if it’s costing significant money to repair pretty frequently, selling could be a good option. 

    High Mileage 

    Have you put serious miles on your RV thanks to many adventures? Great! That’s the whole point of owning an RV. But, if you’re looking to use your current unit to help pay for an upgrade, you’ll need to consider mileage. RVs that have a higher mileage are worth less than units with comparable features. If your RV has a lot of miles, you may want to sell it before repairs are required or the value depreciates.

    Not Using Your RV

    If your RV is collecting dust and you haven’t made plans to travel with it in a while, it might be a good idea to consider selling your unit. You could be sitting on a pretty penny and another family could get great use out of your RV if it’s in good condition. In addition to what you’ll earn in the sale, you’ll also save money with the end of insurance, storage fees, and maintenance costs.  

    High Market Demand

    RVing has never been more popular, and some dealerships are struggling with low inventory. When your used RV is in high demand, you can sell it at a premium price. Keep an eye on consumer trends and sell when the market is hot (hint: it’s HOT right now!). It’s also a great idea to consider the seasonality of RVing. Many RVers travel in the spring and summer months, so it’s a good plan to put up your listing before these peak times. Selling on a nationwide marketplace like RV Trader makes it easy to reach these eager RV shoppers thanks to millions of monthly site visitors.

    Pro Tip: If you do list your RV on RVTrader.com, consider getting a pre-purchase inspection with RV Trader Assurance powered by Lemon Squad. This service allows private sellers to order quick and convenient inspections on their for-sale RVs, which include a comprehensive internal and external examination, complete mechanical and appliance inspection, road test, and more than 40 high-quality photos. A pre-purchase inspection can validate your RV’s listing price, build buyer confidence, and save time in the selling process.

    If it’s the right time for you to sell your used RV, we hope you list your unit for sale on RV Trader’s nationwide online marketplace. Browse our RV Seller’s Guide for additional resources!

  • Top Tips for RV Spring Cleaning

    Top Tips for RV Spring Cleaning

    Warmer weather is almost here. We can practically feel it! Before you know it, you’ll be loading up the RV for your next road trip. But slow your roll before you roll out. When was the last time you deep cleaned your RV? Spring is the perfect time to put a little elbow grease into your beloved home on wheels and we’ve got a few helpful tips. Check out our top tips for RV spring cleaning. 

    Inside:

    • Wipe down ceilings, walls, hard surfaces, and appliances with a multi-surface cleaner that is EPA registered to disinfect and remove bacteria, viruses, mold, and other allergens.
    • Empty, vacuum, and wipe out storage areas and cabinet pulls. Haven’t used an item in a couple of years? Get rid of it. Toss out any old or expired foods or spices. 
    • Strip and wash bedding, vacuum the mattress, and spray with an aerosol disinfectant before remaking the bed.
    • Vacuum blinds, valances, and lampshades with a soft brush, then go over with an adhesive lint roller.
    • Remove spots with a damp, soapy cloth. For hard-to-remove grease stains, scrape with a knife, then layer paper towels on top of the stain. Using the lowest heat setting, iron the paper towels to lift the grease. Then, gently scrub the spot with a mix of dish soap, white vinegar, and water. Finish your routine by steam cleaning.


    • To flush your freshwater system lines, connect a clean water hose to your home’s outdoor faucet and connect the other end to your RV city water connection. Open your gray tank, turn on all the faucets, and run until the water looks, smells, and tastes clean. Use an RV freshwater deodorizer to flush your freshwater tank.


    Outside:

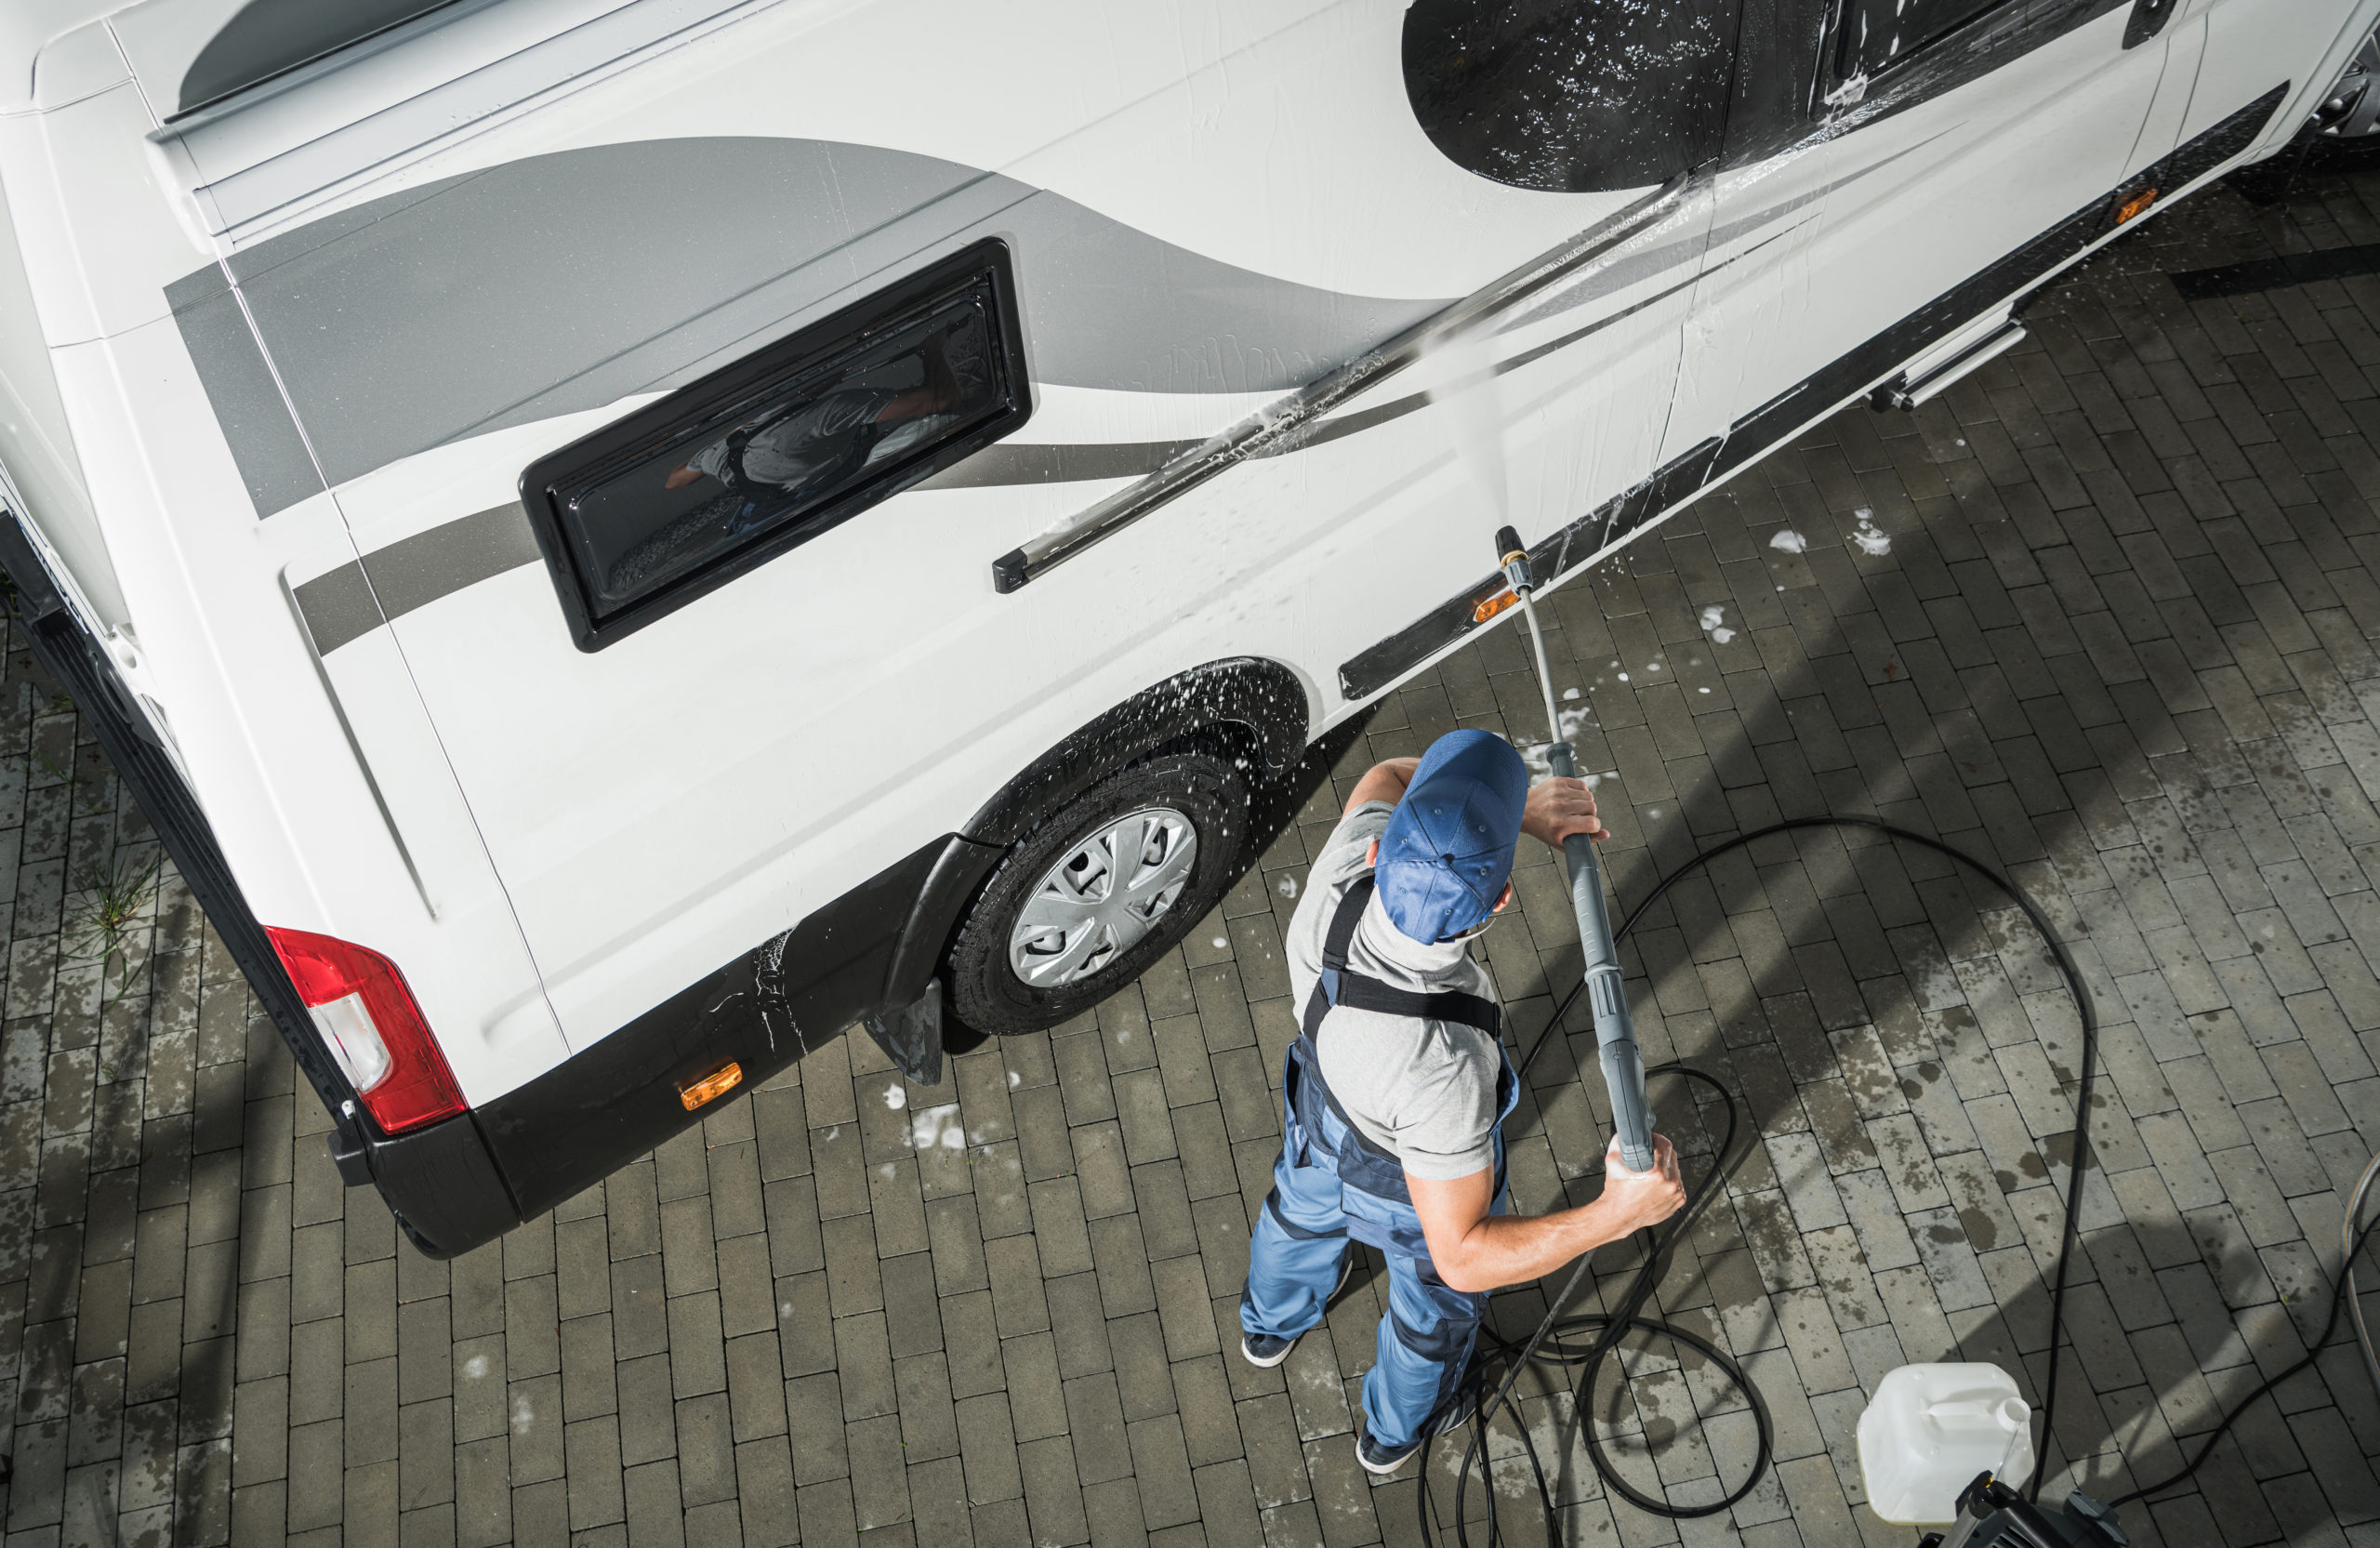
    • Start at the top. For fiberglass roofs, use a soft brush, hose, and any wash-and-wax product to remove grime. While you’re up there, look for any loose or cracked sealant and follow the manufacturer’s directions to remove old caulking and repair. If you have an older RV with a rubber roof, you’ll need specific rubber roof cleaning products.
    • Know what you’re made of – metal or fiberglass. For painted or polished metal bodies, use a pre-wash to remove grime and grit, then clean with a non-abrasive cleaner, soft-bristled brush, and microfiber cloth or mitts. High-pressure washing is not recommended because these RVs are clad and riveted, and water can seep in between the seams. For fiberglass, use a wash-and-wax product with UV protection. Again, beware of the high-pressure washer – it can damage slideout seals and peel exterior decals. 
    • Use a silicone-based cleaner on all window, door, and slide-in gaskets or flexible weather sealants. Most spray on and don’t require any wiping or additional cleaning. Don’t neglect your awnings—they need a rinse, too.


    Remember, spring cleaning is an opportunity to look for any problems and give your RV the attention it deserves so you’ll be ready to roll on your next adventure. Happy cleaning!

    Looking for an RV of your own this spring?

    Browse thousands of models on RVTrader.com 


    *Before tackling any cleaning jobs, check your owner’s manual for specific recommendations.

  • What to Know About Researching & Buying an RV

    What to Know About Researching & Buying an RV

    We recently hosted a live Facebook Q&A answering questions from real RV shoppers about the researching and buying process — but we’re also sharing many of our tips here on the blog. We’ve previously discussed what you need to know before shopping for an RV. In this article, we’re breaking down the three major steps to take once you’re ready to browse available units and make a purchase: 

    Do Your Research.

    It’s time to finally find and compare relevant RVs that are available to purchase; but where do you start? For-sale RVs can be easily found online by visiting dealership websites and online marketplaces like RVTrader.com. On these digital platforms you are able to browse listings and filter results based on your preferred criteria. RV listings provide you with a number of ways to evaluate for-sale units: 

    • Photos: Images are the most foundational way to get a good look at the RV you might buy. The best dealers will post plenty of pictures, including every angle of the exterior, as well as pictures of each area of the interior.
    • Videos: Even more than photos, videos give you the best idea of what the RV will look like in “real life.” Videos can show you the RV in-action, demonstrating each of its main features.
    • Specific details: Listings should include key details about the RV, including the year, condition, mileage, sleeping capacity, and more.
    • Descriptions: Dealers will also describe all the features you can find both inside and outside of the RV.

    While you’re researching, be sure to compare listings. Just because you’ve found one RV that could be a good fit doesn’t mean there’s not a better RV or a better deal out there. As you more seriously consider different RVs, be sure to research the dealer themselves, as well as the history of the RV if you’re buying used. Knowing you’re buying a quality unit from a trustworthy dealer can give you greater confidence in your purchase, and may be the deciding factor when deliberating between different RV buying options.

    Connect with the Seller.

    Once you’re interested in an RV, you don’t have to immediately visit a dealership to connect with a dealer or learn more about the for-sale unit. In today’s virtual world, there are a number of ways you can reach out to a seller without stepping onto the dealership lot. Most dealers can be reached via a phone call or email, of course, but many dealers also offer texting, live chat messaging, and live video chats.

    Video chats are an especially useful communication tool, because — in addition to speaking with the seller — they also allow you to conduct a virtual inspection of the RV without going to the physical dealership. Just like an in-person inspection, scheduling a live video appointment with the dealer lets you…

    • View the RV’s exterior and interior, 
    • Hear the engine running, 
    • See the mileage, 
    • Review parts or potential damage, 
    • Ask questions, and 
    • Hear the dealer’s sales pitch.

    Pro Tip: If you’re shopping for RVs on RVTrader.com, look for the RV Trader Inspection Badge on specific listings. This indicates that an RV has been inspected by RV Trader Assurance powered by Lemon Squad. You can view a complete inspection report, detailing the condition of the unit’s internal and external structure, mechanical components, appliances, and the results of a road test. You can also view over 40 high-quality photos of the for-sale RV.

    From phone calls and emails to texting and video chats, any RV listing — as well as the dealership’s website — should provide you with all the relevant seller contact information and communication options. When reaching out to a dealer, don’t hesitate to request more photos, seek out additional details, ask questions, talk financing, make an offer, negotiate price, or communicate about anything else you think is important.

    Review Virtual Buying Options.

    Once you’ve decided to purchase an RV, you may be able to complete most or all of the buying steps online, depending on state laws and dealership policies. Check with the seller to see if virtual options are available for…

    • Signing documents to finalize the sale of the RV,
    • Obtaining financing (from the dealership or 3rd party), or
    • Obtaining warranties (from the dealership or 3rd party).

    You can also check to see if you have to go to the dealership lot yourself, or if the RV can be delivered. If you’re local, a seller may bring the RV right to your driveway. If you’re further away, you may be able to arrange for the RV to be shipped to you. Finally, throughout the buying process, keep an eye out for indicators of scam or fraud, browse on secure sites, and be careful when sharing personal information online.


    Congratulations! Soon you’ll be out on the road, on your way to the campsite and memory-making fun. If you’d like to take a deeper dive into researching, shopping, and purchasing RVs, don’t forget check out our Facebook Live Q&A! If you’re ready to jump right into browsing RVs, head on over to RVTrader.com and don’t forget to check out our full site of virtual buying resources.

  • What to Know Before Shopping for an RV

    What to Know Before Shopping for an RV

    After so much time dreaming of exploring new places, embarking on adventures, and making delicious s’mores over a campfire, you’ve finally decided to pursue your RV dream. But how do you actually get started? Even before researching and buying a specific RV, there are a number of things you need to consider. Especially if you’ve never purchased an RV before, it can be an overwhelming process.

    To help smooth the ride, we hosted a Facebook live Q&A on March 18, 2021 at 1PM ET about the RV buying process. You can access the Facebook Q&A here. Additionally, we’re putting many of those tips right here on the blog. Before shopping for an RV, here are three steps you need to take:

    Build Your Wishlist.

    Before shopping online or in-person for an RV, you need to think through the kind of experiences you want to have and what features would be required to achieve them. To get started, we commonly ask new RVers questions like:

    • Where will you be taking your RV? 
    • Do you plan on finding yourself on a solo adventure, or is the RV a memory-making machine for family and friends? 
    • Will you need amenities to replicate the comforts of home, or are you looking to rough it out in the wild?

    The experiences you aspire to will determine what you look for in an RV, so building a wishlist of features is an essential first step. Here are some things to consider as you craft your RV wishlist:

    • Sleeping space: Think about how many people you want to be able to take with you on trips.
    • Storage space: Figure out how much stuff you feel will be essential to take on any trip, and then add additional space for the extra items that always ends up along for the ride.
    • Living space: Honestly reflect on if you’re willing to spend most of your time outdoors, or if you admittedly need space to spend time inside as well.
    • Kitchen space & appliances: If you’re not prepared to cook every meal over a campfire, even in the rain, consider how much space you’ll require to prepare meals.
    • Where you want to travel: Does your RV need to be able to navigate tight city streets or take to the interstate highways, and do you feel capable operating larger RVs on long-haul trips?
    • If you require electricity, heat/AC, running water, Wi-Fi, etc.: Again, you need to be honest with yourself about what amenities you can and cannot go without.
    • If you’ll have pets travelling with you: Think about if an RV will provide enough room for your pet, and if you’re prepared for any damages a pet may cause to the RV.
    • If you’ll drive through city streets or narrow roads: Once more, you need to consider how comfortable you are operating your RV down any road you may come across.
    • If you’ll need to haul extra toys: If you’re preparing for high-adrenaline adventure, figure out if an RV has the capacity to haul your dirt-bike, PWC, or other items

    Determine Your Budget.

    You’ll obviously want to purchase an RV that is within a reasonable price range for your individual financial situation. To know if an RV is going to fit within your allotted budget, it’s important to consider the total cost of ownership for the RV, not just the sticker price. Here are three things to remember: 

    • The down-payment: You’ll obviously have to pay a percentage of the price to the dealer up-front. This can vary by the RV you’re buying, dealership policies, and the financing you’re able to obtain.
    • Recurring expenses: Unless you pay the full cost of the RV all at once, you’ll have monthly payments to make, as well as bills for RV insurance. As you drive the RV, you’ll need to buy fuel, and some people will also have to pay for storage if they cannot keep the RV at their own residence.
    • Maintenance and repairs: It won’t be every month (hopefully!), but from time-to-time you’ll have to pay for preventative maintenance to keep your RV safe and operational. It’s also likely that at some point during your ownership of the RV, you’ll have to pay for unexpected repairs, which always seem to happen in the most inconvenient times — so be ready for those expenses!

    New RVs will cost more than used RVs, of course, but keep in mind that used units come with some risk of needing additional unexpected repairs. When calculating the total cost of ownership, especially if you’re buying a new RV, you should also consider how you can sell your RV as a used unit once you’re done with it or want to upgrade, helping you recoup some of your money.

    Choose Your RV Type.

    There are so many different types of RVs out there. It will be important to research each type of RV to determine which type would be the best fit for you and your lifestyle. Keep in mind how you want to use the RV, your level of expertise, and your price range. The main types of RVs include: 

    • Class A Motorhomes: These RVs are the largest and roomiest RVs on the road, typically ranging from 24 ft. to 45 ft. in length, and are either diesel or gas-powered.
    • Class B Motorhomes: These RVs are typically referred to as camper vans and are built on a standard full-sized van chassis, but still have amenities and a raised roof for upright walking.
    • Class C Motorhomes: These RVs are a compromise between Class A and Class B, with more space than Class B RVs, but easier to drive than Class A RVs.
    • Travel Trailers: These RVs are towed behind a truck or SUV. Also known as “campers,” they’ve become increasingly popular because they’re more affordable than drivable RVs.
    • Toy Haulers: These RVs are towable travel trailers with a built-in ramp and space that can be used for a small garage, along with a kitchen and living quarters. 
    • Fifth Wheels: These RVs are large trailers towed by a pick-up truck. They can be bigger than drivable motorhomes, but allow for the option of detaching the truck for easier travel to and from the campsite during a trip.


    Once you have built your wishlist, determined your budget, and chosen your RV type, you’re ready to begin your RV shopping experience. For tips on that part of the process, you can check out our companion
    article about researching and buying RVs. And if you’d like to really take a deep dive into any of these topics, don’t forget to check out our Facebook Live Q&A!

  • What Are the Different Types of RVs?

    What Are the Different Types of RVs?

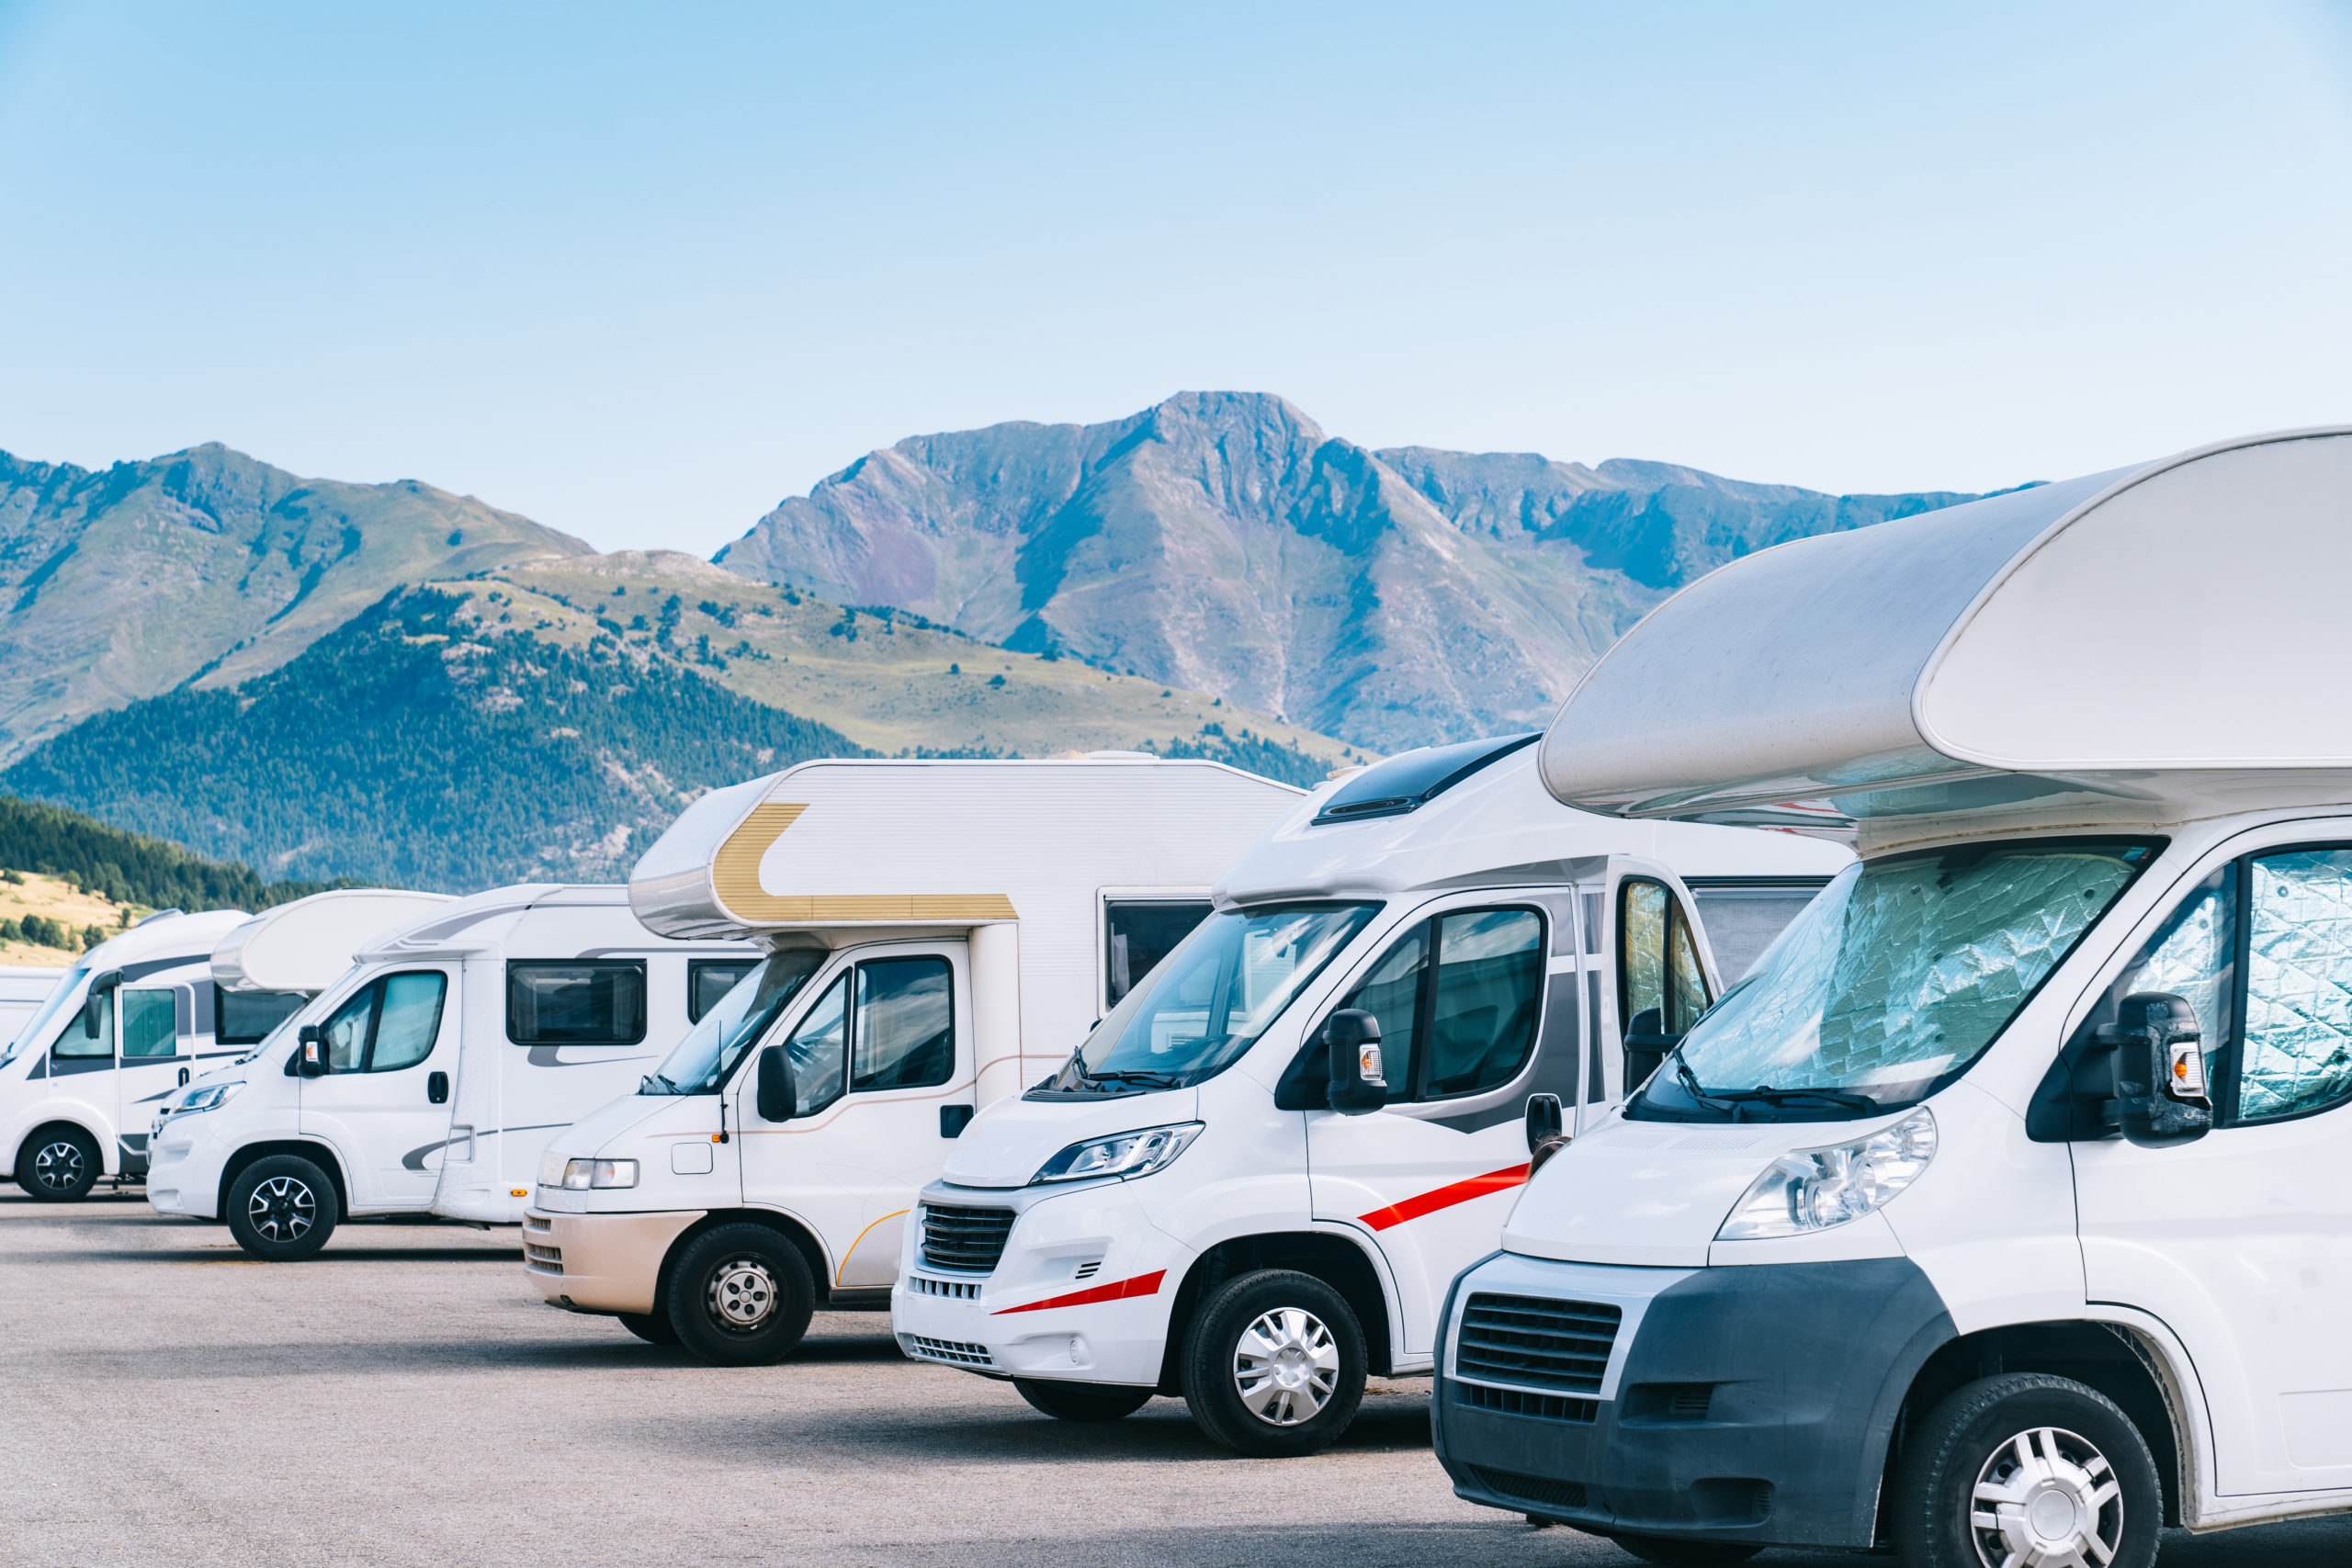
    Whether you’re looking to take quick weekend trips or a cross-country adventure, there’s an RV for you out there! Searching for an RV online can be an overwhelming experience with so many different options, but we’ll break down a few of the most common RV types. 


    Drivable Types: 

    Class A RVs are the largest of all drivable motorhomes and are truly a home on wheels. These luxurious models are typically built on a commercial bus or truck chassis that have full kitchens, bedrooms, bathrooms, and large living spaces. They are great for larger groups and full-timers and can include king-sized beds, full living rooms with sofas, washers and dryers, televisions, kitchens, refrigerators, and full-sized bathrooms.

    Class B motorhomes, otherwise known as camper vans, are driven like regular vans but are typically taller to allow for additional living space. Class Bs are great for smaller groups and are fairly easy to maneuver due to their size. Most include a living area, sleeping area, kitchen, and bathroom – all the necessities you would need on a short trip.

    Class C RVs are very similar to Class As but with more compact features. They are built on a truck or van chassis and are usually designed to have an overhang over the cab that is typically an extra bed or additional storage. These units can be very luxurious and include a wide range of amenities like full kitchens, bathrooms, living rooms, cab-over beds, fold-out beds, and more. 

    Towable Types:

    Travel Trailers are RVs that are towed behind a vehicle. They typically include living spaces, multiple sleeping areas, kitchens, and bathrooms. One of the main benefits of a Travel Trailer is that the unit can be detached from the towing vehicle, so you are free to easily travel to nearby destinations and attractions in your car while your trailer is parked in designated areas.

    Fifth Wheels are designed to be towed by a pickup truck with a “fifth-wheel” trailer hitch. These units are BIG and can, in some cases, be larger than Class A RVs. Most include full-sized kitchens, master bedrooms, sleeping areas, living rooms, ample storage space, and full bathrooms. They also allow you to disconnect from your truck if you want to explore nearby towns or parks off the beaten path. 

    Toy Haulers are towable travel trailers that feature a garage and built-in ramp on the back, allowing easy access to any toys or adventure gear the owner might be traveling with – for example, ATVs, motorcycles, mountain bikes, etc. Keep in mind that these units are typically on the heavier side so you will need a vehicle that has ample towing capabilities. 

    Ready to find your perfect RV? Visit RVTrader.com to start your search, today and be sure to check out our virtual buying resources!

  • Your RV News Roundup – February 2021

    Your RV News Roundup – February 2021

    We know you love to stay up-to-date with the latest RV news. Luckily, at RV Trader, we feel the same way. We’re rounding up some of the top RV headlines to keep you in the know. Sit back and relax while we breakdown your RV news roundup. 

    Keystone Reveals New Line of RVs

    In January, Keystone RV revealed their new fifth wheel line at the Florida Super Show. The new line named Arcadia has been in development for more than a year, and includes two floor plans, a three-quarter ton 3660 and half-ton 325. The Arcadia is bigger and better than ever and includes more storage and fresh water than previous years to accommodate the ever-growing trend of dry camping. Custom cabinets, flooring, and modern furniture are all included in the new line bringing a fresh look to RVing. You’ll want to see the new models for yourself. Read More

    Blue Dog RV Grants a Make-A-Wish

    Blue Dog RV and Montana’s Make-A-Wish Foundation recently granted the wish of 7-year-old, Charlotte. Charlotte, who has the rare disorder Langerhans Cell Histiocytosis, wished for a way to spend more time with her family. She loves spending time outdoors, and now her family has a camper to do just that! We are thrilled for Charlotte and hope her and her family enjoy the RV for years to come. Read More

    Chicago Company’s Speaker Technology to Be Featured in New Airstreams

    Airstream recently announced that they will be coming out with a new line later this year that will include a new speaker technology from a Chicago start-up. Resonado Labs, a maker of proprietary flat core speaker technology, is designing the speakers for Airstream’s upcoming line. The company specializes in creating slim and lightweight speakers that take up less space than traditional options. These speakers can be placed in ceilings, headrests, and other small areas to save space without sacrificing quality. We’re all about saving precious space in RVs and can’t wait to see the additional features included in Airstream’s new line. Read More

    Family of Three Downsize and Travel the Country

    As the trend of full-time RVing grows, many families across the country are weighing the pros and cons of RV living and roadschooling. At the beginning of 2020, Karen and Sylvester Akpan and their son made the leap to sell their home and move into an RV full-time. Their motivation: financial and physical freedom. We can’t blame them! The family first rented an RV and enjoyed the experience so much, they decided to buy one of their own. Now, they are saving an incredible amount of money each month and have visited over 20 states. Check out their adorable RV and all of their tips and tricks in INSIDER’S recent article! Read More

    You are officially caught up on some updates from the RV world! Which story caught your eye this month? Have a story of your own we didn’t cover? Let us know in the comment section below.

  • 10 Tips for Winter RVing

    10 Tips for Winter RVing

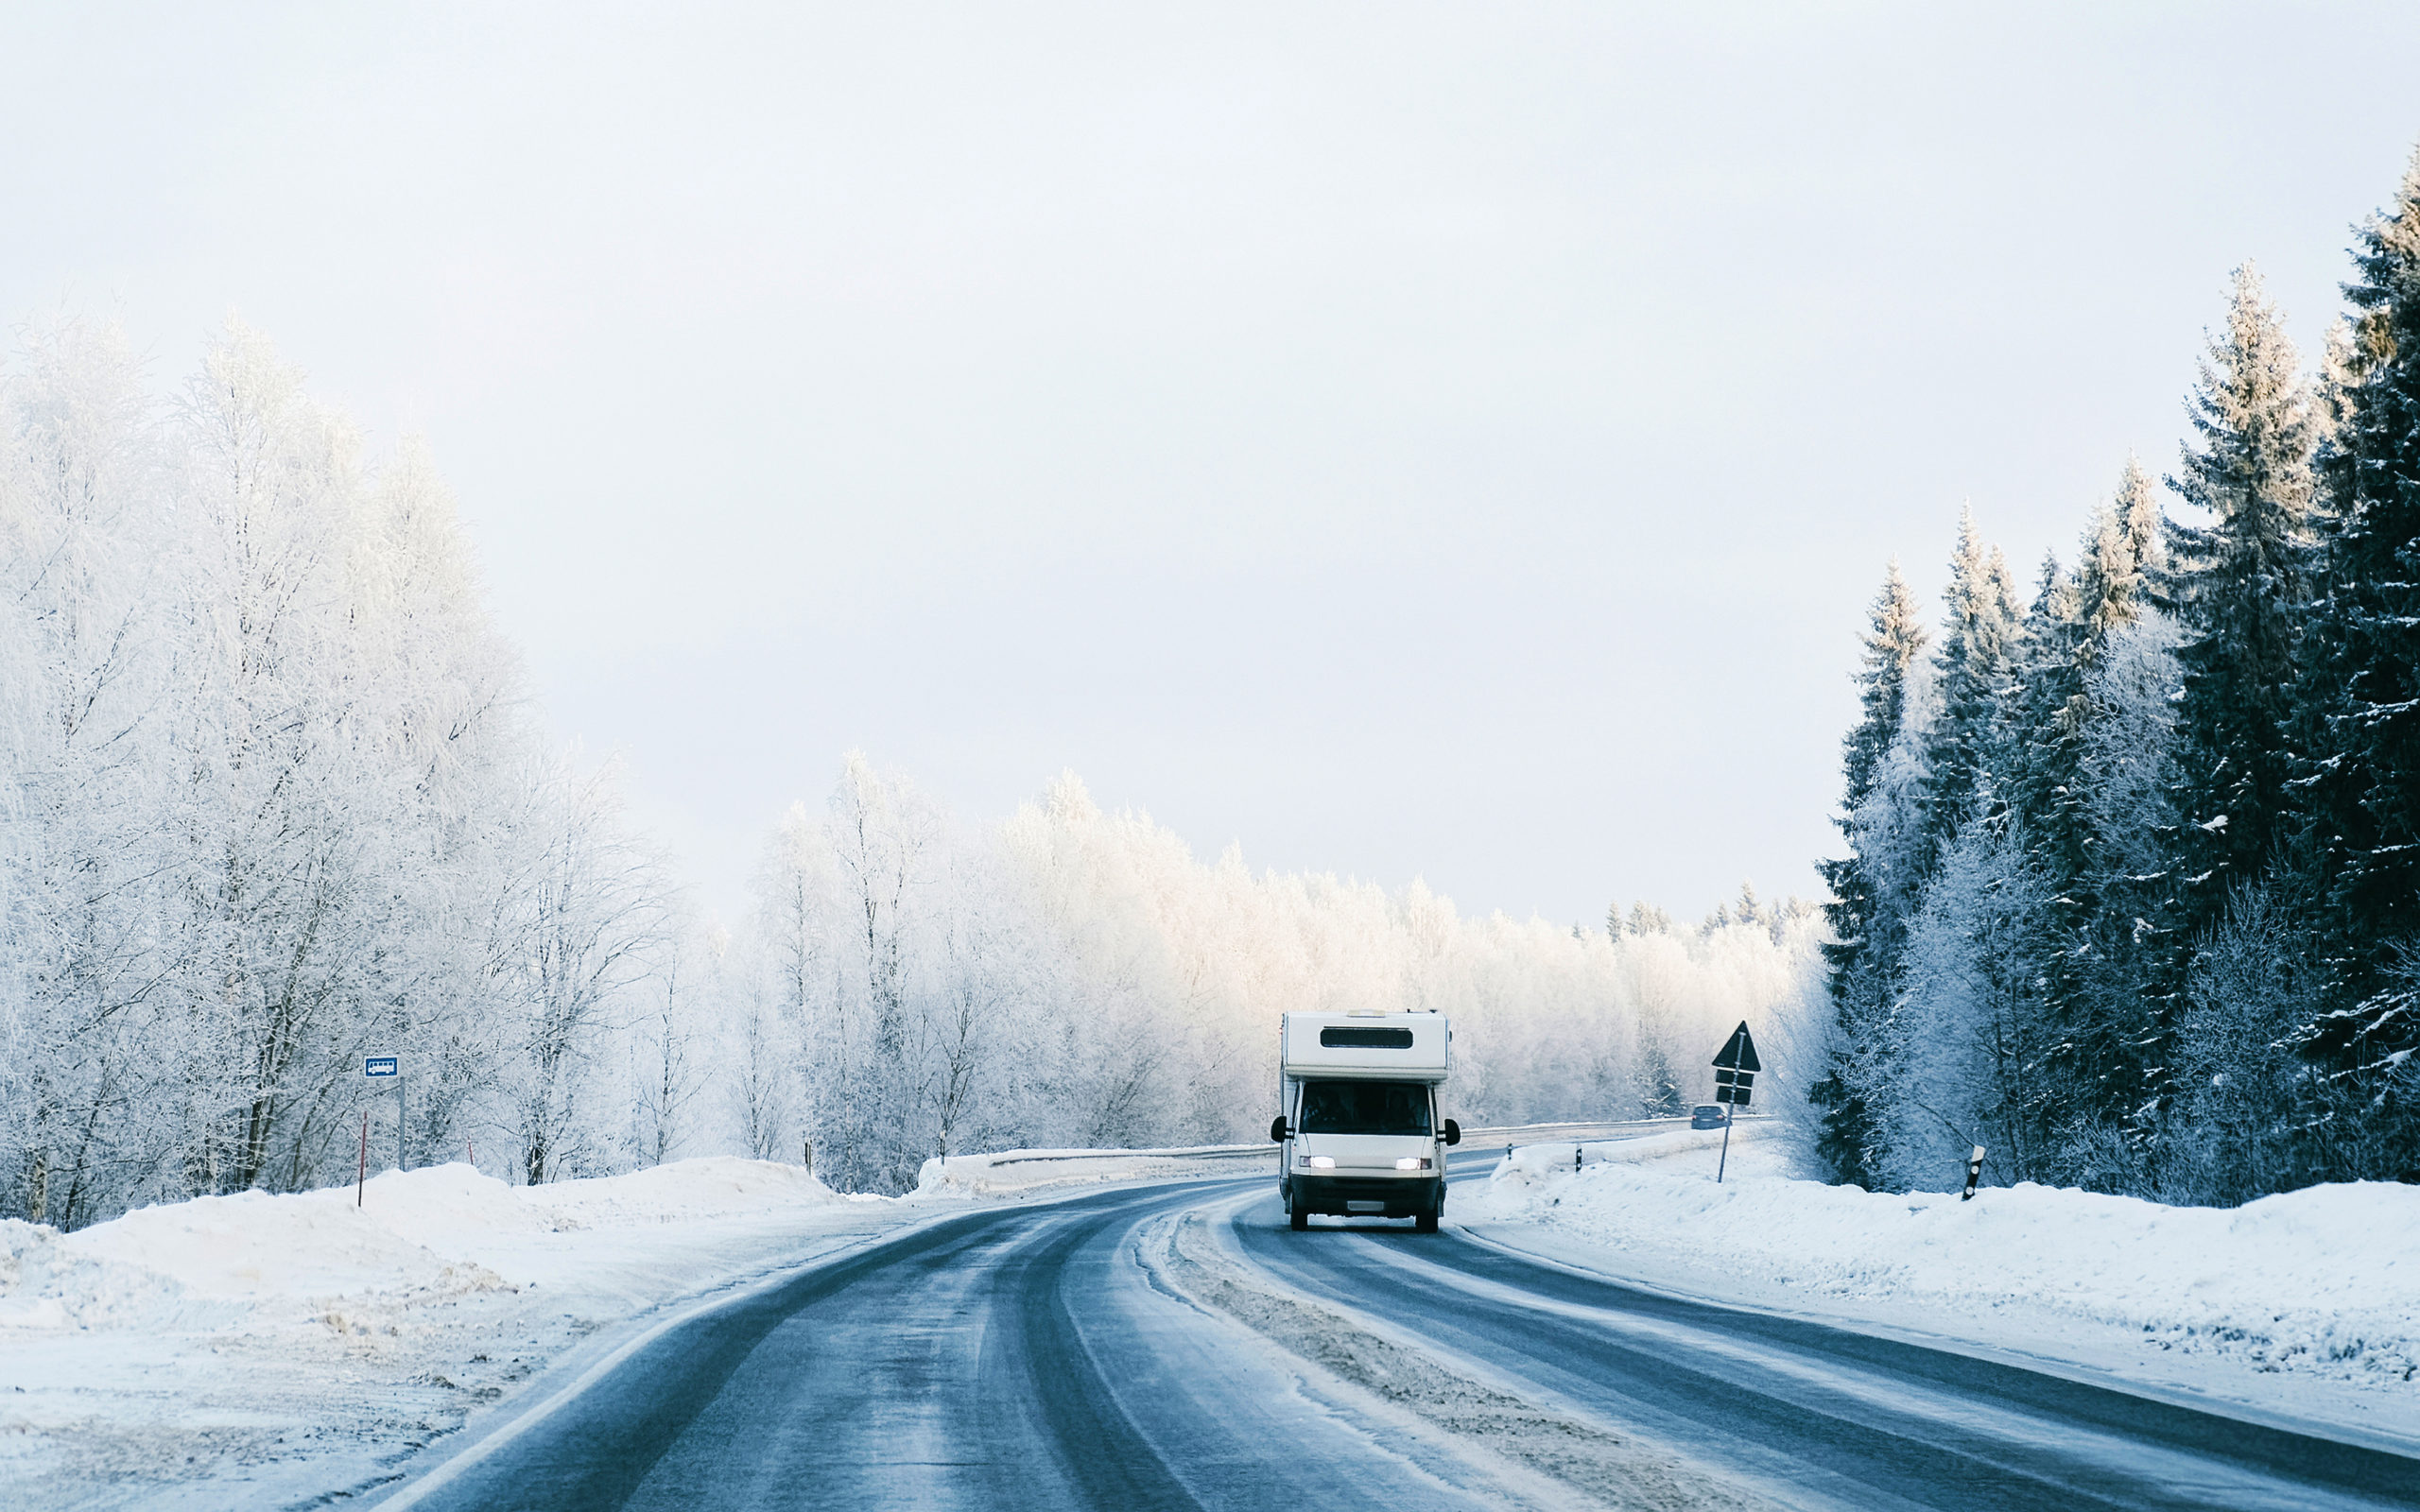
    Did you know? You can RV all year round! Many travelers love to explore in the winter so they can enjoy snow-covered views and activities like snowboarding, skiing, and more. Prepare for cold weather RVing with our 10 top tips:

    Have the Right Kind of RV

    Before you set out on a snow-filled adventure, make sure you have the right kind of RV for the job. For the most enjoyable winter travel experience, we suggest camping in a fully enclosed and insulated four season RV.  

    Check the Forecast Before You Head Out

    Check the forecast in the area where you’ll be traveling BEFORE you hit the road. If there’s a snowstorm coming that your RV can’t handle, it might be best to postpone the trip or adjust the itinerary.

    Make Sure Campgrounds Are Open

    Campgrounds can have seasonal availability. Many popular spots close during winter months due to inaccessibility or management preference. Check the campground’s availability and hours of operations before you leave to make sure they are open for business during the colder months.

    Have a Reliable Heat Source

    Double check that your RV’s furnace is in working order before hitting the road.  If your unit uses propane, bring additional tanks with you. Many RVers also use electric space heaters or onboard fireplaces as added heat sources on chilly days.* 

    Protect Your Plumbing and Holding Tanks

    Avoid the hassle of frozen pipes and holding tanks by adding RV-specific antifreeze to your tanks and using heat tape on your hoses and pipes for added insulation. For those with fresh-water hookups, invest in a heated water hose to minimize the risks of freezing. 

    Park in the Sun

    Use the sun to provide an additional layer of protection to your RV in the winter months. Parking in the sun can minimize the risk of frozen pipes and ice, and help your RV stay warmer than parking in the shade or under tree cover. 

    Use Drapes, Curtains, and Rugs for Additional Insulation

    Heavy drapes and curtains can provide additional insulation on your RV’s windows by blocking cool air from entering your RV. Consider adding a few heavy rugs on the floor and using door draft blockers to keep chilly air from coming into your unit. 

    Check Seals and Weather Stripping

    Make sure your weather stripping and seals are fully intact for additional protection against drafts and moisture. Swapping out old or broken seals and weather stripping doesn’t take too long and is definitely worth the extra effort before heading to your destination. 

    Consider a Skirt

    An RV skirt is a material that is placed around the bottom of the RV that minimizes wind and cold weather from entering your unit. You can DIY or buy!

    Use Your Oven

    When you’re finished cooking a meal in your RV’s oven, leave the oven door open as it begins to cool to provide additional heat to your RV.*

    Ready to head out on a snow-filled adventure of your own?

    Find your dream RV on RVTrader.com today!

    *Don’t leave a space heater or oven unattended and always travel with a fire extinguisher. 

  • Valentine’s Date Night Ideas For RVers

    Valentine’s Date Night Ideas For RVers

    An RV has the ability to take you just about anywhere, so use it to your advantage this Valentine’s Day! We’re breaking down a few romantic date night options that any RVer would love.

    Go For a Weekend Getaway

    Traveling is the way to any RVers heart, so why not plan a romantic weekend getaway for your significant other? Conduct some research and find a nearby destination that you’ve never visited to keep things exciting. It could be a drive to the mountains, a beach getaway, or simply a campground you’ve never visited before – the options are endless! Reserve the campsite ahead of time and plan a few fun activities that you both can do together.

    Cook for Each Other

    If your RV has a kitchen, try cooking a romantic meal for your partner. There are tons of on-the-go recipes that are equally delicious as they are simple. You could even set up a virtual cooking class where you can both follow along with the instructor to craft a perfect meal together. If your RV isn’t equipped with a full kitchen, try some delicious over-the-fire recipes to try. Or keep it simple and grab some takeout from a local restaurant!

    Cozy Up by the Campfire

    Once you’ve cooked your delicious dinner, gather some firewood, light a match, pour your favorite drink, and cozy up by the campfire. There’s nothing better than kicking your feet up after a long day of travel or outdoor activities. Don’t forget to bring supplies for s’mores or campfire turnovers to top off the night with a delicious treat!

    Pack a Picnic

    See if you can find a nearby trail or scenic location and add a hike or nature stroll to your itinerary. Before you head out, pack a small picnic to take with you to enjoy when it’s time for a scenic break. You can bring whatever your partner likes whether it be a charcuterie board full of cheese and crackers or a lovingly crafted PB&J. It’s the thought that counts!

    No matter where you go, what really matters is who you are going there with! We hope you have fun trying these Valentine’s Day date night options.

    Need an RV to take you there?
    Find your perfect unit on RVTrader.com.
  • Where to Boondock?

    Where to Boondock?

    For many RVers, boondocking is their favorite style of camping. Boondocking refers to a style of free camping without access to utility hookups. Now that we know the boondocking basics, we’re covering where to boondock.

    An RVer can boondock in a wide variety of locations. These include public lands, such as national forests and other federally-protected lands, casino parking lots, the parking lots of many businesses, locations offered through several types of membership clubs, rest stops, and more. Here, we will list and describe in detail all the places available for free boondocking across the United States. You may be surprised at just how many places are available!

    1. Public Lands

    Did you know that the United States has over 610 million acres of publicly-owned land across the country? This includes lands managed by the Bureau of Land Management (BLM), the United States Forest Service (USFS), the United States Fish and Wildlife Service (USFWS), and the National Park Service (NPS). Besides the lands managed by the NPS, most of the other public lands across America are open to campers for boondocking purposes. Rangers in federal land offices sometimes refer to this as dispersed camping. Among those who love to boondock, dispersed camping (camping on public lands) tends to be the most popular.

    Credit: Public Lands Foundation

    There are many benefits to camping on public lands. These include gorgeous views, minimal interactions with others, peace and solitude, access to nature in its purest form, and plenty of wide open spaces. However, free access to these gorgeous places comes with a few rules.

    • First of all, campers must ensure that they cause minimal impact to their campsite by leaving no trace and packing out all trash and waste.
    • In addition, all campers must be sure to camp for a maximum of fourteen days, although this number can vary depending on the location.
    • Finally, campers must respect any burn bans that may be in place, as well as any other conditional rules their camping area may have. When in doubt, call the nearest ranger station to double check on the rules.


    Camping on public lands is incredible for all those able to experience it, and it is able to be regulated and enjoyed by everyone when campers adhere to the rules in place.

    2. Business Parking Lots

    There are many businesses that also allow RVers to park overnight for a night or two, free of charge. As a general corporate rule, some of these locations include Walmarts, Home Depots, Cracker Barrels, Cabela’s, Bass Pro Shops, K-Marts, Targets, Costcos, and many other places. However, while camping is generally permitted at these locations, city ordinances in certain places may prohibit camping. As with each other free camping location, there is a process you should follow to ensure that camping is actually permitted at each individual location.

    • Start by locating the business where you are thinking of staying. Find the contact information and call, asking to speak with a manager.
    • Once you get a hold of someone, confirm whether or not camping is allowed, and ask if there are any specific rules to follow. This could include allowance of generator usage, where to park, if you are allowed to open your slide-outs, and more.
    • If you are unable to get a hold of a manager, it is not recommended that you try to stay overnight, as this could lead to fines or ticketing. However, keep in mind that most Walmarts are allowed, unless signage indicates otherwise.


    3. Membership Clubs

    There are a few membership clubs that RVers can join for access to even more overnight camping. Each of these has a yearly fee, but after paying this one-time price, members can access to many unique locations for an entire year.

    Boondockers Welcome is a great program in which hosts allow RVers to stay on their personal properties for free. Often, this may be in someone’s driveway or even in their backyard. A membership will allow members to gain access to the full repertoire of over 2,000 locations, each complete with information such as number of days permitted, what size RVs are allowed, whether or not the location is pet-friendly, and more. Often, this can be a great option for those camping in cities where overnighting in business lots is not permitted. In addition, it is also great for building a network of friends with similar camping interests.

    Harvest Hosts is another unique program that allows those in self-contained RVs to stay overnight for free at over 1,100 business locations across North America. These include locations such as farms, vineyards, breweries, museums, and so much more. The membership costs a low yearly fee, and members are expected to patron their Hosts’ business, but the total amount spent is still significantly less than what one would spend at a campground. In addition, it gives campers tons of personal and interesting experiences that cannot be found in typical campgrounds or parking lots. Once you have joined, the website’s interactive map allows members to view hosts and details about their location before requesting to camp.

    4. Rest stops

    As a last resort, most rest stops along interstates and highways allow free overnight camping. While this may not be ideal, due to safety, noise, and comfort, this can be a very convenient option when traveling quickly from one place to another. Generally, there are few rules at rest stops. Just be sure to look for signage indicating that camping is permitted before setting up for the night. And as always, keep noise to a minimum, and properly dispose of all garbage.

    5. Casinos

    Finally, many casinos across the United States allow visitors to camp overnight in their self-contained RVs, free of charge. Most of these locations are Native American-owned and can be found in the western half of the United States. This camping option is excellent for those who wish to be near a city and save some money on camping fees. Like dispersed camping, casino camping tends to have a few rules.

    • First, campers will need to check in with security and ask where in the parking lot they are allowed to camp. Typically, there is a set area where the casino owners would like RVs to park if they are staying overnight.
    • Next, you will want to check to see if there are certain hours when generator use is permitted. If there are no set hours, you will want to stick to a 9pm-9am schedule for quiet hours, during which time your generator should be off, out of politeness to fellow campers and your host.
    • Then you will need to check and see how many days you are allowed to stay. This can be anywhere from a single night all the way up to two or three weeks, depending on the casino.
    • Finally, any campers enjoying their free overnight accommodations should be sure to patronize the casino with a small purchase of some entertainment or a meal. After all, the camping is permitted because it is profitable for the casino, so if RVers do not spend any money, the casino may begin to rethink whether or not it wants to allow free overnight camping.


    If there is no public land and no casino camping available nearby, then you may look to any of the next three options for free campsites.

    Free campsites are available in almost every area an RVer could wish to visit. Even if you only wish to camp for free occasionally, the money saved can allow you to enjoy even more fun while on vacation. Consider any of these location possibilities for an excellent variety of campsites to choose from. Stay tuned for our next post, where we will discuss what tools are most useful for locating and selecting specific boondocking sites.

    Where do you like to boondock? Did we miss any of your favorite places? Feel free to share in the comments below!

  • FMCA Tech Tip: RV Fire Safety

    FMCA Tech Tip: RV Fire Safety

    Making a plan and having the proper equipment can help to avert disaster. 


    An RV fire can quickly lead to devastating damage, injury, or, in the worst-case scenario, loss of life. Therefore, it’s important that RVers implement a fire-safety plan that includes knowing how to exit the RV, having a sufficient number of fire extinguishers of an adequate type and size, installing devices that warn of dangerous levels of smoke and propane (as well as carbon monoxide), and possibly installing an automatic extinguisher for a refrigerator or engine compartment.

    Escape Options

    When a fire breaks out, your first decision is whether to fight it or flee. Because RV fires can quickly become unmanageable, fast action is crucial. Some RV owners place important items in a pouch that they keep near the door, so it’s easy to grab on the way out. The door, of course, may not be accessible. Emergency exit windows are mandated by law, but crawling through one may be difficult. Some windows pop out, but many can slam shut on you, so you may want to keep handy a pole of some sort to hold the window open. You also might have to deal with a significant drop to the ground, unless a picnic table or bench is below the window. Rope ladders can be purchased, but you must be able to find and deploy the ladder quickly to avoid being overcome by smoke inhalation. Rather than an emergency exit window, some Type A motorhomes have an emergency exit door. Whatever your options, it’s important to have an escape plan and practice it with your travelers.

    Fire Classifications

    A fire needs three elements to ignite: fuel (such as wood, carpet, gasoline, diesel fuel, and propane), oxygen, and heat. Fire extinguishers put out fires by removing one or more of these elements. Although RVs come equipped with fire extinguishers, they often meet only the minimum standards provided by the National Fire Protection Association. Many models are undersized and fall short of what’s needed to put out anything but a very small fire. Before we examine the types of fire extinguishers, it’s important to understand how the fires most likely to occur in RVs are classified.

    • Class A fires involve solid combustible fuels (other than metals), such as wood, paper, cloth, and plastics. These are the easiest fires to put out. Water works well. Ideally, an element (such as soap) is added to the water to break the surface tension and separate the fuel from its oxygen.
    • Class B fires involve flammable liquids, such as gasoline, oil, grease, diesel fuel, and alcohol. Water won’t extinguish such fires, because the liquid fuel floats on the water’s surface and spreads to other areas.
    • Class C electrical fires are caused by energized circuits. If a circuit is live, consider the fire a Class C blaze. The wire itself doesn’t burn, but the insulation and anything surrounding it does. Using water on Class C fires can create an electrical shock hazard. Once the circuit is de-energized, the blaze can be treated as a Class A fire.

    Fire Extinguisher Ratings

    Fire extinguishers tested by UL, a global safety certification company, are labeled with a rating that indicates the size and types of fires the extinguishers can put out. Each letter stands for a fire classification — that is, Class A, B, or C. The number preceding the letter A is a water equivalency rating, with each A equal to 1.25 gallons of water. For example, a 2A extinguisher is rated as effective as using 2.5 gallons of water on Class A fires; a 3A extinguisher is as effective as using 3.75 gallons of water, etc. The number rating for Class B and C extinguishers represents the square footage that the extinguisher is designed to handle. So, a 10B:C extinguisher can handle Class B or C fires up to 10 square feet. It’s common to combine ratings on a single extinguisher, such as 2A:10B:C.

    Fire Extinguisher Types

    Using the wrong type of fire extinguisher on certain fires can be life threatening. Following is a brief description of the types of extinguishers and the fire-fighting agents they employ:

    Air pressurized water (APW): Extinguishes Class A fires. APWs are large tanks filled about two-thirds with water and then pressurized with compressed air. Pulling the trigger shoots water from the hose and nozzle.

    Carbon Dioxide (CO?): Extinguishes Class B and C fires. The extinguishers are filled with highly pressurized carbon dioxide, which exits through a hard plastic horn and displaces oxygen from a fire, suffocating it. Because the CO is cold as it exits the extinguishers, it also cools the fire. CO generally is not effective on Class A fires because it may scatter burning particles and may not displace enough oxygen to smother the blaze and prevent it from reigniting.

    • Dry Chemical: Extinguishes Class A, B, and C fires. These are the most popular extinguishers among consumers. The dry chemical is a fine powder that is pressurized with nitrogen. The dry chemical interrupts the chemical reaction that occurs among elements of a fire (fuel, oxygen, and heat). Many RVs come equipped with a 3.9-pound dry-chemical fire extinguisher rated at 1A:10B:C. As a fire-fighting tool, it’s undersized, and therefore its usefulness is extremely limited. If you choose a dry-chemical extinguisher, I recommend a larger one, such as a 9-pound 3A:40B:C. One downside of dry-chemical extinguishers is that they leave a mess. The powder extinguishes electrical fires, but it is corrosive to electrical circuits, so once it’s used, electrical components may need to be replaced. In addition, inhaling or coming into contact with certain types of dry-chemical powders can cause irritation to the nose, throat, and lungs, as well as dizziness and headaches. Over time, the dry chemical tends to settle in the cylinder and become packed down. Therefore, every six months, turn the extinguisher upside down and whack the base with a rubber mallet so that the powder remains loose enough to be expelled. Most of these extinguishers come with a pressure gauge that should be checked regularly. If the gauge indicates a recharge is needed, it may be possible to refill the extinguisher, but usually inexpensive throwaway models simply should be replaced.
    • Clean-Agent Gas: Extinguishes Class A, B, and C fires. These extinguishers use an inert gas to interrupt the chemical reaction in a fire and/or remove heat. Halon has been banned in many areas, because it destroys ozone, but environmentally acceptable clean-agent gas alternatives are available. They leave no mess and don’t conduct electricity. Two types of clean agents exist, flooding and streaming. Flooding types are more gaseous, and often are used in enclosed, unoccupied areas where the gas can’t escape, such as computer rooms and engine compartments of boats. When such extinguishers are used in an open or fan-ventilated area, the gas can disperse, allowing the fire to flare up again. Streaming clean agents, such as Halotron 1, are discharged from a portable extinguisher as a liquid and then turn into a gas. This allows the user to stand back from a fire. Although Halotron 1 is approved for use in occupied spaces, inhaling it should be avoided. It should be used outdoors or in an enclosed area that can be adequately ventilated after use. A Halotron 1 fire extinguisher is capable of putting out a Class A fire, but it is not as effective in doing so as a dry-chemical extinguisher. EX:


    • Aqueous Film-Forming Foam (AFFF): Extinguishes Class A and B fires. AFFF is a soap-like foam agent that is mixed with water. The foam blankets a fire, suffocates it, cools it, and prevents reignition. Technically, AFFF can conduct electricity, but in a fire involving high-voltage electrical wiring, the conductors generally short out and trip the circuit breaker, which de-energizes the circuit and removes the fire from the Class C category.
    • High-Expansion Air-Compressed Foam: Extinguishes Class A and B fires. These extinguishers employ a mix of denatured water and a foam. They are more effective than AFFF extinguishers. The foam provides a viscous, nonflammable layer to block air from the fuel. The foam also renders hydrocarbons such as gasoline or oil inert so they cannot reignite. The foam clings to vertical surfaces and produces no toxic gases. Fire Fight Products sells handheld 16-ounce extinguishers, the SS20 ($30 plus shipping), which can be used on small fires, such as on a kitchen stovetop. The best practice is to keep multiple units handy — one in the bedroom, one up front by the entry door, one in an outside storage compartment, and one in the towed or towing vehicle. Fire Fight’s 6-liter SS450 handheld extinguisher ($245 plus shipping) provides significantly more fire-fighting capacity. It comes with a spare can of foam, enough to refill the extinguisher twice. The refill procedure: add distilled water and 8 ounces of foam to the extinguisher, and then charge it with compressed gas. Jim Bounds, CEO of Fire Fight Products, said the company’s fire extinguishers are supplemental fire safety products. Individual components of the fire extinguishers have been tested by UL, but the overall units have not, and therefore they do not carry a UL rating.

    Automatic Extinguishers

    Many RVs have absorption-style refrigerators. They contain an ammonia-based mixture that can release explosive hydrogen gas should the cooling unit rupture and leak. The gas can be ignited quickly by a heat source.

    To control that kind of fire, compact automatic extinguishers that use a clean-agent gas can be installed in an enclosed compartment behind the refrigerator. Fire Fight’s SS30 was designed specifically for this type of application, and it works equally well in generator compartments. Its HFC227 gas can be dispensed through the standard sprinkler-style head or through a remote head attached to the cylinder via a 6-foot-long, stainless-steel braided hose. The cost of the SS30 series is about $250. An automatic extinguisher also can be a good choice for the engine compartment of a motorhome. A leak in a gas-powered coach can result in fuel coming in contact with hot engine parts or electrical components. And in a diesel-powered motorhome, the engine’s turbochargers can reach extreme temperatures, especially when working hard or climbing grades. If a hydraulic fan line or fuel line becomes loose or fails, flammable fluid can spray on the engine bay and ignite.

    One option for engine compartments is an automatic extinguisher using high-expansion air-compressed foam, which coats the fire and reduces the temperature. Fire Fight Products offers such systems in three cylinder sizes: SS100 (2 liters of foam); SS200 (3 liters); and SS300 (4 liters). The head can be mounted directly on the top of the cylinder or can be mounted remotely on stainless-steel braided hoses. The 4-liter system is available with two remote heads to cover larger areas. When the engine is running, a fire may reflash. So, a larger cylinder with a longer run time can allow you more time to get off the road and shut down the engine. Proteng is another company with an automatic fire suppression system. It is available in two versions — standard and heavy-duty. Each is intended to be used in enclosed areas, such as diesel or gas engine compartments, battery compartments, and other electrical areas. The system consists of a polyamide (synthetic polymer) tube that is filled with the clean agent FM-200, which is nontoxic and noncorrosive. When the standard system is exposed to direct flame or temperatures that exceed 158 degrees Fahrenheit, the tube ruptures, releasing the FM-200. The heavy-duty system uses a thicker polyamide tube, which ruptures when exposed to flame or temperatures exceeding 194 degrees Fahrenheit. The length of tube required depends on the size of the area needing protection.

    Fogmaker International AB also offers an automatic fire suppression system for engine compartments. According to the company website, the system dispenses a high-pressure mix of water and aqueous film-forming foam as a dense fog that can decrease temperatures by 700 degrees Celsius (1,292 degrees Fahrenheit) within 10 seconds. The dense water vapor displaces oxygen, and the AFFF prevents reignition of hydrocarbon vapors. A sensor connects to a warning display on the cockpit instrument panel. The cost of automatic systems ranges from about $160 to $900. When a fire in the engine compartment of a diesel pusher deploys an automatic extinguisher, the fire may go unnoticed by the driver for a considerable time. In fact, once the extinguisher is empty, the fire may reignite. Therefore, I recommend that an automatic fire suppression system have a remote alarm that senses pressure loss in the extinguisher. With an early warning of a fire, the driver can safely pull off the road, analyze the fire, and attack it with a handheld extinguisher, if necessary. Most any type of alarm can be used. You can buy a professional alarm or make something as simple as a 12-volt buzzer and flashing light on the dash. Fire Fight offers an optional pressure switch, but you must specify this when ordering a system, because it’s not shown on the company’s website.

    Smoke Alarms

    An effective warning system can be the difference between saving an RV or making a speedy exit while it burns to the ground. The longer an RV is, the more time it takes for smoke to travel from one end to the other, so it’s important to install multiple smoke alarms. They should be mounted on the ceiling or on a sidewall close to the ceiling. Place one in the rear and another in the front of the RV. To avoid false alerts, don’t install one in the cooking area.

    Smoke alarms may utilize ionization or photoelectric sensing technologies, or both. Ionization alarms are more responsive to flaming fires. Photoelectric alarms are more sensitive to smoldering fires, such as when electrical wiring is shorted and its insulation begins to burn slowly with smoke but no flame. In that case, you can shut down the electrical circuit to prevent a full-blown fire. Manufacturers such as Kidde and First Alert make dual-sensor smoke alarms that incorporate both types of sensors in one unit.

    Other Detectors

    If a leak develops in a propane line or if a propane appliance fails, the highly flammable gas can build up inside an RV. Propane is heavier than air, so it settles to the floor where a pilot light or spark can ignite it and start a major fire. That’s why propane alarms generally are mounted very low on an interior wall, next to the floor. Avoid using aerosols such as hair spray and various cleaning agents near a propane alarm, because they can ruin it. Test the alarm regularly. A carbon monoxide (CO) alarm won’t alert you to fire, but the colorless, odorless gas is just as deadly, so we’re including it here. CO, a byproduct of combustion, can come from a furnace with a cracked heat exchanger, or from a vehicle exhaust, or even the exhaust from a nearby camper’s generator. The lighter-than-air gas rises, so a CO alarm should be installed up high. Some RVs come equipped with a combination propane/CO alarm, which is generally located beneath the refrigerator. This is the perfect location for detecting propane but not for CO. If you have such a setup, I suggest adding a ceiling-mounted CO alarm. Some smoke alarms feature a digital LCD display that shows how much CO has accumulated. As little as 250 parts per million over an eight-hour period can be fatal. A good alarm will add up the accumulative amounts to protect you from a slow CO buildup, but less expensive models may sound an alert only if a large amount of CO is present at one time. Keep in mind that alarms for CO and smoke should not be mounted beneath a cabinet. They should be at the highest point in the RV.

    Summary

    When dealing with a fire, it’s important to stay calm, and you’ll have a better chance of that if you’ve rehearsed what to do in any given situation. Discuss and practice how to deal with a particular fire and whether to fight it or just safely exit the RV. Know your escape route and method so you don’t have to figure it out in an emergency. Be sure to outfit your RV with adequate fire extinguishers in multiple locations to cover your needs. Install smoke, propane, and carbon monoxide detectors in places where they will be most effective. Knowledge is power. Attend a fire and life safety seminar at an FMCA convention. You’ll gain immeasurable knowledge to help stay safe in your RV travels.

    Equipment Suppliers

    Fire Extinguisher Recall

    The recall of millions of Kidde fire extinguishers has been widely reported, but it bears repeating. The recall involves models of Kidde extinguishers with plastic handles that were manufactured from January 1, 1973, to August 15, 2017. The fire extinguishers can become clogged or require excessive force to discharge and can fail during a fire emergency. To determine whether you have an affected model and to request a free replacement fire extinguisher, contact Kidde at (855) 271-0773 or visit www.kidde.com and click on the “Product Safety Recalls” box.