Blog

  • Tips For Renting an RV For the First Time

    Tips For Renting an RV For the First Time

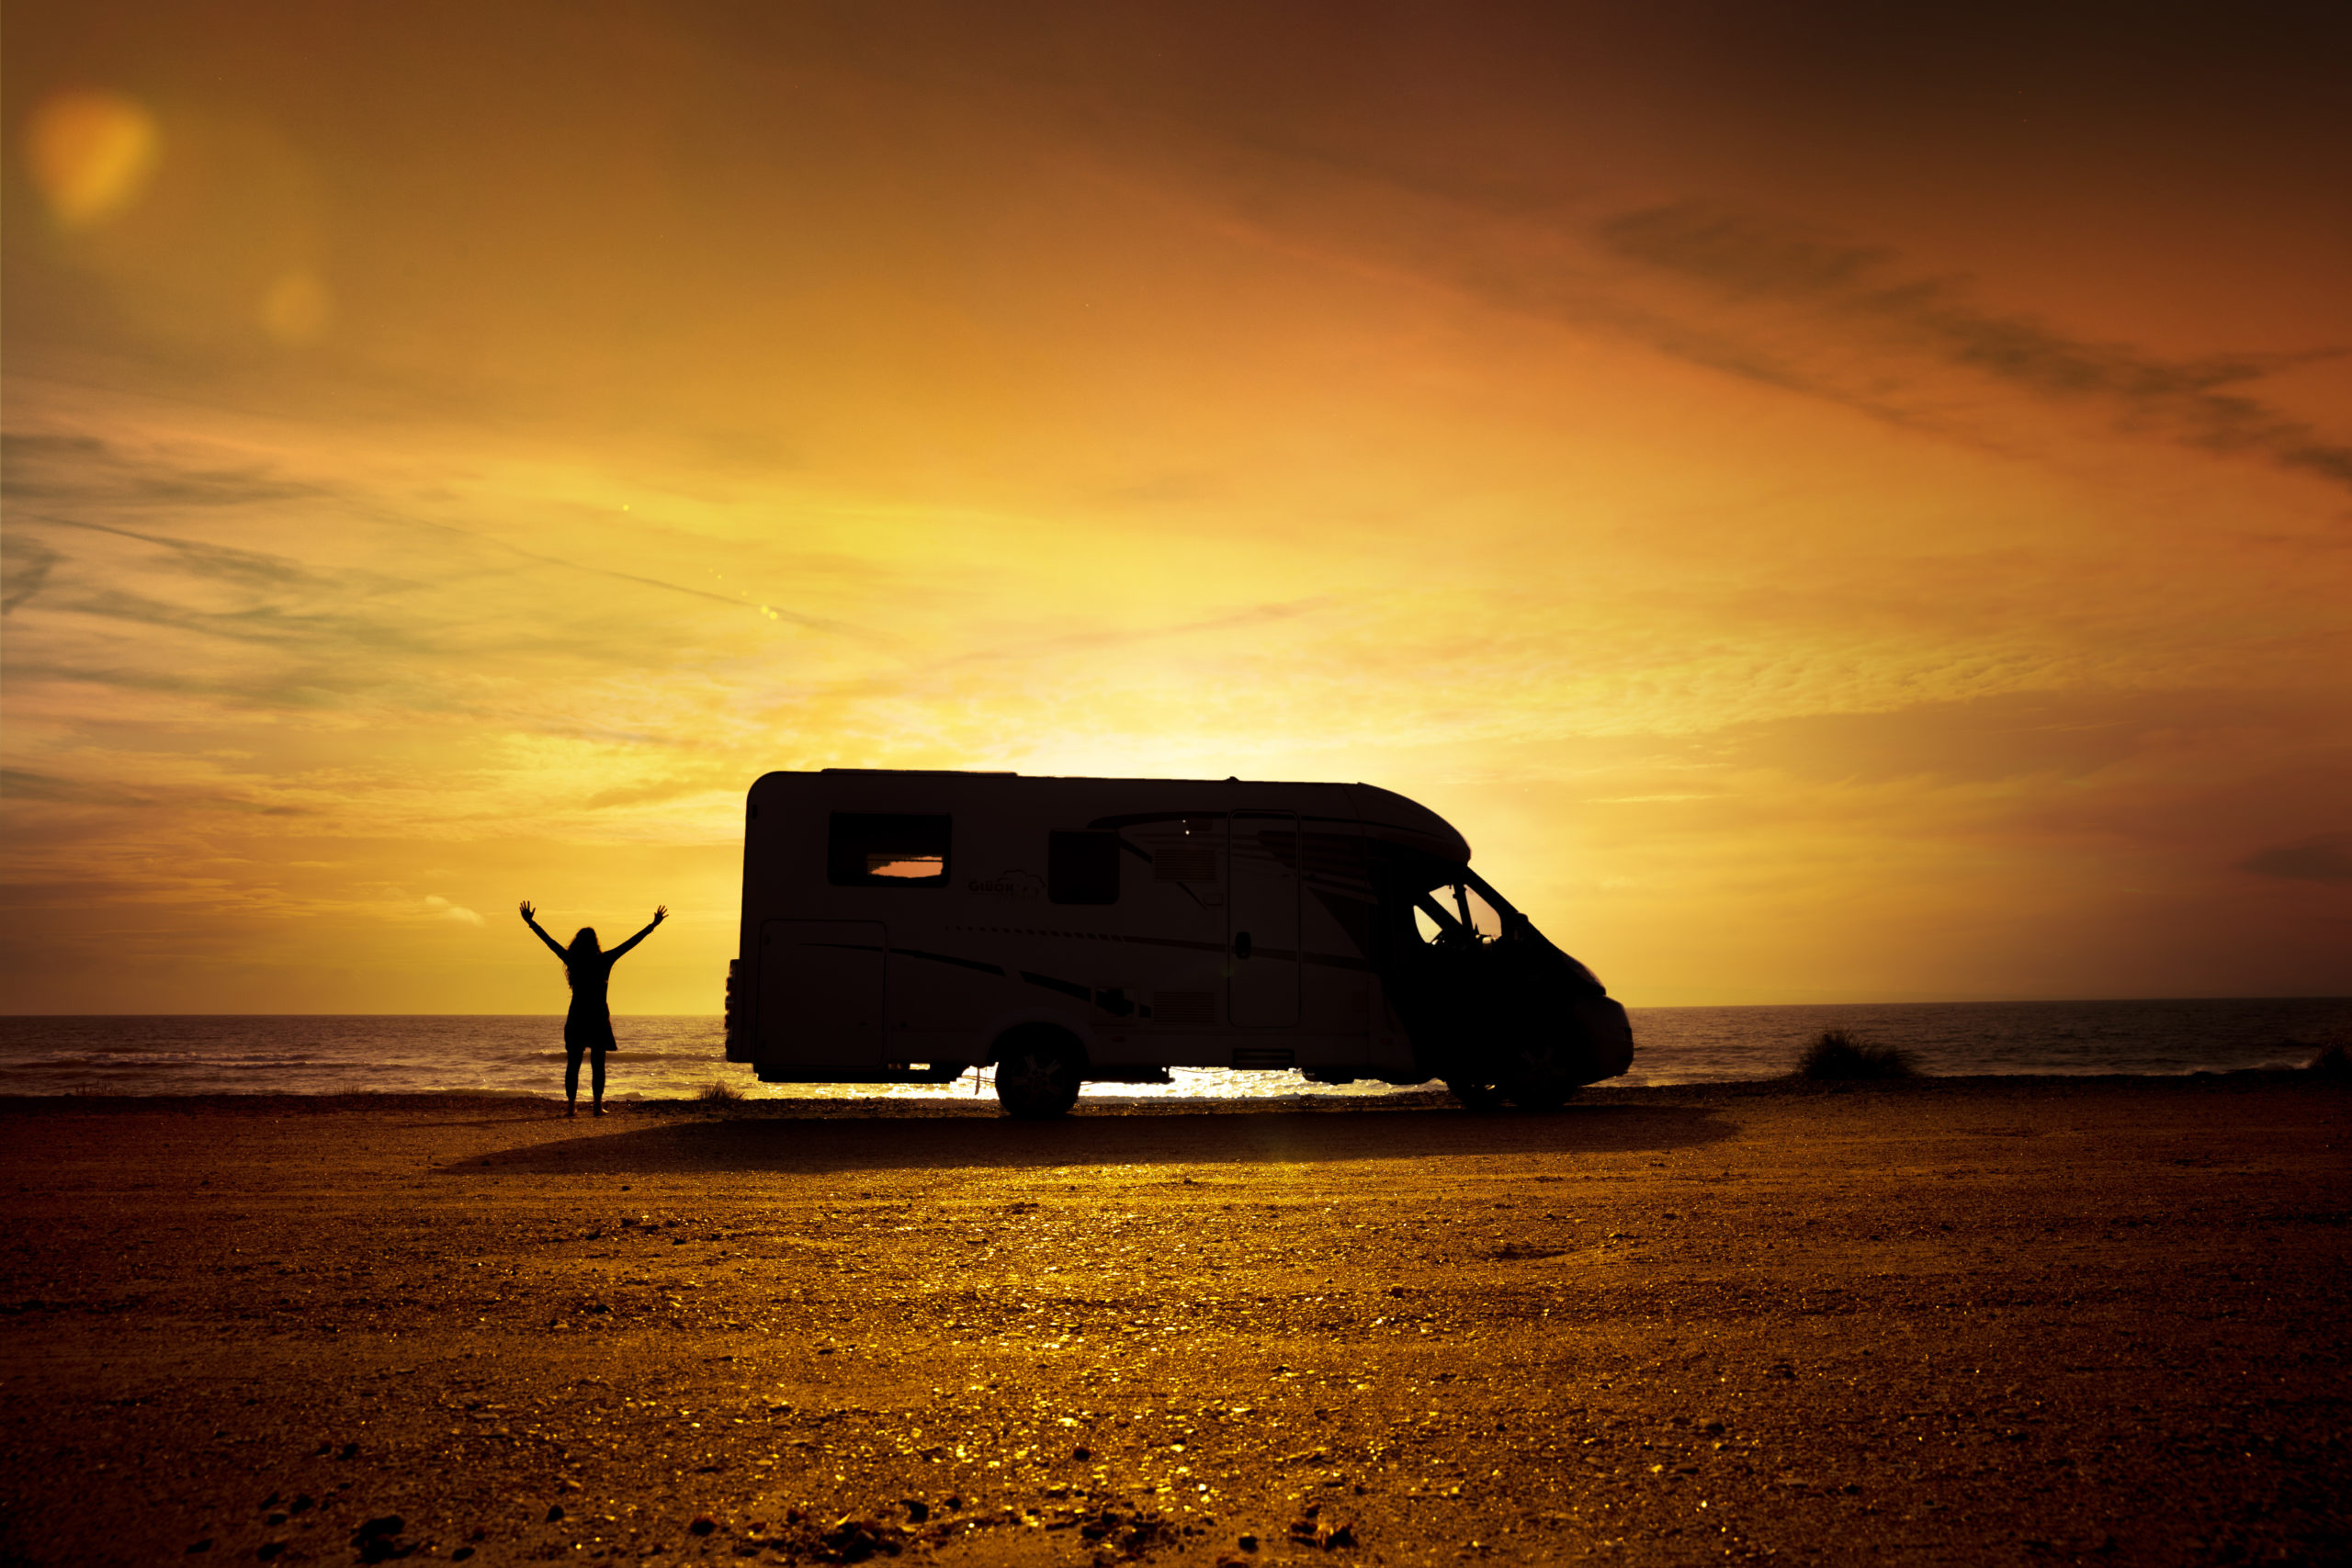
    With states slowly opening and summer just around the corner, people across America are easing back into the world of travel. But the reality is, summer getaways might look a little different this year, and considering many people aren’t ready to fly to their next destination, road trips are making a huge comeback. RVs give you the option to truly have a home on wheels and are ideal for social distancing. Don’t have an RV, but still want to take a trip this summer? RV Trader Rentals could be the perfect option for you. Before you select the RV rental for your next escape, check out some of our tips for renting an RV for the first time.

    Select the RV Type

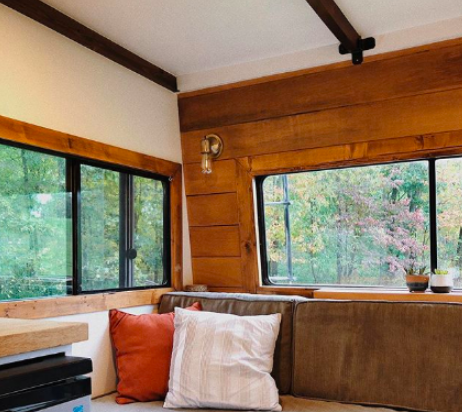
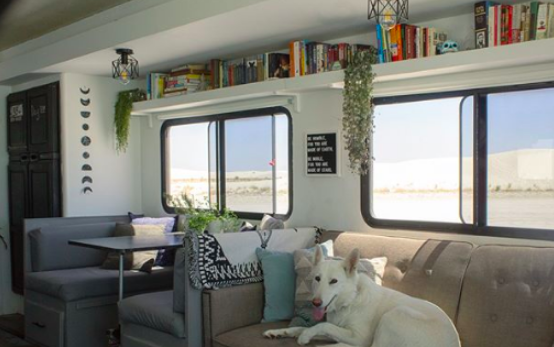
    There are so many different types of RVs out there and it can be hard to choose which is best for you, but let’s start with the basics. You’ll need to ask yourself if you’d like to tow or drive the unit you want to rent. Travel trailers are towable RVs that you can hitch to the back of your vehicle, and units like Class As, Class Bs, and Class Cs are all drivable units that don’t require towing mechanisms. You’ll also want to consider the group you’re traveling with. RVs come in all shapes and sizes so it’s important to make sure you have enough room to accommodate those who you’re traveling with. For instance, a larger group may want to consider renting a larger travel trailer or a Class A unit, while the couple or solo traveler might just need the basics that you’d find in a Class B RV. The options are endless so take some time to research and to look at the photos and descriptions of the RVs you’re interested in renting to ensure they will fit your specific travel needs. 

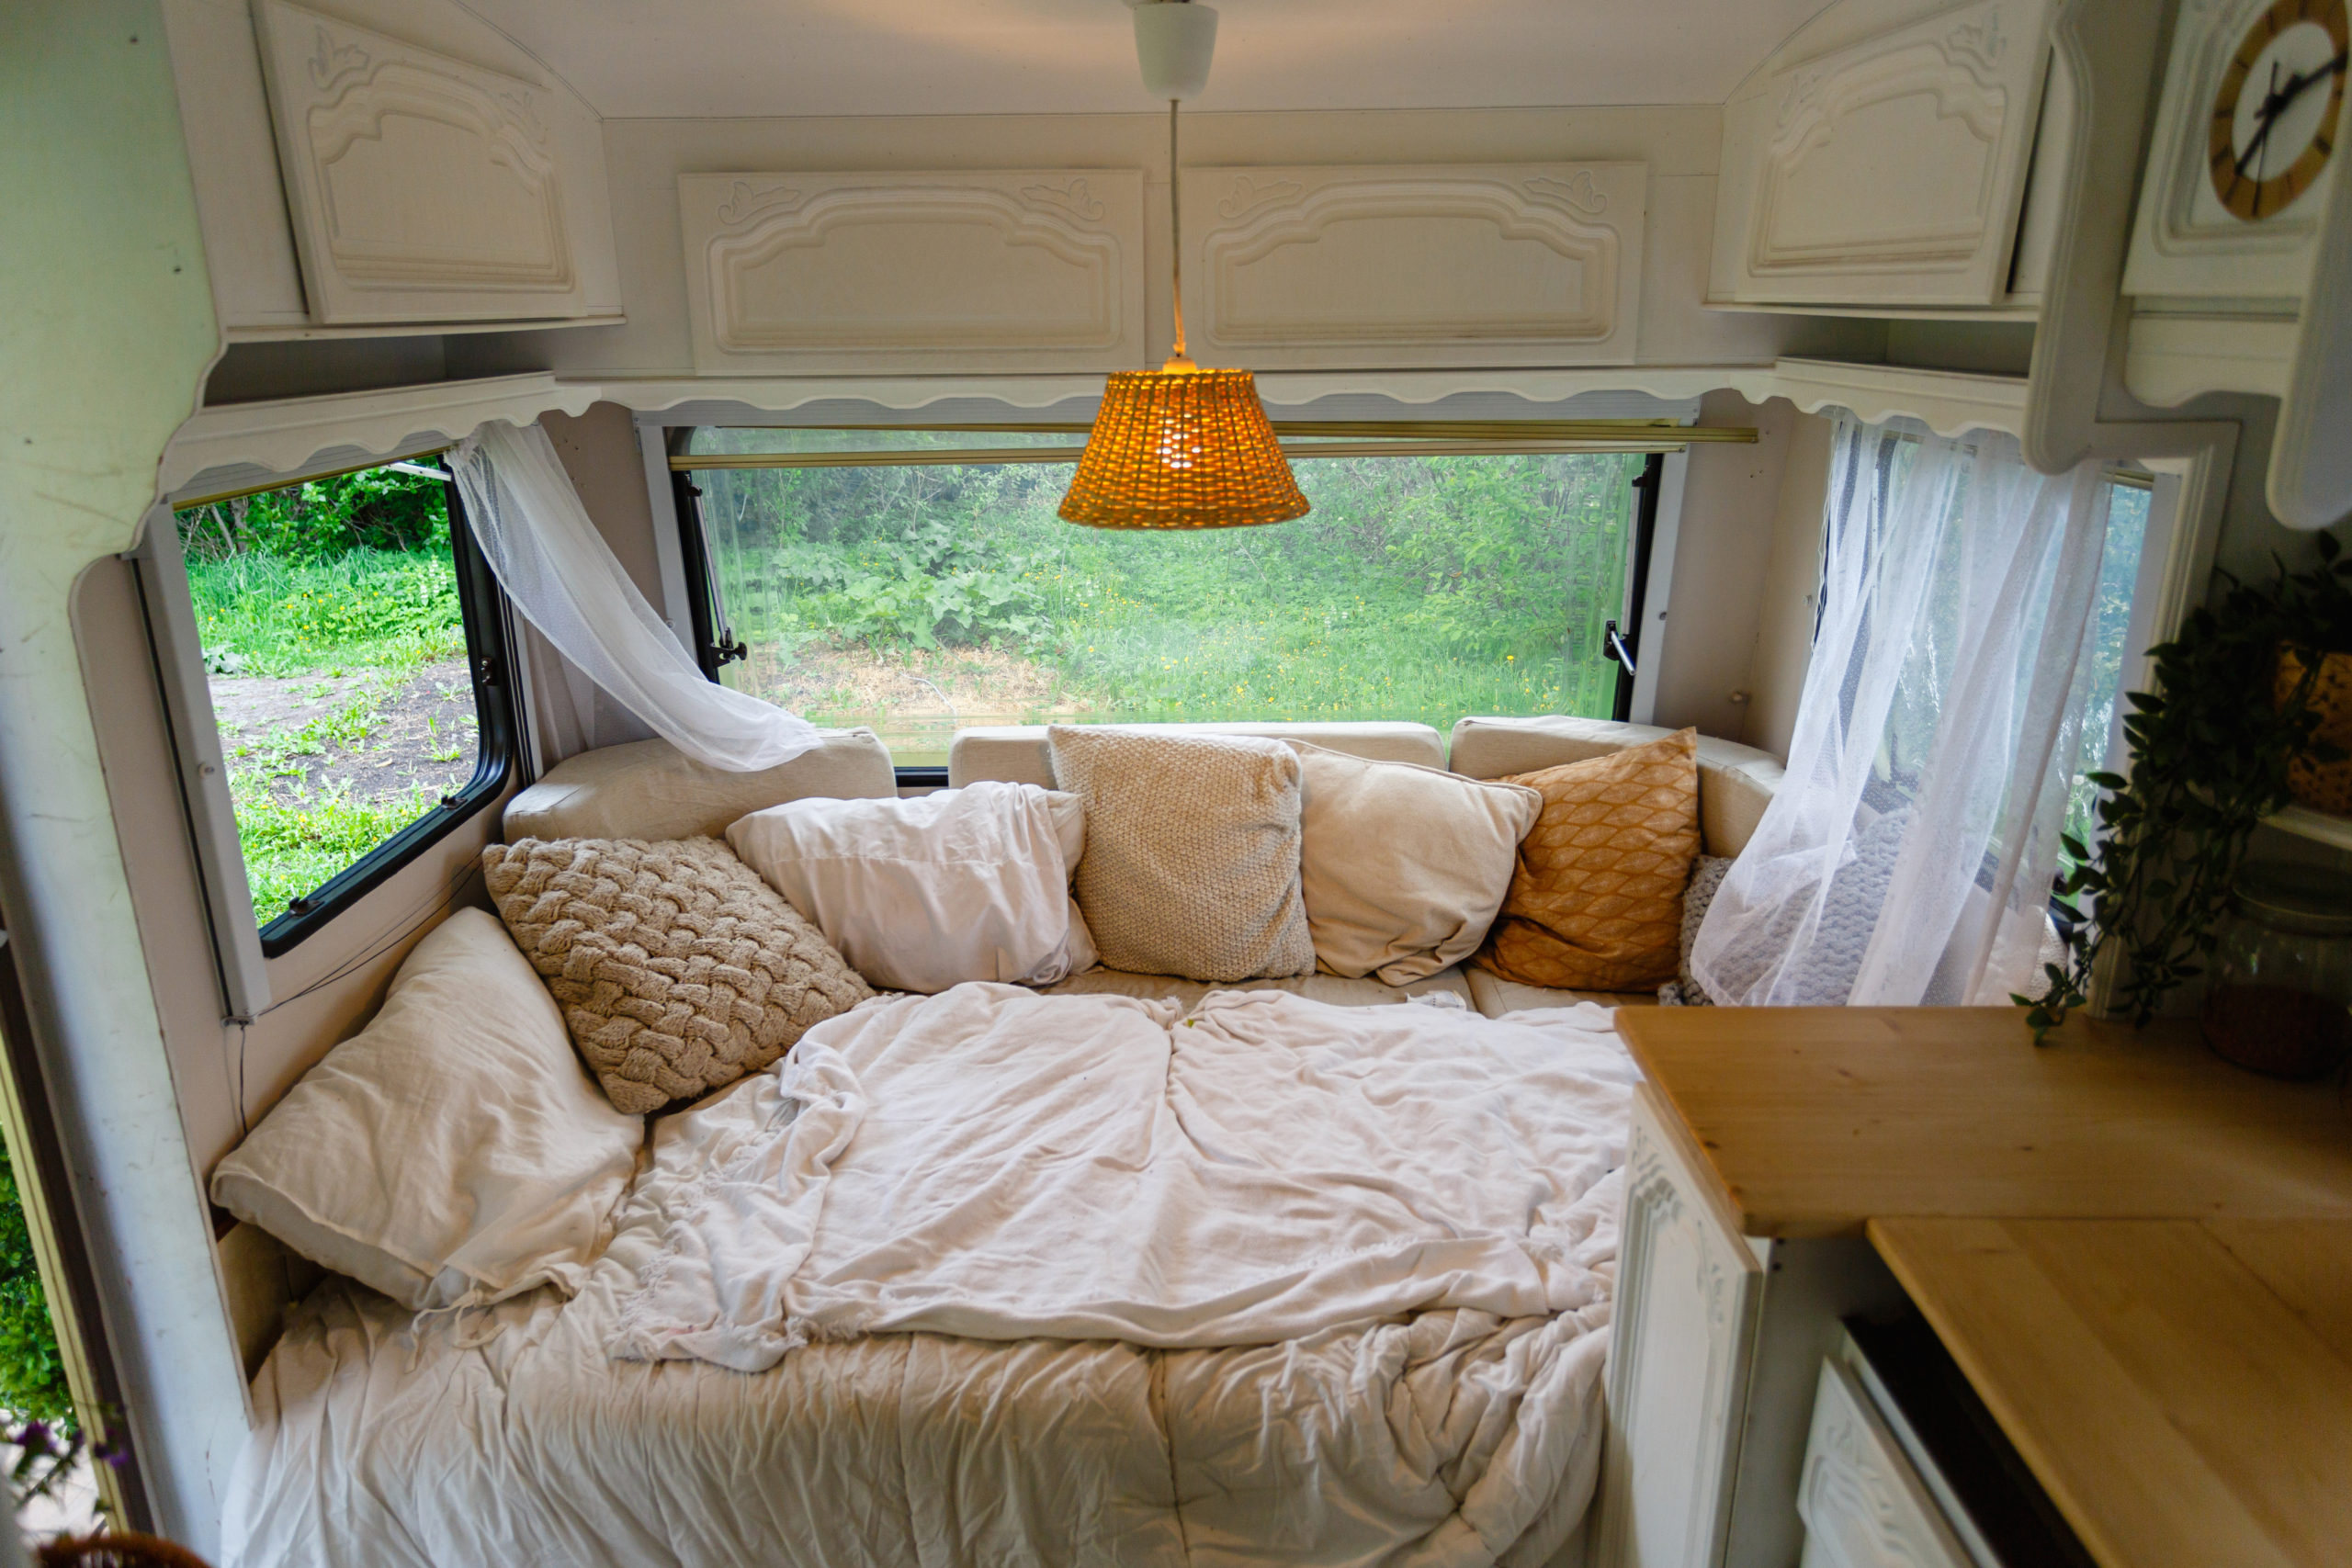
    Consider Sleeping Arrangements

    As we mentioned above, you’ll need to take a good look at the group you’re traveling with to make sure the unit you’re renting has enough sleeping space. The owner of the unit will clearly state the exact number of people the unit can sleep so you can know right off the bat. Keep in mind that many RVs have conversions throughout the vehicle to create additional sleeping space such as dinette conversions, sleeper sofas, pop-ups, slideouts, and more. 

    Compare Pricing

    Once you’ve decided on the type of RV you want to rent, it’s time to select your perfect rental. Price is a big factor to anyone looking to rent, and luckily, our RV Trader Rentals platform makes it incredibly easy to compare RV pricing. We give you the ability to filter by minimum and maximum price to find an RV within your ideal price range. 

    Book Early

    Roadtrips will most certainly be on the rise this summer as many people still want to avoid flying so you’ll want to book your RV rental in advance to make sure you are locked in for your trip. Many of our owners have flexible policies if a cancellation needs to occur, but we recommend checking their specific policy before you book. It will be listed on their “Read More About This RV Section”.

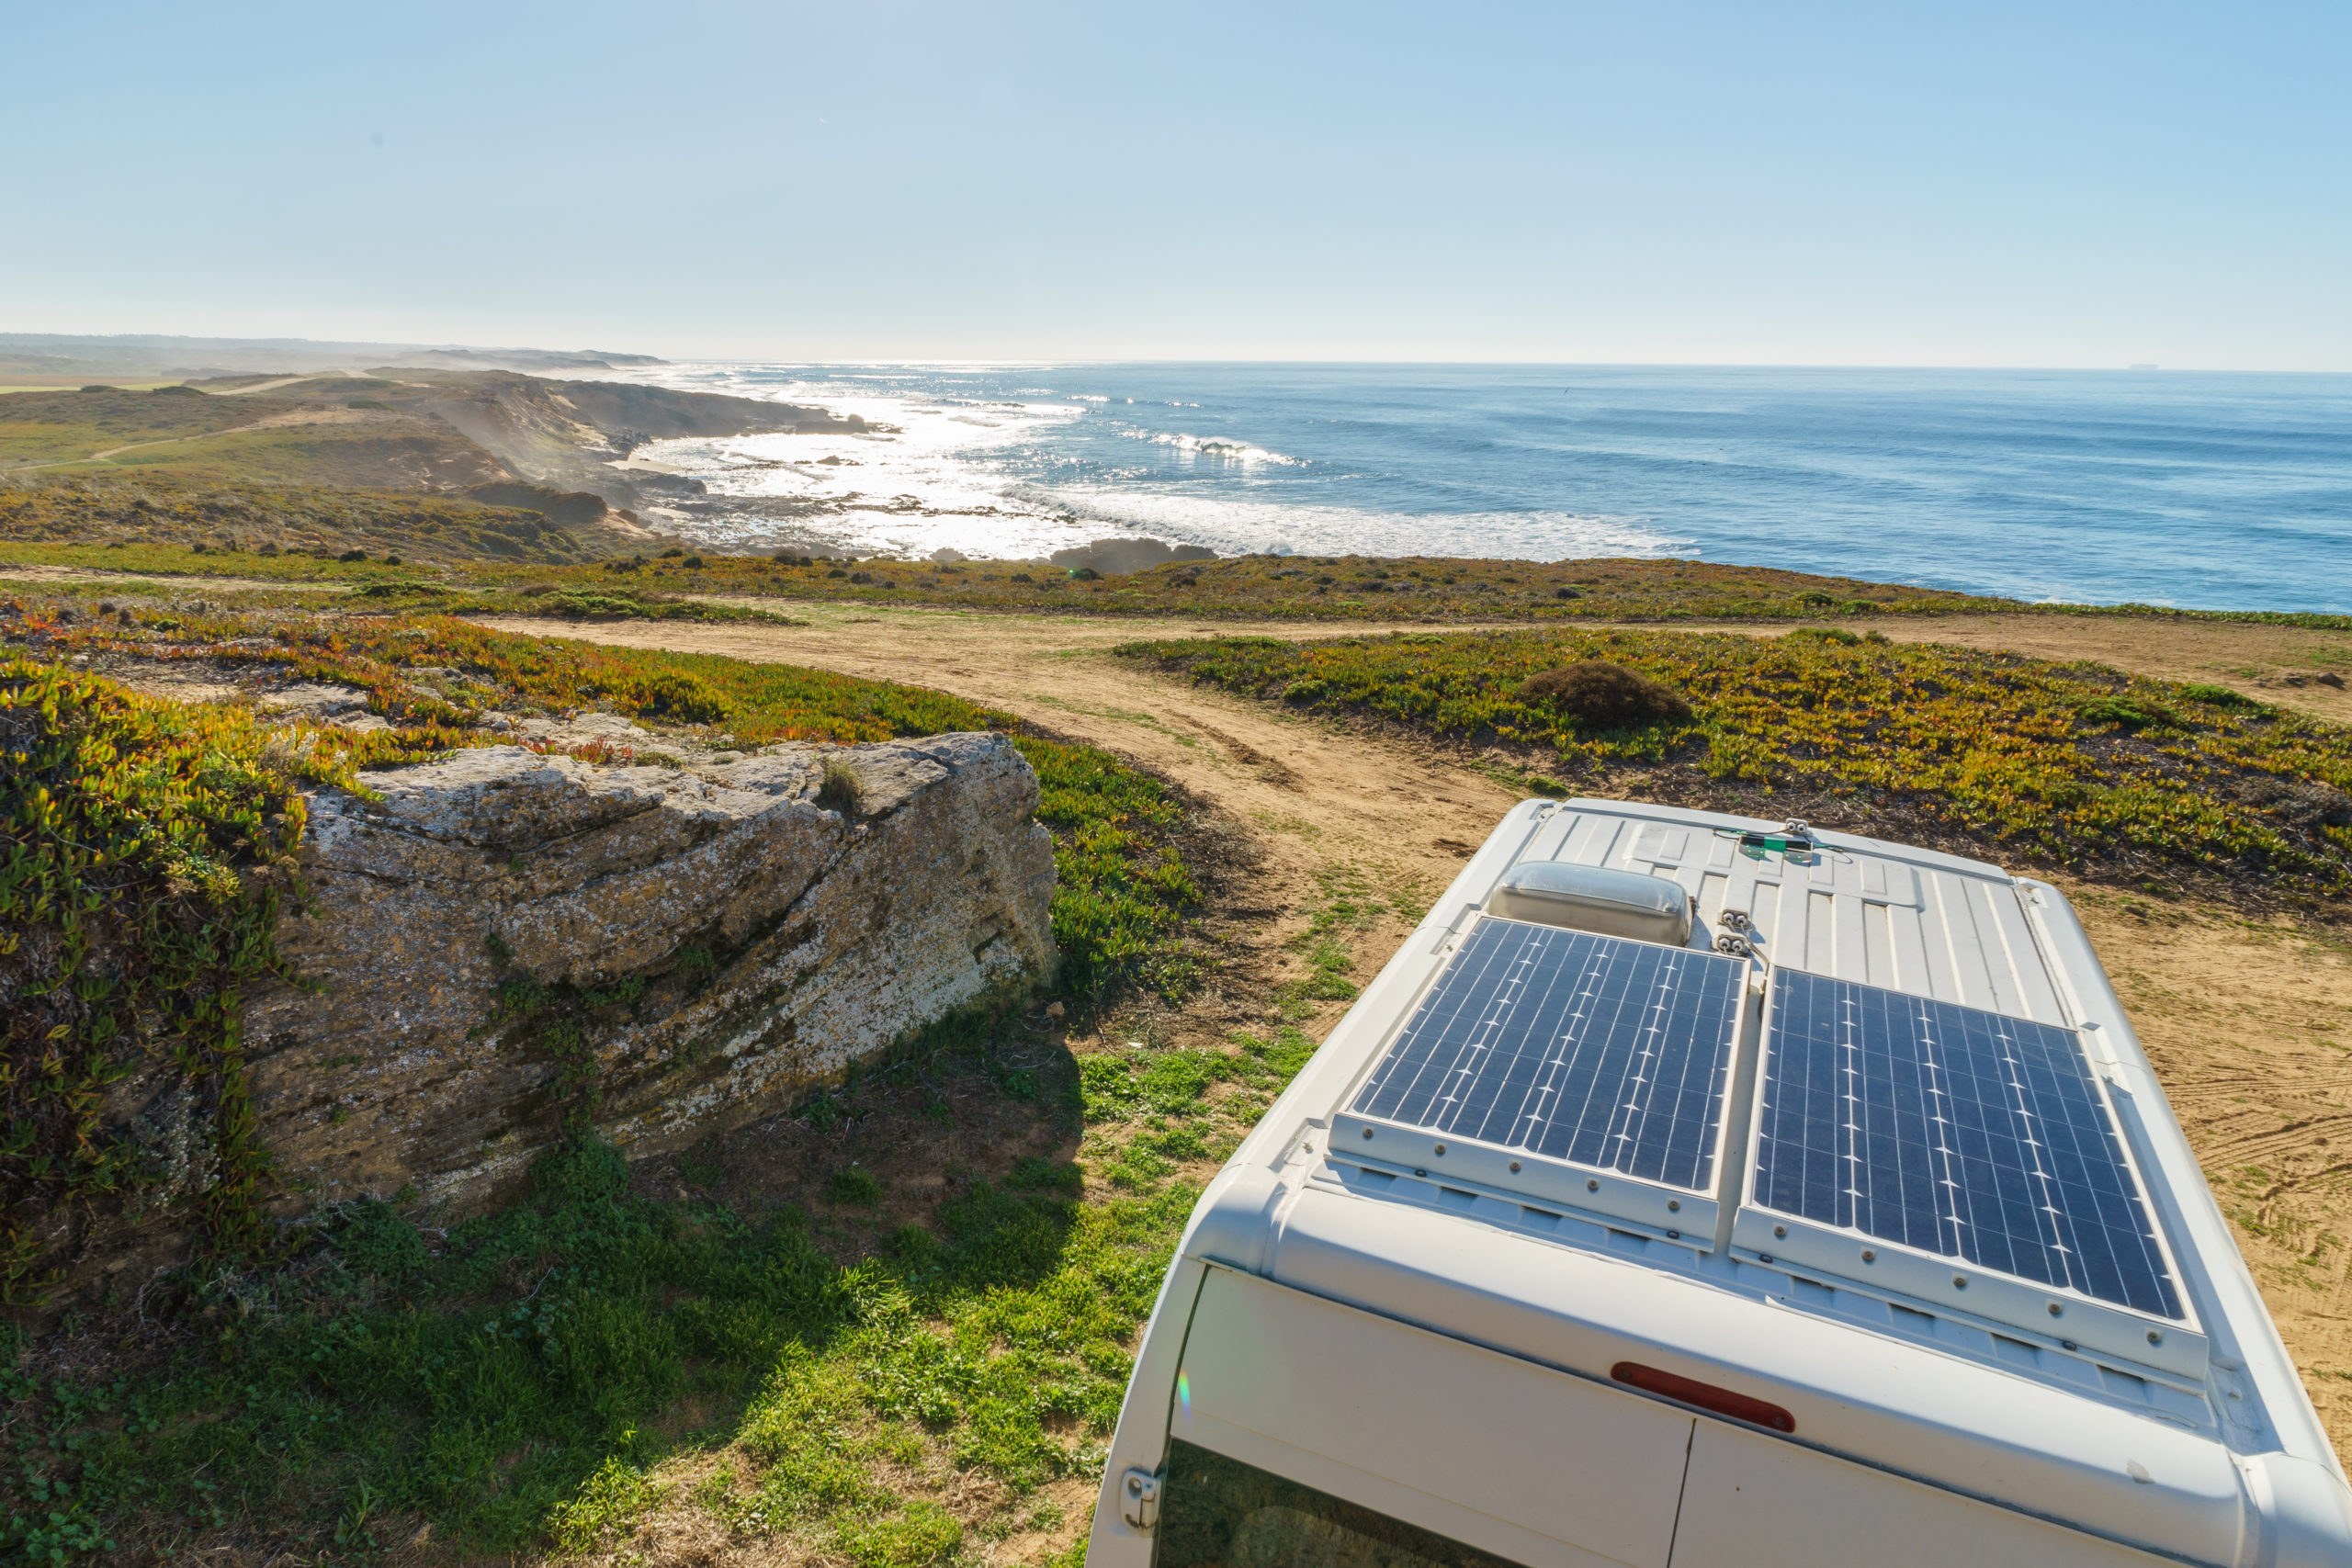
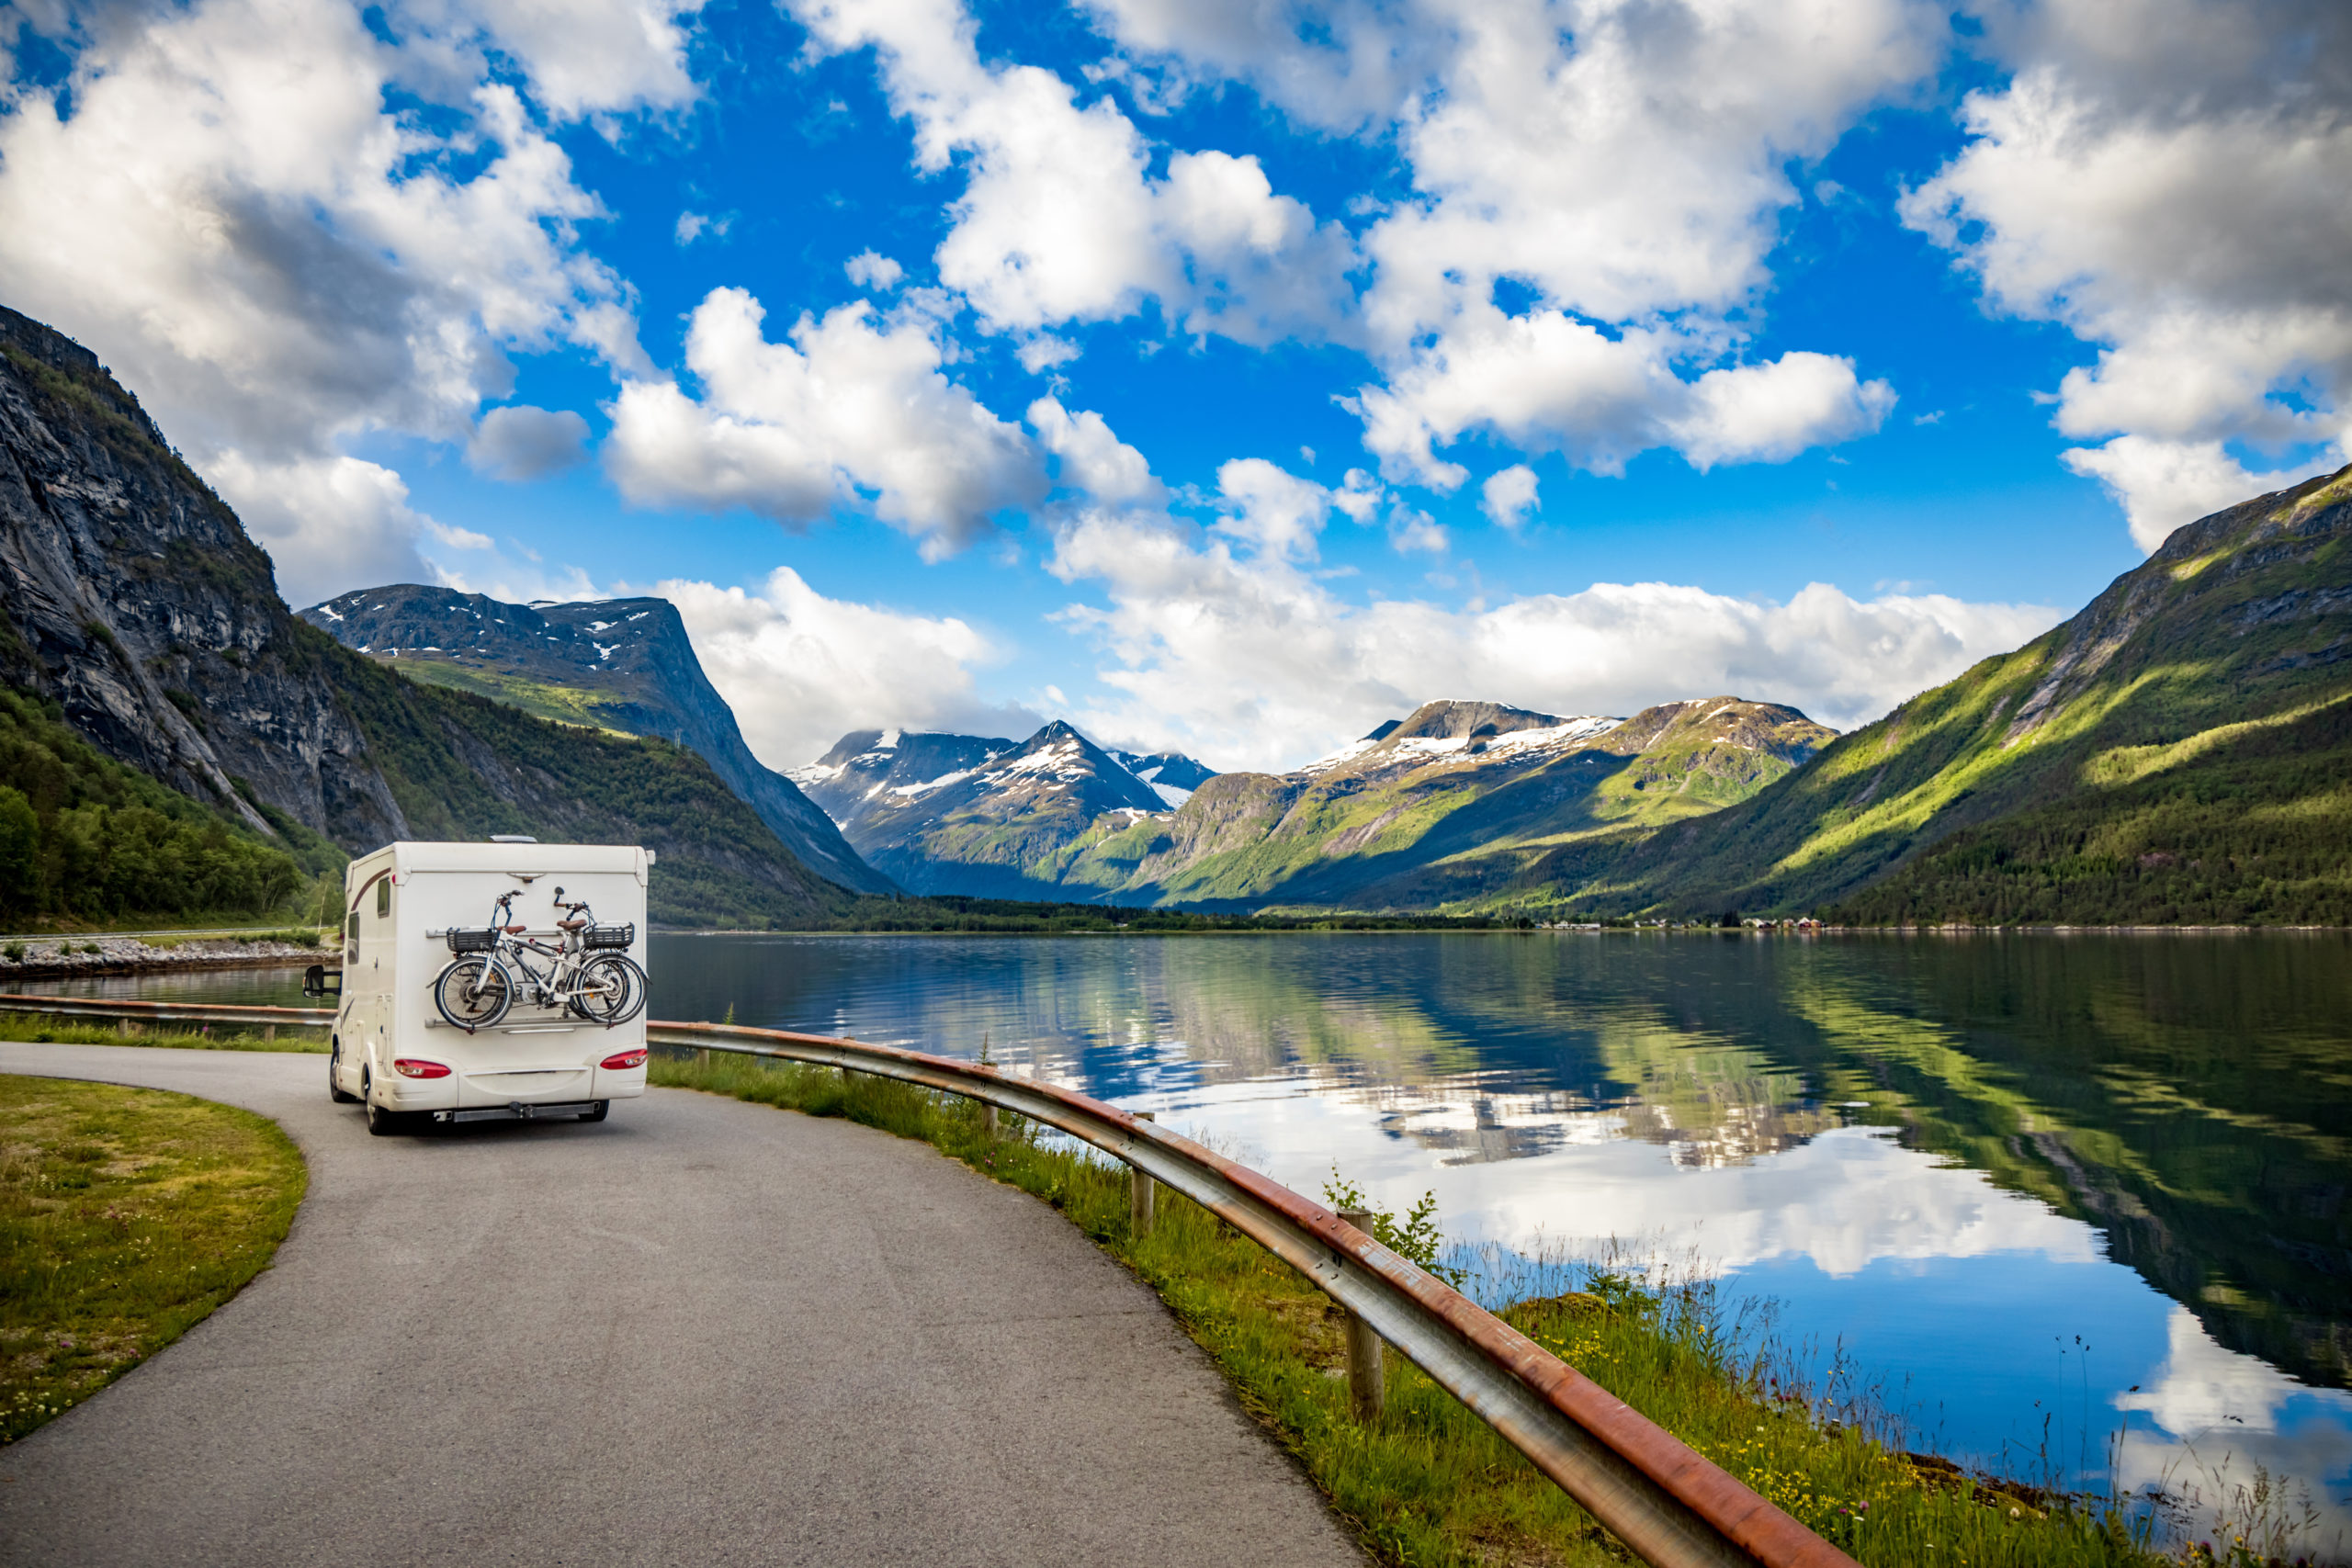
    Find the Perfect Destination

    Now for the really fun part – selecting your destination. Your rental can take you just about anywhere and you won’t have to worry about hotels along the way. National parks and state parks are some of the most popular attractions for RVers and they typically have campgrounds nearby, but you’ll want to keep in mind that some parks have size restrictions on RVs. Be sure to check size restrictions on the park’s website before setting off on your next adventure.  
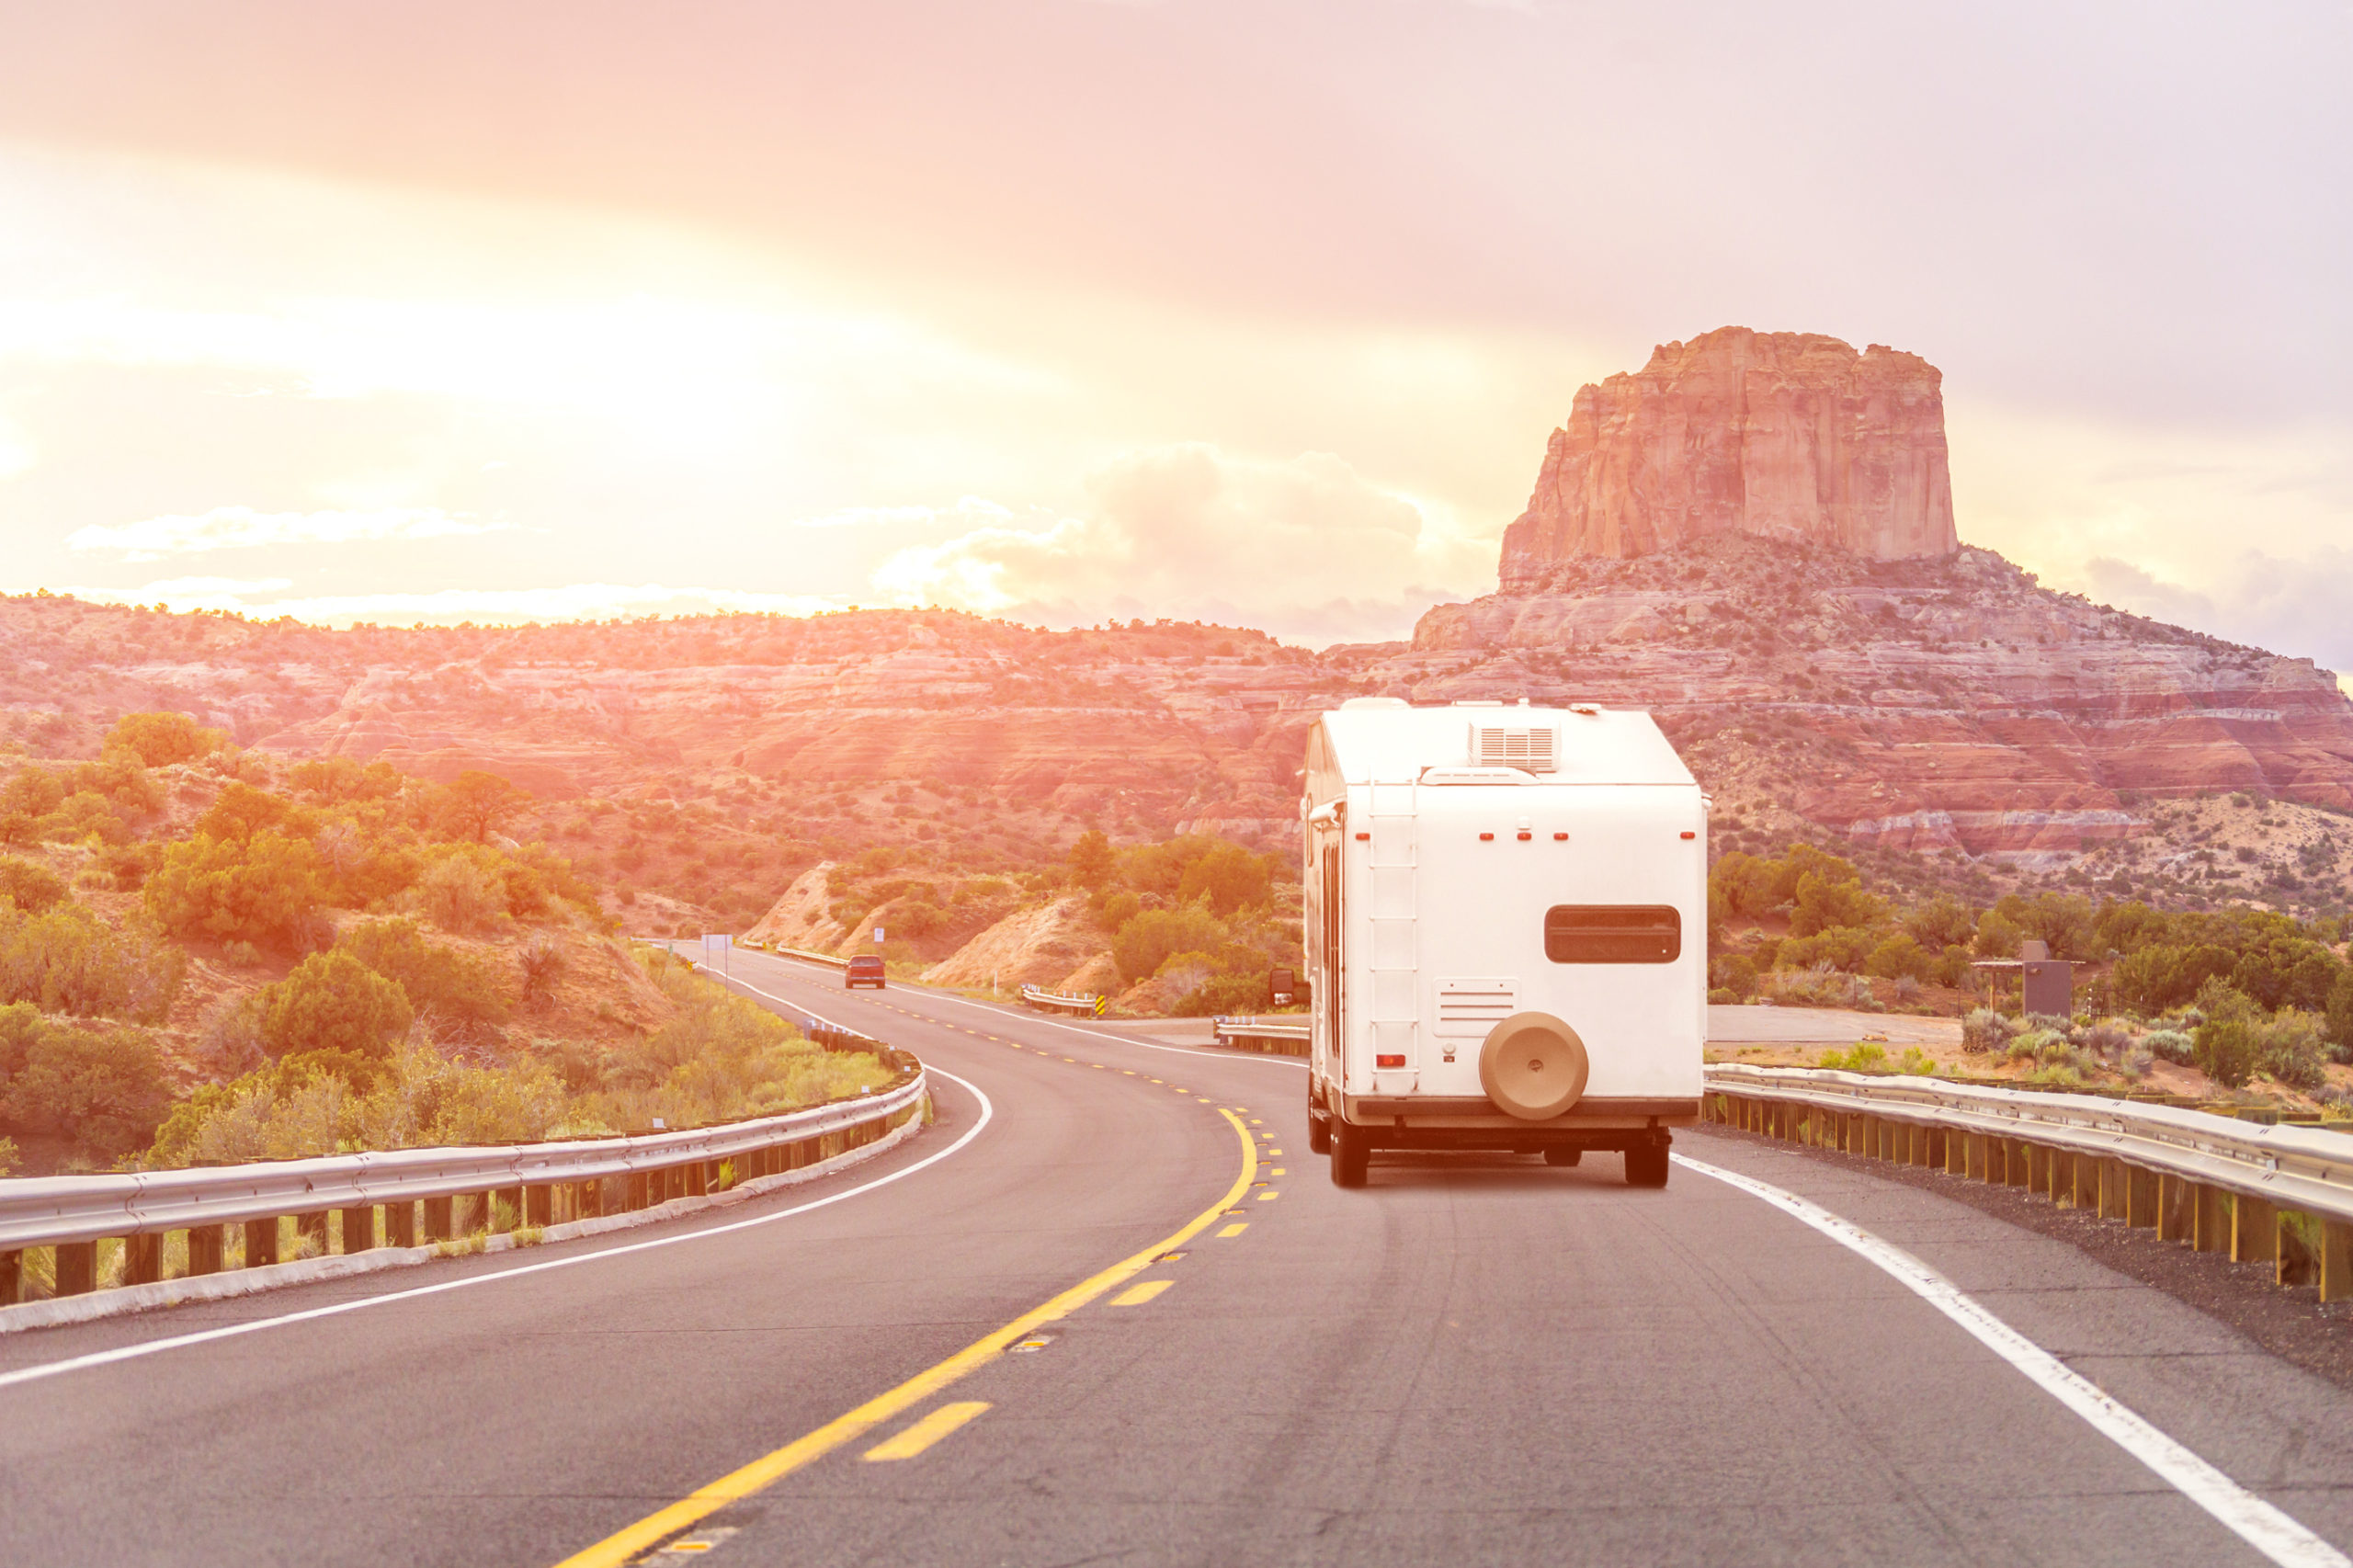
    Plan Your Route

    A GPS can usually get you to where you want to go but RVing is all about enjoying the ride. Most of the time a GPS will give you the fastest route to your destination, but what if you want to take the scenic route, or take pit stops along the way? We recommend planning your route before you hit the road and Roadtrippers is a great app to help you do just that. Roadtrippers can help you find amazing places along your route that you never knew existed. Check it out.

    Book Your Campsites in Advance

    Campsites tend to fill up fairly quickly in the summer and even more so if you’re going to a popular destination. You’ll want to reserve your site well ahead of time so you don’t have to worry about searching where to park your RV for the night. 

    Remember – RVs Are Much Different Than Cars

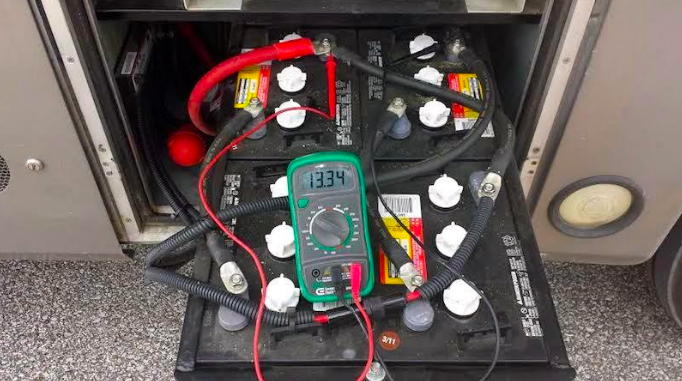
    It’s crucial to remember that when you’re driving an RV, you’re not driving a car. RVs are much larger than the average car and you need to take your time out on the road. Practice parking and take a quick test drive with the owner before you head out so you can hear their tips, tricks, and safe practices.

    Make a Packing Checklist

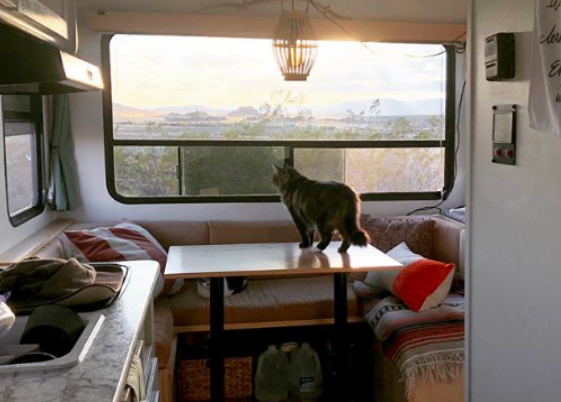
    Packing an RV is a little different than the average trip. You need to think about all the essentials you’ll need out on the road. With RV Trader Rentals, we give our owners the opportunity to offer Add-Ons such as kitchen kits, linen sets, camping accessories, and more. Check to see what your owner offers and then plan your packing checklist accordingly. It’s also a great idea to stock up on food and snacks. Many RVs have full or partial kitchens that you can take advantage of to save some money out on the road.

    Ask Questions

    There are no dumb questions when it comes to RVs – especially if this is your first renting experience. Some common question topics could surround insurance policies, roadside assistance, tours of the unit, test drives, how to tow, general operation, slideouts, and more. 

    Don’t be intimidated by renting an RV for the first time – it’s a lot easier than you might think. Traveling in an RV is an incredible way to see the country all while social distancing and can be a great litmus test to see if you’d actually like to buy an RV of your own in the future. Ready to rent? Visit RV Trader Rentals to get started.

    Happy traveling.

  • Tips for Appreciating Nature Indoors

    Tips for Appreciating Nature Indoors

    There’s a second pandemic taking hold, especially among those who cherish wide-open spaces: cabin fever. When you can’t hit the road to natural spaces, you need to look elsewhere for your fix. The good news is that there are countless ways to appreciate nature indoors and at home.

    Experiencing the great outdoors from inside has some upsides: no biting insects, venomous snakes, or sunburns! While this is a small consolation for a season spent at home, focusing on the positives will make the time pass more quickly. It won’t be long before we’re back on the road again.

    Explore Nature Virtually

    The national park system is one of the nation’s greatest treasures, and you can tour many of those parks now. Take a memorable break by using some digital resources to explore the world outside. From the Virgin Islands to Crater Lake, exploring these natural wonders has never been easier. The National Park Foundation offers virtual tours of some extraordinary sites. The program Google Earth also lets you tour a curated group of national parks in the US, from Acadia to Zion. Think of these virtual visits as research for your next road trip.

    But why stop at the U.S. border? Technology makes it possible to explore nature around the world, right from your living room. Check out the world’s largest cave in Vietnam or the Zhāngjiājiè national forest park in China in 360 degrees. You can also venture to the southern end of South America to see breathtaking vistas in Patagonia. Fly over the dunes of the Namib Desert in Namibia or watch a show of the northern lights in Sweden.

    Dig Into a Garden

    One of the easiest ways to commune with nature from home is by creating a garden. It doesn’t matter if you prefer blooms over broccoli — gardening includes everything from cacti to terrariums. Just make sure that you choose an appropriate gardening activity for your situation. Even so-called “easy” trees and plants such as the Money tree, require specific care.

    You don’t need an expansive yard for a garden, either. A small patio or windowsill is enough to start a container garden. Countertop hydroponic systems make it easy to create an herb garden in your kitchen.

    Camp in the Backyard

    There is something about campfires and s’mores under the stars that can heal the soul. Even if you can’t make it out of the city, staying in a tent or your travel trailer in the backyard can be a great way to disconnect and feel a part of nature.

    If you want to be more comfortable you can run an extension cord to your rig to run the air conditioning, radio, and keep the drinks cool in the refrigerator. When you wake up in the morning you may forget for a few minutes that you are enjoying nature in your own backyard.

    Immerse Yourself in Nature Sounds

    If you find yourself missing the sounds of the wild or wish to be transported to an untamed place, check out some nature soundscapes online. You can put yourself to sleep to an eight-hour recording of birdsongs over a river or the sound of a forest at night. There are hours-long sounds of ocean waves, thunderstorms, rainforests, and more. Despite being unable to travel at the moment, there are many recordings that allow you to close your eyes and go outside.

    Use Common Scents

    It may not be quite the same as a visit to a campground, but using natural fragrances can create a connection to nature. Essential oils in a diffuser give a hint of gardenia or eucalyptus. An earthy-scented candle can evoke the woods or a coastline, while a floral candle can bring you hints of jasmine or rose. The sense of smell is strongly linked to memory, so tapping into a natural scent can bring back fond memories of familiar outdoor places.

    Connecting with nature isn’t a walk in the park right now. But unlike the time spent scrolling through the news or social media, time spent tapping into nature is calming and a useful reset. While this is no substitute for traveling, we hope it will inspire you when you do get on the road again.

    Author Bio: Cynthia Shackleton is an Ohio native and freelance writer who enjoys gardening and making summer RV trips along Lake Michigan with her motorcyclist husband and two fur babies.

  • FMCA Tech Tip: RV Battery Types

    FMCA Tech Tip: RV Battery Types

    Our friends at FMCA are breaking down the different types of batteries for an RV. Check them out below.

    Options include lead-acid and lithium-ion, as well as a choice between 6-volt and 12-volt. The 12-volt-DC electrical system is one of the primary lifelines of an RV. The source of that power can involve some combination of generator, shore power, solar energy, and batteries, as well as the converter and the inverter/charger. Here, our focus is batteries, and the possible choices.

    If your RV usually is connected to grid power, you aren’t as dependent on the house battery bank; the primary concerns are proper battery maintenance and avoiding overcharging. However, when you are boondocking, or dry camping, you rely heavily on the batteries’ ability to deliver a steady supply of 12-volt power. Historically, the go-to battery for RV use has been the flooded lead-acid battery, which is the oldest type of rechargeable battery, invented in 1859. These are the batteries in automobiles, but for RV house use they have larger plates than “starting” batteries, to facilitate deep cycling. While lead-acid batteries haven’t changed much in more than 100 years, newer technologies have introduced other lead-acid batteries to the market, including gel-cells and absorbed glass mat (AGM); both are of a type called valve-regulated lead-acid (VRLA). And recently, lithium-ion (Li-ion or Li+) technology was introduced. So, which type of battery should you choose for your home on wheels? Also, should you buy 6-volt or 12-volt? Each battery type has its advantages, disadvantages, price range, and requirements. For instance, there are different charging requirements that your existing converter or inverter/charger may not be able to accommodate. So, while you can keep the batteries charged, you run the risk of overcharging or damaging them, or reducing the batteries’ life.

    Flooded Lead-Acid

    These are still the most common and inexpensive batteries for RV use. Although they can be constructed differently, all batteries of this type consist of lead plates (electrodes) suspended in electrolyte, which is water-based sulphuric acid. Almost all RVs currently in use can accommodate flooded batteries without modification to the charging system. An overview of flooded batteries: *They are available in serviceable or maintenance-free versions. The only difference is that the latter lack caps that allow access to the electrolyte. For serviceable batteries, the electrolyte must be monitored periodically for level and condition. *While all batteries should be kept clean, flooded batteries require regular cleaning of the terminals, posts, straps, and surrounding area to remove corrosive battery acid, which builds up regularly because of the water-based acid. Such batteries also release hydrogen, especially while being charged. *Because the acid is suspended in water, there is a risk of acid damage or injury if a flooded battery leaks, falls over, gets cracked, or is otherwise damaged. *Discharging a deep-cycle flooded battery to less than 50 percent charge can limit battery life. So, such batteries are capable of only about half of their listed amp-hour capacity. *Sulfation — lead sulfate crystals settling on the battery plates — occurs in flooded cells. Reversible sulfation is a normal part of the chemical reaction, but permanent sulfation reduces battery efficiency, as well as life and charge capability. Excessive sulfation is the primary cause of premature failure of flooded lead-acid batteries.

    Gel-Cell

    This is the next step in the evolution of batteries. Silica dust is added to the electrolyte of these batteries to create a thick gel. Because the electrolyte is much more viscous, it cannot readily leak or spill. Gel-cell batteries have more stringent charging requirements than AGM batteries. Since the advent of AGM, gel-cell batteries have become rare in RVs.

    Absorbed Glass Mat (AGM)

    These batteries go one step further than gel by absorbing the electrolyte into fine fiberglass pads. The pads can be flat, resulting in standard lead-acid battery size and shape, or they can be rolled into cylinders for a smaller battery footprint. Since the electrolyte of AGM batteries is fully absorbed into mats, the batteries are leak-proof and spill-proof, short of major damage to the battery casing. AGM batteries are not subject to the same charging restrictions as gel batteries, so, generally, standard RV charging equipment can be used without modification. Some high-end converters and inverter/chargers have charge settings for AGM batteries, which have charging curves that differ slightly from those of flooded batteries. As with gel batteries, external corrosion is nonexistent with AGM batteries. In addition, gel and AGM batteries are much less prone to sulfation. And internal resistance is much lower in AGM batteries than in flooded cells, so AGM charging time is much shorter.

    Lithium-Ion

    Although lithium-ion (Li-ion or Li+) battery technology has been around since the 1980s, historically it has been used in smaller consumer devices such as cell phones and laptop computers. With recent advances, the batteries now can work in larger applications such as RVs and standby power plants. They are a marked departure from their lead-acid counterparts. Comparing the energy density between lithium-ion and lead-acid batteries reveals stark differences. A lead-acid battery can store about 25 watt-hours per kilogram of battery, whereas a lithium-ion battery can store 100 to 265 watt-hours per kilogram. This results in a 50 percent to 70 percent weight savings per amp-hour over a lead-acid battery of the same size. Lithium-ion batteries also have absolutely no discharge memory, so they are almost 100 percent efficient and can be recharged from completely dead in as little as one hour, depending on the charging technology and battery. This means they can deliver their full rated capacity. The built-in electronics automatically regulate the charging, and chargers designed specifically for lithium-ion batteries are highly recommended. Using a “general” charger could reduce the battery life, but this may not be noticeable by the user. It is important to understand the administrative functions that a particular battery management system controls, as not all battery circuitry is the same. Lithium-ion batteries require an onboard control circuit; therefore, the cost compared to lead-acid batteries is very high. However, such costs are defrayed when considering battery life, number of charges possible, and the energy output. (Thanks to Avanti Lalwani of Briter Products for assisting with lithium-ion specifics.)

    6-Volt Or 12-Volt Batteries?

    The key factor in this choice is current capacity. Two 6-volt batteries must be connected in series in order to achieve 12 volts, whereas two 12-volt batteries must be connected in parallel to maintain 12 volts. In the series configuration, the voltage doubles (6 volts + 6 volts = 12 volts), but the current stays the same. In the parallel scenario, the voltage stays the same, but the current doubles.

    One major reason to use 6-volt batteries is to get more current capacity (measured in amp-hours), although that increase may be nominal. The question may arise: If current capacity doubles with two 12-volt batteries configured in parallel, why opt for 6-volt batteries wired in series? The answer: Because of denser plates in a 6-volt battery, the current capacity is more than double that of a single 12-volt battery. Therefore, by installing two 6-volt batteries in place of one 12-volt battery, the mathematical result is a higher current capacity.

    The same is true if we double or triple the battery bank. Four 6-volt batteries (wired in a series/parallel configuration) provide more current capacity than two 12-volt batteries, etc. However, installing 6-volt batteries comes at the cost of extra weight and space requirements. Six-volt batteries also may be more expensive than 12-volt batteries. Here is my general advice:
    *If you do a lot of boondocking but don’t want to spend the money on lithium-ion batteries, install as many batteries as you can make room for in your RV. I also recommend using 6-volt batteries. While you will have space for only half the number of batteries in terms of equivalent voltage, you will gain more than twice the current capacity.

    *If money is not a concern, go with lithium-ion. You will have more battery per square foot, and much more current capacity, as these batteries are virtually 100 percent efficient. You also will be able to charge your battery bank very quickly, which is important when dry camping. And you will save significant weight, if this is important to you. Lithium-ion is the battery technology of the future, and I predict the price of these batteries may drop in the next few years. However, the high cost is the only downside, and that is largely offset by their high efficiency and long life. The question of which type of RV batteries to use remains a topic of debate in RV circles. RVers should collect information such as that provided in this article and consider their individual needs in order to make an educated decision.

  • Mistakes to Avoid When Financing An RV

    Mistakes to Avoid When Financing An RV

    So, you’re ready to take the plunge into RV life? We’re excited to welcome you to the club – but before you dive head-first into the world of RVing, you’ll need to make sure you’re actually financially ready to make the big purchase. We’ve compiled a quick list of mistakes you should avoid making to make sure you’re ready to finance an RV when the time comes.

    Not Having a Budget

    Budgeting is a word no one likes to hear, but when buying a large purchase like an RV, it’s definitely something you need to consider. It’s fun to look at luxury Class A RVs, but if that type of unit isn’t in your budget then it’s time to move on to more realistic options. We encourage you to use online sites like RV Trader to research and compare the pricing of the types of units you’re interested in. Remember, it’s always important to buy within your means so you don’t regret your purchase down the road.

    Failure to Consider Other Costs

    When planning your overall budget, you’ll also need to account for other costs rather than just the RV itself. Additional costs associated with an RV can include fuel, taxes, insurance, maintenance, and more. You’ll want to create a spreadsheet with all of the expenses that your new RV could include and then add those to your other monthly expenditures like your mortgage payment, car payment, utilities, food, etc. After adding up all of these expenses, ask yourself if you can afford an RV loan on top of those recurring payments.

    Forgetting About Your Credit Score

    As with any loan, you’ll need to make sure your credit is in good standing and that you have enough credit history to qualify for an RV loan. You can request a free copy of your credit report from each of three major credit reporting agencies – Equifax®, Experian®, and TransUnion®. If your credit score needs some work, that could slow down the process of getting a loan. To build your credit score, you’ll need to make sure you’re paying your bills on time and that you’re working to eliminate any outstanding credit card debt.

    Not Saving For a Downpayment

    Once you see what a potential downpayment might look like for the unit you’re interested in, you’ll need to start saving. For some, this can take weeks, months, or even years depending on the amount required. For most of us, it’s unlikely that we will have those funds on hand at any given time so you’ll want to start planning well in advance. Keep in mind that the more you put down, the more likely you are to receive a lower interest rate.

    Avoiding Talking to a Lender

    Once you feel like you’re in a good place to consider buying an RV, you’ll want to reach out to a lender or have the dealership you’re working with reach out to various lenders – the option is up to you. Unless you’re paying cash, you’ll need to consult with a lender at some point in the buying process. There are various types of places to obtain a loan like credit unions, banks, RV dealerships, and online lenders. It’s okay to shop around to find the best rate and loan options for you and we encourage you to do so. Remember, lenders are here to help you and guide you through the buying process, so you can reach out to them at any stage of the financing process and lean on their expertise.

    The initial financing process might seem daunting, but it really doesn’t have to be if you avoid these mistakes. Ready to start the buying process? Check out some of our most recent listings on RV Trader.

  • Five Tips for RV Life

    Five Tips for RV Life

    In today’s society, there’s a real urge among a lot of people to cut loose from the rat race and just live life out in the beauty of nature. RV or Van life gives you the freedom to go wherever you like and see the countryside in ways most people never get a chance to. I’ve spent a lot of time out on the open road and learned a thing or two in my time. Here are five things I think anyone considering life on the road should understand before taking the plunge.

    1. Plan Ahead, But Stay Flexible

    Life on the road isn’t the same as living in a fixed location. You have to actively plan where you’re going and how long you’re going to be there. At the beginning of each season, I would always sit down and spend a little while listing off places I wanted to go to. Then I’d pull up a map and start to plan out routes, stops, and sights along the way. To be honest, though, I don’t think I ever fully stuck to a plan.

    There’s an old saying in military circles: “No plan survives first contact with the enemy”. It’s a pretty apt description of life on the road. Having a plan is great, but always leave a little wiggle room to change things up.

    2. Learn How to Create Privacy

    When you’re living in an RV with another person, privacy and alone time aren’t going to happen on their own. Even If it’s someone you deeply care for you need to be able to have some time by yourself to recharge.Sit down and communicate your feelings to them. Work out a way to enjoy time apart, even when you’re only a few feet away.

    This can be as simple as a specific time of the day or the week that’s your own. Use it to relax, take a solo hike, or go into town for a little shopping. Trust me, knowing how to build in time apart makes your time together that much sweeter.

    3. A Place for Everything, and Everything in Its Place

    A lot of people really can’t conceptualize how small an RV is. This is doubly true when we’re talking about something like a truck camper or camper van. Before I hit the road I always lived with a comfortable level of clutter. My house was never that messy, but it definitely wasn’t tidy. Those first few weeks out on the road knocked that right on its head. Leaving anything out of place for even a few hours was a recipe for a serious mess down the line. RV life requires a level of organization and the will to always tidy up after yourself.

    Another good thing to keep in mind is the four-week rule. Everything in an RV needs to serve a purpose. If I haven’t used something in four weeks, then it needs to go. It ended up being a great way to keep myself focused on living minimally and preventing clutter from building up.

    4. Expect the Unexpected

    When you’re out in an RV you need to live with a certain level of constant preparedness. This is especially true if you plan to do any boondocking. Things that would be a minor inconvenience in a neighborhood can become a serious problem when you’re out in the wilds. Take a rainstorm for instance. One of my scariest experiences early on in my journey was in a Mississippi campground in early spring. The forecast called for cloudy weather but no rain. Instead, we got something closer to a torrential downpour. The roads were so muddied I lost traction at least a dozen times on the way back out. Once I ended up having to dig up sand from a riverbank and carry it over to get out of a rut.

    Plan ahead for the incidents and inconveniences you’re likely to experience. Keep basic equipment like jumper cables, a portable jump starter, snow/ice scraper, and traction pads on hand. There are great resources out there that can help you figure out what you need. Check out things like an off-grid blog or even AAA recommendations on emergency kits for travel.

    5. Don’t Ignore Little Problems

    Taking care of the mechanical side of your RV is absolutely essential. Too many people are apt to ignore signs of trouble and let them build up into serious problems.

    Make sure you get all the recommended maintenance done on schedule. If you’re at all handy you can probably do a good bit of it yourself. I went into my journey barely knowing how to hang a picture and can now reliably change oil, replace spark plugs, and do a good bit of the basic maintenance. If you hear a squeal when you hit the breaks or feel something off as you’re driving, get it checked out. Nine times out of ten it’s going to be something little and easy to fix, and that tenth time you saved yourself the cost of a tow and maybe prevented a major repair.

    Stay Positive

    Living out of an RV is all about experiencing life on your own terms. So long as you keep your own strengths in mind and focus on the journey rather than the destination you’ll absolutely love your time out in the world.

    Ready to step into the RV lifestyle? Buy or Rent an RV now

    Tiny Living Life is your one-stop-shop for everything simple living for aspiring tiny homeowners, tiny house dwellers, and off the grid lovers. Our team is comprised of people who actually walk-the-walk and talk-the-talk. We live and breathe tiny homes and off-grid living. We believe in a future where we spend more time doing the things that inspire us versus accumulating things we don’t need.

  • How To Customize Your RV To Be More Energy Efficient

    How To Customize Your RV To Be More Energy Efficient

    RVs provide an excellent means of cost-effective travel. Whether you are living in your RV or taking your recreational vehicle out for an adventure, energy efficiency is a must.

    With optimization in mind, we bring you some of the best tips and tricks on how to retrofit your RV to maximize energy efficiency on the road.

    Before Customizing

    Before we jump into the physical alterations we can make to our RVs; we should consider all the things we can do to optimize our energy usage beforehand. Taking these factors into consideration, we begin to improve the baseline energy efficiency of our RVs.

    Creating a Schedule for Routine Maintenance

    RV upkeep and maintenance go hand in hand with energy-efficient travel. RV fuel efficiency is dependent upon regular maintenance, and the absence of regularly scheduled check-ups can lead to large tabs at the pump.

    Make use of apps like the free RV Owner App that allows you to keep track of your RV’s last tune-up and stay on top of your next recommended service appointment.

    Checking Tire Pressure

    Did you know that a tire in good condition can lose one to two pounds of pressure every month? Studies show that almost half of RV owners go an average of up to six months without checking their tire pressure.

    Low tire pressure will not only reduce the number of miles you get for the gallon but also put you and all of your passengers at risk of a dangerous tire blowout. Make sure to check your tire pressure regularly and do your best to distribute RV weight evenly between all four tires so that you do not put any undue strain on one tire over the others.

    Optimizing Heating and Insulation

    One of the best ways to increase energy efficiency is to make sure that your RV is well insulated. Keeping an RV cool in the summer and warm in the winter can be difficult when your RV is not adequately sealed and insulated.

    Here are some easy ways to address potential issues with heating and insulation.

    • Sealing Vents and Windows – Rather than letting your air conditioning or heating seep out of your RV, take the time to seal up any vents or windows to increase overall energy efficiency. You can use EternaBond Roof Repair Tape to seal the seams of your vents and windows, ensuring that your RV is impervious to the elements.You can also consider installing double pane glass windows and glazing them to reduce any heat or cold coming into or escaping out of your RV. Adding a digital thermostat to your RV’s central air system will allow you to control the temperature of your ride down to the degree.
    • Insulating Water Pipes – RVs use a lot of energy, heating your water supply. Consider how much energy you might be wasting pumping hot water through tubing that is not adequately insulated. By adding a layer of pipe wrap or insulation to the lines that get your water from the heater to the faucet, you can cut down on the time and energy your RV would otherwise exhaust. Consider purchasing a solar shower for the summer months to eliminate any unnecessary water waste and energy usage.

    Optimizing Electrical Utility

    RVs use a lot of electricity, but savvy travelers will always find ways to reduce and eliminate unnecessary electrical costs. Consider turning off your power inverter while on shorter trips or utilizing alternative power supplies to get all the juice you need for your gadgets.

    Installing Solar Panels

    One of the best ways to customize your RV for optimal energy efficiency is by installing solar panel roofing. You might not always have access to a direct power source, and solar panels will allow you to take your RV anywhere that has a decent amount of sunlight. Solar panel installation may seem costly and confusing at first glance.

    When you consider the amount of electricity and generator fuel, you would otherwise spend powering your RV, you may realize that solar panels are just the thing you need for your next getaway. Link your solar panels up to backup batteries and turn that passive solar gain into a constant source of power.

    Final Thoughts

    There is no end to the number of cost-effective alterations that you can make on your RV. We have gone into just a few of the ways that you can customize your RV to be more energy-efficient, and most of the methods are cost-effective and easy to do on your own.


    Browse for a newer more energy-efficient RV here
    .

  • RV Staycations as a Cure for Coronavirus Blues

    RV Staycations as a Cure for Coronavirus Blues

    By: Megan Glenn
     

    Stay-at-home orders, self-isolation, quarantine, are pretty much daily words on the news, and the practice of them has us all wanting to file emancipation orders from our families, ourselves… our furniture. So why not try something new?

    That RV is sitting in the driveway and the weather is warming up. Isn’t this when you’d usually hit the road? Well, pack your gear, buy some delicious road treats, layout your itinerary, and stay at home.

    An Easy Pill to Swallow

    Vacationing is a state of mind, and you don’t have to be on the road to “be on the road.” Whether you stay right in your own yard or travel a short way down the road, a local RV staycation may be just what the doctor ordered to give you that sense of change and adventure your life has been lacking lately. And staycations will save you money on gas and camping fees, save you time you can spend on activities, and perhaps offer you a new perspective of the place in which you live.

    And even as the pandemic passes, staycationing offers you the safety of a space you know is clean and contained, but with the freedom to do the things you want to do. Who wants to risk being stuck on a cruise line or crammed in a plane when you can feel the safe surround of your own RV.

    Up the Excitement

    To make your staycation a true getaway, you need to get into the right frame of mind. Start by creating hype around the event. Set a date and put it on your calendar so that you can count down to the big day. Make plans with your family so that you have an agenda of things to do while you’re “away.” You might even come up with a theme for your staycation so that it truly feels like you’re getting away from the usual.

    As you plan your “trip,” research local things to do the way you would if you were in someplace new. You might think you know the local area, but you could be surprised by the things-to-do you’ll find. You can even look into local lakes, parks, and other venues that would allow you to relocate a short way from home. Research local hikes and other recreational activities and look into tourist packages for your area.

    Finally, make an agreement with yourself and your family to unplug. Put those devices aside, stop checking texts and emails, and let this truly be time away from work and home obligations. One last suggestion that will make this the real deal is to take lots of pictures.

    A Healthy Regimen

    You’re probably wondering what an RV staycation can possibly offer you that you haven’t already done in your local area. Here are a few ideas that can make your “trip” feel like an adventure.

    • Set up camp: put up a tent or canopy, set out camp chairs, make a fire ring, and spread out a fancy picnic to make this feel like a trip into the wild. You might even look for local camping spots on the water to enhance the effect.
    • Plan a game tournament or a movie marathon: board games, video games, or even fun lawn games, such as cornhole or ladder ball, can make for an eventful day. You can even make brackets and offer prizes to the winner. Or if you’d rather settle in and relax, pick a favorite movie combo or binge-watch a series. Be sure, of course, to provide plenty of popcorn and boxes of candy.
    • Treat yourself: Why not use the money you’re saving on gas to go to that restaurant you always wanted to try but seemed too expensive? How about an at-home spa day?
    • Have themed food nights: If you want that sense of travel, try different themed food nights–Korean BBQ, French cassoulet, Italian gnocchi. Make every night feel like you’ve journeyed to a different country. Or for a fun activity and less cooking, choose a style of food and taste test. Who has the best pizza in town? Where do you find the tastiest fries? Which tacos are the best – hard-shelled, soft-shelled, street tacos? Order out, set up a chart and let the tasting begin.
    • Take an online cooking course: While we’re on the subject of food, why not teach yourself something new and try your chops back in the RV. Check online offerings that will expand your culinary horizons and make your staycation feel truly exotic.

     
    Coronavirus doesn’t mean that you have to give up everything. During this trying time and the recovery time in the months to come, we have to maintain our mental health as well as our physical health. For those who are lucky enough to own an RV (or want to rent one), the staycation may be just the thing to get your health back on track.

  • RV Renovations: Updating RV Light Fixtures

    RV Renovations: Updating RV Light Fixtures

    When renovating your RV interior, there are so many projects that you can tackle to update and revamp your space. And considering most of us have a bit of extra time on our hands, now is a great time to tackle any renovations or updates you’ve been wanting to make. Each of these projects ranges in difficulty, with some being fairly easy and others being trickier. As you begin to complete each task, your RV will start to look more and more modern over time. If you want your RV to look truly modern and like a traditional home, it could be a great idea to replace your current light fixtures with newer ones.
    Many RV light fixtures are made of plastic and tend to look cheap and outdated. Most are covered in cloudy globes, tacky patterns, and brassy metal colors. Replacing these with chic, modern fixtures will transform the entire look of your space and bring it into the current era. Although replacing your lighting sounds like a difficult project, it is totally possible to do yourself if you plan ahead, move slowly and carefully, and follow this simple set of instructions.

     
    Disclaimer: Before we begin, please note that we are not electricians, and any electrical work you complete yourself should always be examined by a professional before repeated use. All electrical projects are considered dangerous and should be handled and completed with care. If you are not comfortable with tackling this project yourself, an electrical contractor could easily accomplish this for you. Now that you know the risks, let’s dive in.


    1. Gather your materials

    This tutorial assumes that your lighting is wired for DC power, which is the case for almost all RVs. Finding DC light fixtures that look modern and cost a reasonable price tends to be difficult. For this reason, many RVers purchase and install AC light fixtures that are made for traditional homes. This requires some additional wiring but is totally doable.

    When collecting your materials, purchase your favorite AC light fixtures in whichever style you are decorating your RV. Then, purchase DC light bulbs that will fit those fixtures. These can be found in a variety of home goods stores, online RV catalogs, or even on Amazon. Once you have your materials, you are ready to begin.

    2. Disconnect your house batteries and all other power sources

    Start by disconnecting your house batteries that power your RV and anything else that connects it to power. Unplug from shore power, and double-check that nothing is switched on. This step is absolutely essential to keep you safe while you are completing this project.


    3. Remove the existing DC light fixture that you will be replacing

    RV light fixtures are typically mounted with a couple of screws, so removing your old fixtures with a screwdriver should be fairly simple. Once you have unscrewed them, they will likely just be hanging on by their wiring.
    Credit: DIY Network

    4. Remove any fittings on the DC lines that were connected to the old fixture

    Next, you will need to disconnect the old light fixture. Disconnect all the lines, and remove any fittings that were part of the old fixture. This is important in preparing to install the new fixtures.
    Credit: John Moore Services

    5. Strip back the wire insulation

    Using a sharp tool, strip back the insulation on the wiring that will connect your new light fixtures. This is necessary to connect the new fixtures to your current RV electrical system.

    6. Connect the lighting

    Next, you will need to connect the positive and negative DC lines to the white and black “AC” lines of the new fixture using whatever fittings you like. This is best completed using wire nuts. The DC socket light bulbs only tend to work when wired one way, contrary to simpler DC bulbs, due to their transformer. Therefore, it is a good idea to connect everything, then turn the power back on and check that the bulb is lighting before fully installing the new fixtures.

    Credit: @wheres.mal.now

    7. Add on/off switches

    This is an optional step, but completing it will make your lighting situation much simpler. Many older DC light fixtures have on/off switches built into them. The new AC fixtures may not have on/off switches, so it is a good idea to retrofit switches into them. You can accomplish this by removing the switches from the old DC fixtures and installing those in the AC fixtures.

    If reusing your old switches is not possible in your situation, you should be able to pick up small, simple switches at your local hardware store. These newer switches will just need to be installed inline on one side of the power feed. Typically, the negative line is used. Simply wire the negative line through the new switch, and you will have an on/off feature for your new light fixture.

    8. Finish mounting the new fixture

    Once your new lights are wired in, the hard part is over. It is imperative that you double-check that the power is properly connected and the switches are in good working order before moving on to install the light fixtures. Since your new light fixtures are likely very different from your old ones, you may need to drill new holes to affix them to their new positions. If the new fixtures do not cover over the holes from the old fixtures, you may need to fill in the old holes with putty, and sand and paint over them. This step will look different for everyone, so just be sure your new lighting is properly mounting before moving on to your final steps.
    Credit: @wheres.mal.now

    9. Install the DC bulb and enjoy!

    Once your lighting is hardwired and installed, all that’s left is to install your new DC light bulb. Make sure the new bulb is screwed in tightly, and then flip your power back on, and turn on your lights. Then, sit back and admire your hard work and your newly-modernized RV lighting.

    Installing new lighting fixtures in your RV is fairly simple if you have any sort of prior electrical experience. Even without prior experience, beginners should be able to complete this project by closely following these steps. Again, do not attempt this if you are not confident in your abilities, as any electrical professional could easily complete this if you gather the correct tools tools for them. Once your new lighting is installed, you are ready to move on to the next project: making over your cab area. Stay tuned for the next update!

     
    Have you updated your RV interior’s light fixtures? What process and methods did you use? Feel free to share in the comments below!
  • Tips for Buying an RV Online

    Tips for Buying an RV Online

    COVID-19 has the majority of the country staying at home. If you had been interested in buying an RV, the quarantine might have put a damper on your plans – but in today’s world, it really doesn’t have to. With all of the technology we have access to, buying an RV is still possible with minimal in-person contact. So, are you still looking to buy? Despite the stay at home orders – it’s still possible with these easy tips.
    Check out our quick tips for buying an RV online:

    Determine Your Budget

    When looking for an RV, the first step you need to take is to look at your budget. What kind of funds are you working with? There are a wide range of budget options for every buyer and whether you’d like to buy new or used, RV Trader has an option for you.

    Decide on Type

    There are tons of options out there when it comes to RVs, so you’ll need to determine what type of RV fits your lifestyle and what exactly you’ll be using it for in the future. Have a large family and need a lot of space? A Class A RV might be a great fit for you. Enjoy camping, but want to step it up a notch? You might want to start with a pop-up camper. The possibilities while selecting a type of RV are endless.

    Do Your Research

    Most shoppers start their search for an RV by using a search engine. But the search engines aren’t the only place you can begin your journey to finding an RV. There are also a slew of other valuable resources, like online RV classified sites such as RV Trader. We encourage you to use RV Trader to conduct research on different types of RVs, see different price ranges, and check out a wide variety of floorplans. When you’re in the search phase, remember that it’s okay to browse. There is no pressure. All you’re doing is simply gathering any and all information about an RV you’re interested in. You’re free to explore any and all RV options out there and the best part is it will only take a few mouse-clicks to do so. Take notes to remember features that you like, read through the unit’s descriptions, and check out all of the photos and videos you can to get a feel for the unit. Don’t forget to utilize RV Trader’s MyTrader feature to save your favorite listings and searches and to get notified about new listings or price drops.

    Connect With the Seller

    Once you’ve seen a unit that you’re interested in, reach out to the seller by phone, email, or chat to see additional photos or to set up a video chat or virtual walkthrough if available. Dealers are eager to help you find the right RV for you, and through virtual meetings or through apps like Zoom or Facetime, they can give you a complete tour of the unit you’re interested in, without even stepping foot on their lot. Use the virtual meetings to ask questions and take notes while the dealer guides you through the unit.

    Ask for An Inspection

    Once you connect with the seller, don’t be afraid to ask for an inspection of the RV. Technology gives buyers the opportunity to conduct a virtual inspection over video call with the seller. If you’re shopping on RVTrader.com, you’ll be able to easily pinpoint for-sale RVs that have already received inspections with the RV Trader Inspection Badge. Listings with this badge have received a comprehensive inspection from RV Trader Assurance powered by Lemon Squad. Pre-purchase inspections can provide not only extensive information, but also peace of mind during the buying process.

    Purchase

    There’s nothing like finding the perfect RV for you. When you think you are ready to make your final purchase decision, you have the option of setting up an appointment with the dealership to view and purchase the unit (while keeping social distancing in mind) or you can have the dealer come to you (if available). Many dealerships are offering virtual buying options such as conducting financing entirely online, offering to deliver documents to sign in person (at a safe distance), and RV delivery options where the seller will bring your RV directly to your driveway.

    Social distancing doesn’t mean all purchasing has to stop, everyone just has to get more creative to stay safe during the process. Looking to buy an RV of your own?


    Start your search on RV Trader today.

  • FMCA Tech Tip: The Importance of Waste System Venting in RVs

    FMCA Tech Tip: The Importance of Waste System Venting in RVs

    Proper holding tank venting is required (mandated actually), for both the black and the gray waste systems found on recreation vehicles and the method chosen by most RV manufacturers is to run a length of ABS pipe from the holding tank, up and through the roof of the RV. The importance of proper venting, in both systems, cannot be overstated, especially as it relates to odor control. Additionally, without correct venting, sinks will not drain properly, bacteria can propagate and holding tanks will not drain as quickly or completely.

    Keep in mind, as a holding tank empties or a sink drains, air must enter the drainage system. Since RV fixtures as well as holding tanks rely solely on gravity while emptying, having air enter the system as sinks and tanks are drained, results in a faster and more thorough process. There are two types of vents used in recreation vehicle waste systems: direct exterior vents and anti-siphon trap vent devices (ASTVDs).

    Direct Vents

    Direct vents connect the waste systems (either within the drain piping or directly from the holding tank) to the atmosphere outside. There is one other type of direct vent; a side-mounted vent. Side venting is only permissible in the liquid waste system, (typically from a single fixture), and only found on the smallest recreation vehicles. Clearly, the most common and the most effective waste system vent stacks, however, are those that protrude above the roof.

    Anti-Siphon Trap Vent Devices (ASTVD)

    Another type of vent is the anti-siphon trap vent device. These handy gadgets are used as a secondary vent to aid in draining sink fixtures. Also called “check vents,” ASTVDs allow air into the drainage system, but prohibit air from passing out of the system. ASTVDs are installed in the liquid drain piping system at or near a P-trap inside a cabinet. Look under the kitchen and lavatory sink area and you should find them. They are mounted at least 6-inches above the P-trap’s horizontal arm. ASTVDs do not allow odors to escape into the living portion of the RV because of an integral atmospheric pressure-controlled, rubberized, one-way valve. In other words, air in, but not out.

    In addition to ASTVDs, there must still be at least one vent protruding through the roof to allow sewer gases out of that holding tank; ASTVDs are not primary vents. The better-designed waste systems will have ASTVDs installed at every P-trap as well as a direct vent running from each holding tank up and through the roof.

    Direct Vent Maintenance

    I’d wager not many active RVers have ever given serious thought to actually performing any maintenance on the waste system vents. But here’s something to investigate if you’ve never done so before. Sometimes coach manufacturers cut a very large hole in the ceiling and roof for vertical vent pipes to pass through; it obviously makes the installation a little easier and a lot faster. Oftentimes this gap is not sealed properly all the way around the outside perimeter of the pipe.

    If the area around the pipe is not sealed properly and is routed through an oversized hole, it’s likely the tank odors will pass up the vent, collide with the underside of the common sewer cap and be forced back down, around the side of the vent pipe and into the ceiling area where it eventually migrates to the living area. It would behoove the serious coach owner to remove the top cap of each sewer vent on the roof and ensure the space around the perimeter of the vent pipe is sealed tight.

    Better yet, consider the addition of a new roof vent cap. This newer type of replacement vent actually creates a negative pressure inside each holding tank and literally sucks the gases and odors out of the holding tank. Easily installed by any RV handyperson, you might not need holding tank additives ever again! Remember, RVing is more than a hobby, it’s a lifestyle!