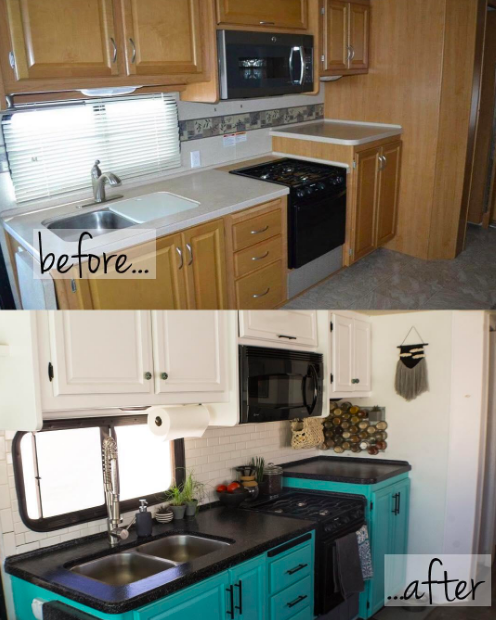
Renovating an RV has become an increasingly popular challenge in recent years. A simple search of the “RVrenovation” hashtag on Instagram will instantly yield photos of thousands of brightly-colored, modernly-designed units all over the world.
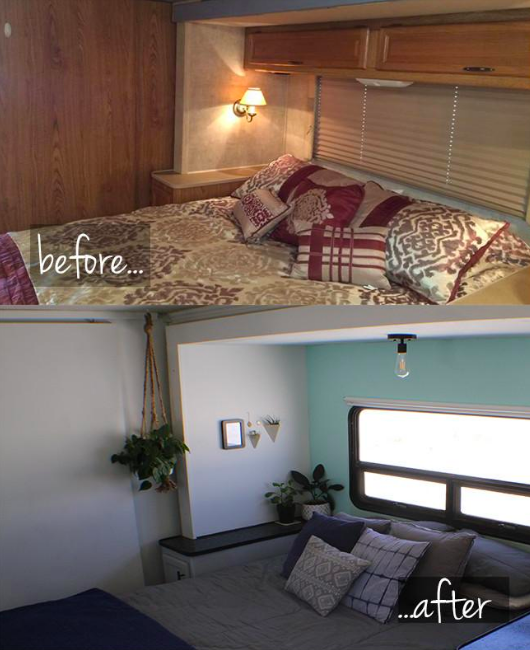
The reasons for remodeling an RV interior differ, but the main motivation stems from a desire to make an RV your own. Many RVs come from the factory turn-key ready, but some people feel that these lack personality and individuality. Additionally, older RVs from different eras (8+ years old) are often outdated in the decor department and in need of some serious sprucing. Still, others may just not match the taste and style preferences of their respective owners. Whatever the reasons for beginning an RV renovation and whatever projects you have planned, your very first project should be painting.
Painting an RV is no small job. While the surface area of the total space may be small, there are many nooks and crannies, which makes painting time-consuming and labor-intensive. In addition, there is quite a bit of prep work involved. In order to ensure that the paint adheres to the surface, you must sand, clean, and tape, all before beginning the actual paint job. To get started – you’ll want to:
1. Decide where you want to paint
The very first step to painting is deciding exactly which surfaces you plan to paint. When renovating an RV, many people paint both the walls and the cabinets. Others decide to paint the walls and leave the cabinets with the original wood-grain look. No matter which surfaces you decide to paint, determining this ahead of time is important because it will let you know which areas to prep. Once you have decided where to paint, you can move on and start your prep work.
2. Flatten out all surfaces to be painted
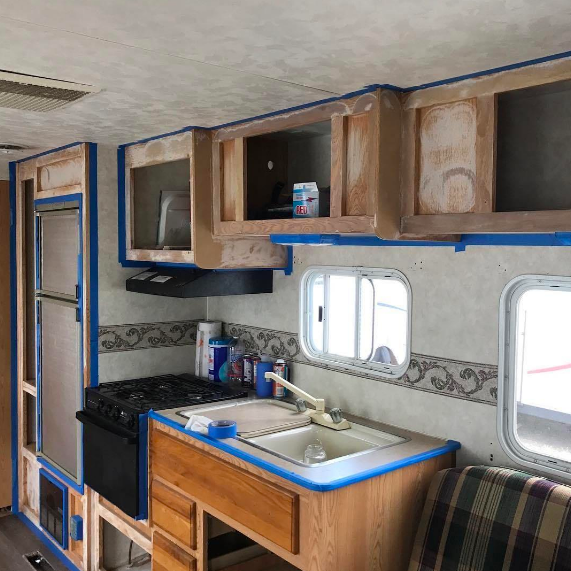
Most people paint right over the wallpaper in RVs. Removing wallpaper is a sticky and messy process, and there is really no reason to complete this extra step prior to painting. However, if there are wallpaper borders present, these must be removed before painting. Failure to remove these will result in a bumpy and uneven surface, and the finished product will not be as polished.
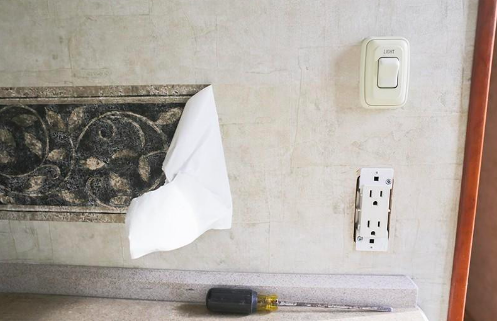
Most wallpaper borders in RVs can be found in either the kitchen or the bathroom. To remove these, simply slide a thin tool under the border to begin peeling it up, and pull the border away from the wall. There will be some resistance, but it should eventually peel off in one piece. If you are unable to remove the wallpaper, try melting the glue with a heat gun. Scrape any excess glue off the walls once borders are removed.
Additionally, you must fill any and all holes or nicks in the walls with putty if you want a smooth final appearance. Allow the putty to dry for at least six hours before moving on to step three.
3. Sand all surfaces to be painted
Sanding is arguably the most important step of the painting process. Assuming your RV will travel to a variety of climates in its lifetime, it is especially important to ensure that the paint adheres to the walls as best as possible. Since RV wallpaper and cabinets are typically covered in a glossy, laminate finish, you must be sure to remove this before you can paint. Failure to complete this step will result in a finished product that is extremely prone to peeling and does not hold up well over time.
It is best to sand with an electric sander and some 80 or 120-grit sandpaper. Any size sander will get the job done, but a smaller, hand-held sander will be easier to maneuver into tight spaces. Be sure to sand all surfaces that will be painted. This will take up quite a bit of time, but it is very important and worth every second when your final painted product lasts for years.
3. Clean thoroughly
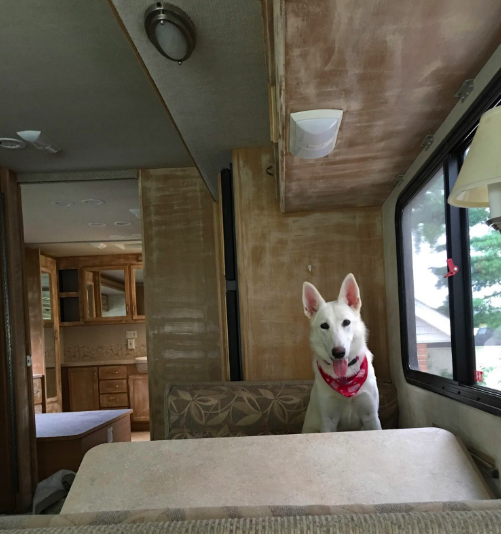
After sanding, everything in the RV will be covered in a thick layer of dust. It is vital that you clean up all of this before painting. If you don’t clean well, residual dust may stick to your paint as it is drying, discoloring it, and leaving the walls looking perpetually dusty. Thoroughly wipe down all countertops, and then vacuum and sweep up all dust particles on the floors.
Next, wipe down the walls, cabinets, and any other surface that will be painted with TSP. Otherwise known as trisodium phosphate, TSP is a heavy-duty cleaner that is diluted and used for cleaning surfaces that will later be painted. You can find it at any hardware or home repair supply store.
4. Remove hardware
If you are painting your RV cabinets, you will need to remove all cabinet doors and drawer faces before you can begin to paint. It is best to do this after sanding so that you don’t have to sand these on a tabletop or on the ground. In addition, you should remove all hardware (hinges, handles, etc.) to ensure that you can paint as closely as possible.
NOTE: If you have plastic or metal hardware, it is best to remove the hardware prior to sanding the cabinets.
You must also remove all outlet covers, lights and light switch covers to ensure they are not accidentally painted. You can complete this step with either a screwdriver or a drill with an appropriately-sized bit.
5. Tape Before You Paint
Once you have completed all of these steps, you are ready to gather your supplies and begin painting. Keep an eye out for the next post in the series, where we will discuss painting tips and tricks that are sure to leave your RV looking good as new.
Have you painted an RV? What did you do for prepwork? Feel free to share in the comments below! And don’t forget to check out Part II of our RV painting series.
Leave a Reply to retiredandglamping Cancel reply